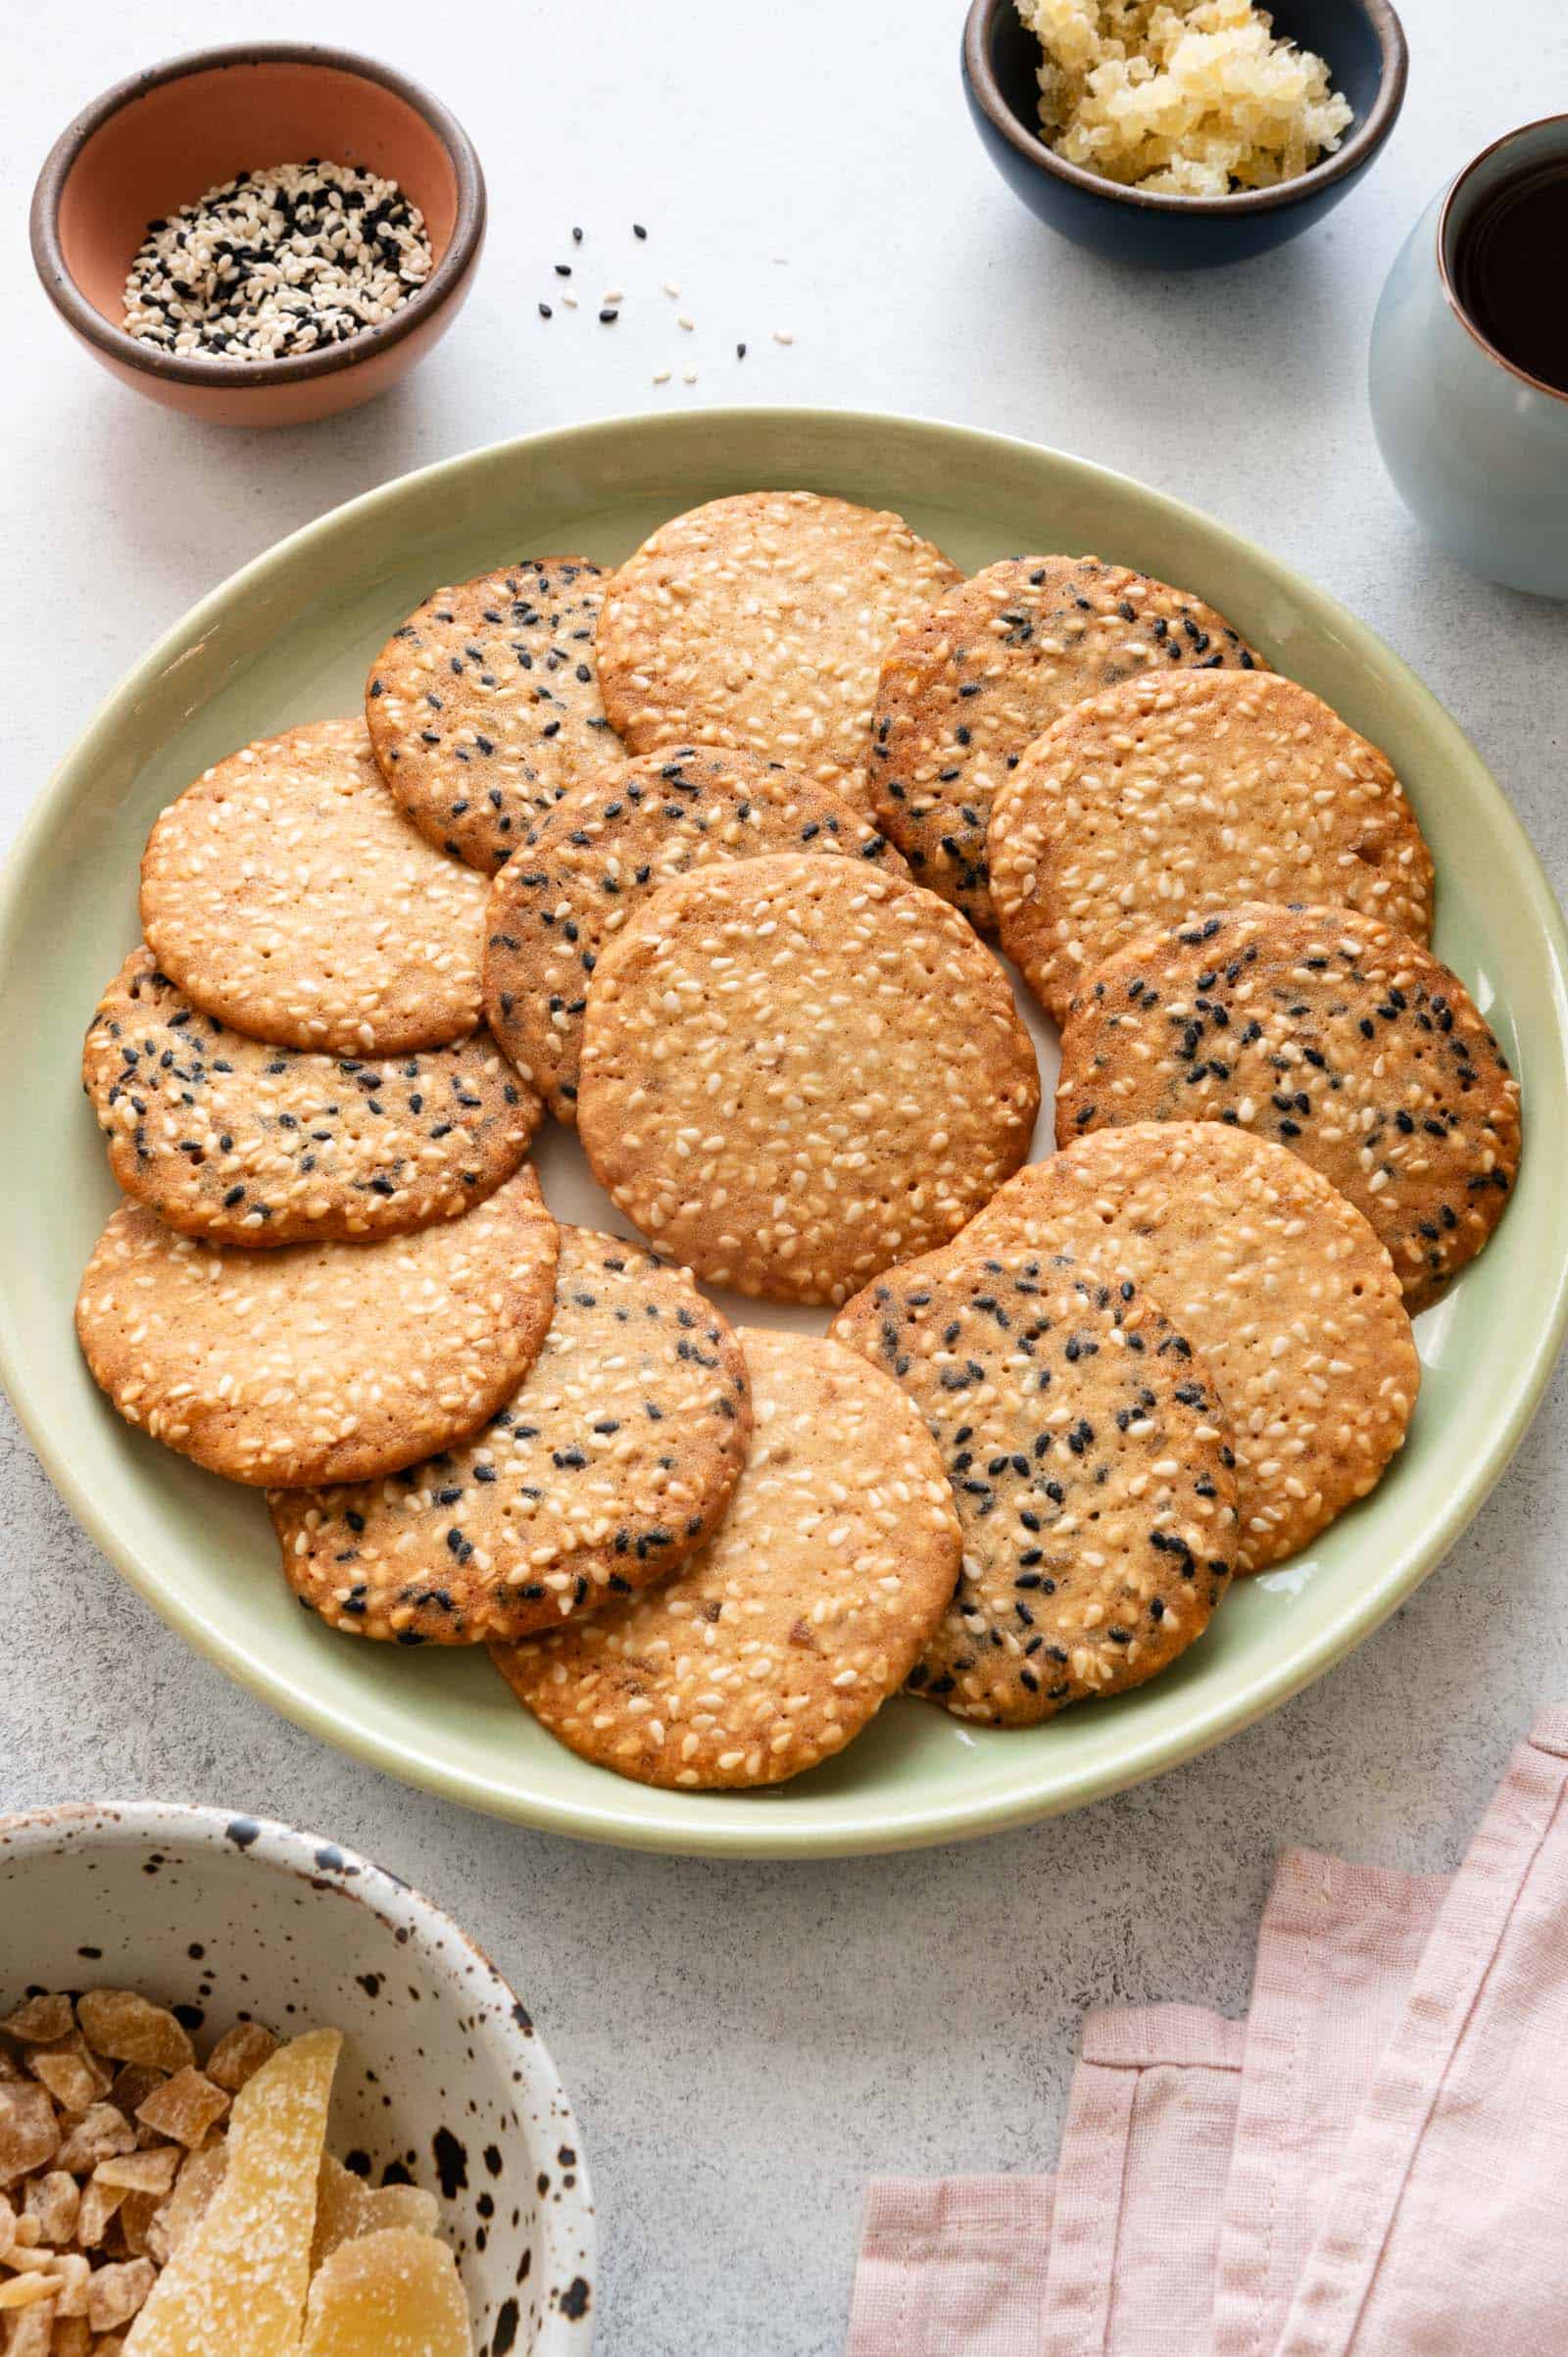
Whenever I visit my family in San Francisco, I always make treats for them to enjoy. My family generally has a sweet tooth, but they’ve had to watch their sugar intake in recent years due to health issues. That’s why I try not to prepare foods that are too sweet. These ginger and sesame cookies are just the kind thing my family will enjoy. They’re crispy, nutty, slightly sweet, and have a bit of zingy ginger flavor. In San Francisco, there is a Chinese bakery called 小麥田 (Fancy Wheat Field) that sells thin sesame cookies topped with lots of white sesame seeds and have a nice snappy crisp. My sister buys them all the time. Drawing inspiration from the sesame cookies at 小麥田, Kristina Cho’s sesame crisps recipe from Mooncakes & Milk Bread, and a few other Chinese sesame cookie recipes, I went to work developing this ginger and sesame cookie recipe. I must have tested about 15 batches of cookies to experiment with how to incorporate ginger flavor into the cookies, how to achieve the best snap in the cookies, and what variety of sugar to use. As a result of all my testing, I have copious amounts of cooking notes, which I explain further below.
COOKING NOTES FOR GINGER & SESAME COOKIES
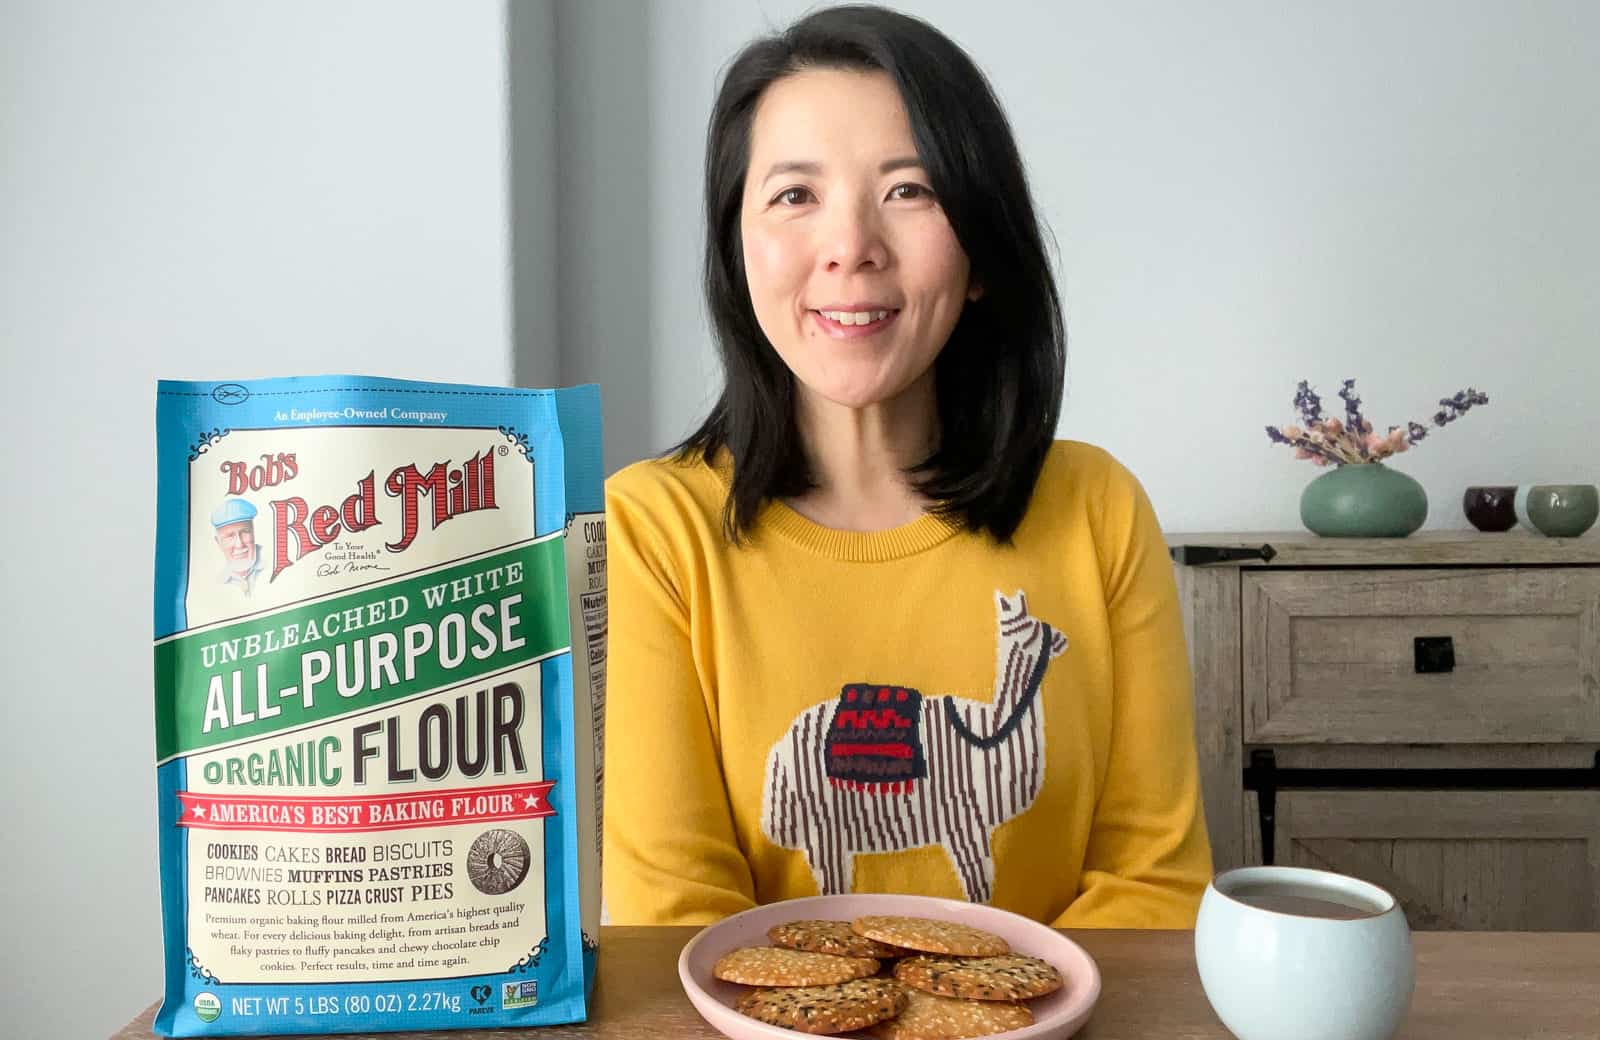
USING BOB’S RED MILL FLOUR
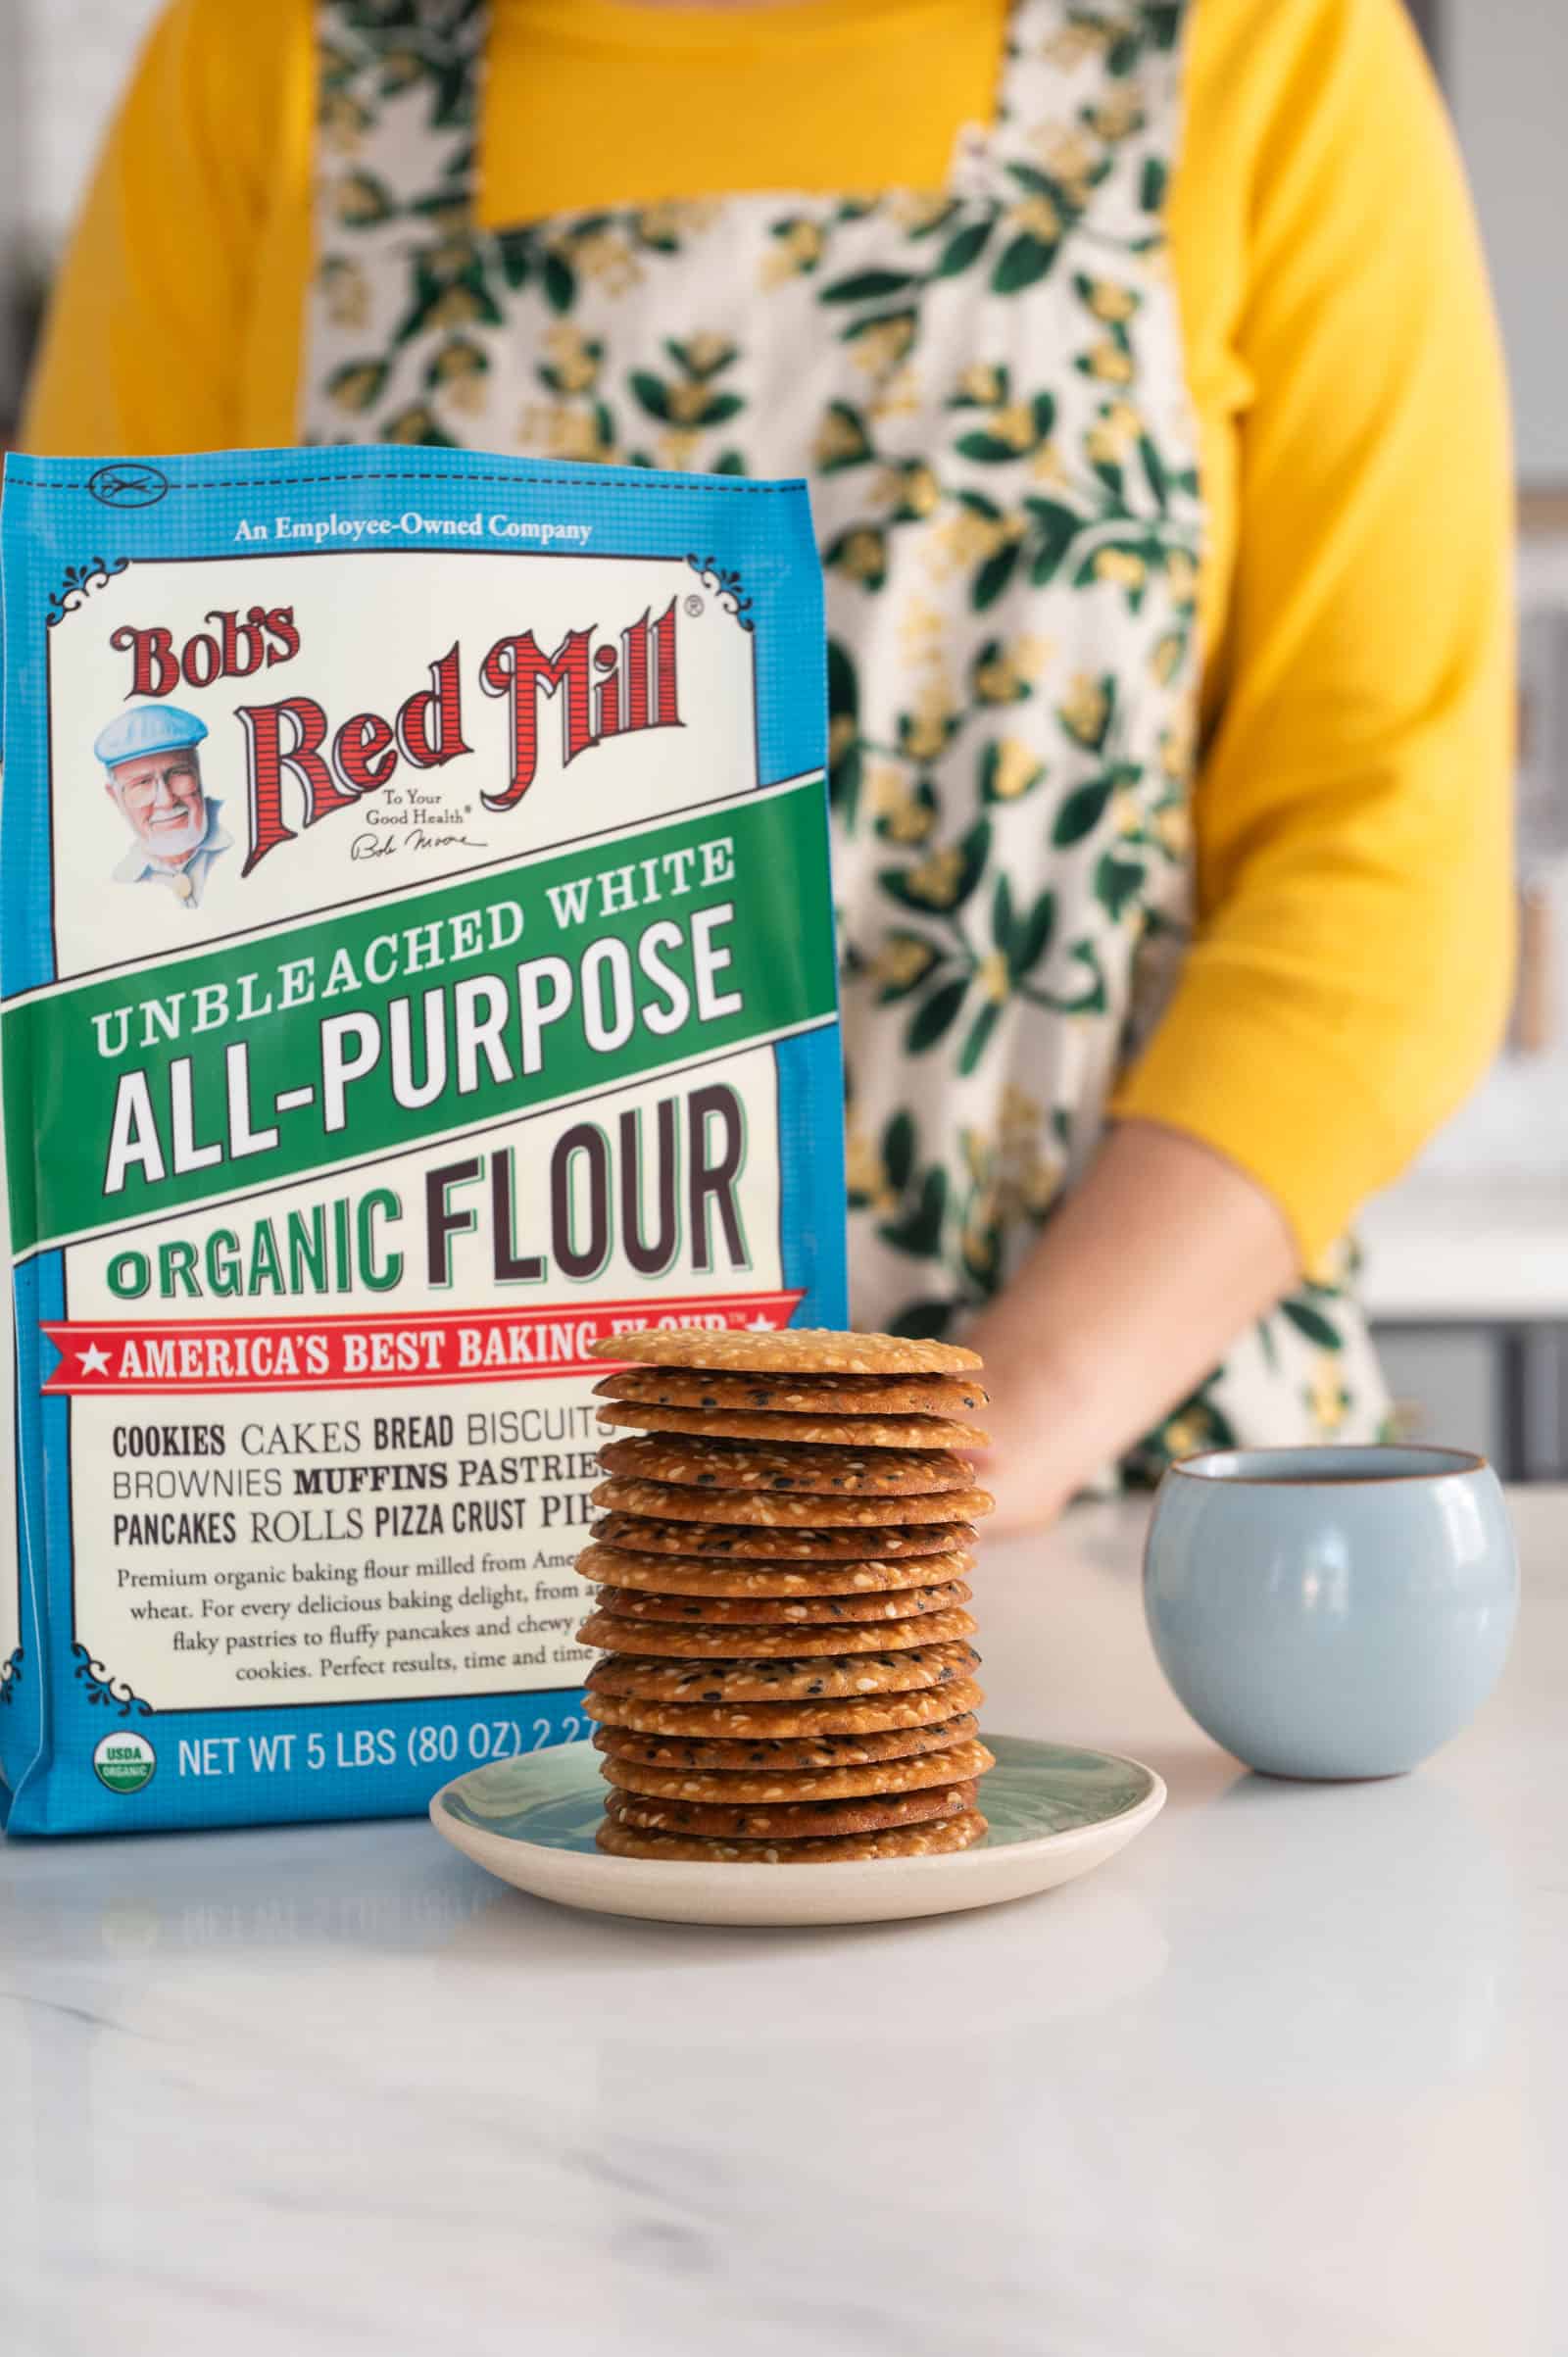
Bob’s Red Mill Organic Unbleached White All-Purpose Flour is my go-to flour for a lot of my recipe development. I use it to make dumpling wrappers, noodles, milk bread, cinnamon rolls, and so many more recipes! It is a quality flour that produces consistent results and it’s very convenient to find. Mama Lin loves using Bob’s Red Mill flours as well! Although this sesame cookie recipe uses less flour than you’d expect, all-purpose flour is nevertheless a key component in giving the cookies its crispy texture.
ADDING GINGER FLAVOR
My family loves anything with ginger flavor, so I wanted to infuse a good amount of ginger flavor into these cookies. I started experimenting with adding ground ginger to the cookies, but I thought the flavor was too subtle. Then, I tried adding 1 tablespoon of freshly grated ginger, thinking it would add a stronger flavor. Surprisingly, the fresh ginger wasn’t that noticeable. I finally added chopped crystallized ginger into the cookie batter, which gave the cookies the right amount of flavor I was looking for. The ginger flavor isn’t too overpowering, but you can taste the zingy flavor in each bite. At the grocery store, you’ll likely find 2 common varieties of crystallized (or candied) ginger: chopped up ginger chunks with a white powdery exterior or slices of candied ginger with granulated sugar coating the exterior. Both types of crystallized ginger work well for this recipe. However, the candied ginger slices tend to be stickier, so they’re a little more difficult to chop up. Use whichever crystallized ginger you can find!
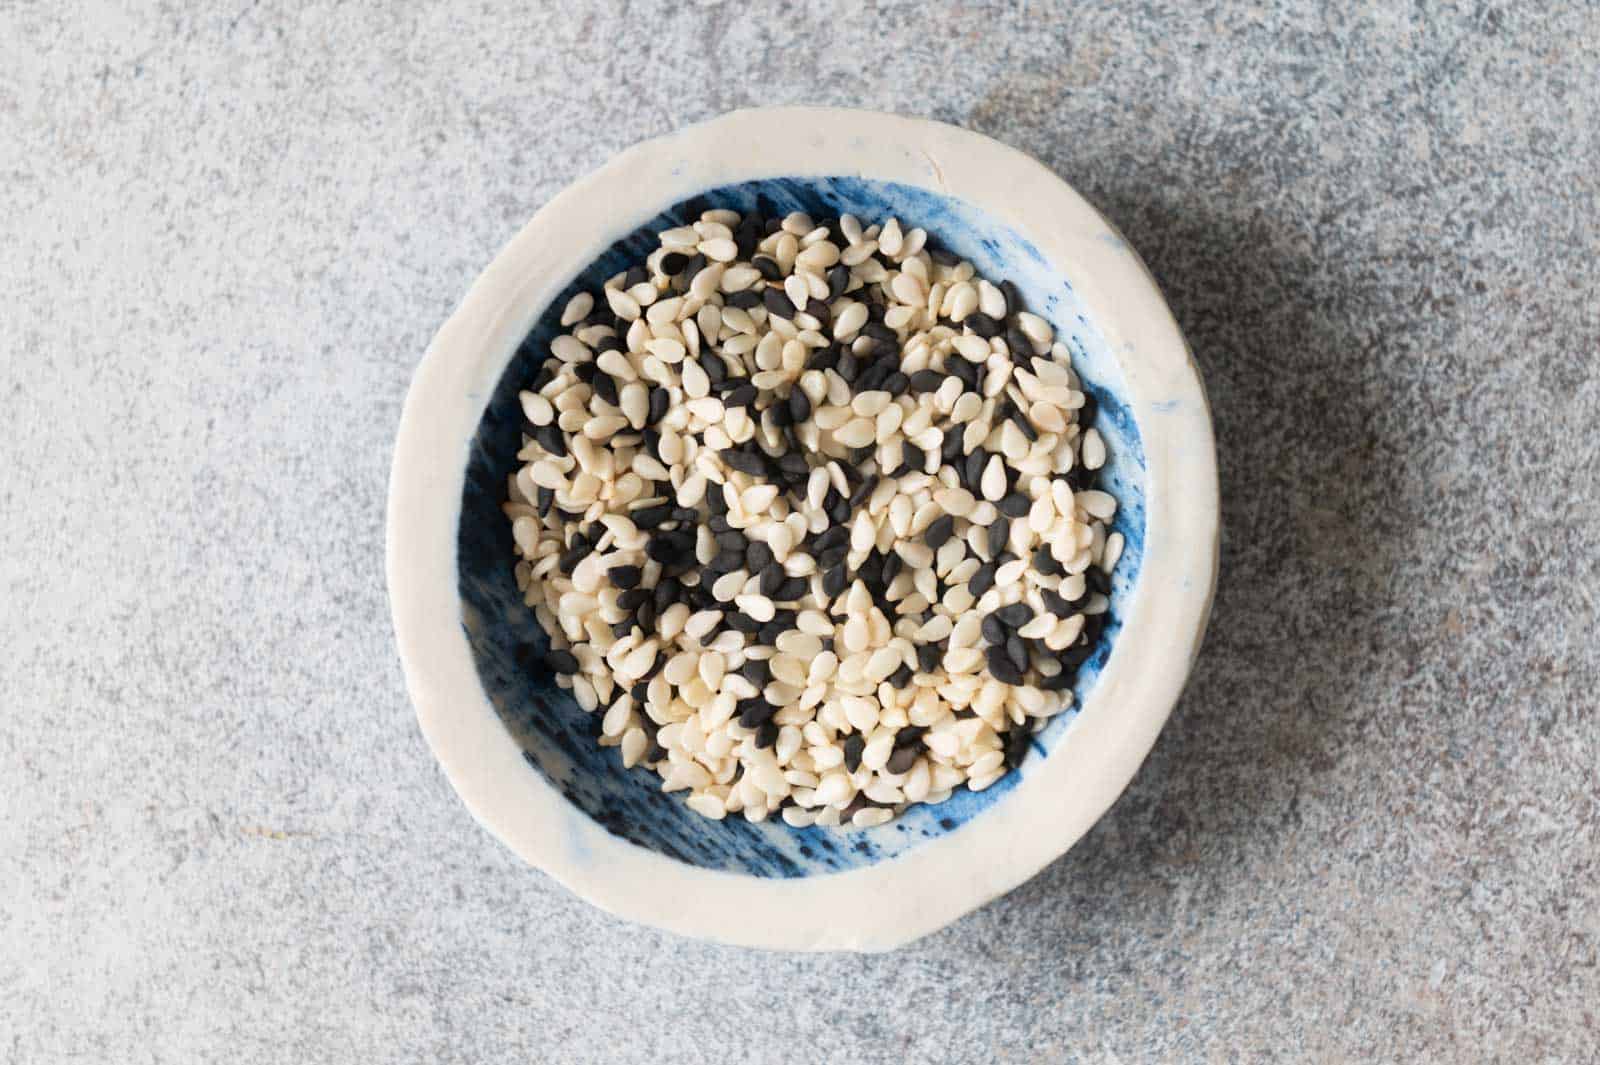
SESAME SEEDS
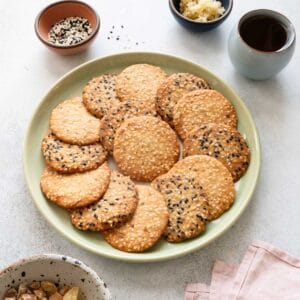
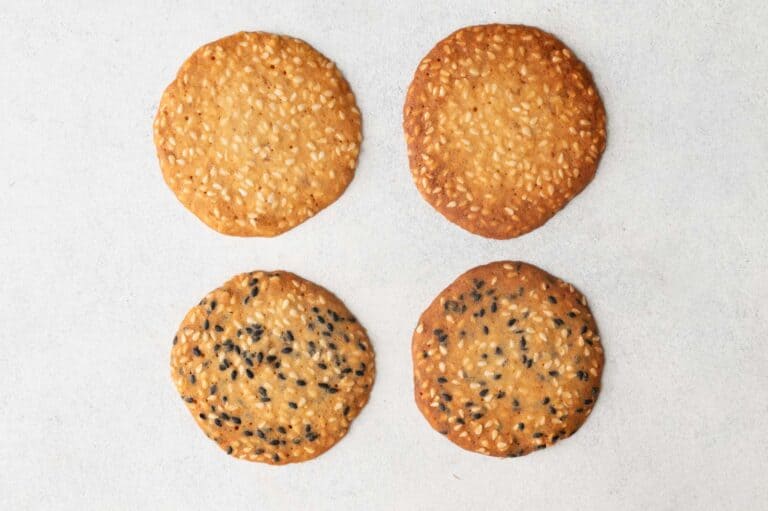
Chinese sesame cookie recipes typically use white sesame seeds, but you can use a mixture of white and black sesame seeds for visual contrast in the cookies. Black sesame seeds tend to be slightly more bitter than white sesame seeds. Therefore, if you use a blend of white and black sesame seeds, I recommend using slightly more white sesame seeds (I specify the amounts in the recipe notes). If possible, use raw sesame seeds for the recipe, and toast them for a few minutes before adding to the cookie batter. I typically buy raw sesame seeds from Asian grocers. When I tested the first few batches of this recipe, I used pre-roasted seeds from a jar in my pantry. The problem, I discovered, was that pre-roasted sesame seeds tend to go stale quickly after opening the jar. Because this sesame cookie recipe uses a considerable amount of sesame seeds, the stale flavor of the seeds became quite pronounced. This is less of an issue if you toast raw seeds for the cookies. However, if roasted sesame seeds are all you can find, by all means, use them. I recommend toasting them in a pan over medium heat for 2 minutes before adding to the batter.
EXPERIMENTING WITH DIFFERENT SUGARS
I tested this recipe with a variety of sugars and syrups, including brown sugar, maple syrup, powdered sugar, and granulated sugar. Initially, I thought the brown sugar and maple syrup would add depth to the flavor of the cookies. While the cookies had slightly richer flavor, the darker sugars browned the cookies in ways that I didn’t like. The cookies had more of a grayish-brown hue instead of the golden brown color I wanted (see photo above). Next, I started testing the cookies with powdered sugar, which worked fine. As I reflected on the recipe more, I realized that people are more likely to have granulated sugar in their pantry as opposed to powdered sugar, so I switched to using granulated sugar instead.
CHILLING THE BATTER
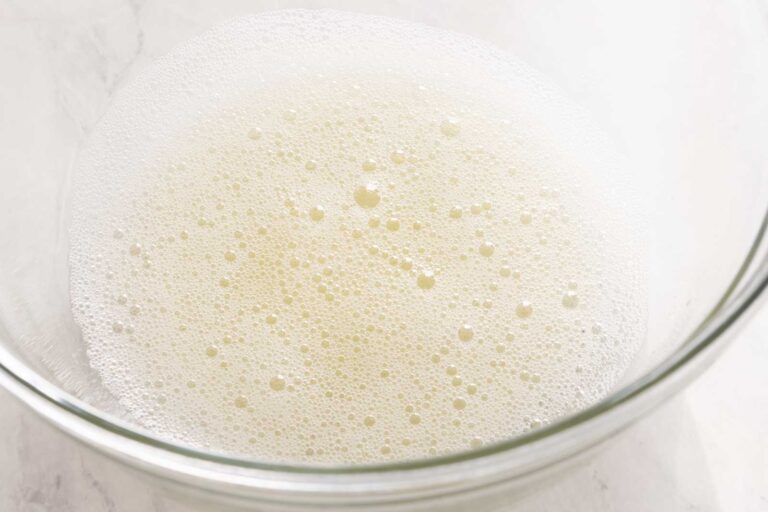
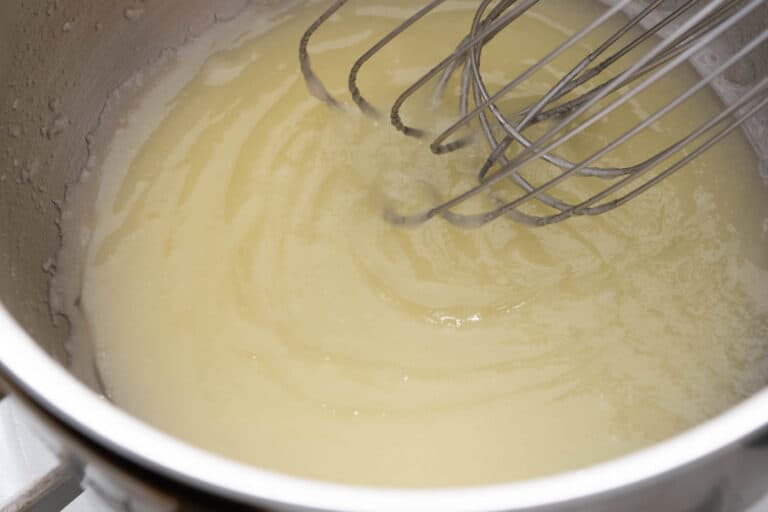
Technically, you can bake the cookies immediately after you make the batter/dough, but it is better to chill the batter before baking. The cookie batter is quite runny right after you finish mixing all the ingredients. When you try to transfer that runny batter onto a lined baking sheet, the batter starts spreading into an amorphous shape. That’s why I decided it was best to chill the batter in the fridge for at least several hours (or overnight). Once chilled, the batter will become more like a cookie dough consistency and be much easier to transfer to the sheet pan and shape. If refrigerating the batter for several hours is too much time, you can chill the batter in the freezer for about 30 to 45 minutes, until it stiffens up like cookie dough.
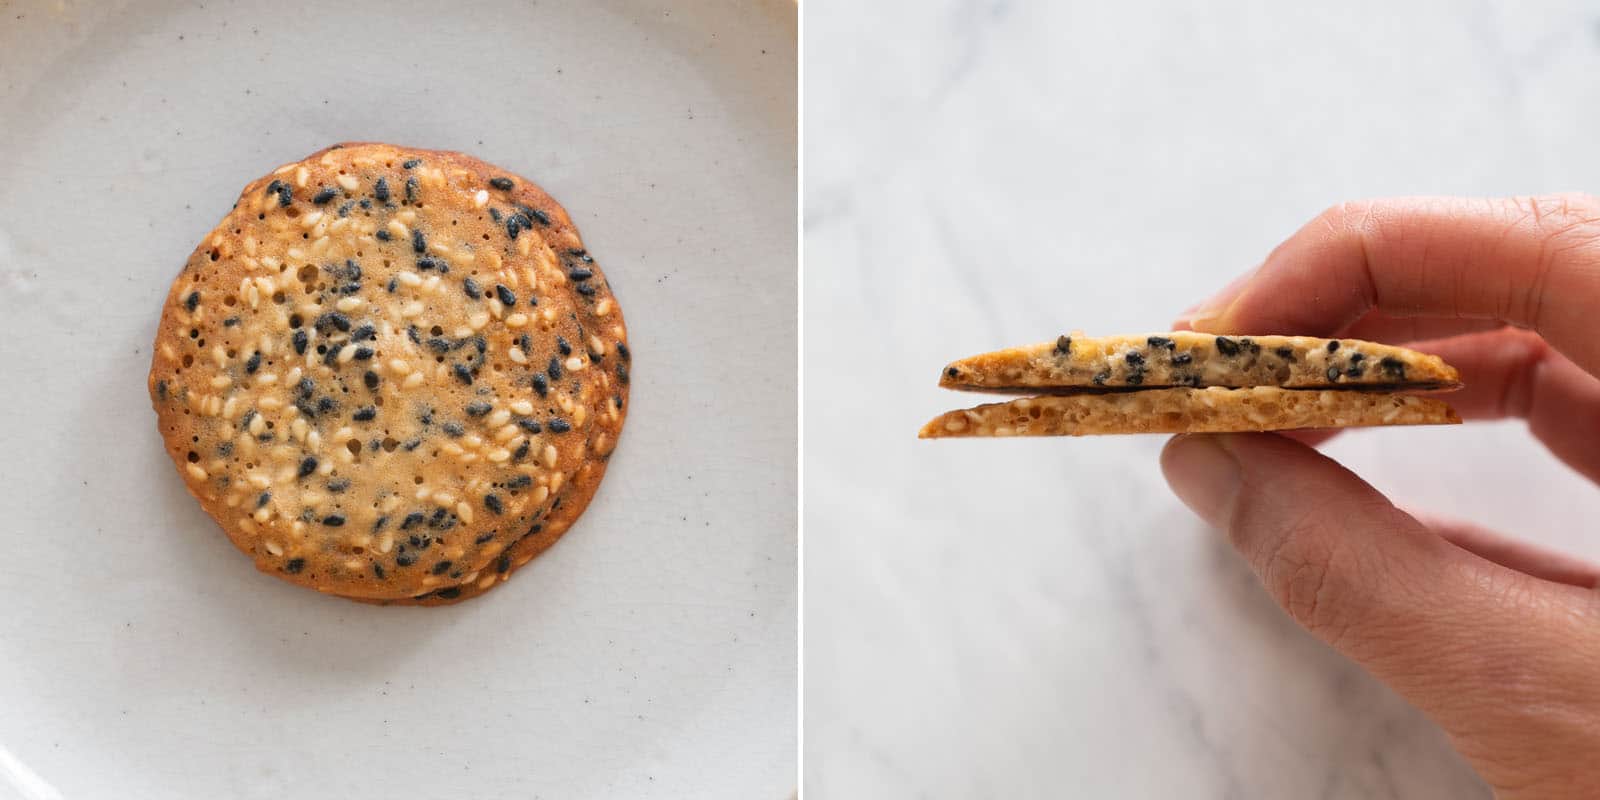
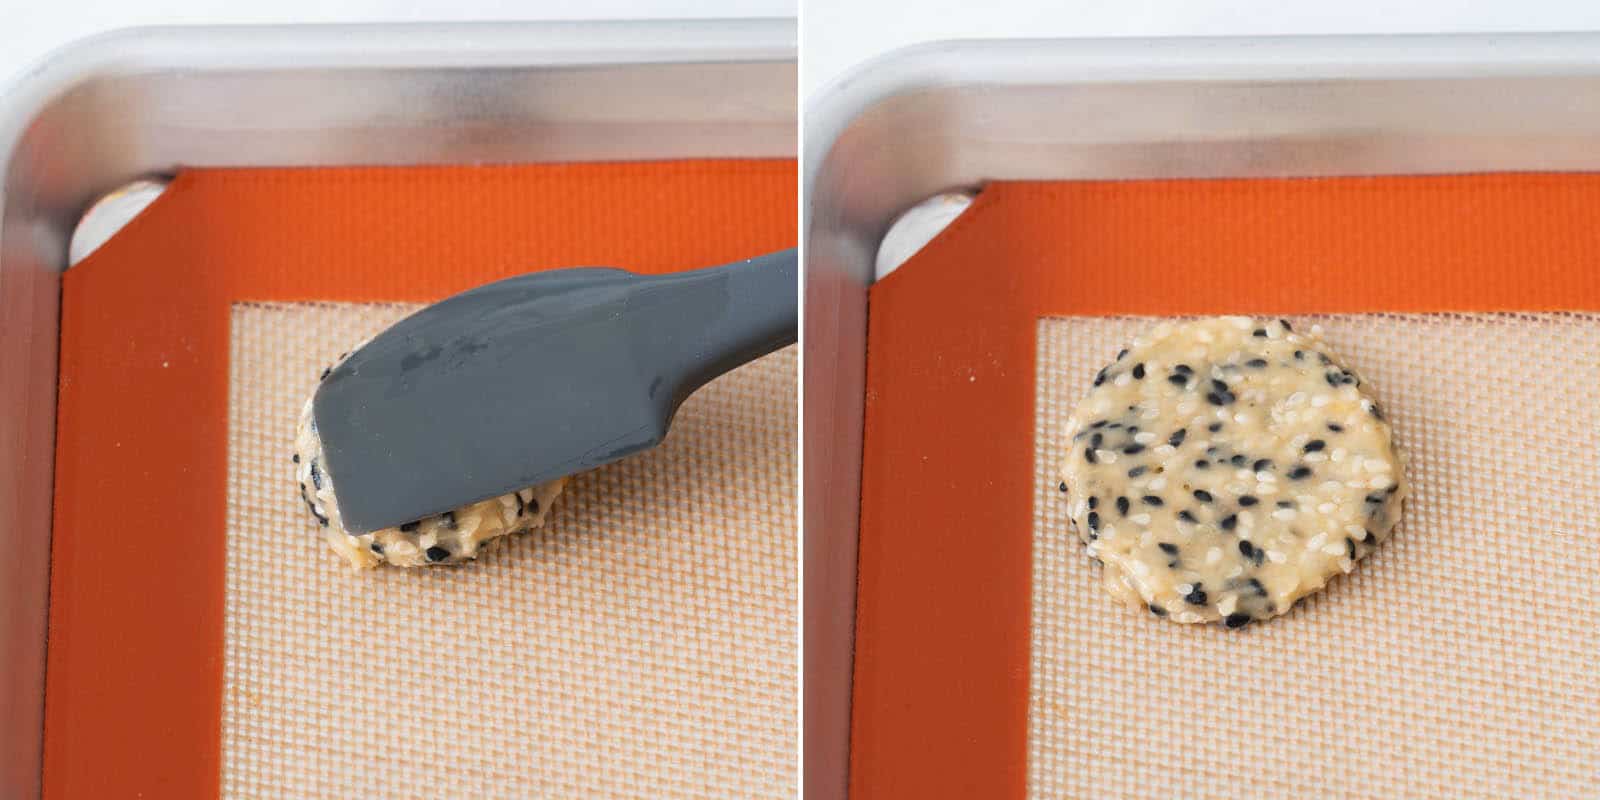
FLATTENING THE DOUGH BEFORE BAKING
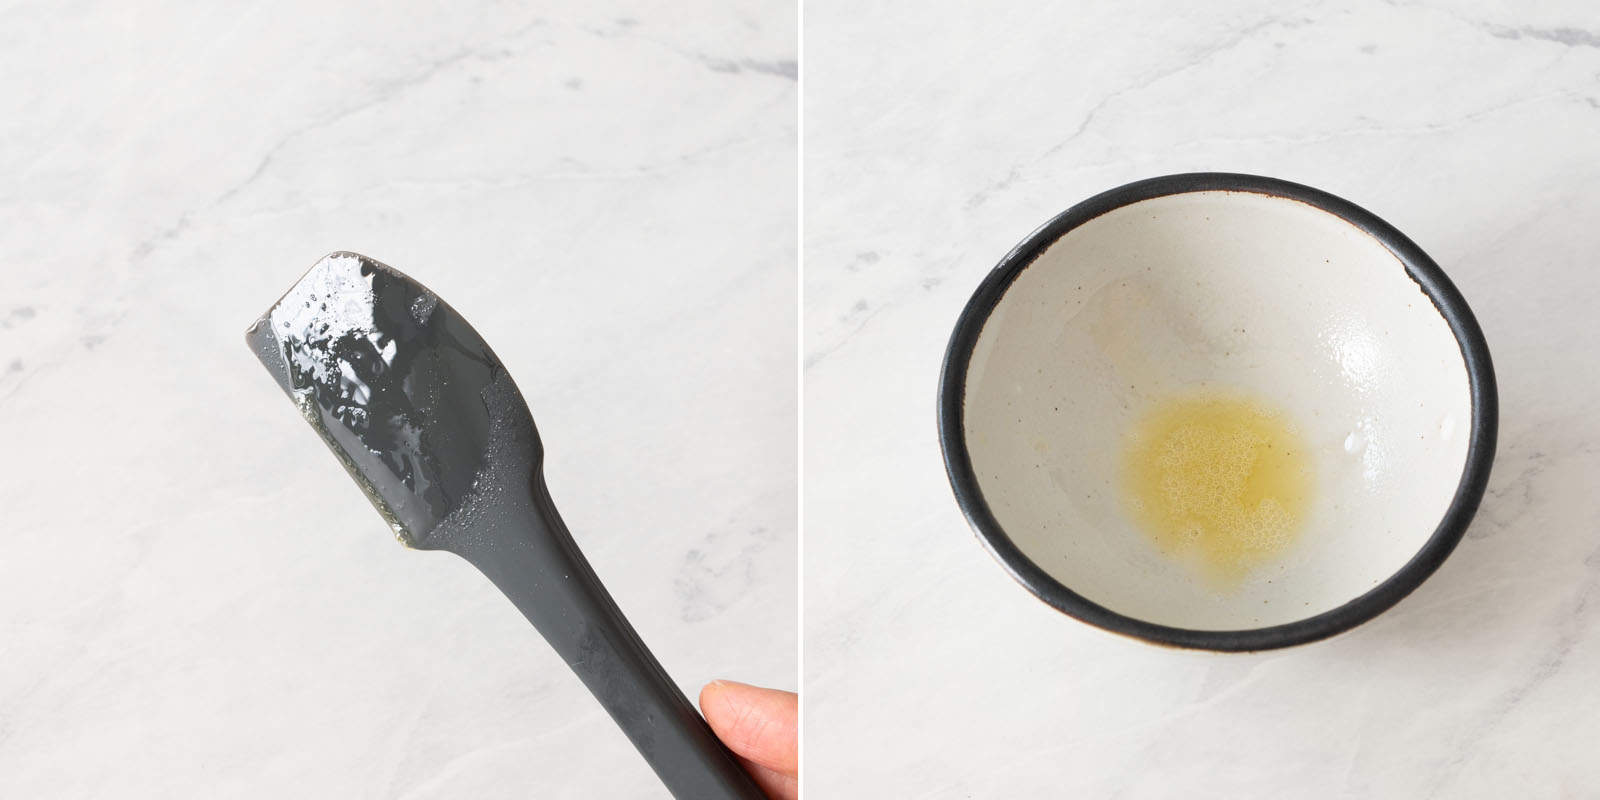
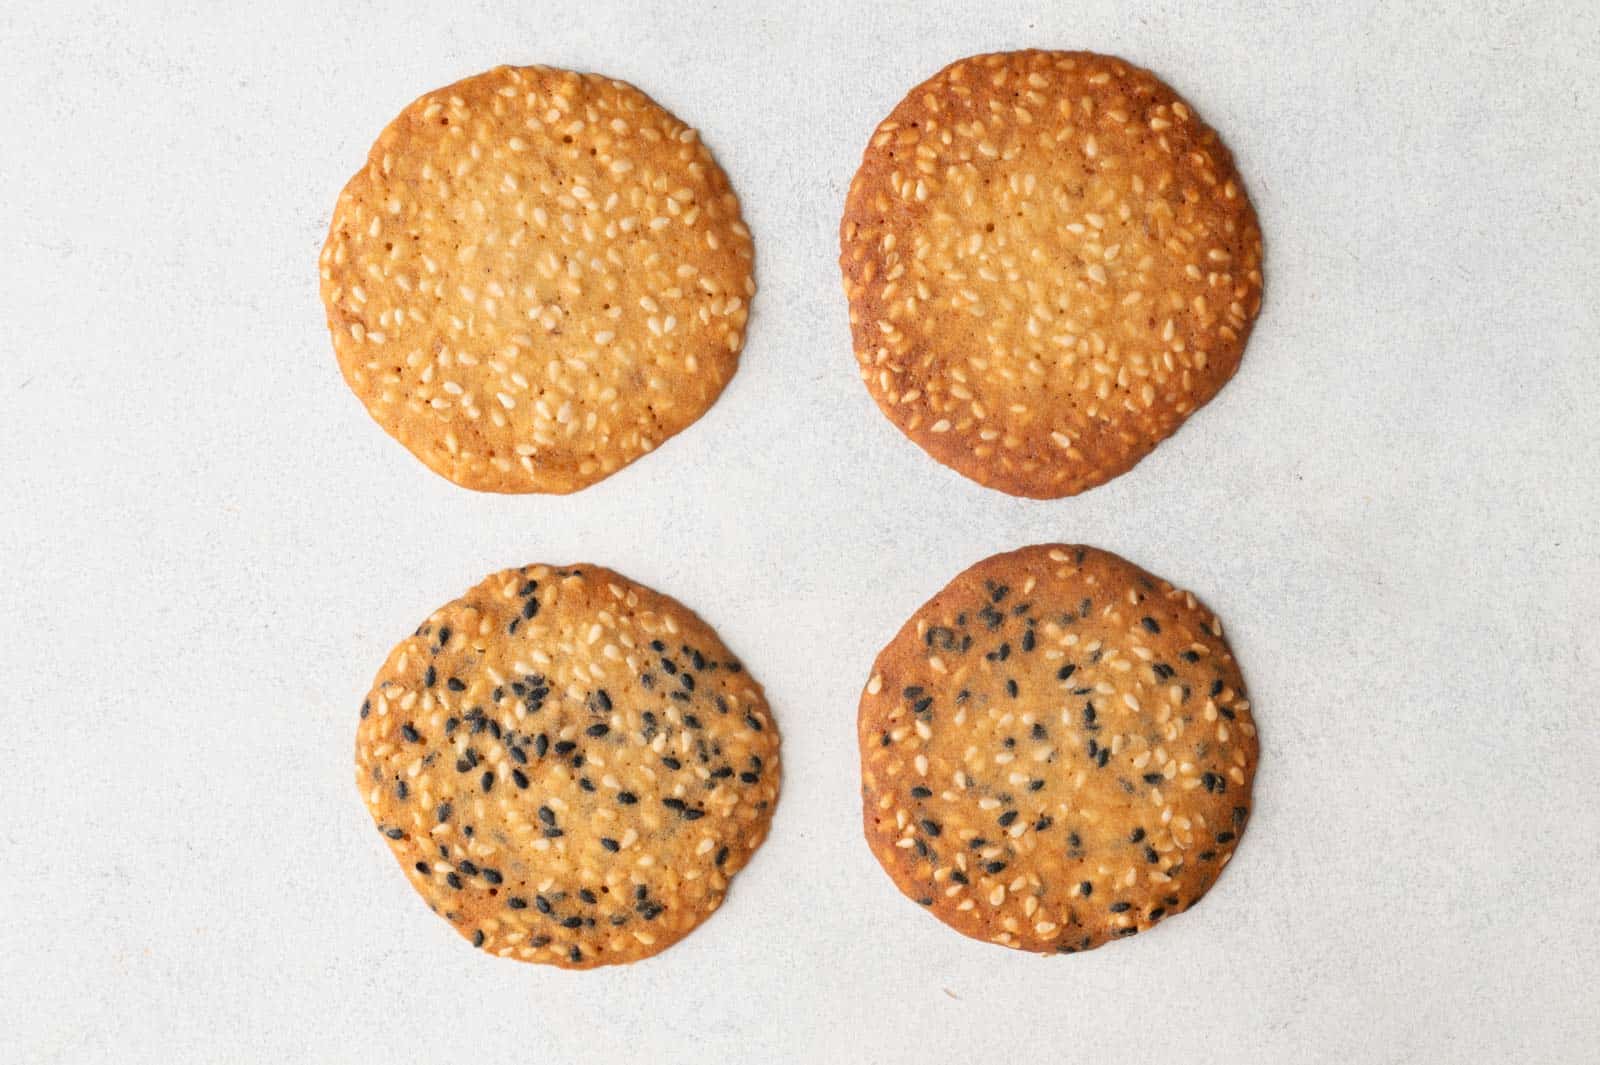
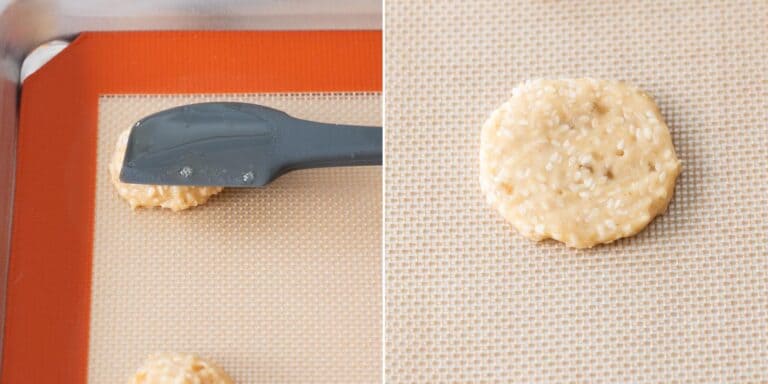
During my earlier test batches, I scooped cookie dough onto lined baking sheets and baked the cookies without shaping the dough further. Although the cookies looked nice and round once baked, they tended to form domes in the center, leading to chewy centers. Chewy centers are not a pleasant texture for this type of cookie. I wanted the cookies to snap nicely, so I started experimenting with flattening the cookie dough into discs before baking. Take a look at the photo above, which compares sesame cookies that I baked without flattening the dough (top cookies) and cookies baked after flattening the dough (bottom cookies). The cookies that I baked without flattening tended not to spread as much, leading to slightly thicker centers. The differences are not dramatic visually, but they made a big difference in texture. Flattening the dough before baking the cookies yielded cookies with crispier texture. There are several ways you can flatten the cookies. I like to use a greased mini silicone spatula to flatten the cookies, as it gives me the most control. Moreover, the dough doesn’t stick to the silicone spatula as much as when I use a greased offset spatula. Start by gently pressing the spatula down on a piece of cookie dough. Then, lift the spatula and press down on another part of the cookie to flatten it. Keep pressing and lifting the spatula until you get a flat disc of about 2 inches in diameter. Resist the urge to drag the spatula over the cookie dough to try to shape it into a circle. The dough will stick to the spatula more quickly this way. Because the dough is sticky, make sure to spray the spatula with cooking spray before pressing the spatula onto the cookies. I also like to apply cooking spray into a separate bowl so that I can easily reapply more spray onto the spatula with my fingers. Oil works too, but you’ll need to reapply the oil more often. A slightly easier method is to flatten the dough with the bottom of a drinking glass or measuring cup. Grease the bottoms of the glasses/measuring cups with cooking spray before flattening the cookies. Then, press the bottoms of the glasses or measuring cups over a piece of dough to flatten it. Although this method is faster, the flattened dough can be inconsistent in shape. Use a greased spatula or a greased butter knife to shift the edges so that you get a nice circular disc.
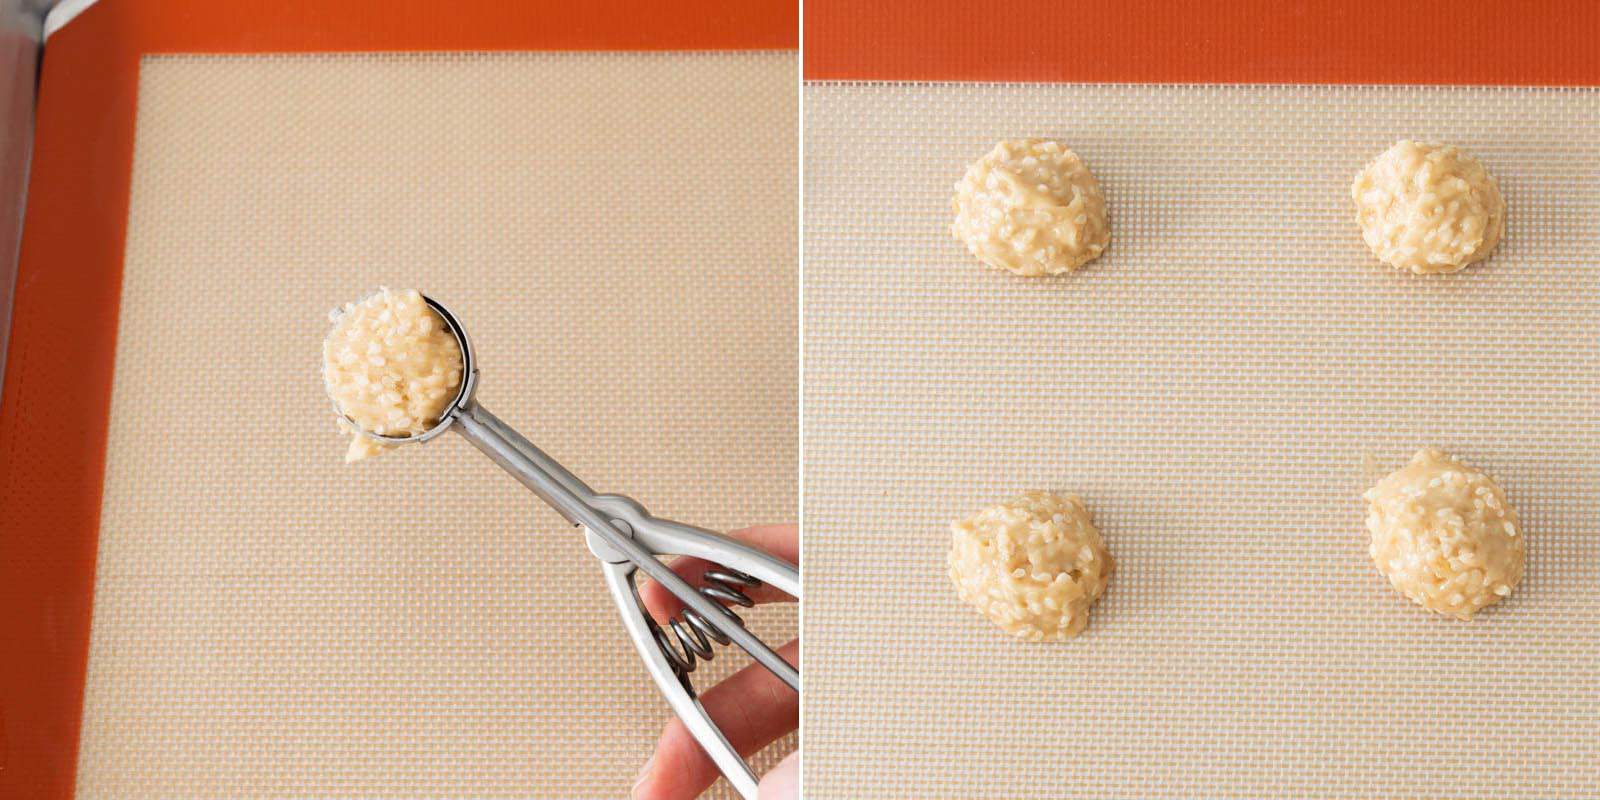
PORTIONING THE DOUGH
I used a small cookie scoop to portion out each cookie (each portion is about 2 teaspoons). Right after scooping up the dough, I level off the top with a spatula, so that I can get between 23 to 24 cookies. Because the dough is slightly sticky, you may need to squeeze the trigger a few times to release the dough onto the baking sheet. If you don’t have a small cookie scoop, you can use measuring spoons to portion out 2 teaspoons of dough (or use a 1 tablespoon measure for slightly larger cookies). I recommend spraying the inside of the spoons with cooking spray so that the dough releases easily.
BAKING TIME
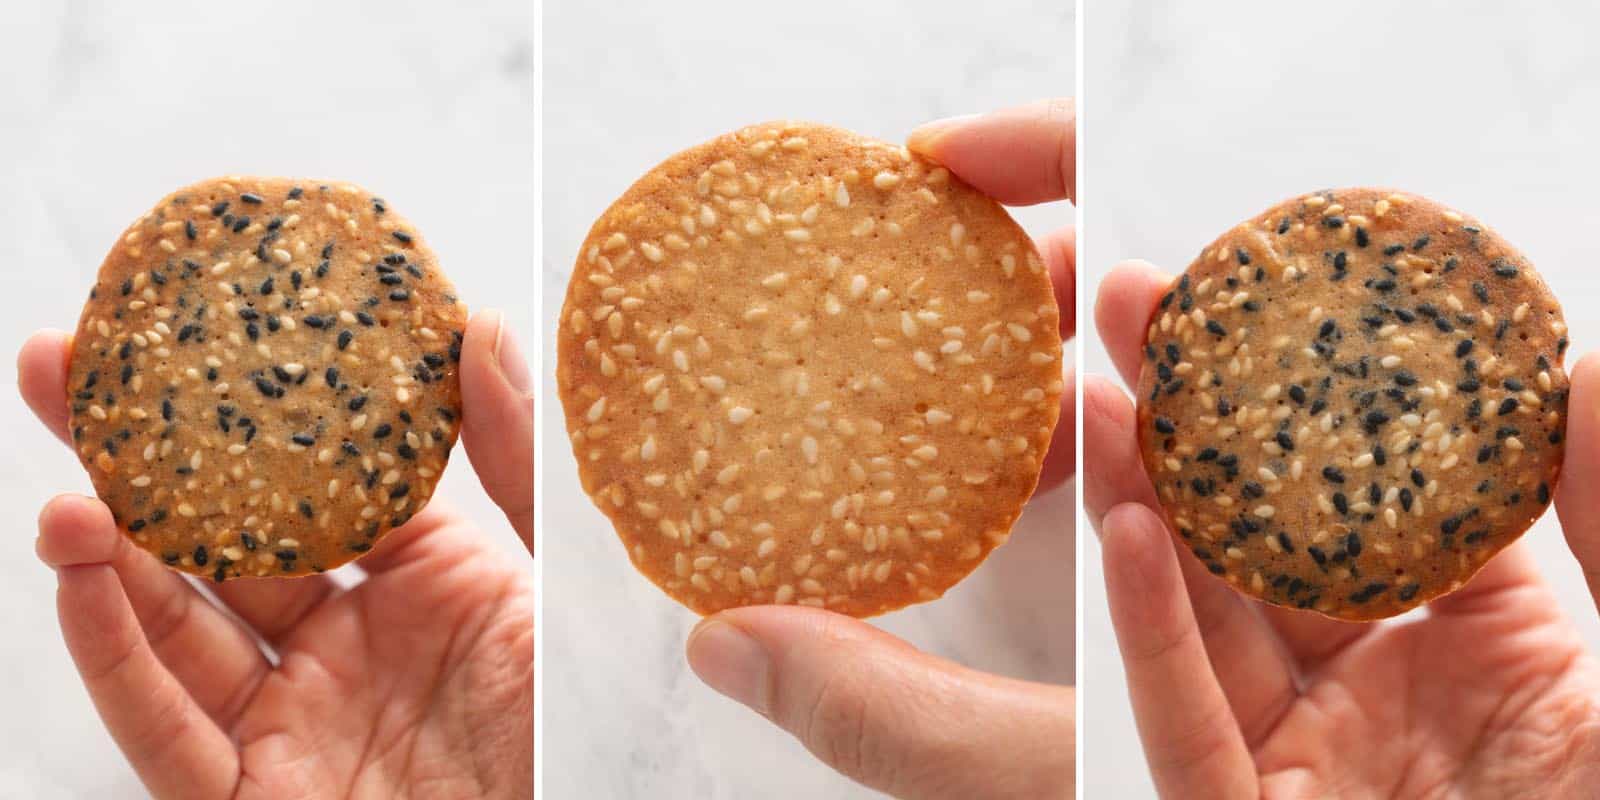
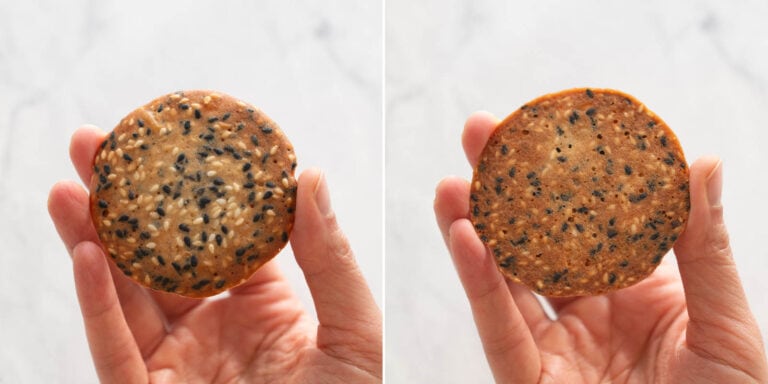
While the cookie batter is relatively easy to prepare, the trickiest part of this recipe is nailing down the cooking time for your oven. All of our ovens are different, with various hot spots, so it is difficult to write precise directions for a sesame cookie recipe where even heat distribution is important. I bake from an electric double oven, with oven slots that are slightly smaller than typical slide-in ovens. I asked my assistant to test the recipe in their gas oven that’s more standard in size. My assistant noticed that the cookies needed several more minutes of baking time, compared to the cookies baked in my oven. In the recipe below, I’ve provided cooking times, but use those as a guide. It is more important to pay attention to how the cookies look. When I take the cookies out of the oven, I’m looking for 2 things: (1) how do the cookies look at the top and (2) how does the underside look? From the top, if the edges are golden but the centers are still quite pale yellow (not too much darker than when they first went into the oven), the cookies probably need a few more minutes in the oven. The photo below depicts the ideal color of the cookies from the top. Cookies baked at the lower temperature (275ºF) tend to have more even browning. Conversely, cookies baked at a slightly higher temperature (300ºF) tend to have darker edges and a lighter colored center. If they are slightly less golden than what you see here, that’s fine. The next step is to take a look at the underside of the cookies. For cookies to get a nice snap, they should look golden at the bottom without too many large pale spots (see photo below). The cookies can be a touch lighter in color than what you see below, but they definitely shouldn’t look pale.
BAKING TEMPERATURE
When I first tested the recipe, I baked the cookies at 350ºF (176ºC). I noticed that the cookies browned very quickly around the edges, but the centers still looked quite pale, leaving the cookies chewy in the center. I wanted the cookies to snap well throughout the cookie, so I started experimenting with lowering the cooking temperatures. In the end, I’ve concluded that you can bake these cookies at either 300ºF (148ºC) or 275ºF (135ºC). I know it is not normal for cookie recipes to give you a choice in terms of baking temperature, but I think this genuinely depends on your preference. I prefer baking these at 275ºF for a longer period because the cookies browned a lot more evenly, yielding cookies that were the most visually appealing, and ones that I would give to other people. However, my assistant preferred the cookies baked at 300ºF for a shorter period because the cookies browned more, leading to cookies with richer flavor. Note however, that cookies baked at this temperature tend to have edges that are more brown than the center. I’ll leave the choice up to you as to whether you want cookies that look better or cookies that taste more caramelized. Whichever baking temperature you choose, bake these cookies one baking sheet at a time (i.e., do not bake 2 sheets of cookies at the same time). The cookies will not bake as evenly, and the cooking times will seem way off.
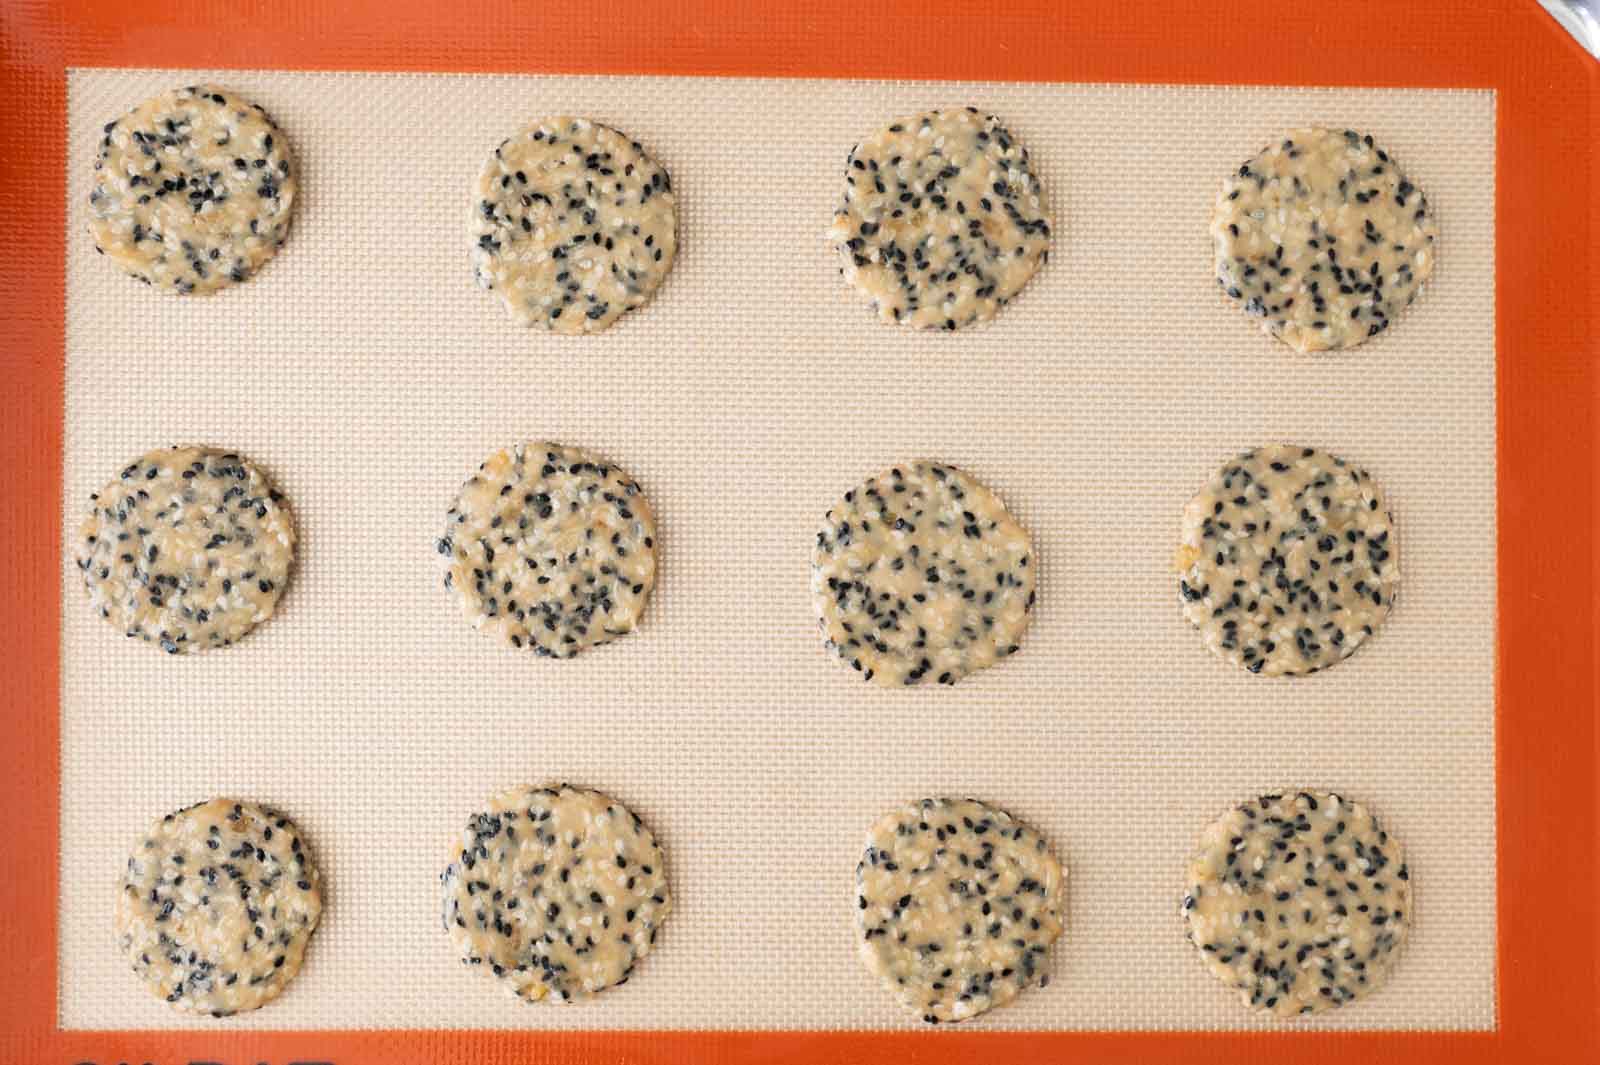
USING SILICONE MATS VS PARCHMENT PAPER
I recommend lining your baking sheets with silicone mats, if you have them. Silicone mats encourage the dough to spread more as it’s baking, leading to sesame cookies with crispier texture. The cookies, once baked, will also have a nice and flat underside. When I used parchment paper, the paper kept lifting off the sheet as I flattened the cookies. Parchment paper makes the flattening process more difficult, but not unbearable. You may notice that some of your cookies have a wrinkled underside because the paper can wrinkle due to the moisture in the dough. DO NOT bake these cookies directly on the baking sheet (i.e., an unlined baking sheet). The cookies will stick to the pan and you’ll need to scrape them off the baking sheet and potentially ruin your baking sheets.
LIGHT VS DARK BAKING SHEETS
Most of my test batches of sesame cookies were baked on light-colored aluminum sheet pans. Darker colored baking sheets heat up faster than lighter colored ones. If you are using darker sheets, reduce the cooking time by about 2 to 3 minutes and check the progress of the cookies. They may be done when you first check them, or they may need an extra minute or two.
STACKING UP BAKING SHEETS
When you stack up baking sheets, you’ll slow down the browning process of the underside whatever you’re baking. I like to stack baking sheets when I make my pineapple buns or Chinese BBQ pork buns. I thought stacking the baking sheets in this recipe would yield more evenly baked cookies, but in reality, it just increased the cooking time of the cookies without making the browning more even.
CAN I MAKE THE DOUGH AHEAD?
Yes, as a matter of fact, I generally prepared the dough overnight to break up the work. It will last in the fridge for up to 2 days. You can freeze the dough for several months, but you’ll need to defrost it in the fridge before scooping and flattening the dough before baking.
CAN I DOUBLE THE BATCH?
Yes! It’ll take more baking time, as you should be only baking one sheet at a time.
HOW LONG WILL THE COOKIES LAST?
These cookies will stay crunchy for up to a week, provided that they were baked evenly initially.
MORE RECIPES USING BOB’S RED MILL ALL-PURPOSE FLOUR
Chinese Chive Boxes Japanese Milk Bread (Shokupan) Pumpkin Scallion Pancakes Homemade Noodles with Spicy Peanut Sauce
Disclosure: This post was sponsored by Bob’s Red Mill! To learn more about their products and to get more recipe inspiration, follow them on Instagram or Facebook.