Let me first back up and say that there are many, many varieties of kimchi and not all of them use seafood or meat stock for flavoring. But a vast majority of them do, especially the familiar baechu kimchi that we see in Korean restaurants. The process of making kimchi is not as intimidating as it may seem, though it does require time and patience—at least a week. By the end of week, however, you’ll be rewarded with a batch of tasty, pungent kimchi!
KIMCHI MAKING PROCESS
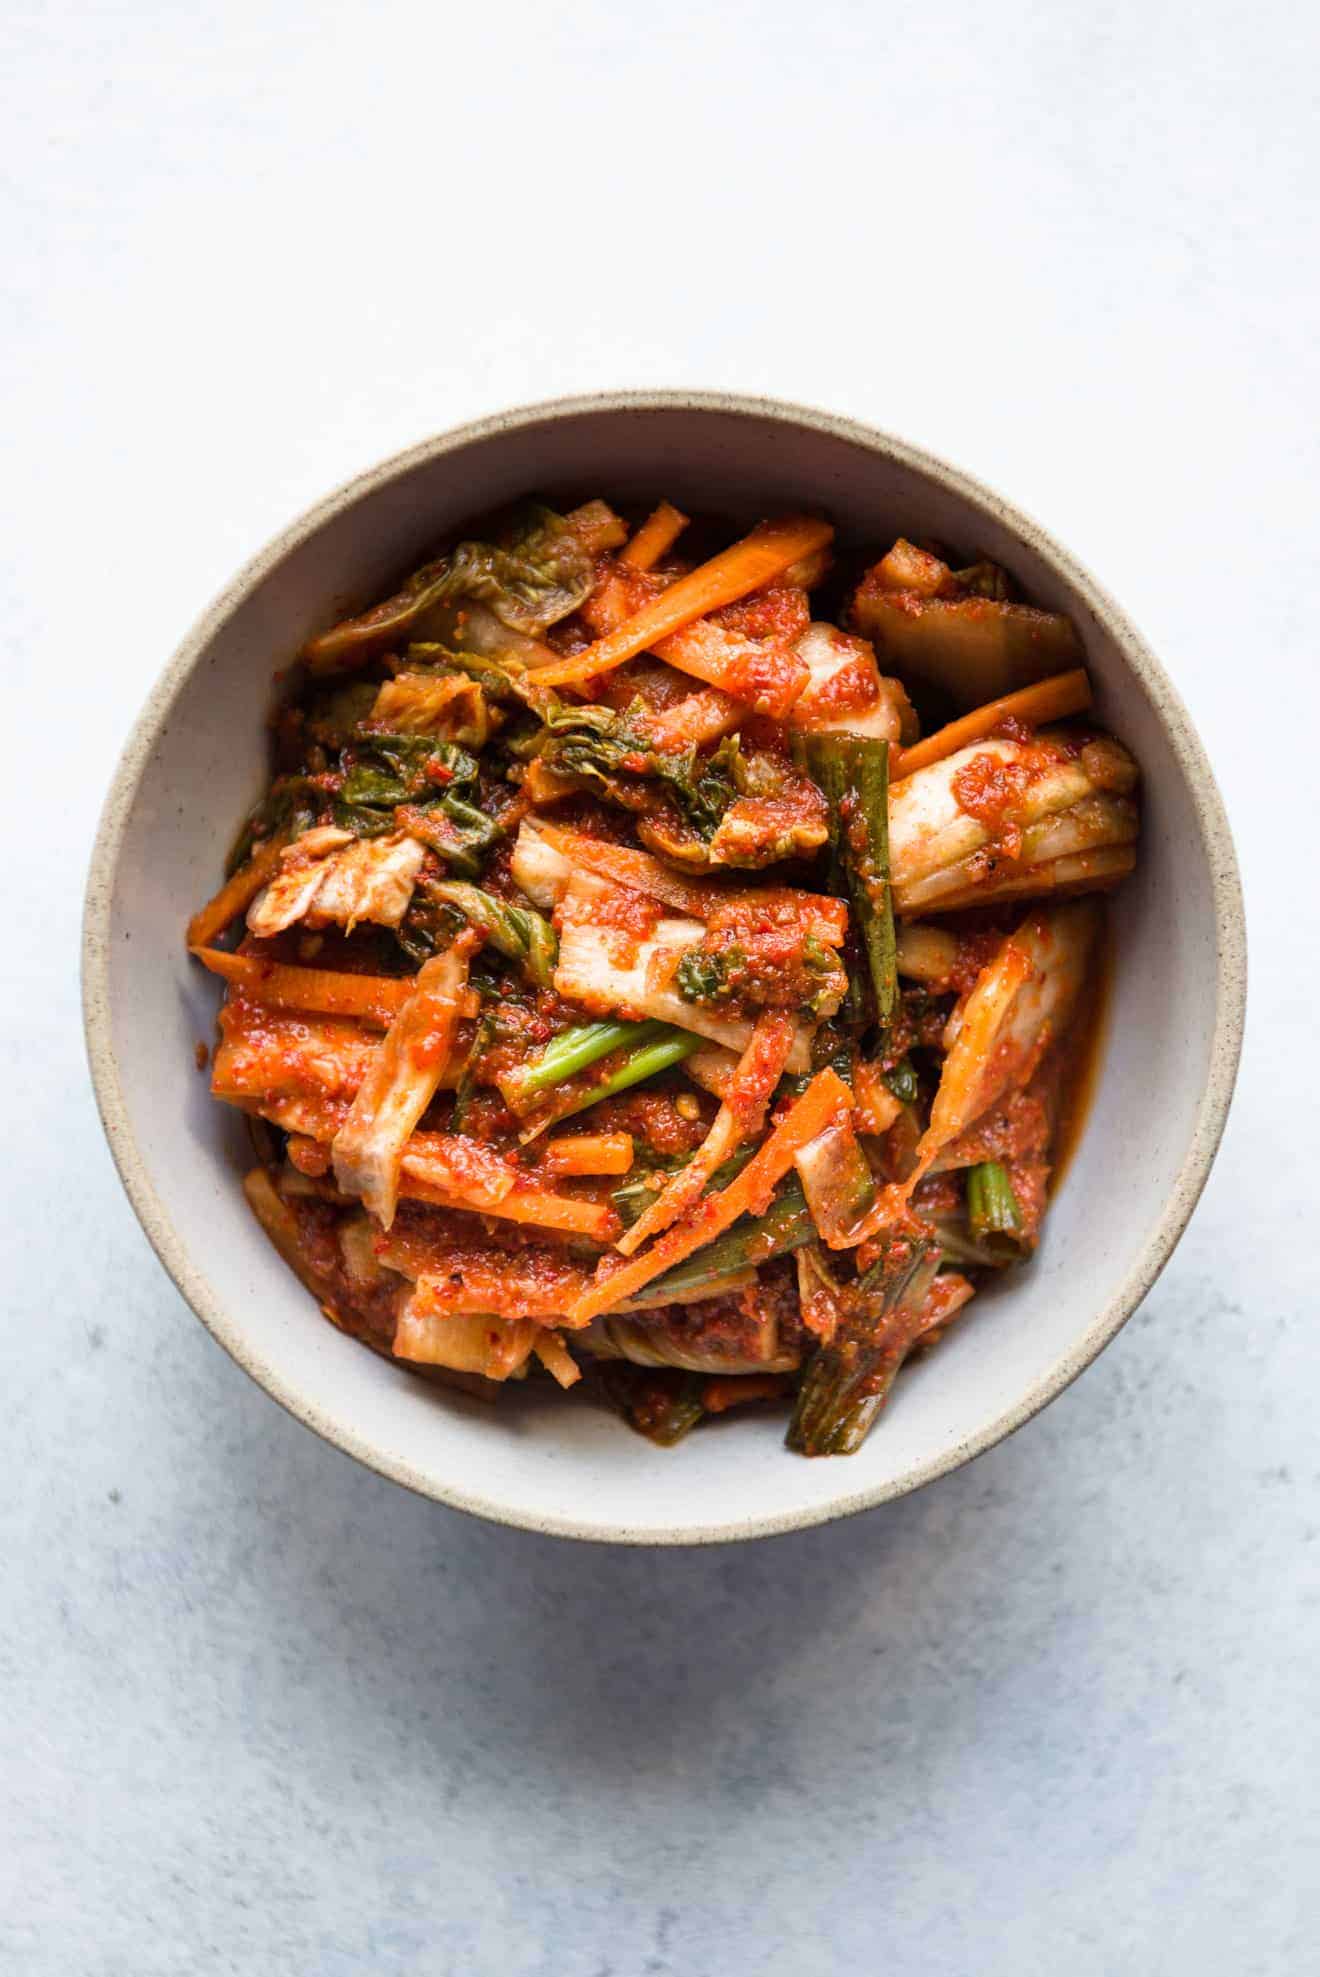
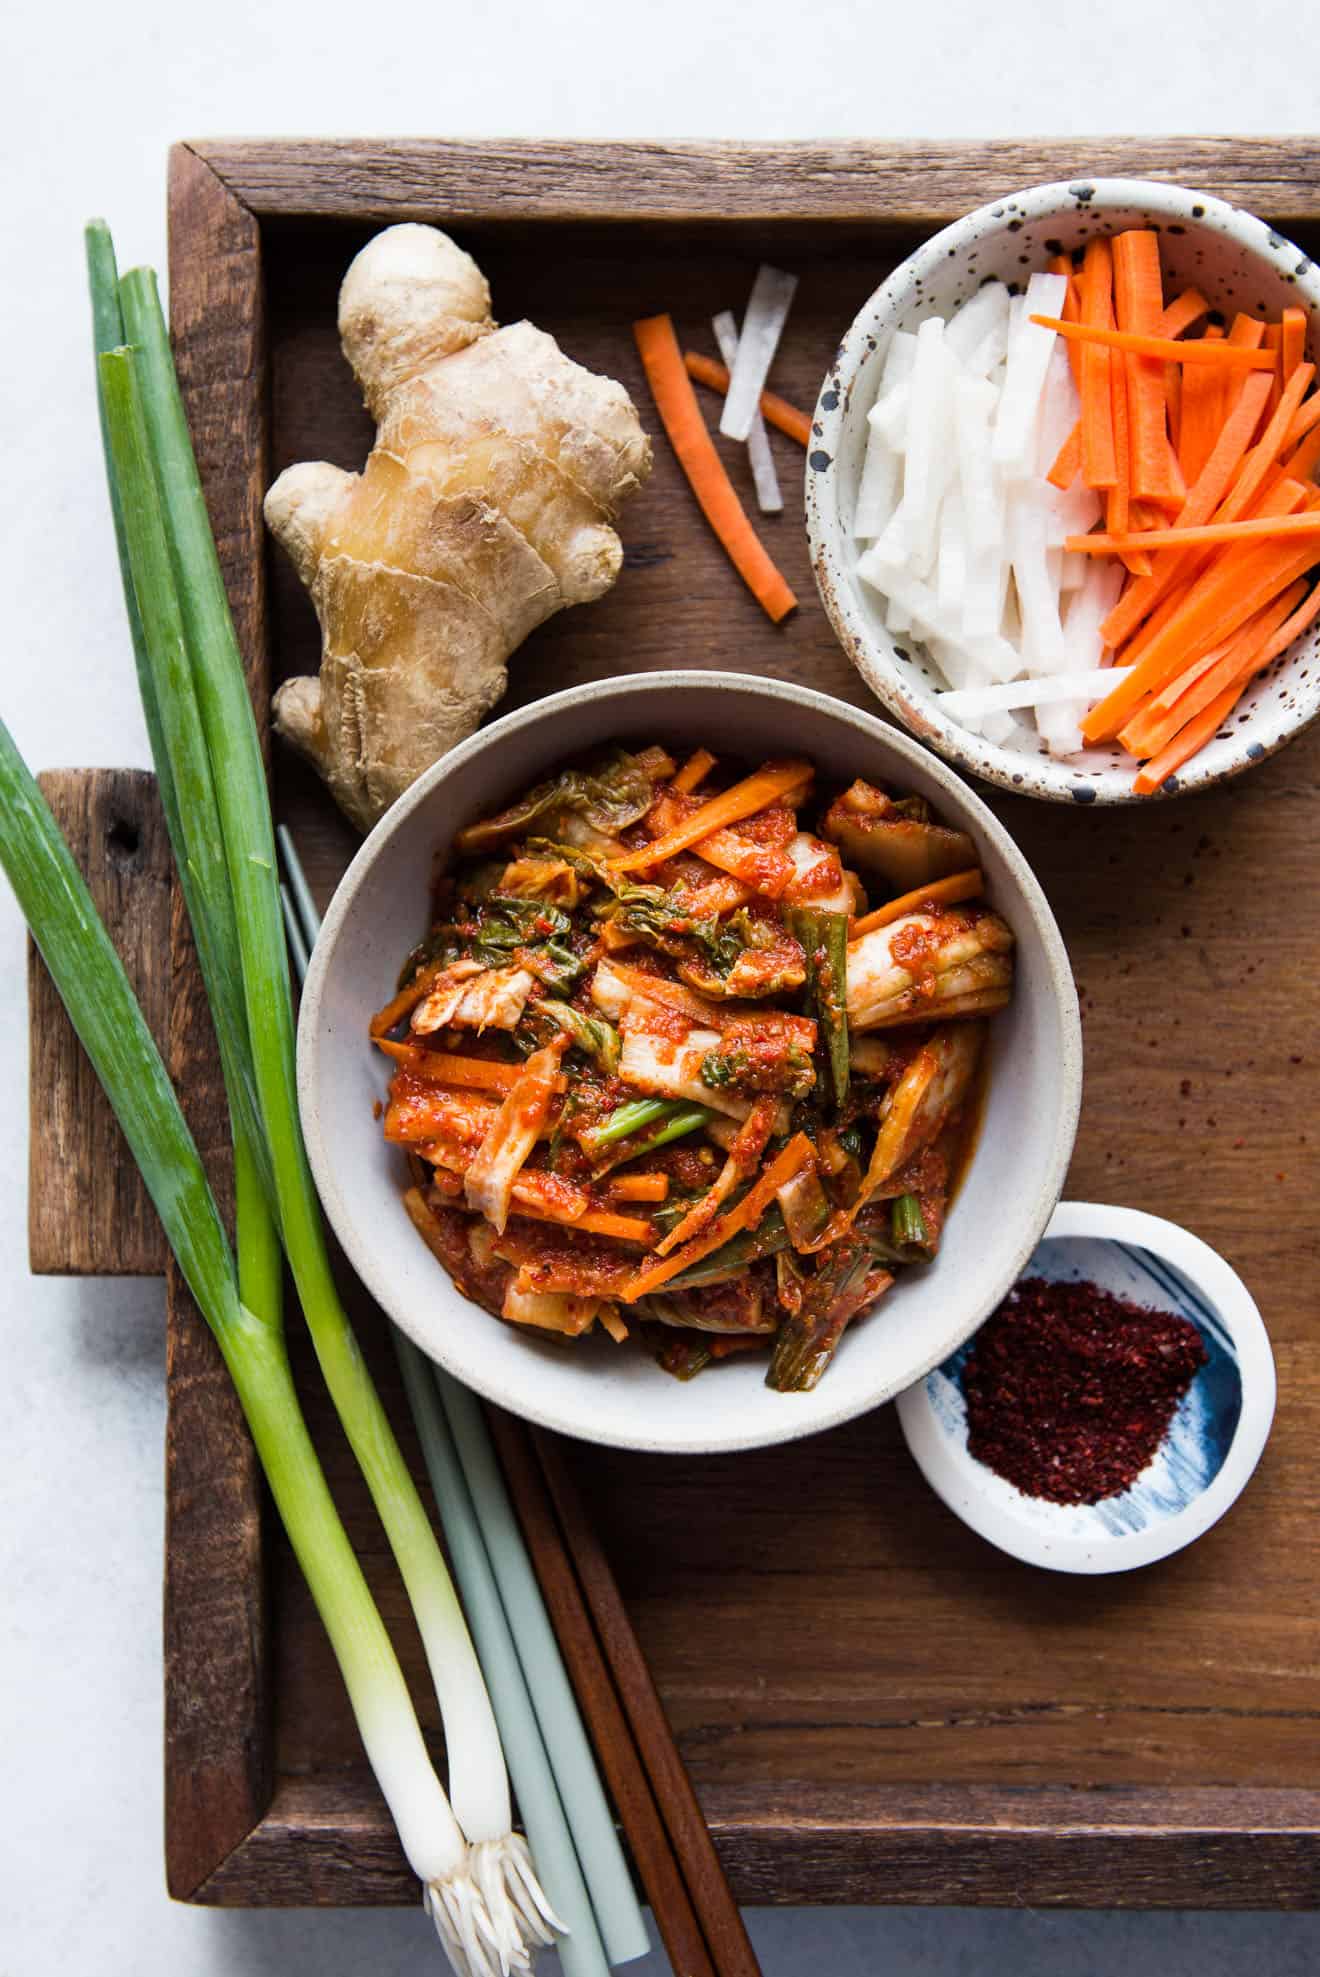
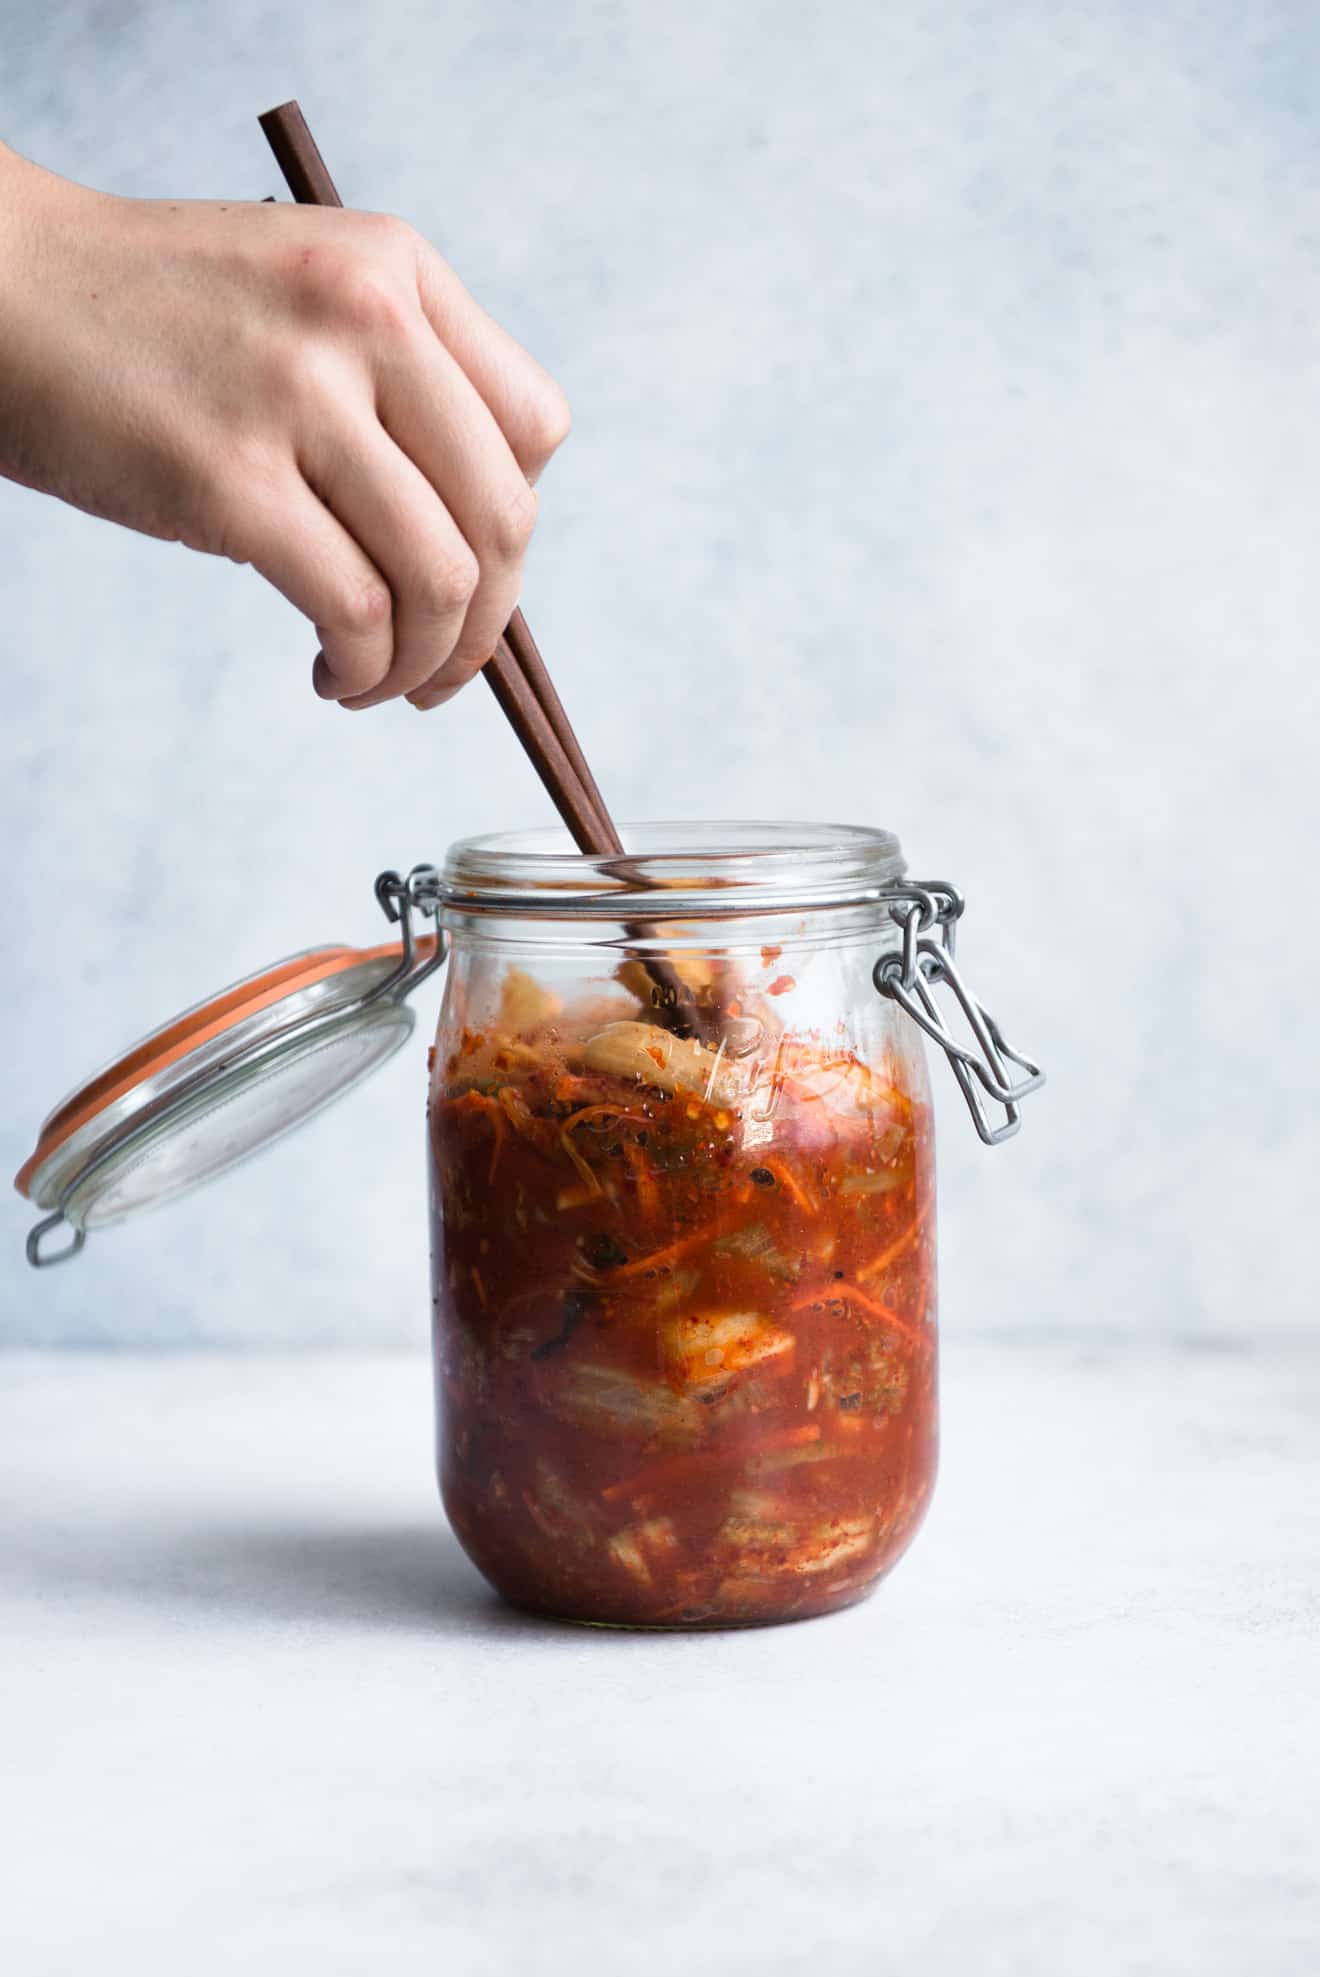
There are essentially 4 phases to making kimchi: brining, seasoning, fermentation, and storing. For many kimchi recipes, you’ll need to brine a head of napa cabbage in salt water overnight. Brining is important for breaking down the cabbage, allowing it to absorb the seasonings that you’ll add in the next phase. It also helps develop deeper flavor for the kimchi. The next phase is seasoning the vegetables. The seasoning for baechu kimchi is usually made with a starter rice flour paste that is blended with Korean chili pepper flakes (gochugaru) and other spices. After mixing the vegetables with the seasoning, we move on to the fermentation phase. Because the vegetables contain naturally occurring yeast, you don’t need to add bacterial cultures to ferment the vegetables. Store the vegetables away from sunlight at room temperature in tightly sealed jars. I like using wide-mouth canning jars like this one and this one, but wide-mouth mason jars work, too. Ideally, the room temperature should be somewhere around the 60s and low 70s fahrenheit during the initial fermentation. If the temperature is any warmer, just pop the jar into your fridge. The colder temperatures mean a longer initial fermentation period (around a week instead of 3 to 4 days at room temperature). As the vegetables ferment, do not be tempted to open the jar. When you open the jar, you expose the vegetables to oxygen, which disrupts the fermentation process and can cause mold. You may also notice juice building up inside the jar and bubbling within the liquid. That’s perfectly normal. It’s an indication that lactic acid is active, and the vegetables are fermenting properly. Once you have fermented the kimchi at room temperature for a few days, you’ll transfer it to the refrigerator for final fermentation and storage. I usually let the kimchi sit in the refrigerator for another 3 or 4 days before tasting it. Again, I know this seems like a long process, but the actual steps aren’t too complicated. After making my own kimchi, I don’t think I can go back to store-bought ones anymore!
COOKING NOTES FOR THE VEGAN KIMCHI RECIPE
The recipe requires making a paste from glutinous rice flour. You can find glutinous rice flour easily in Asian supermarkets. Bob’s Red Mill’s sweet rice flour works, too. However, we’ll only use 1 tablespoon of the flour, so I don’t blame you if you don’t buy a bag of rice flour for a limited purpose. Cornstarch should also work.Instead of using fish sauce and salted shrimp for the seasoning paste, I’m using soy sauce and ground porcini mushrooms for this vegan kimchi. I usually buy a small package of dried porcini mushrooms and grind it with a coffee grinder dedicated for my spices.The reason why I made a small batch kimchi recipe is because my husband doesn’t enjoy eating kimchi as much as I do, and it’s difficult for me to eat a huge batch by myself!