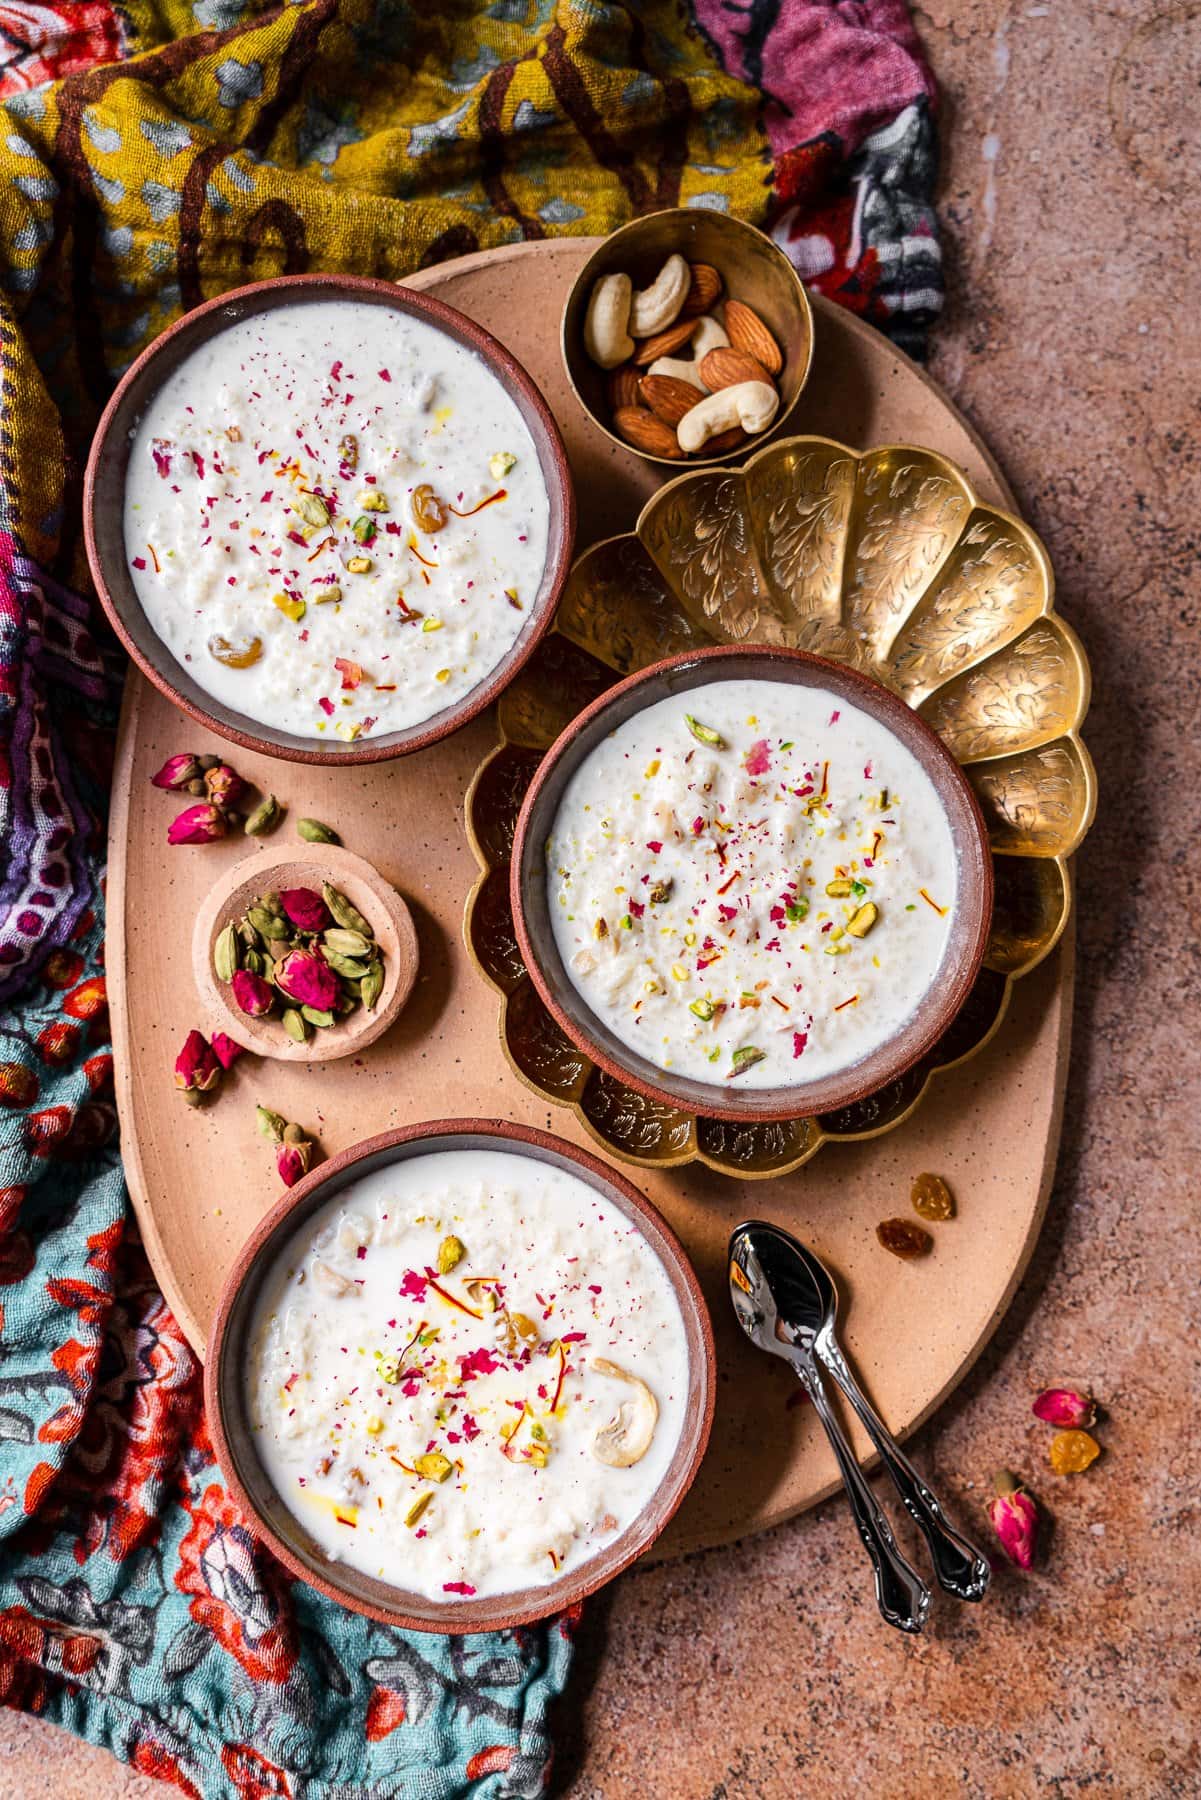
One of my favorite timeless Indian desserts, kheer! It’s not too sweet and incredibly easy to make. For my birthday every year, we would order a large cheese pizza and my mom would make me rice kheer specially for dessert so this recipe has a special place in my heart. Kheer is often seen as part of the dessert spread at weddings due to the ease of making large batches with a few inexpensive ingredients. The best part is when the kheer mixes with all the other desserts, like jalebi, gajar ka halwa, and gulab jamun in the bowl. Almost every culture has their own version of a sweet rice pudding recipe. Kheer can be found throughout India under different names across regions and varies significantly in terms of grains and ingredients.
Why this Recipe Works
Like most rice puddings, there’s nothing complicated to making kheer. However, here’s a few notes on why you should make this rice pudding -
What is Kheer?
Kheer is a pudding-like dessert in the Indian subcontinent, usually made by simmering milk, sugar, and rice. It’s said to have originated several millennia ago in ancient India at a Hindu temple in it’s most basic form - milk, sugar, and rice - as well as possible influences of Arab origin during the medieval age. (The Hindustan Times). There are several versions of kheer, some using jaggery instead of sugar or substituting rice with bulgur wheat, millet, tapioca, or vermicelli. Another name for Indian rice puddings is Pasayam, which is more common to South India. Other types of kheer are Daliya with broken wheat, Seviya with vermicelli, Poha Kheer with flattened rice, and more. Kheer can be found at weddings or at festivals like Diwali. It’s especially cooling after a spicy meal and isn’t too heavy or sweet like many other Indian desserts.
🍚 Ingredients - Notes and Substitutions
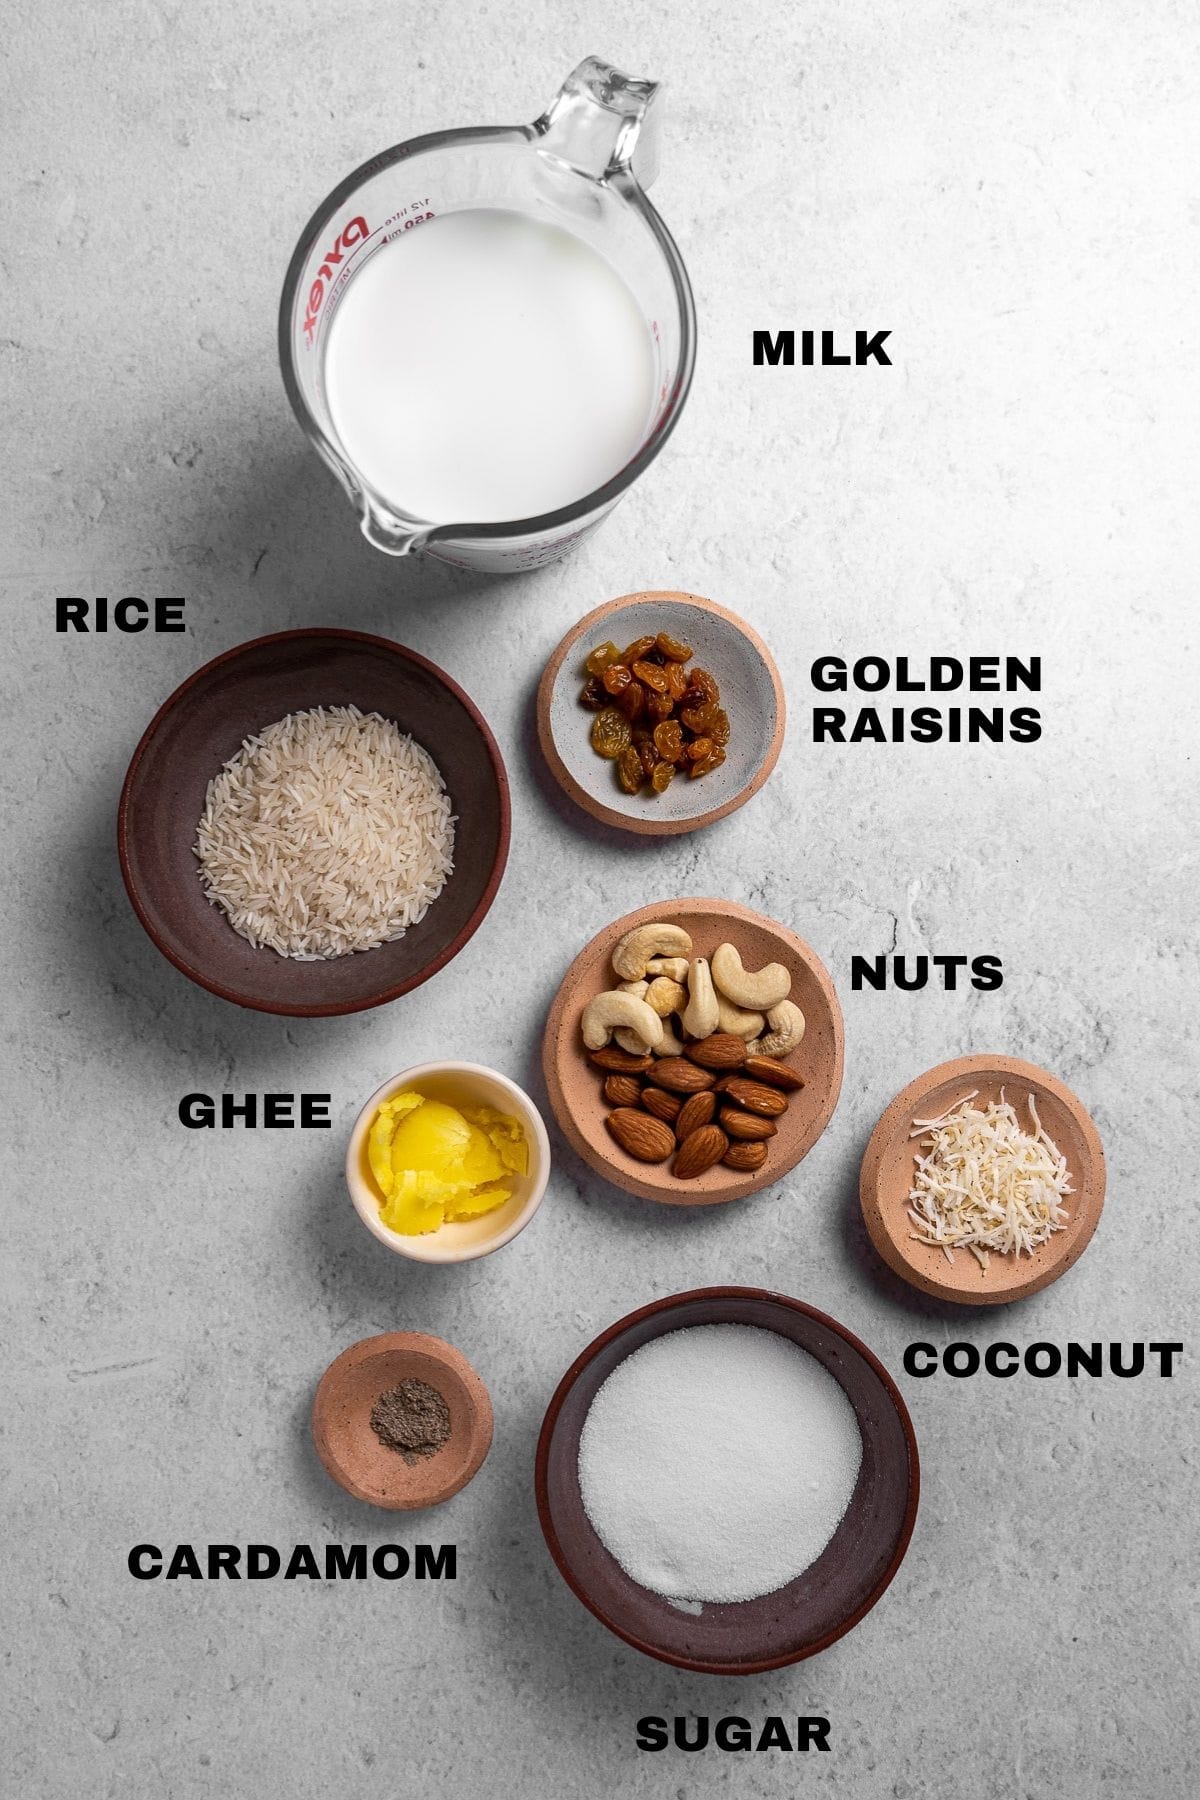
Rice Kheer will vary from family to family in terms of ingredients. They all have a base of milk, rice, and sugar but the additions past that may be a little different. The additions of cardamom and nuts are what differentiates it from rice puddings found in other cultures.
Rice - For the rice, long-grain is best. Specifically, basmati rice. I use Royal. If you’re using a short grain rice, reduce the amount of milk used. Ghee - Ghee is optional but brings several benefits to kheer! First, it lightly coats the pot to prevent the milk from burning. Toasting the rice in a bit of ghee before adding the milk keeps it from getting mushy. It also adds a bit of richness to the pudding. Milk - Whole milk is the best to use due to the fat content which makes the pudding really creamy. You can also add a bit of light cream to make it especially luxurious. Other milks are totally acceptable, but it won’t result in the same creaminess and mouthfeel. For a vegan option, use almond milk. Assorted Nuts - Cashews, almonds, and pistachios are best in kheer. Crush unsalted nuts in a mortar and pestle. Pistachio is usually a garnish, instead of simmering it with the milk. Sweetener - Plain granulated sugar is all you need for kheer, but you can use honey or 0 calorie sweeteners. Raisins - The only acceptable raisins are golden raisins!! They’re sweet, versus red raisins that are a bit sour. If you don’t like raisins, you can omit them but they get plump and delicious! Coconut - Use very finely shredded coconut, it should be around the size of the grains of rice. Shredded coconut is also optional and is something a bit different that my mother adds. Toasted coconut would also make a great garnish. Cardamom - Adding cardamom is deliciously fragrant and sweet. I use powdered cardamom, but whole cardamom can be lightly crushed and added when the rice is toasted in ghee. This allows the flavor to bloom. Remove the pods at the end.
Other additions that would be great are saffron, cinnamon, or rosewater.
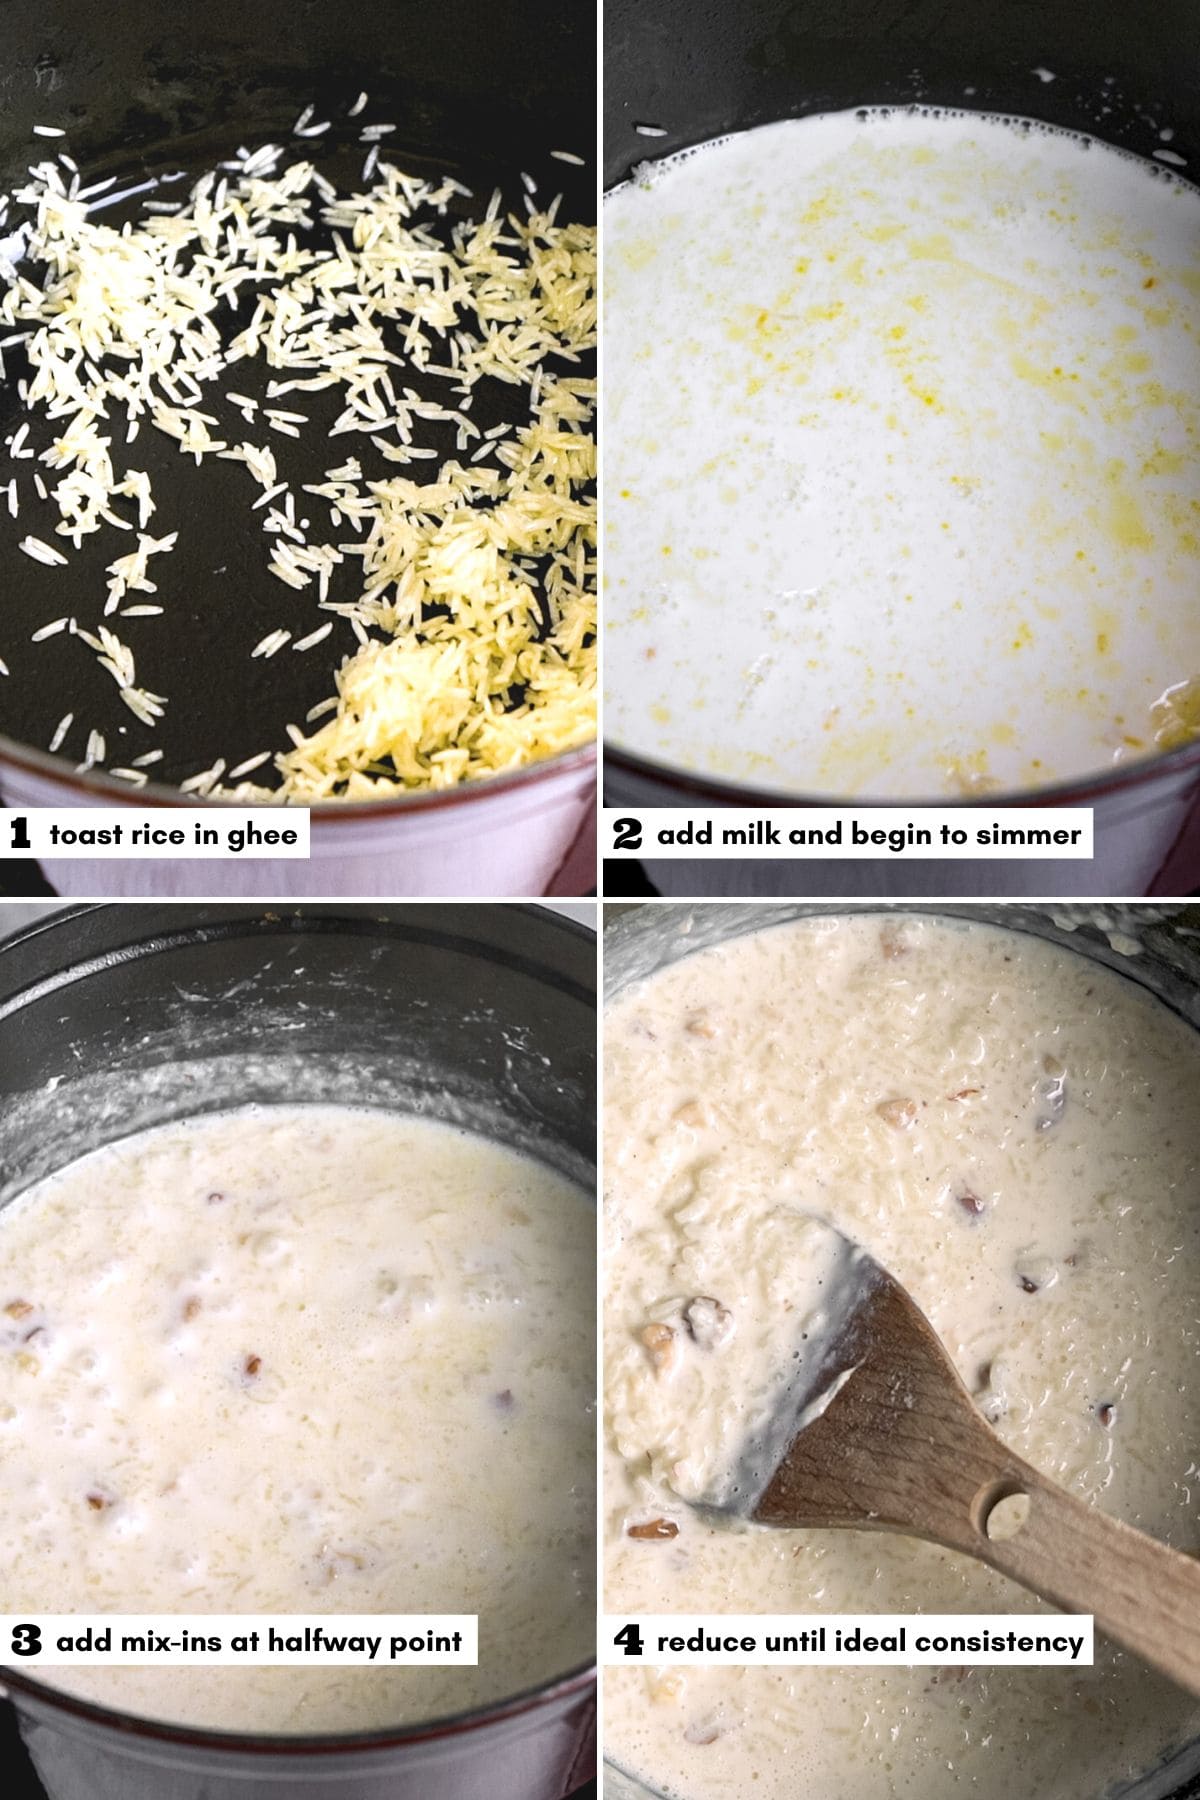
How to make Rice Kheer
Keep in mind the kheer will continue to release steam and the rice keep absorbing the milk, so it will thicken a bit more after removing it from heat. To stop the cooking process, transfer the kheer to a bowl and put that in a bath of ice cold water. Add more milk if necessary.
Instant Pot Kheer
To make kheer in an Instant Pot - add all the ingredients to the Instant Pot and cook for 20 minutes on the porridge mode. If necessary, use the sauté mode to continue reducing the milk to the desired consistency.
Serving Suggestions
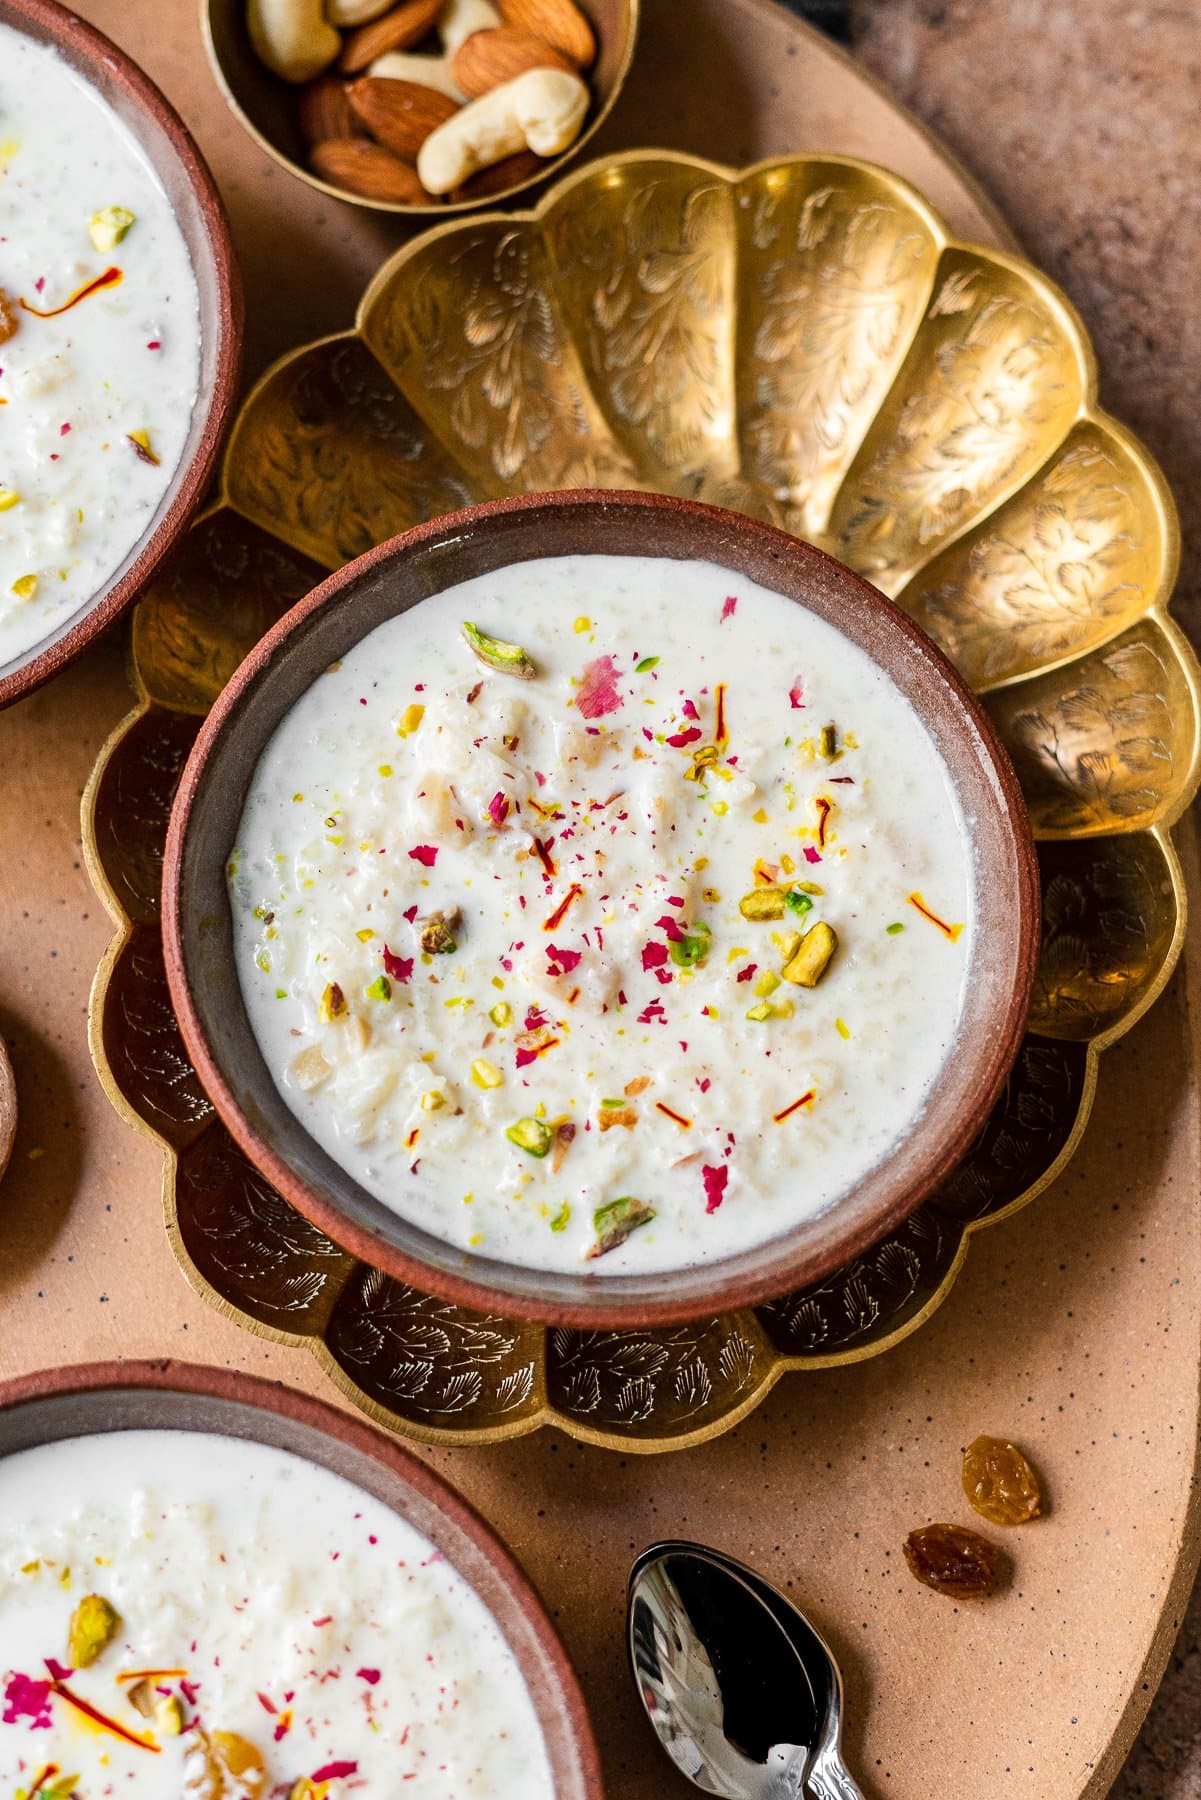
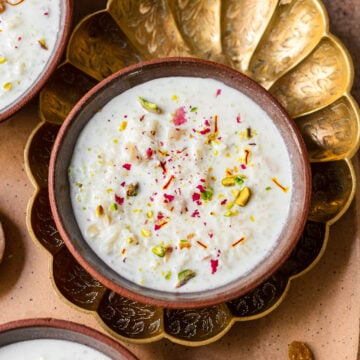
The great thing about kheer is that you can serve it warm or chilled, it’s all personal preference. I personally prefer it chilled because all the flavors have time to mingle. Cover the kheer with a lid and transfer it to a fridge for at least half an hour to chill before serving. Serve it with a sprinkle of toasted coconut, dried edible rose petals, crushed pistachio, and if it’s an extra special occasion then a bit of saffron too! The residual heat will bloom the saffron.
More Indian Dessert Recipes to try
Recipe
Preventing burnt milk - Brush melted ghee on your heavy bottom pot to prevent the milk from sticking and burning. Make sure to give the pudding a stir and scrape down the bottoms and sides every 2-3 minutes. Ground vs whole cardamom - Use whatever you have on hand! I prefer freshly ground cardamom so that the whole dessert gets an even dose of cardamom. If you use whole pods, very lightly crush them in a mortar and pestle, not so much that the seeds will fall out. Add them into the pot when toasting the rice in ghee so that the flavor blooms. Remove the cardamom pods at the end. Rice Texture - If you don’t like the texture of long grain rice in kheer, skip the step where the rice is toasted in the ghee. Once the rice has softened, mash them a little with your wooden spoon so that the grains break apart. You can also use short grain rice instead. Simmer and stir - Making kheer requires a bit of patience, it’s not something you can leave on the stove and walk away because the milk may burn. While the milk reduces and the rice softens, you’ll need to stir the pudding and scrape down the pot to prevent burning. Then go back to simmering to let more liquid evaporate, and stir again. Keep going until you get to your ideal consistency. I’d love to know what you thought of this recipe! Don’t forget to leave a comment and ⭐️ star rating below! Thinking about making this recipe? Enter your email and I’ll send it straight to your inbox to save for later. Plus, get new recipe inspiration from me every week! By submitting this form, you consent to receive emails from Masala and Chai.