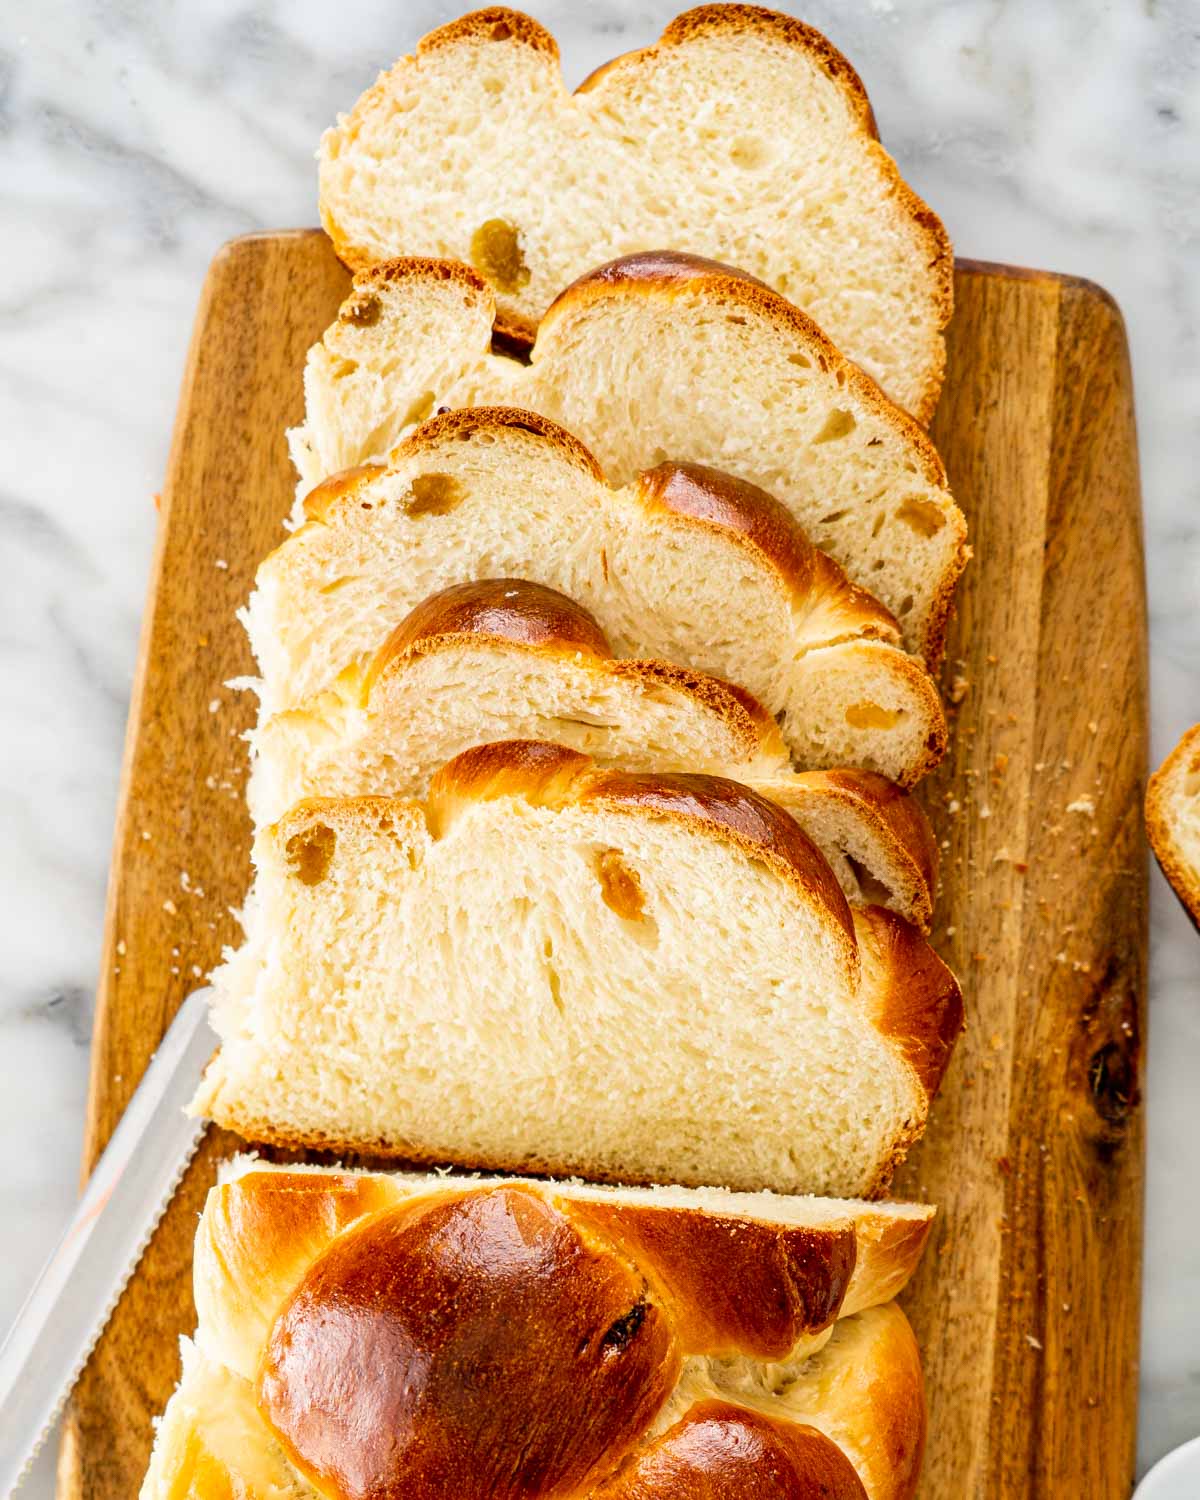
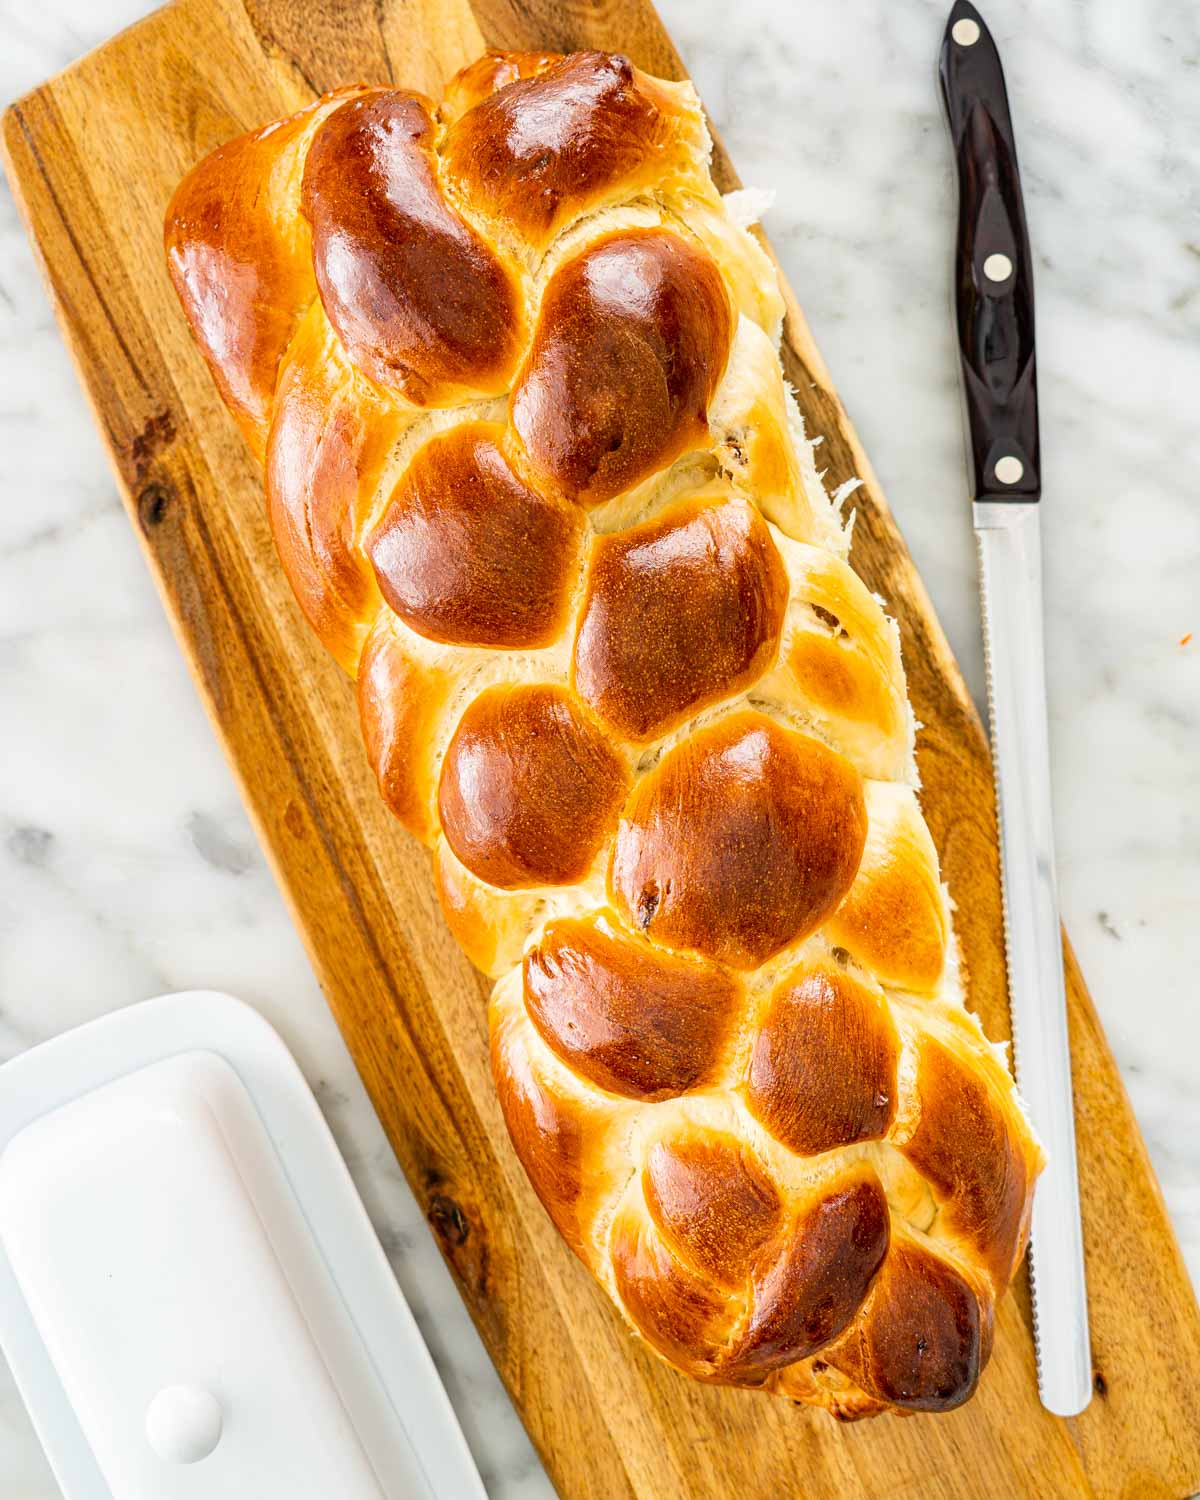
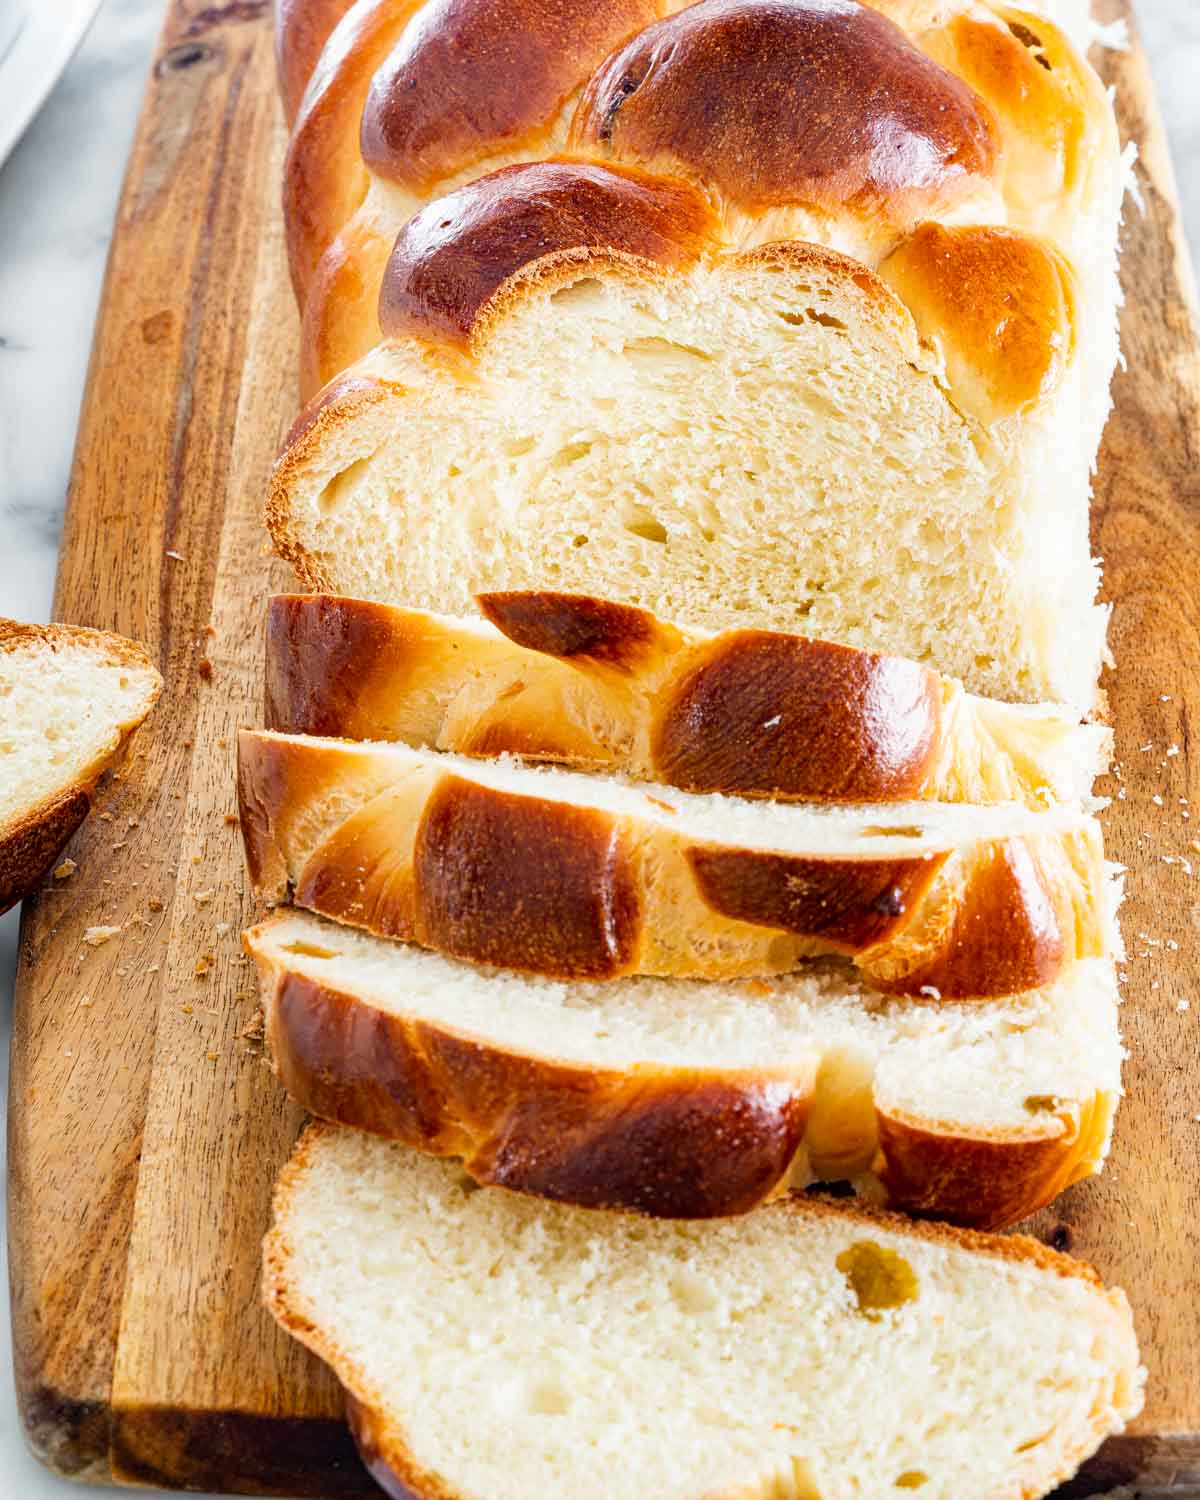
There’s nothing like the smell of fresh home baked bread, filling your house with heavenly aromas on a crisp day. This raisin egg bread is no exception! Consisting of sweet raisins and lots of egg, this bread is not only yummy, but absolutely stunning to look at! This bread is perfect for your morning breakfast toast, or it would make for an excellent bread pudding. Even though this loaf is delicious enough to make for any occasion, traditionally it may be served at Easter or Christmas. No matter when you make this raisin bread, it will be sure to impress! My husband loves this bread, and although it’s a raisin bread, he still makes sandwiches with it and won’t stop eating it! Safe to say, it’s a crowd pleaser and well worth the effort.
Yeast Mixture
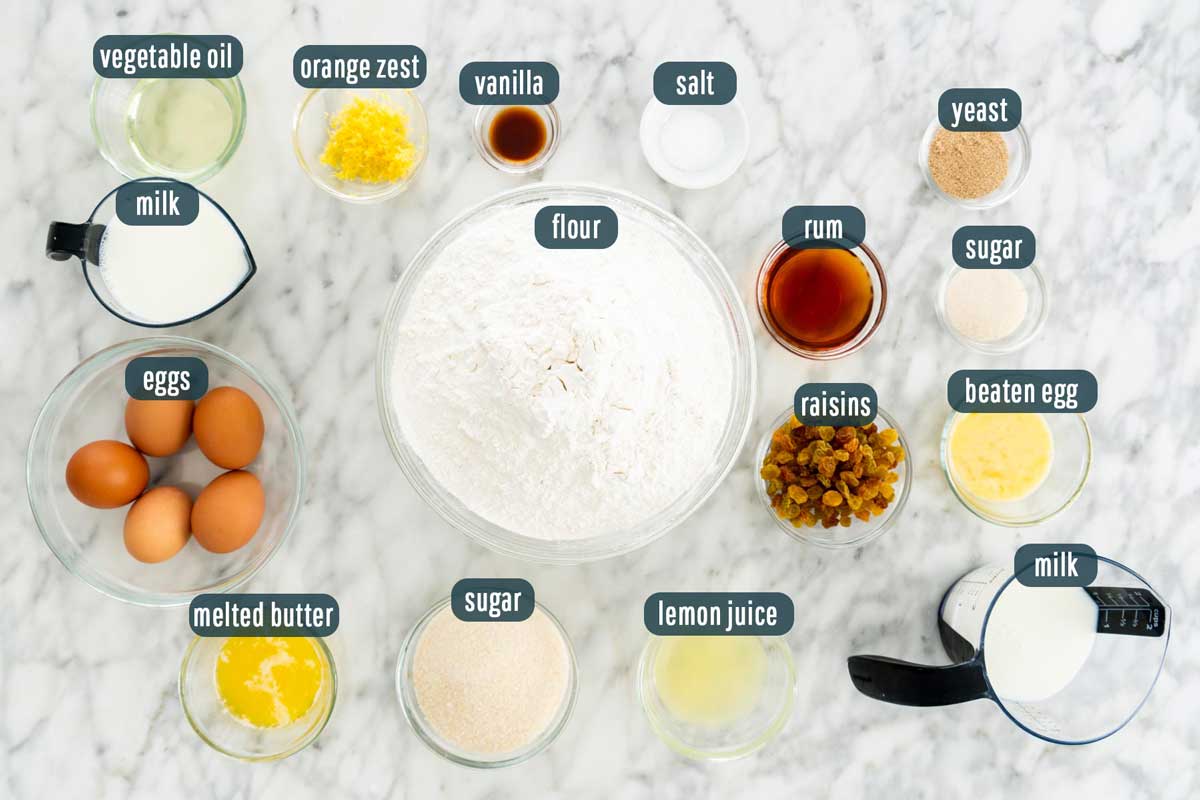
Active Dry Yeast – Fresh yeast will work as well. Sugar – Granulated. Egg – Large, lightly beaten. Milk – I used 2% but any type will work. Lukewarm, not hot,
Raisins
This is optional, but I like to soak the raisins in some good rum! It will make them plump and give them a beautiful flavor. Looking for an alcohol-free method? Use orange juice!
Raisins – Any type will work but I prefer golden raisins. Rum – Use your favourite.
Dough
Lemon – Get a fresh lemon for juice & zest. Flour – I used all purpose flour. Salt – to taste. Butter – I like to use unsalted to have full control over the sodium. Vegetable Oil – Other mild oils such as sunflower or canola will work too. Milk – Whichever type you have handy. Sugar – Granulated. Eggs – Large. Vanilla Extract – Fresh vanilla bean or vanilla paste will work too.
Note: This recipe will make 2 big loaves, so you may cut the recipe in half if you don’t need both loaves. However, it would make a beautiful gift for someone and they will love you forever.
Make dough:
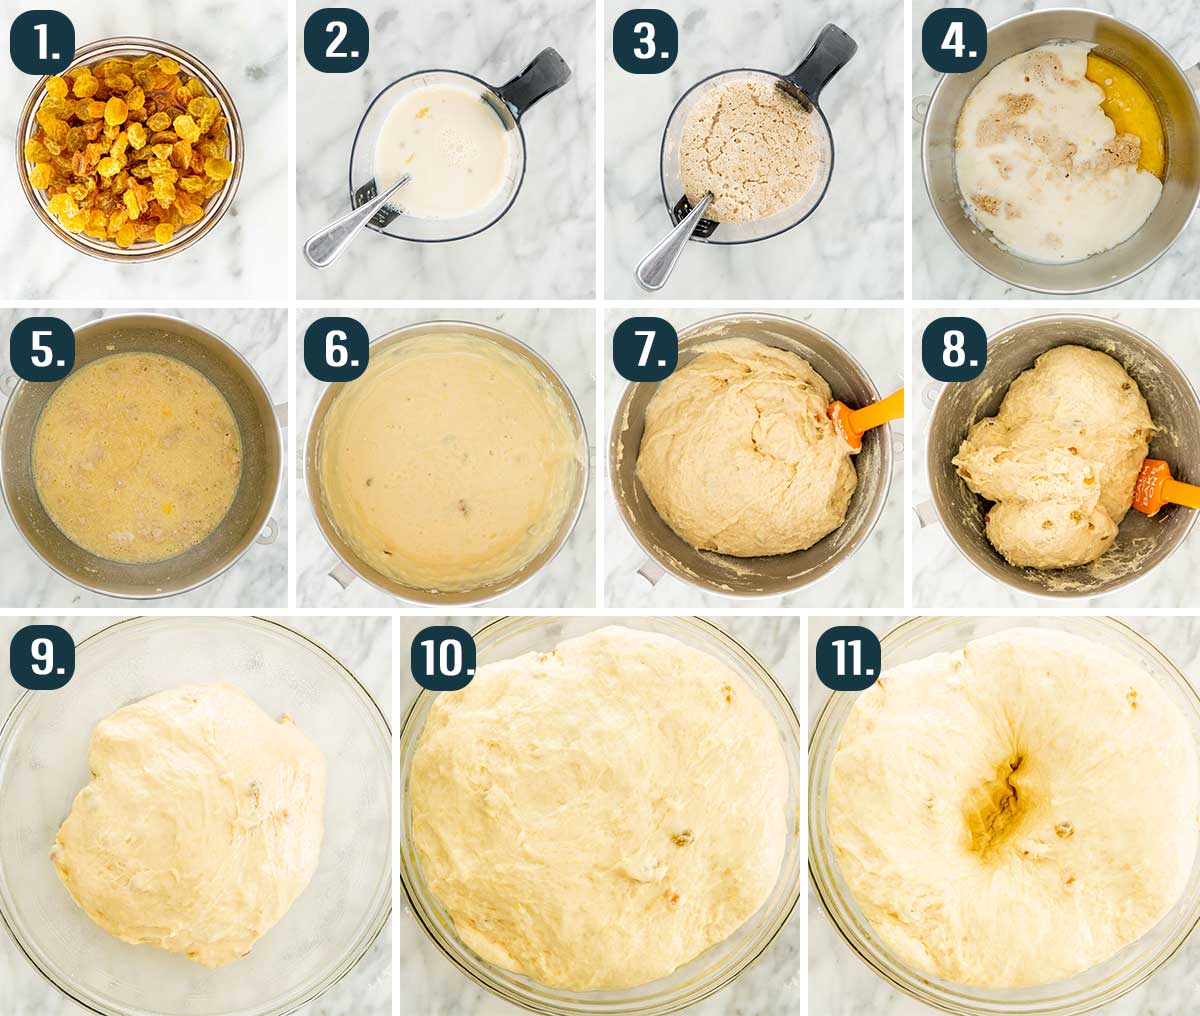
Make Yeast Mixture – In the bowl of your mixer add the yeast, 4 tsp of sugar, 1 egg, and the warm milk, mix everything well. Let it sit in a warm place for about 10 minutes until it froths up. Prep Raisins – Soak the raisins in rum. You can warm up the rum to make this process happen faster. Use orange juice for an alcohol-free option. Drain them before adding them to the bread. Make the dough: To the yeast mixture add the remaining dough ingredients, excluding the flour. Using the paddle attachment mix over medium speed until well combined. Switch to the dough hook and add 2 cups of the flour to the mixer bowl and mix over low speed until well combined. Add 2 more cups of the flour, mix and repeat with remaining flour. Make sure to mix for about 5 minutes. The dough should be soft and sticky. First rise: Spray a large bowl with cooking spray, place the dough in the bowl and spray the dough itself with a bit of cooking spray. Cover the bowl with plastic wrap. Let the dough rise in a warm, draft-free environment until doubled in size, about 40 minutes to an hour. Once doubled in size, punch it down to release some of the air out.
Braiding and baking bread
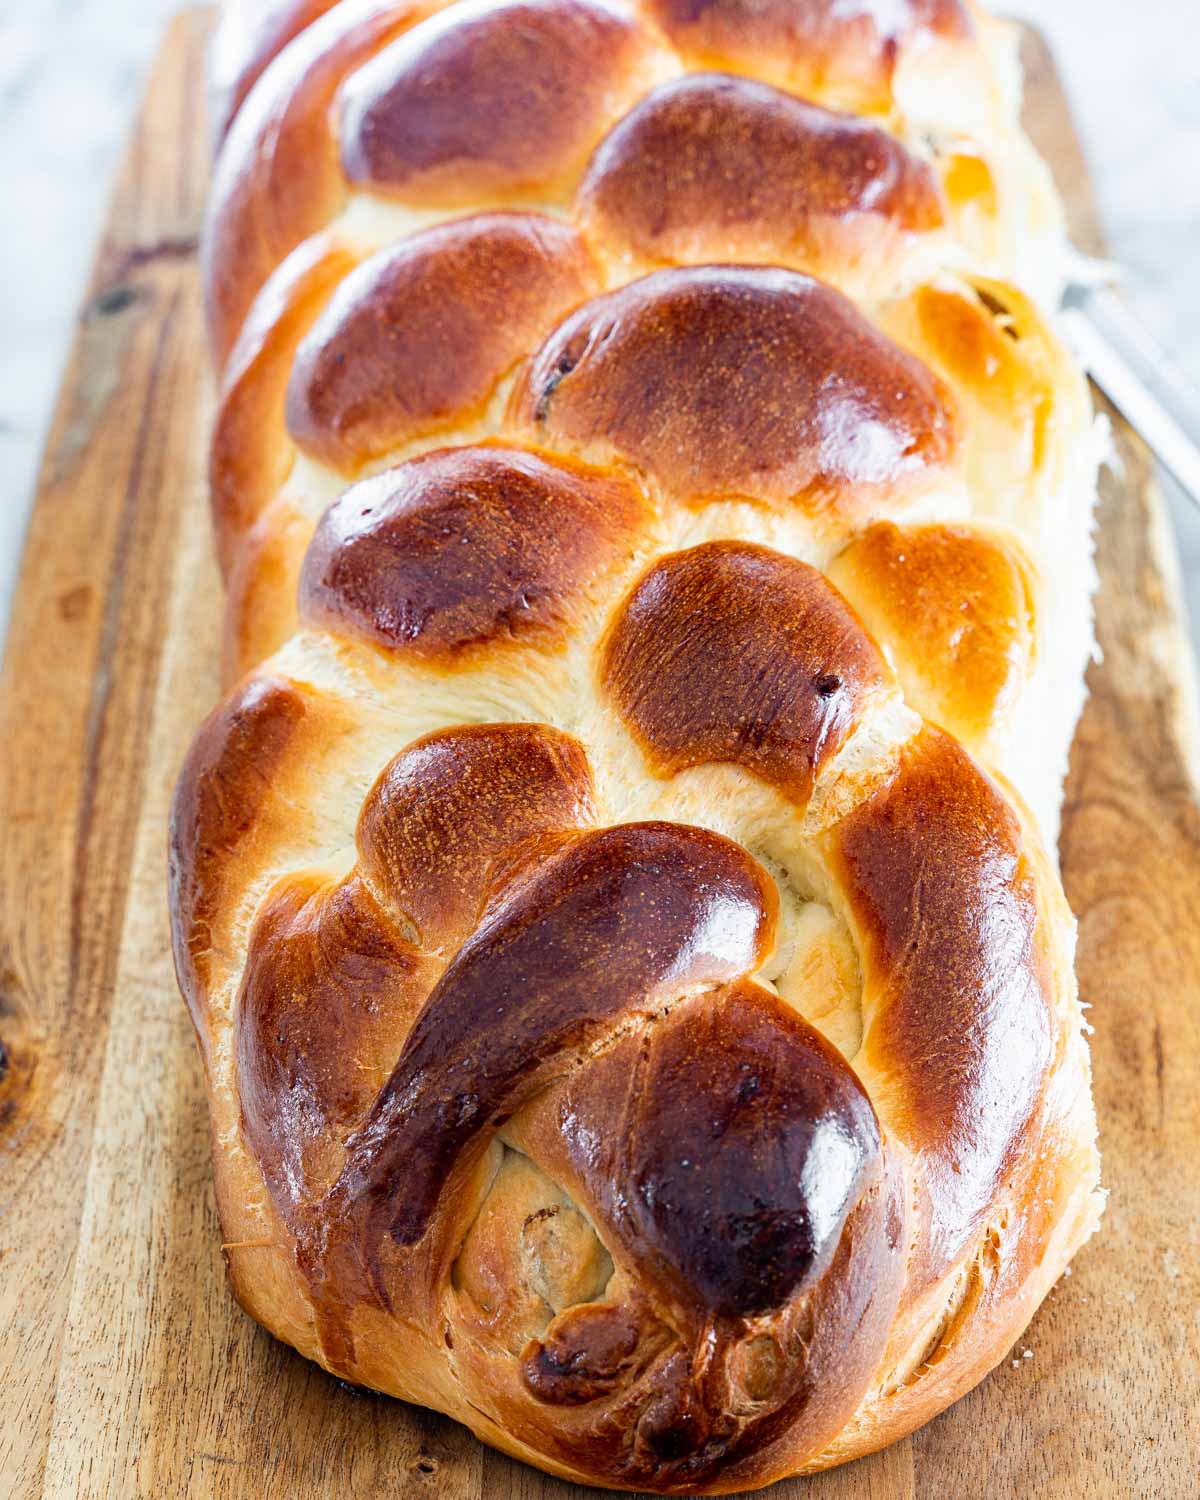
Shape into loaves: Divide the dough in half. I prefer to braid these loaves, but you can also just roll out each piece of dough into a loaf and place it into greased loaf pans. I prefer to do a 6 strand braid. To do so cut each half into 6 pieces, and roll each piece into long strips about a foot long. Braid as instructed in the post. Repeat with remaining dough. Preheat your oven to 400 F degrees. Second rise: Place the loaves on a baking sheet and let them rise a second time until doubled in size in a warm, draft-free environment. Should take about 30 minutes. Bake: Brush the loaves with the egg wash all over. Bake the bread for 30 minutes or until golden brown.
How to create a 6-Strand braid with dough
I love braiding these types of breads because they just look prettier. Follow these instructions along with the photos attached above.
Tips on rising your dough
It’s a lot of dough, so keep in mind you’ll need a fairly big bowl! Make sure to keep it in a warm place to let it rise. Dough thrives in a warm, draft-free environment. If your oven has a “proof” function, then use it. The “proof” function preheats the oven to 100 F degrees, causing a warm, but not hot environment for your dough to rise nicely. If your oven doesn’t have this “proof” function, I would still use the oven. What I usually do is preheat the oven to 200F degrees, or whatever the lowest setting is for it. Once it reaches that temperature, turn off the oven, then place the dough in there to rise. This will speed up the proofing process tremendously.
How to serve
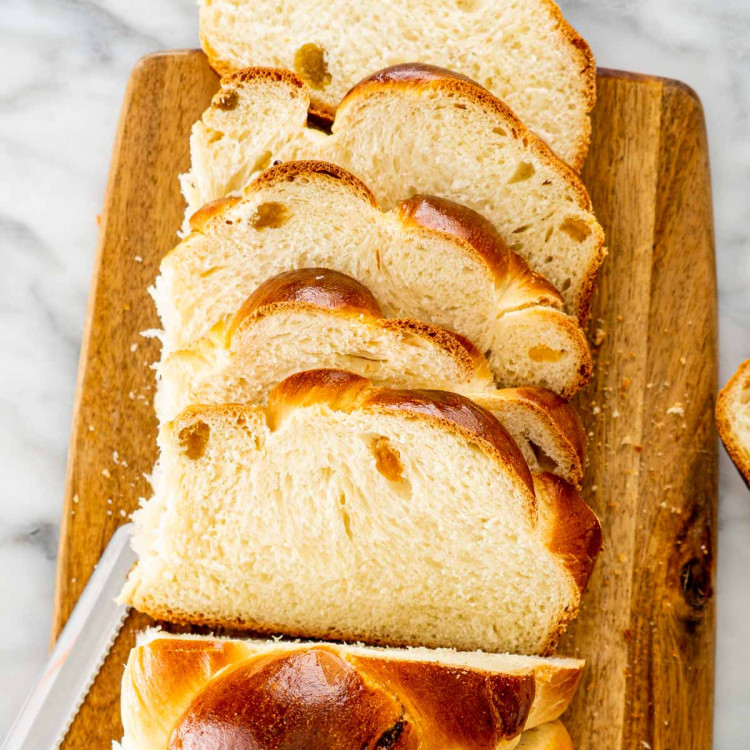
This bread is beautiful with a simple pat of butter, as is or can used for an exquisite bread pudding! Toast it and add butter with a sprinkle of cinnamon or spread a thin layer of cream cheese over top. Make a sandwich with baby spinach, pear slices, and chopped walnuts then drizzle with honey for an artisanal twist – you can even make a grilled cheese! However you serve this bread, you’re bound to fall in love.
How to store
To maximize the shelf life of your homemade raisin bread, make sure to cool thoroughly before storing. Place in a plastic storage bag, breadbox, or wrap in foil and store at room temperature. Properly stored, your raisin bread will last about 4 to 5 days.
Did You Like This Bread Recipe? Try These!
White Bread Ciabatta Bread No Knead Bread Portuguese Bread Rolls Honey Rolls Pasca – Romanian Easter Bread No Knead Cinnamon Raisin Bread Easter Bread Easy Focaccia Challah Bread Stollen