The Perfect Rustic Loaf Of Bread
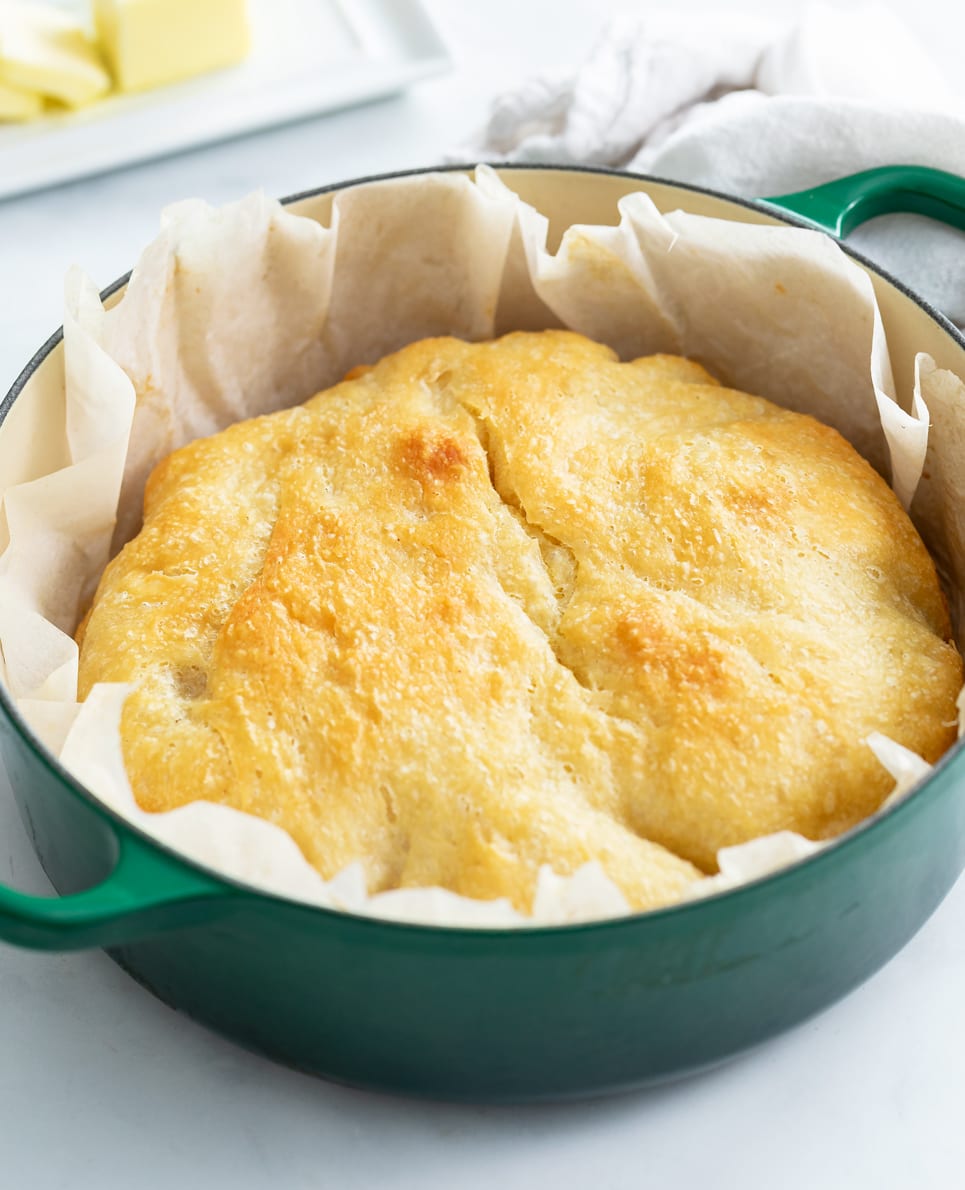
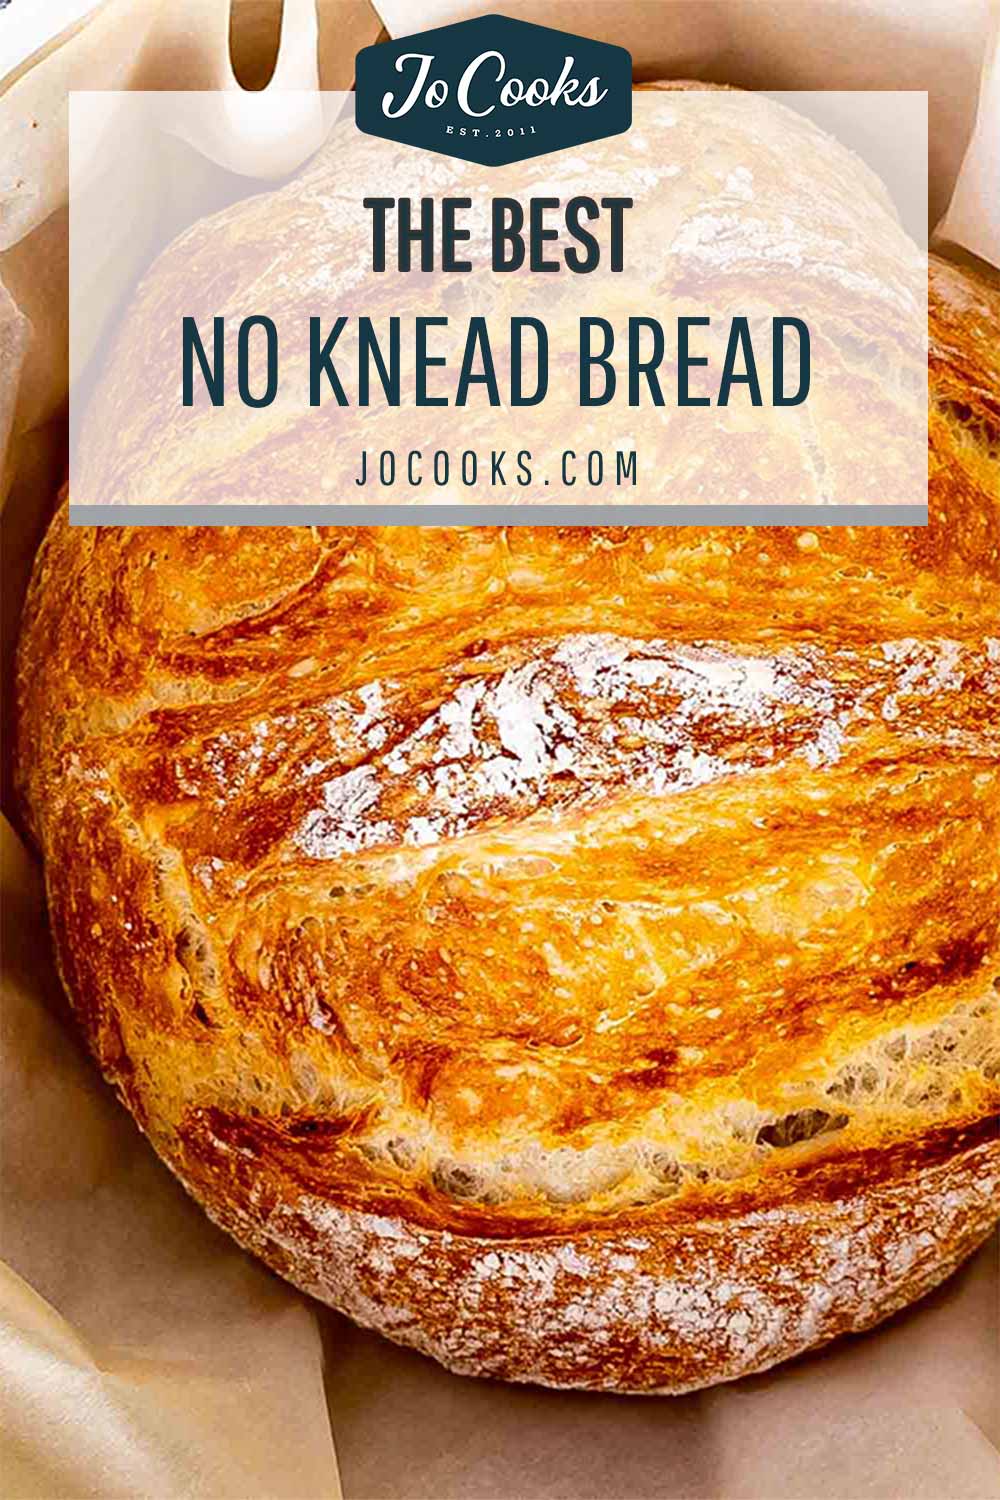
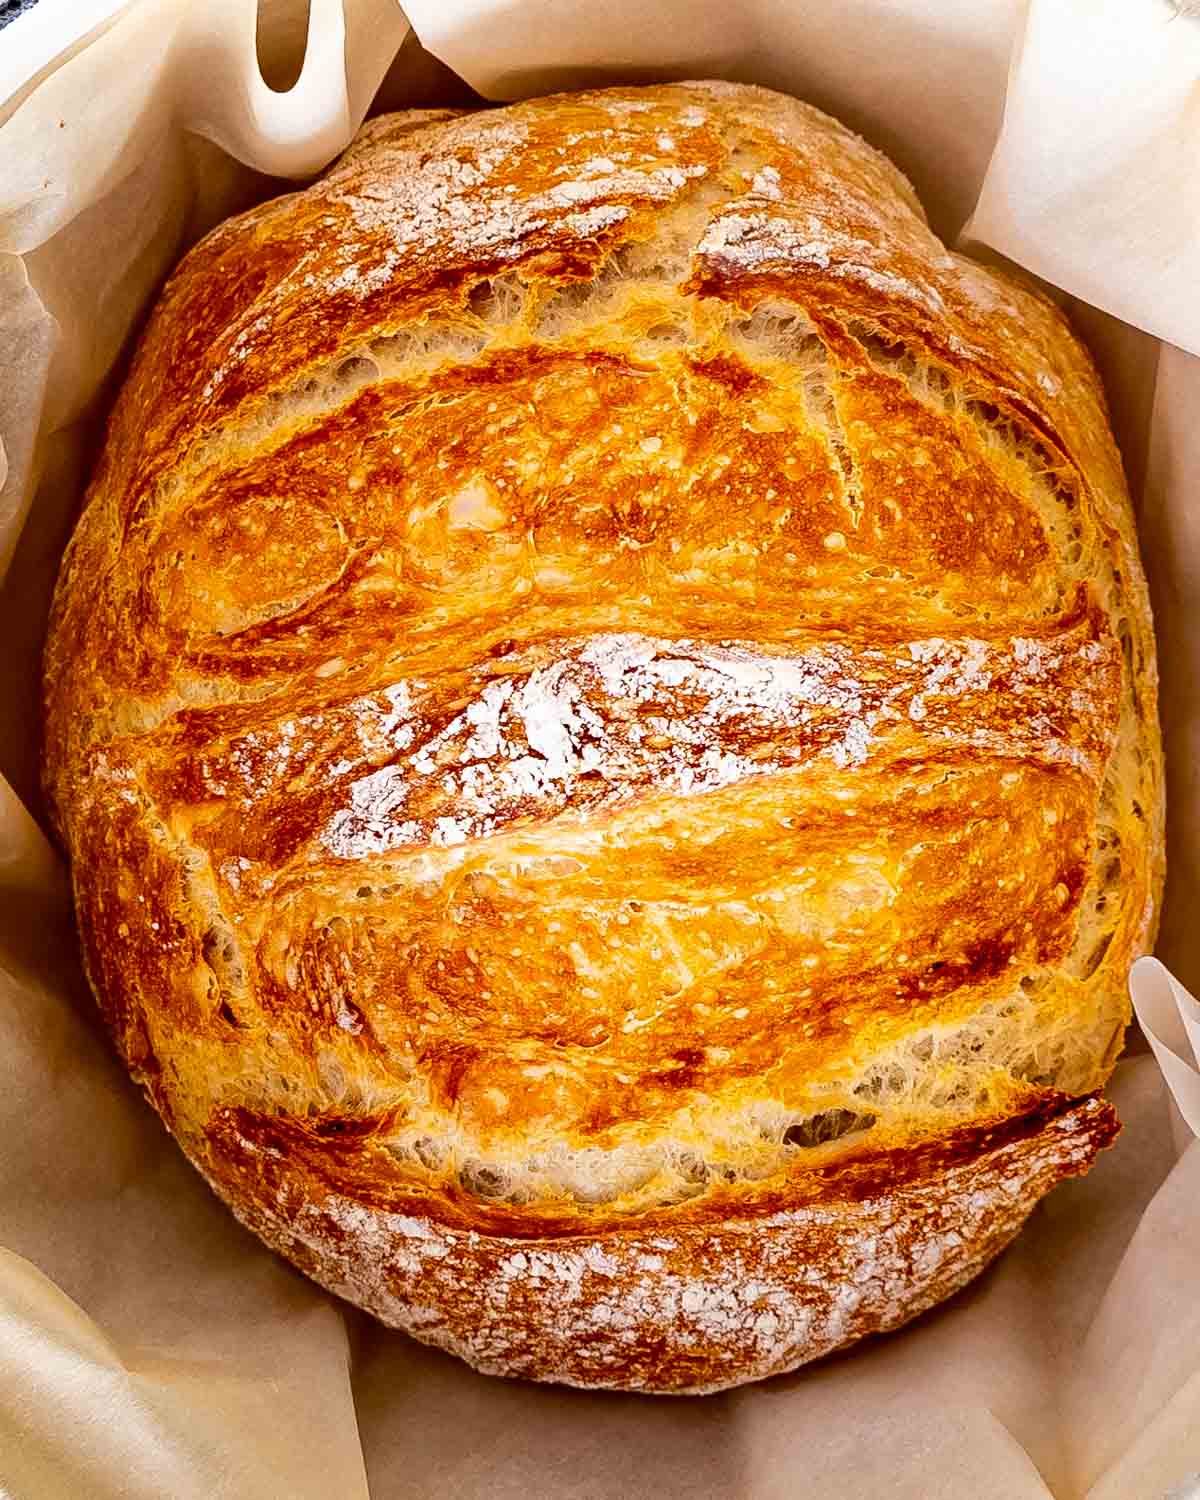
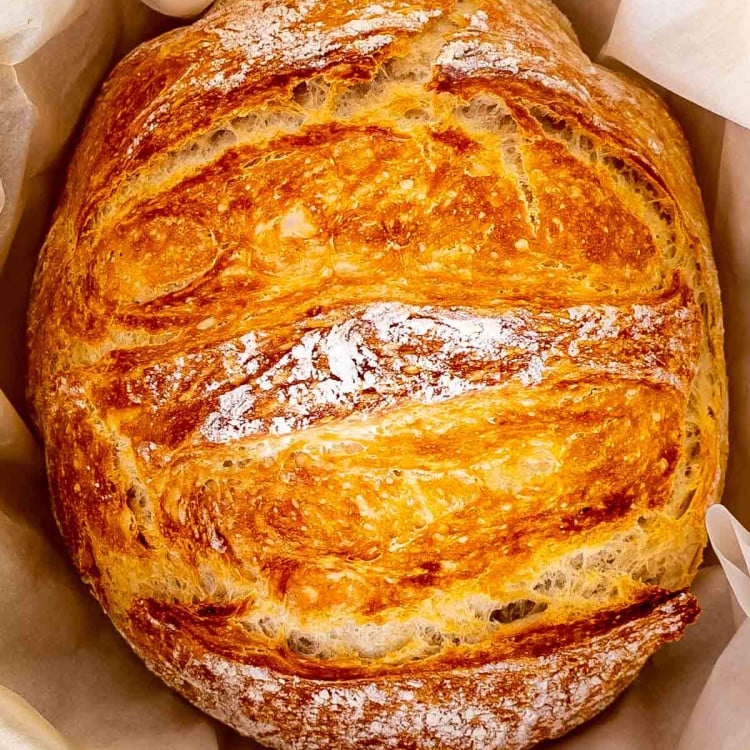
The simplicity of this no knead bread is what I love the most! The ingredients for this loaf are the same as for my famous artisan bread but the way it’s made is totally different. We’re going to achieve flavor by allowing for a slow rise and a perfect crust by baking this bread in a pot with the lid on. The thought of baking bread in a cast iron pot with the lid is simply genius. As you bake it with the lid on, it creates steam inside the pot therefore creating a nice crust on the bread. Did I mention it’ll also fill your house with the wonderful aroma of freshly baked bread? With this fool-proof method, you end up with a perfect loaf of bread, every single time!
What Is No Knead Bread?
No Knead Bread was first published in the New York Times about 10 years ago. This bread requires no kneading which is why it’s become so popular. You basically throw everything in a bowl, mix it up, let it sit around for a few hours and let the yeast do its work, then bake it. The slow rise is what gives the bread that great flavor, and the baking method is what gives it that incredible crispy crust. Super simple right? I promise I’m not pulling your leg, this recipe is super simple and super delicious. It’s a recipe that I make often. This bread makes its way in my kitchen at least once a month so trust me when I tell you, that this really works and it really gives you the best bread ever!
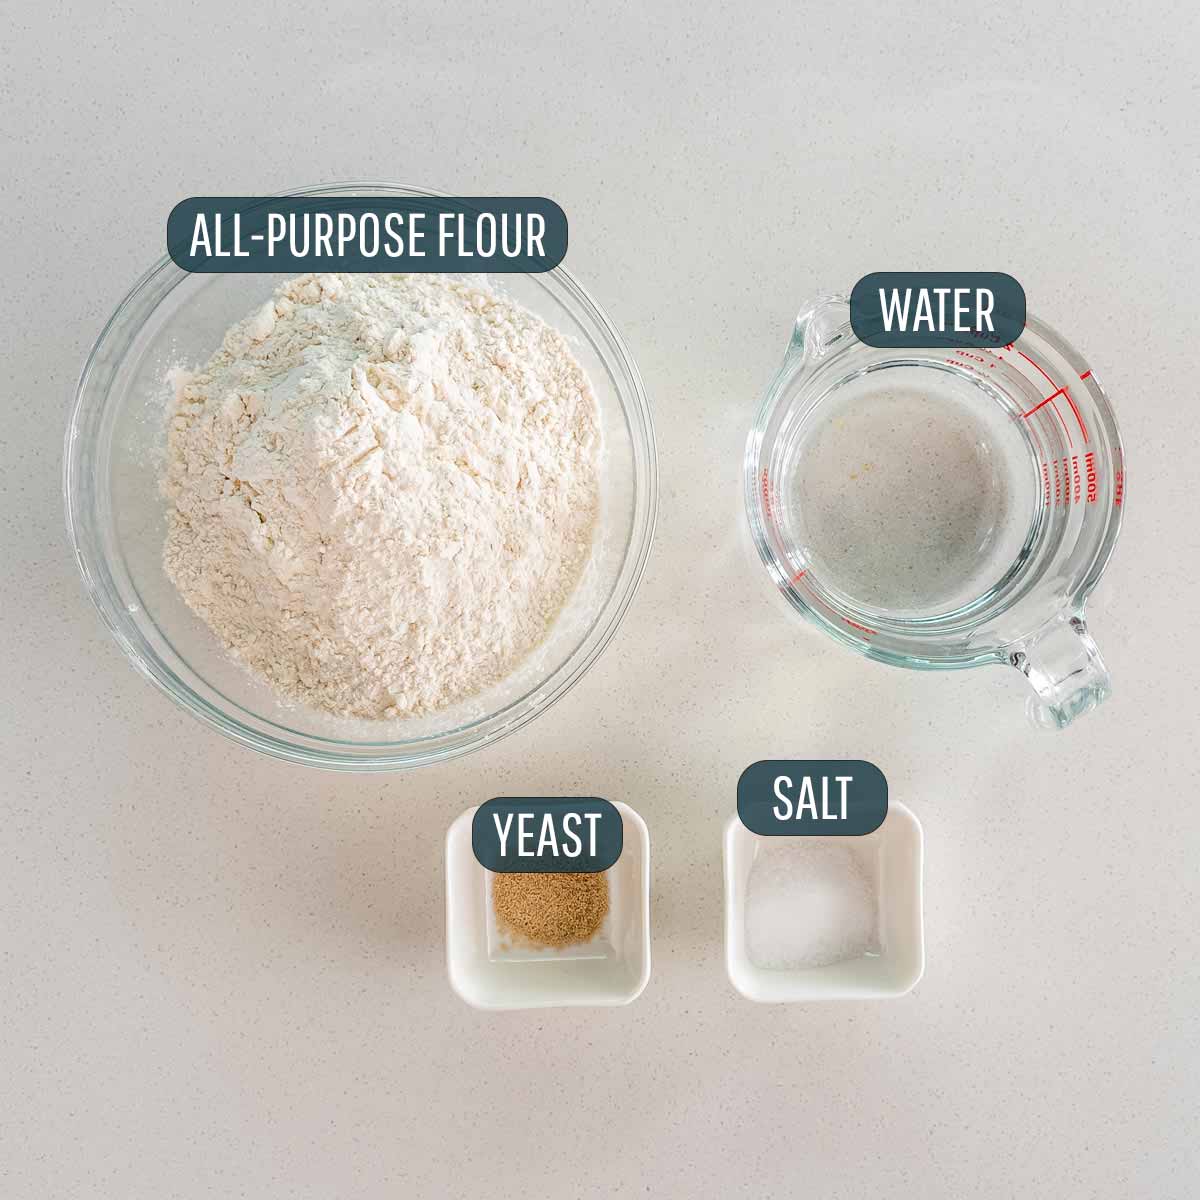
Flour – You’ll need to use all-purpose flour for this recipe. If you’d like to use whole wheat flour, check out my recipe here for Whole Wheat No Knead Bread. Salt – Use as much or as little as you’d like. Just don’t skip it, without it the bread won’t have any taste at all. Yeast – In this recipe I call for active dry yeast which I recommend using because we really want a long and slow rise to develop our flavor. However, instant yeast can be used as well but the technique is a little bit different. If you’d like to try it, check out my recipe for Fast And Easy No Knead Bread. Water – Water should be warm but not hot to activate yeast, generally about 110°F to 115°F (43°C to 46°C). If the water is too hot, it can kill the yeast, and if it’s too cold, it won’t activate the yeast.
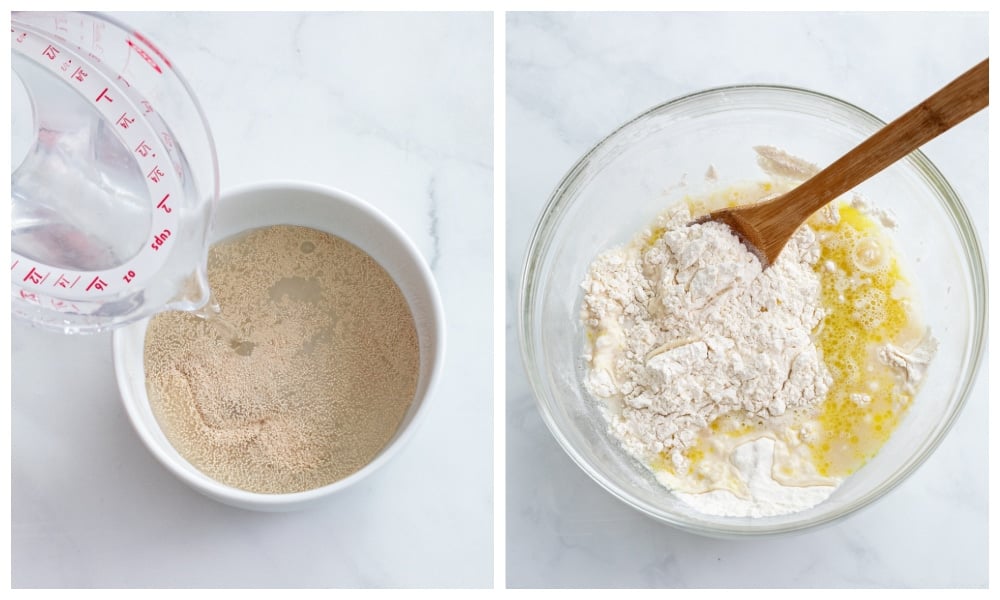
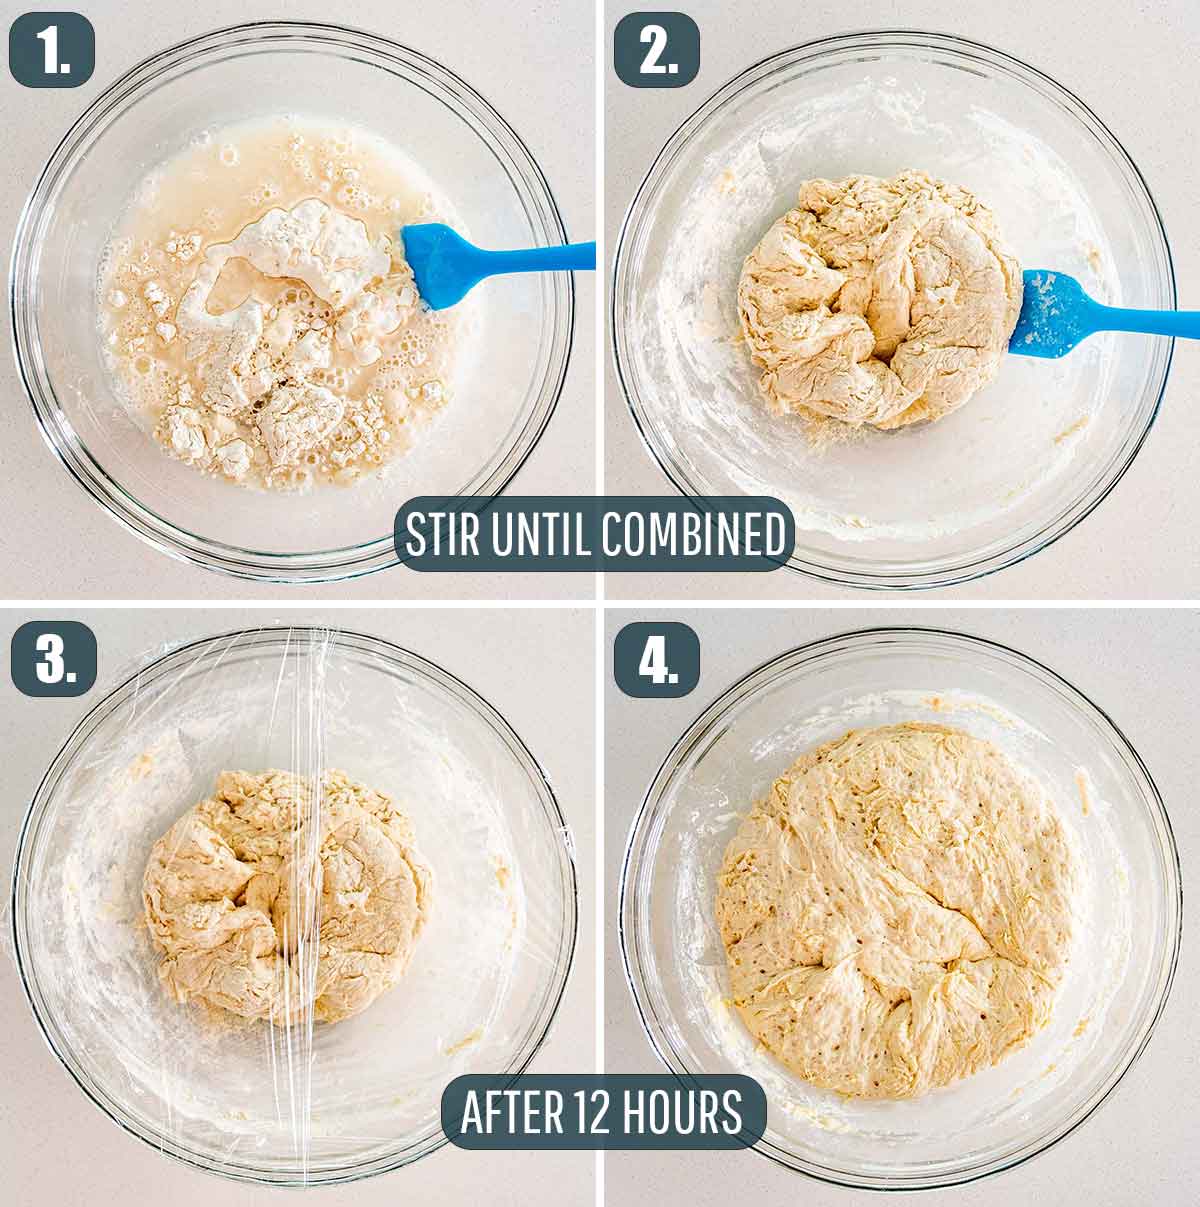
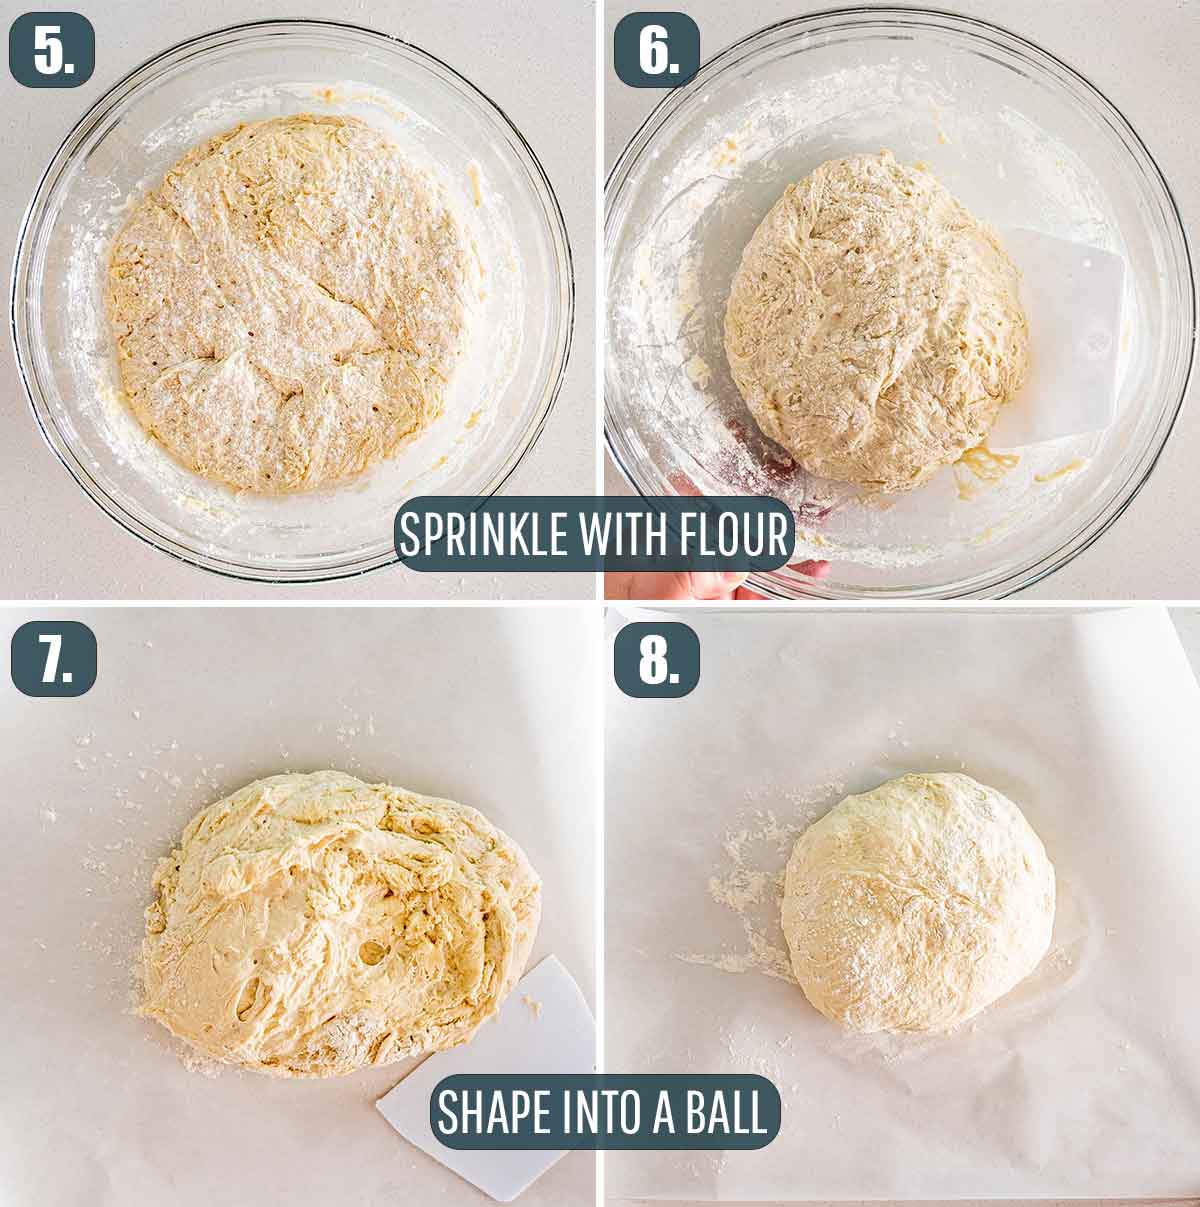
First, you’ll need a big bowl. To it, add the flour, yeast and salt and mix until combined. Pour in the water and using a wooden spoon or plastic spatula, mix everything until well incorporated. For this bread, we do not need to activate the yeast first, even though we’re using active dry yeast. The slow rising process will do the trick.
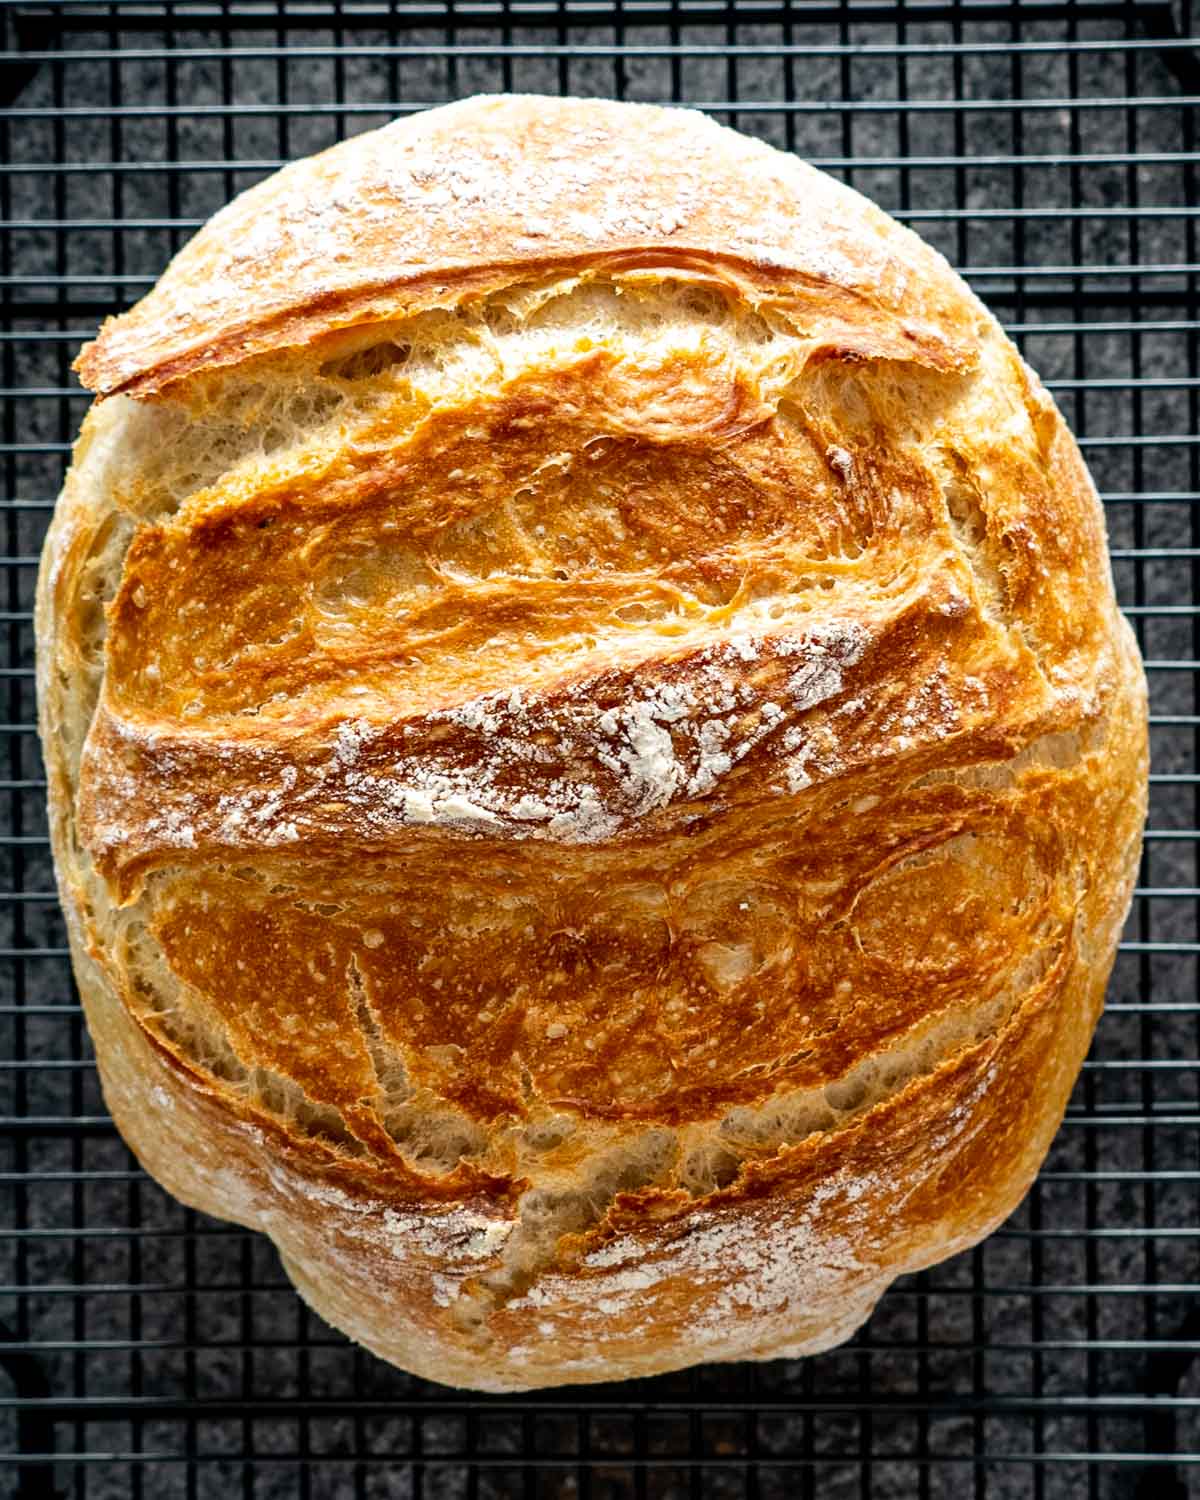
No Kneading Required. As the name suggests, there really is no kneading required. Simply add all the ingredients to a large bowl and stir using either a wooden spoon or a plastic spatula until all the ingredients come together! Perfect Crust. Because you bake the bread in a cast iron pot with a lid on at first, at a high temperature, this will create steam inside the pot, giving us a great crust on the bread. For the last 15 minutes, you remove the lid and finish baking the bread. During this time the bread turns a gorgeous golden brown color, with an incredible crust. Effortless To Make. The no knead bread recipe couldn’t get any easier to make. The hardest part is actually waiting for the dough to slowly rise. So give it a try, what have you got to lose? Fool-proof Recipe. Since I first published this recipe back in 2012, I have made this recipe countless times, learning pretty much all there is to learn about making this bread. I now, can share with you everything I’ve learned, giving you all the tools and knowledge you need to make this bread perfectly the first time.
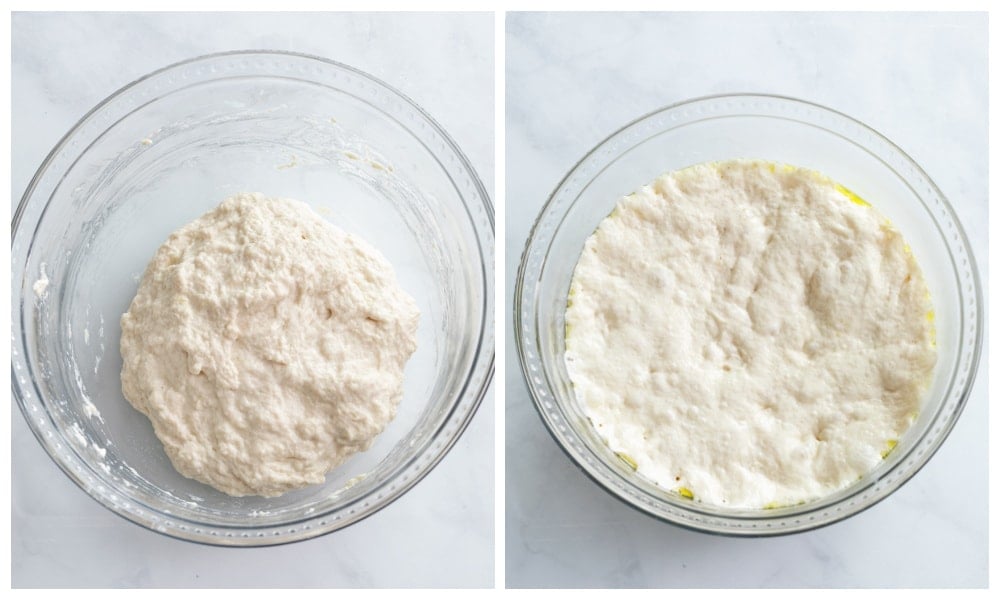
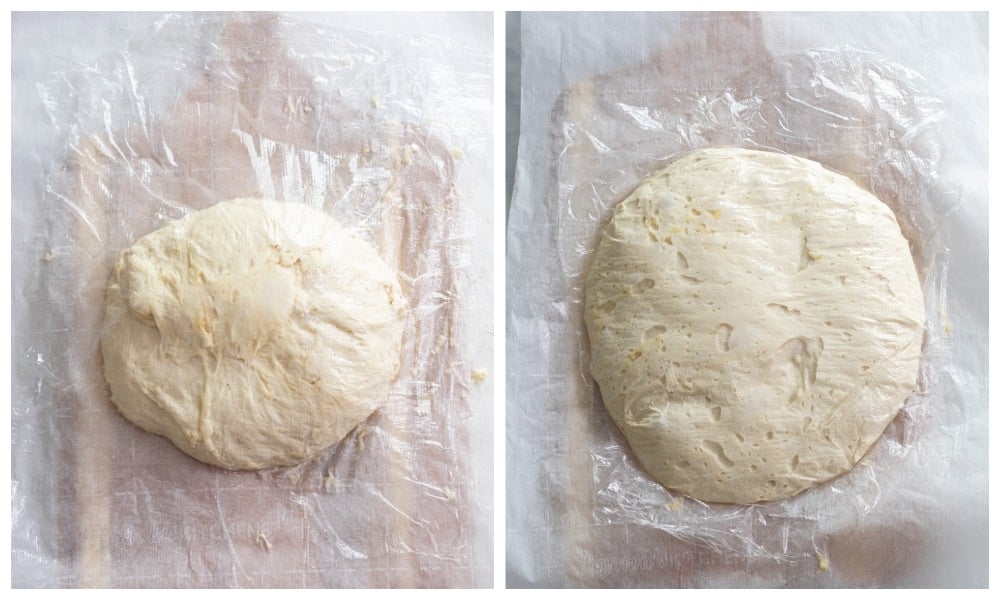
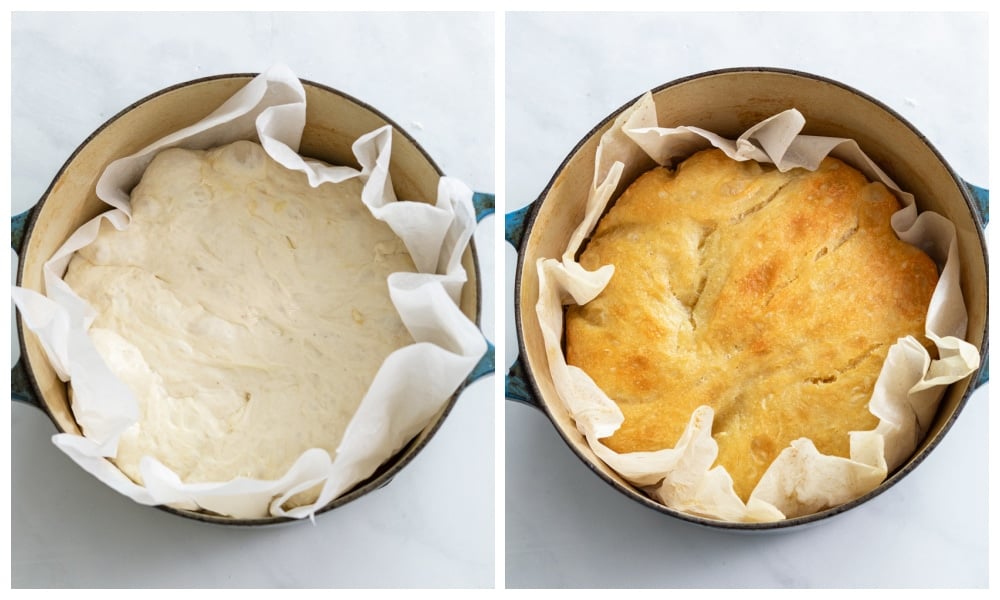
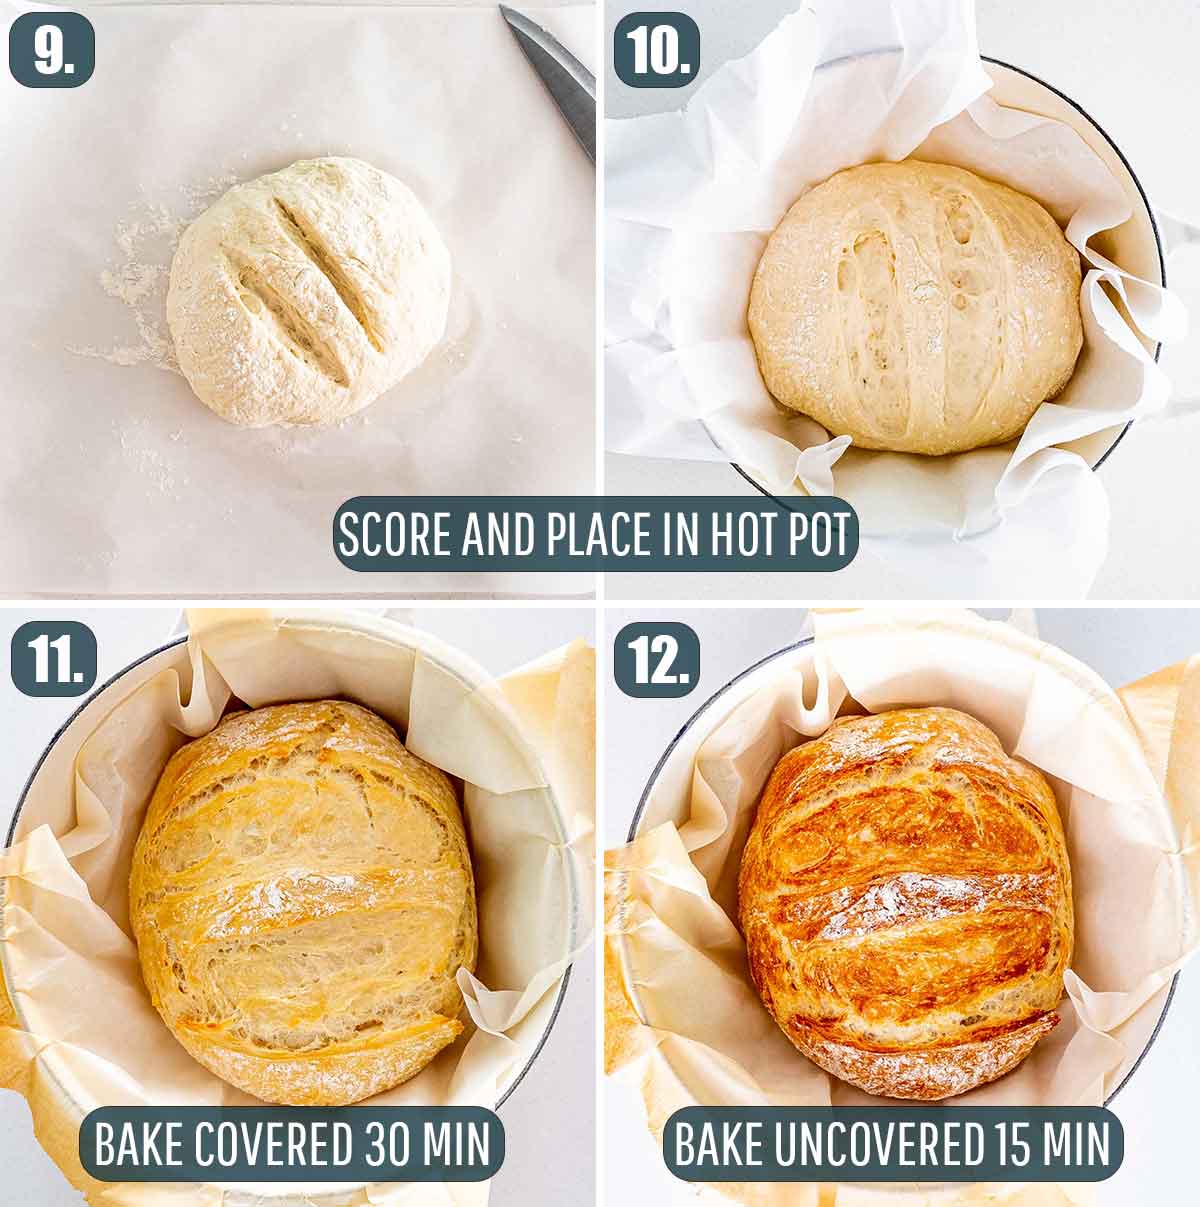
Many people have asked me if the salt will kill the yeast. While typically that’s true, in this case it won’t. We have very little yeast in this recipe, so the magic happens during the slow rising process. You can use more yeast to speed up the rising process, if you don’t want to wait overnight. Do not be tempted to add more flour, this is quite a sticky, shaggy dough, so just trust the process and yes, the ratio of water to flour is correct. Simply cover the bowl with plastic wrap or a clean cotton towel and let it sit on your counter or inside your unheated oven for 12 to 24 hours. You’ll notice that after 12 to 24 hours the dough has risen and may look even stickier than before. Before starting to work with your dough, preheat the oven to 450°F. At the same time, add a 4 or 5-quart Dutch oven to the oven as it’s heating and heat it as well for 30 minutes. The easiest way to do this is to place a piece of parchment paper on your work surface and sprinkle a bit of flour over it. Using a bench scraper, scrape the dough from the bowl onto the parchment paper. Sprinkle a bit more flour over the dough and also flour your hands really well. Quickly shape the dough into a round ball, by folding it over on itself a couple times. Place it back on the parchment paper, seam side down and the smooth side up and let it rest until the Dutch Oven is ready. You can also score the top of the dough with a sharp knife. This will not only make your bread look pretty, but it can also prevent it from cracking. Use oven mitts to remove the lid from the Dutch oven. Lift the parchment paper with the dough and drop it into the pot with the parchment paper. Place the lid back on the Dutch Oven and close the oven door. Bake covered for 30 minutes, carefully remove the lid and bake for another 15 to 20 minutes until golden brown. Remove the bread from the Dutch oven by lifting it by the parchment paper and transfer it to a wire rack to cool. Let it cool for at least 15 minutes before slicing and serving. I have made this without parchment paper and the result was the same for me, however, some readers complained that the bread stuck to the bottom of the pot. To avoid this, always use parchment paper, NOT WAX PAPER!
How Do I Know When My Bread Is Done Baking?
Tap the bottom! Take the bread out of the Dutch oven, turn it upside down and give the bottom a firm thump with your thumb, or a knock – if it sounds hollow, it’s done. You can also use a thermometer to check the internal temperature of the bread, when it reaches between 190°F and 200°F, your bread is done.
Can I Use Bread Flour?
The difference between bread flour and all-purpose flour is that bread flour has more protein, so yes you can use it, but keep in mind that the crust will be a bit thicker. If you do use bread flour, you’ll need to increase the amount of water by 2 teaspoons per cup of flour.
When Can I Add Other Ingredients To The Bread?
You can add different herbs such as rosemary or thyme to your bread when first mixing all the ingredients together. Other ingredients you can add are dried cranberries, nuts or seeds or different cheeses.
Why Did My Bread Stick To The Pot?
To prevent your bread from sticking to the pot, make sure your pot is hot enough before adding the dough. If the pan is very hot at the bottom, you bread will instantly begin to cook, letting it rise smoothly. To prevent your bread from sticking, you can sprinkle some cornmeal on the bottom of the pot, or use parchment paper.
Why Is My Bread Chewy?
Usually your bread will be chewy when there isn’t enough gluten formation or you’re using a low-protein flour. Make sure you let your bread dough rest for at least 12 hours to give it enough time for gluten formation.
Why Is My Bread Dense?
Usually bread will be dense when there is too much flour. Keep in mind this dough will be sticky and shaggy, do not add any more flour than specified. Other factors that come into play are humidity and age of flour. Little yeast, long rise, sticky dough are keys to a good, light loaf. Also, do not over mix the dough in the beginning, there really is no kneading required.
Can I Double The Recipe?
Yes, you can! You’ll need a bigger pot though and you’ll need to bake it a little bit longer. For detailed instructions check out my Fast and Easy No Knead Bread where I doubled the recipe ingredients.
Can I Freeze The Dough?
Yes you can, the bread will still be crusty and delicious, it will just be a bit denser.
Can I Use Instant Yeast?
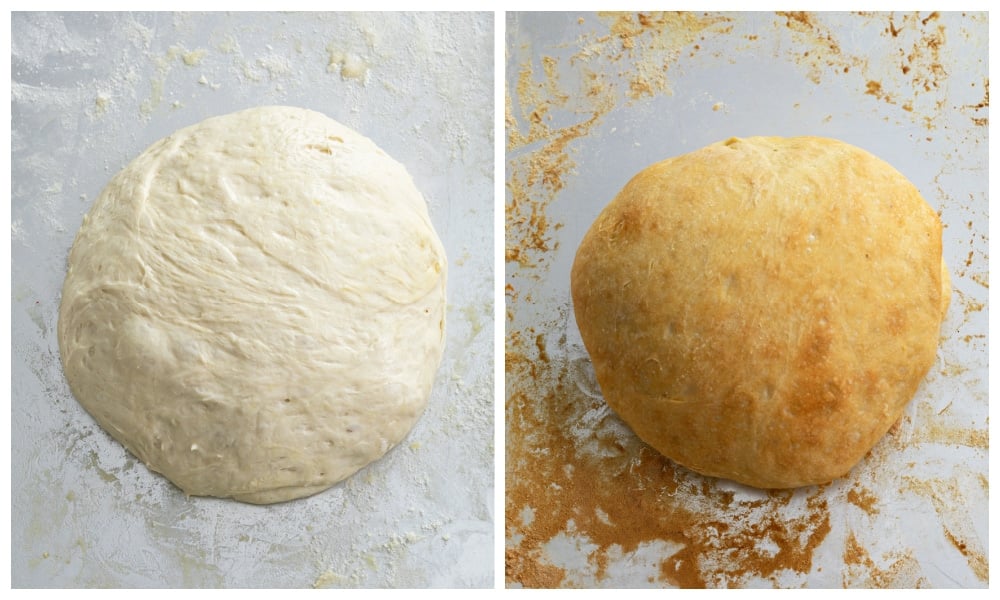
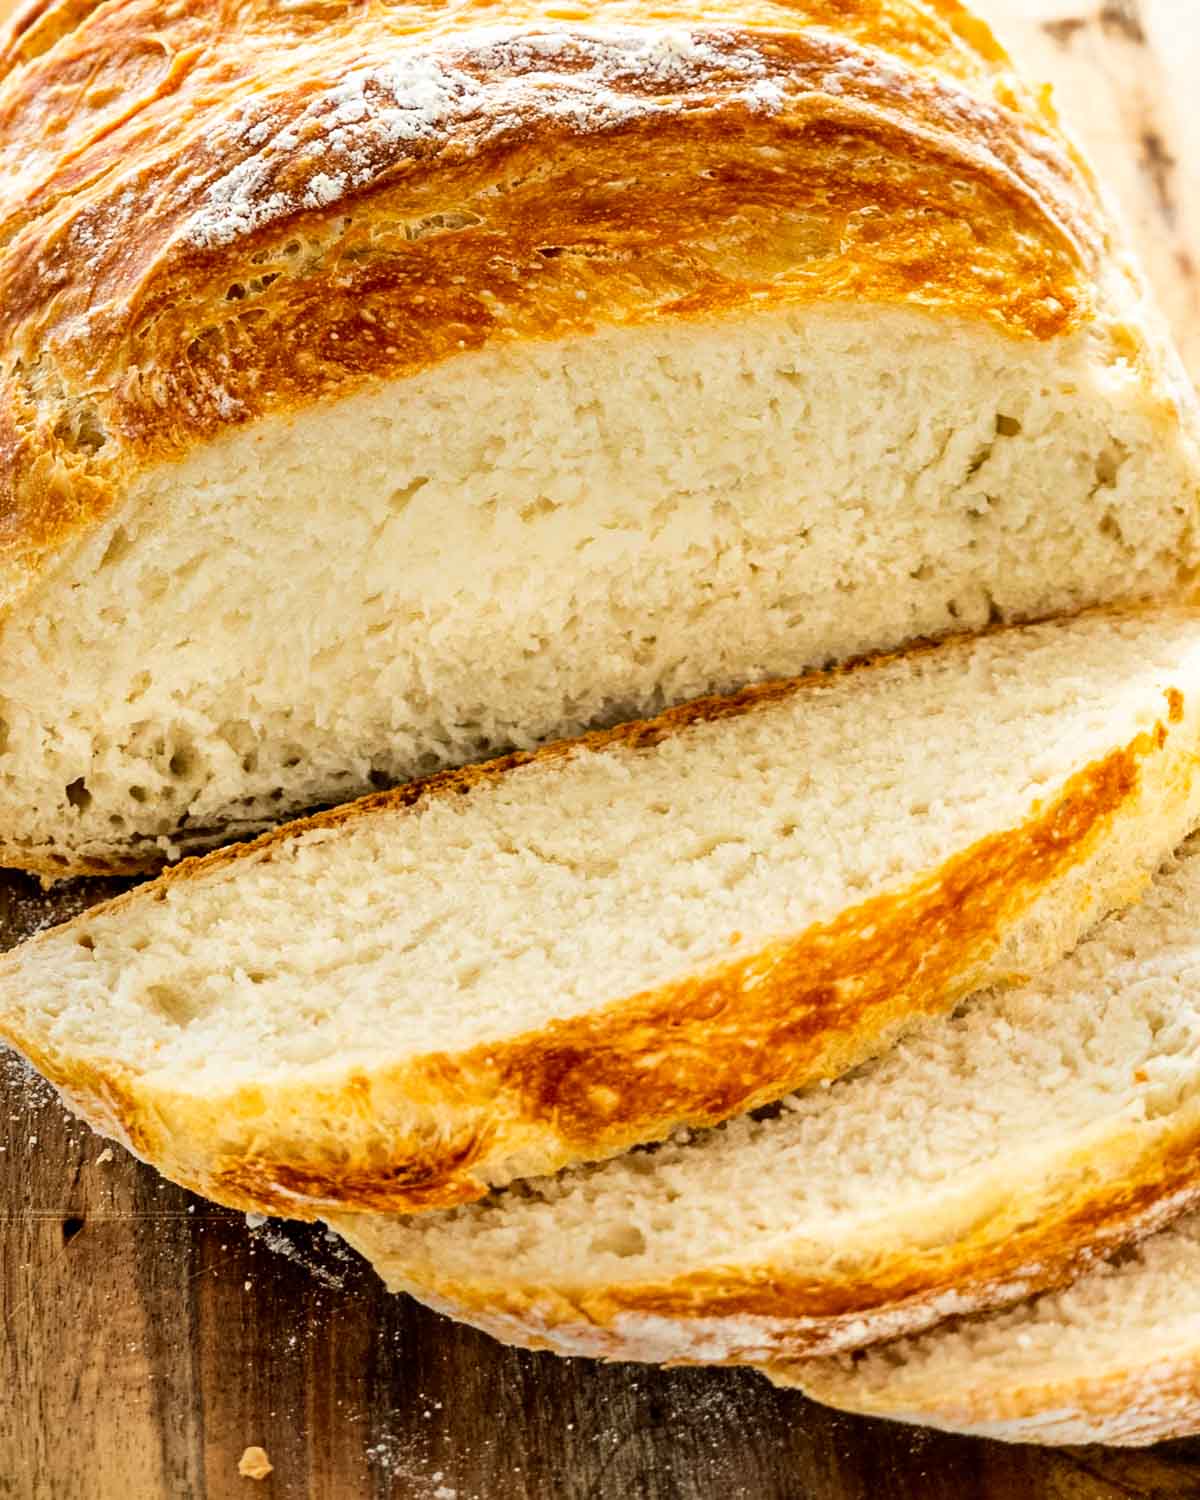
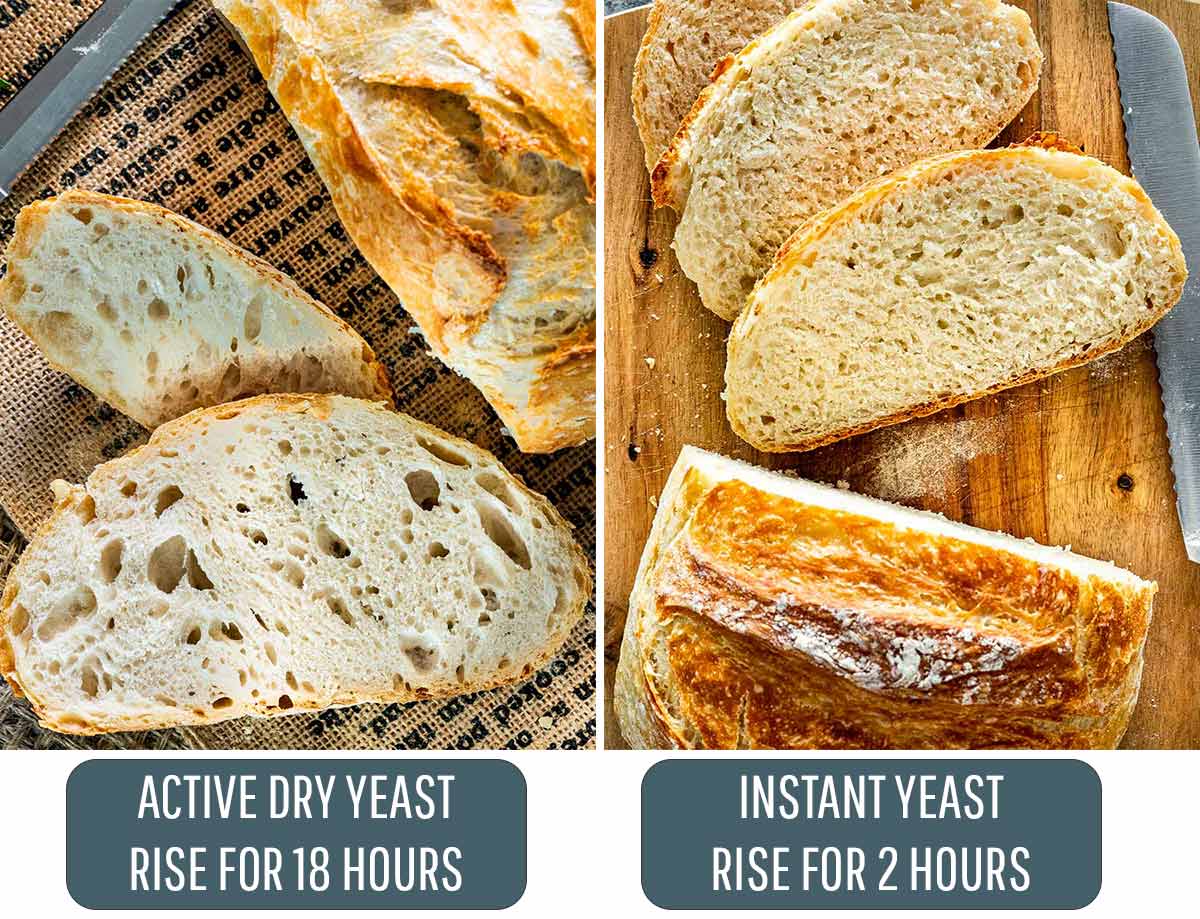
Yes, you can! There will be a slight difference in how your bread turns out as seen in the above pictures. If choosing to use instant yeast, use a bit more. For example I used 1 teaspoon of instant yeast for 3 cups of flour. You’ll also notice that the dough will rise much faster. The dough will be ready anywhere from 2 to 4 hours. If you’re in a rush this is the way to go. The difference between the two is that the bread with active dry yeast and a slower rising time, will have more holes. Taste-wise, it’s the same.
What’s Yeast Got To Do With It?
Make Ahead
This bread can dry out a little easily so it is best to store it tightly wrapped in plastic wrap or in an airtight container to preserve it longer. You can store it like this for about 3 to 4 days right on the counter or freeze it for up to 3 months.
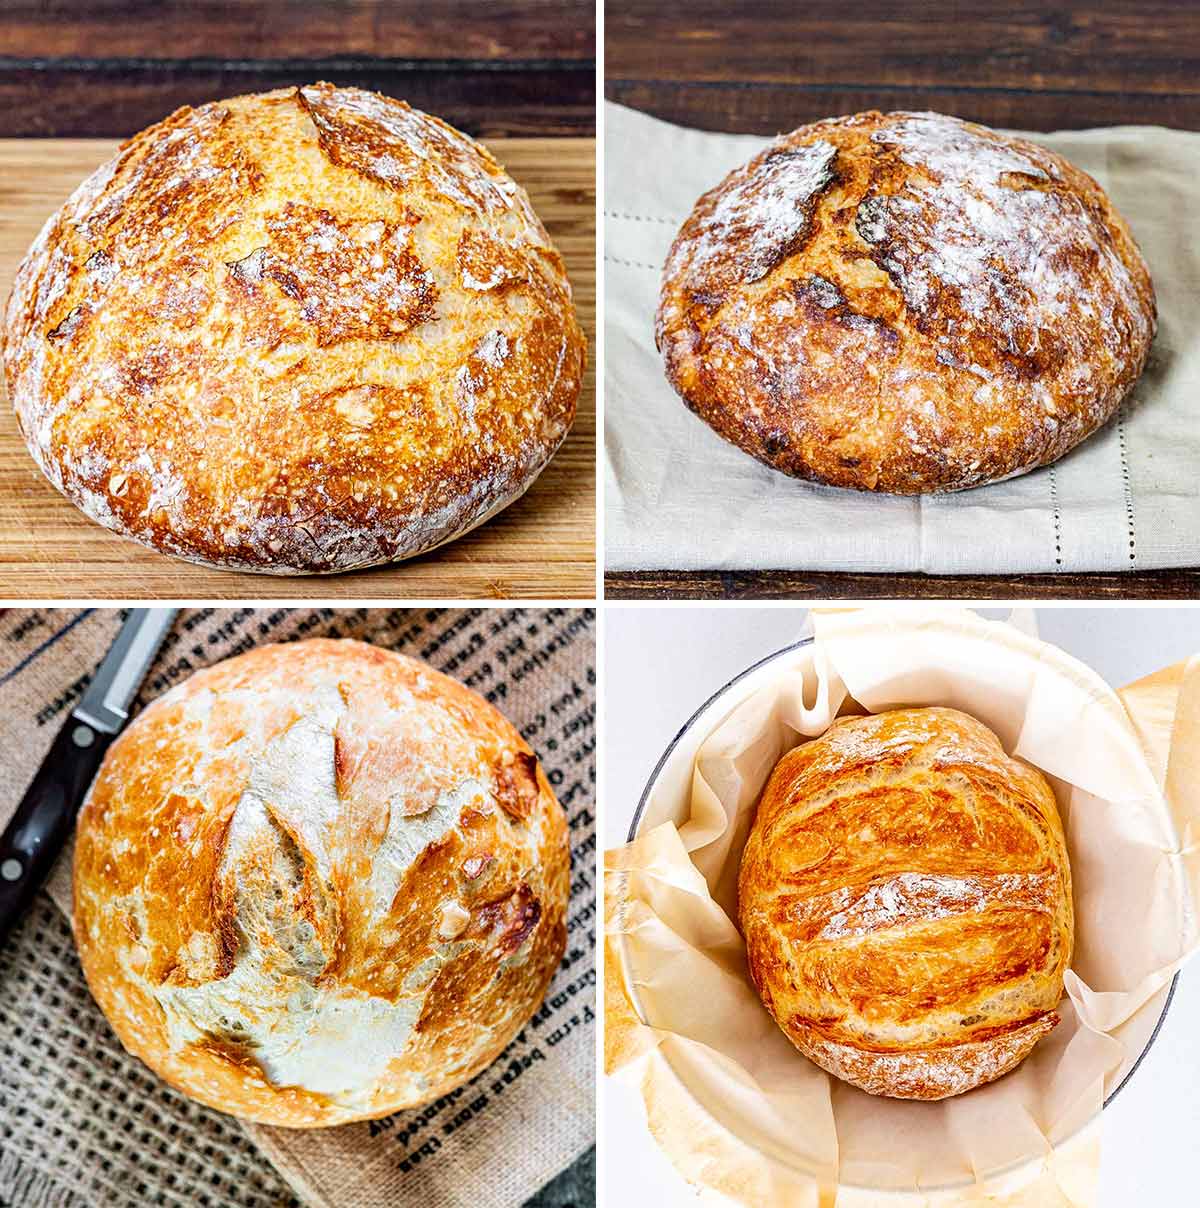
Various No Knead Breads I’ve Made Over The Years
More No Knead Recipes To Try
No Knead Skillet Bread Ready in less than 3 hours, Start to Finish! Fast and Easy No Knead Bread in less than 3 hours, Start to Finish! No Knead Dutch Oven Whole Wheat Bread Sunflower and Flax Seeds Whole Wheat Cast Iron Bread No Knead Hot Cross Buns No Knead Cinnamon Rolls
This recipe was originally shared Nov 10, 2012.

title: “No Knead Bread” ShowToc: true date: “2024-09-26” author: “Betty Lopez”
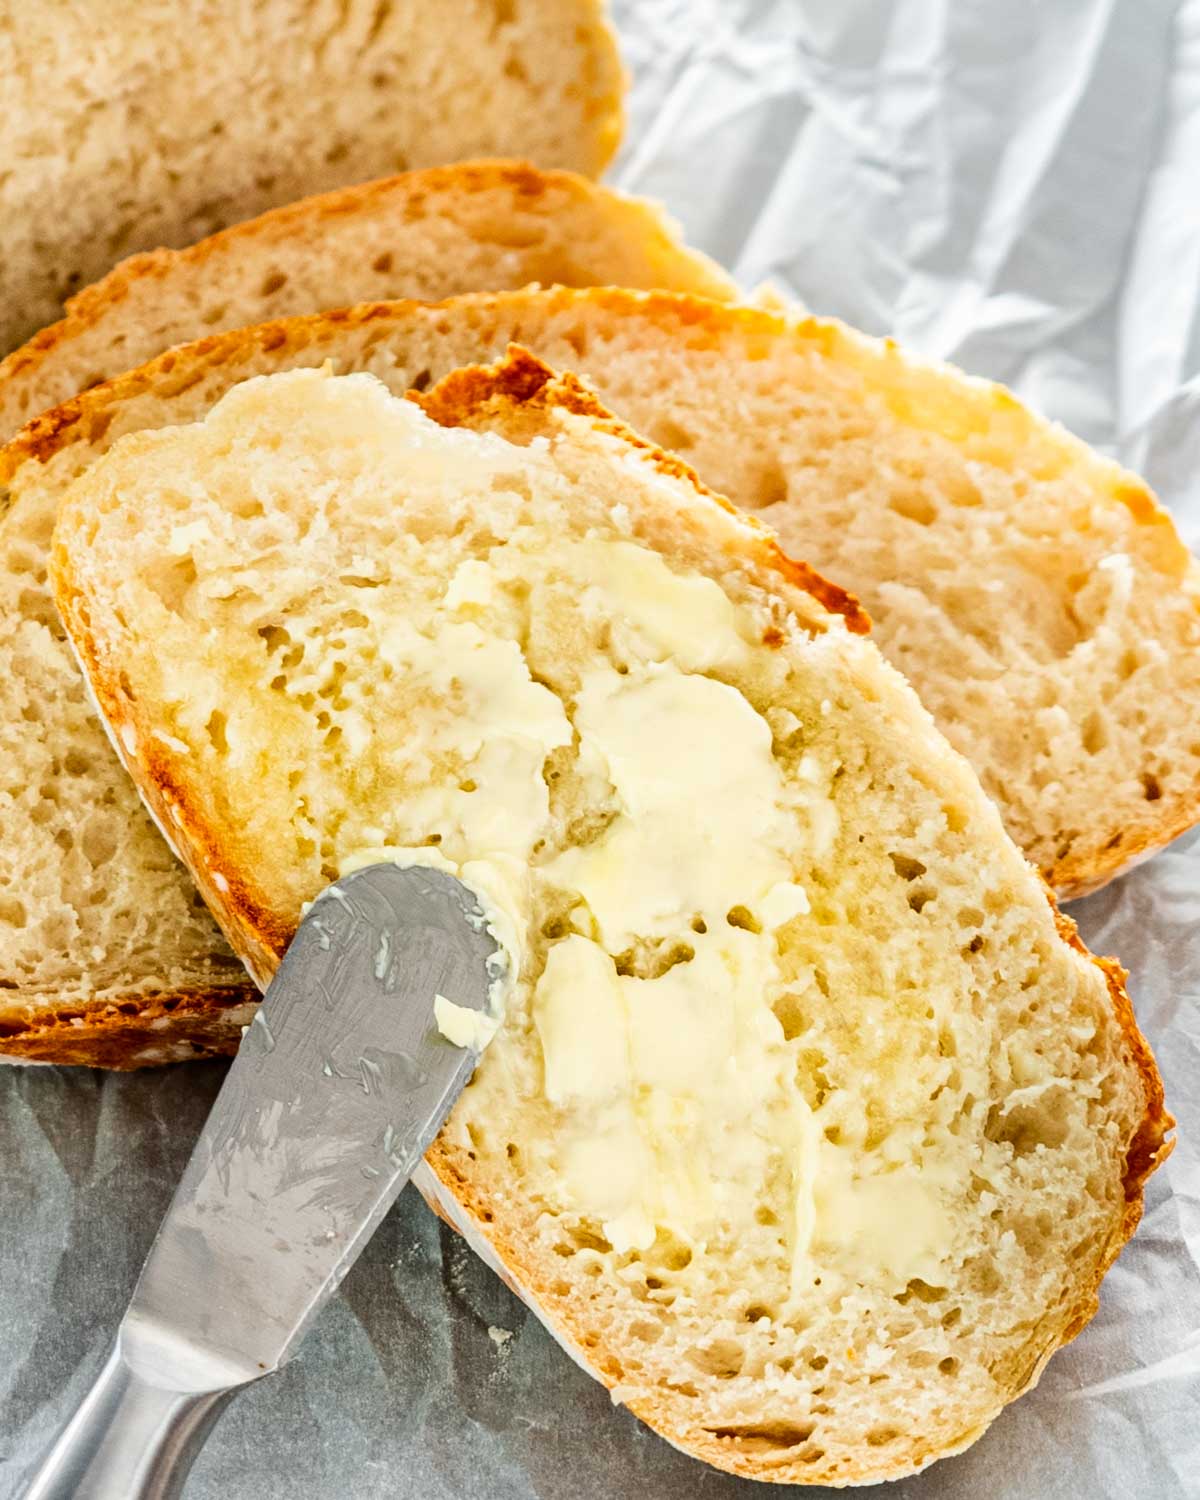
This is the best bread to serve with soups, dips, pastas, and sandwiches!
No Knead Bread
If there is one bread recipe that you learn how to make in life, it should be this one. You don’t even have to knead the dough! You don’t even have to touch the dough! (In fact, it’s easier to let the silicone spatula do the handling here.) There are so many up-sides to this recipe. It’s super forgiving, it freezes well to serve with breakfast, lunch, and dinner on a whim, it’s light and airy, and it goes with everything! I love making this to serve with my favorite soups, pastas, pizza dip, and it makes the best grilled cheese sandwiches! Don’t miss my PRO tips below, they’re everything.
How to Make It
See recipe card below this post for ingredient quantities and full instructions. Combine yeast, sugar, and slightly warm water and cover with saran wrap for 5 minutes. Then combine with flour and oil to form a wet dough. Spray with nonstick cooking spray. Cover with saran wrap and then with a dish towel and place in a warm place to rise for 2-3 hours, until at least doubled in size.
Tilt the bowl and use a silicone spatula to gently slide the dough onto floured parchment paper (or a floured baking sheet if not using Dutch oven.) Fold the dough onto itself to form a ball. Spray with nonstick cooking spray and cover loosely with saran wrap while you preheat the oven and allow the dough to rest/rise for 45 minutes. Place the Dutch oven into the oven while it pre-heats, if using.
Remove saran wrap from the dough. Lift the parchment paper and carefully transfer the dough into the preheated Dutch oven. Cover and bake at 425 °F for 40 minutes. Remove cover and brush with butter. Bake for 10-12 more minutes, until browned.
If not using a Dutch oven, remove saran wrap and place the baking sheet in the preheated oven. Bake at 475° for 25 minutes. Brush with butter and bake for 5 more minutes, or until golden brown.
If Your Dough Isn’t Rising
A warm, moist environment is needed for dough to activate and rise. If you need a little boost of warm air, try these tricks:
Oven: This trick works great! Heat your oven to 200° for 2 minutes, then shut the heat off. Cover the bowl of dough with a dish towel (no plastic wrap in the oven), and shut the door to trap the warm air inside. Let it rise! Microwave: Fill a glass measuring cup with 1 cup of water and microwave for 2 minutes, until boiling. Remove the water and replace it with your covered bowl of dough. Close the door right away. The residual heat will allow your dough to rise. Warm Dish Towel: Place a kitchen towel in the dryer until it’s nice and warm, place it over the saran wrap on top of the bowl and let it hang over the sides. Repeat as needed. Outside: If it’s warm outside, place your dough outside to rise! (Even better if it’s a little humid.)
Baking Temperature
Dutch Oven Method Most parchment paper is oven safe to 425°, so if you’re using the Dutch oven method with parchment paper, I recommend baking at that temperature. I don’t recommend not using parchment paper, the dough “sizzles” when it hits the Dutch oven without a layer of protection, since the Dutch oven needs to be preheated before baking to ensure a crispy crust. Baking Sheet Method I recommend baking at 475° so that the dough sets more quickly and holds it’s shape, since there is no vessel to hold it. I also like to place a cast iron skillet on the bottom rack with water in it to create steam, which helps create a crusty outside.
Dutch Oven vs. No Dutch Oven
I have tested this recipe with and without a Dutch oven. My preferred method is to use a Dutch oven, as it definitely results in a crispier outer crust. (I use a 3.5 quart but varying sizes are okay.) That said, the baking sheet method produces a great end result as well. You can also use a cast iron skillet.
Make Ahead Method
Let the dough rise once for 2-3 hours as outlined. Transfer the covered dough to the fridge for up to 3 days. This will actually give it more flavor than baking right away. Remove from the fridge and proceed with forming it and letting it rest/rise while you preheat the oven for baking. Since this dough is super airy and delicate, (unlike pizza dough), I don’t recommend freezing the dough. I would instead freeze the baked bread.
Storage
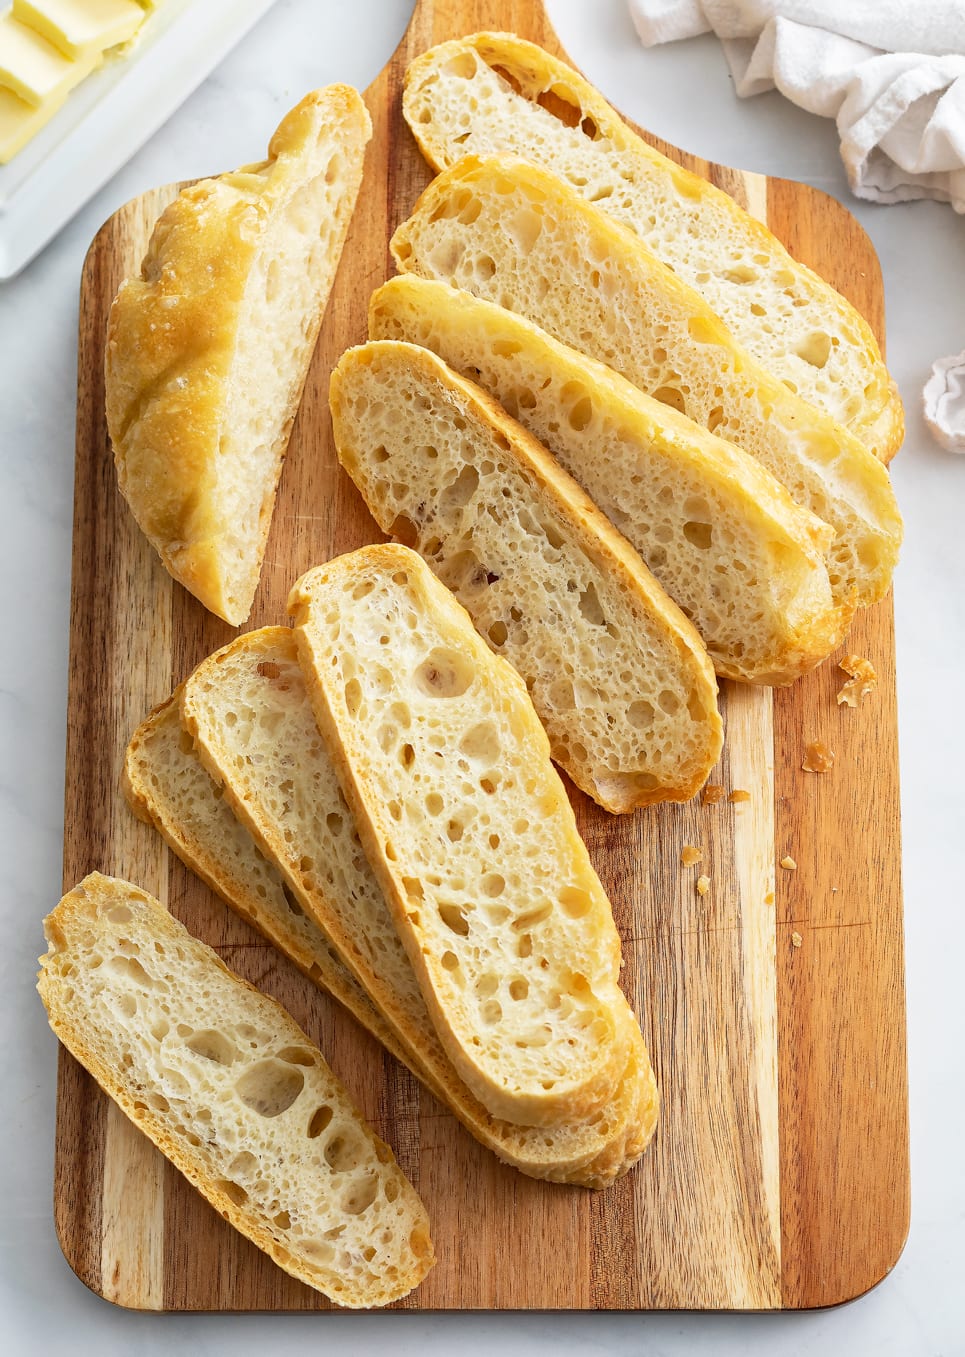
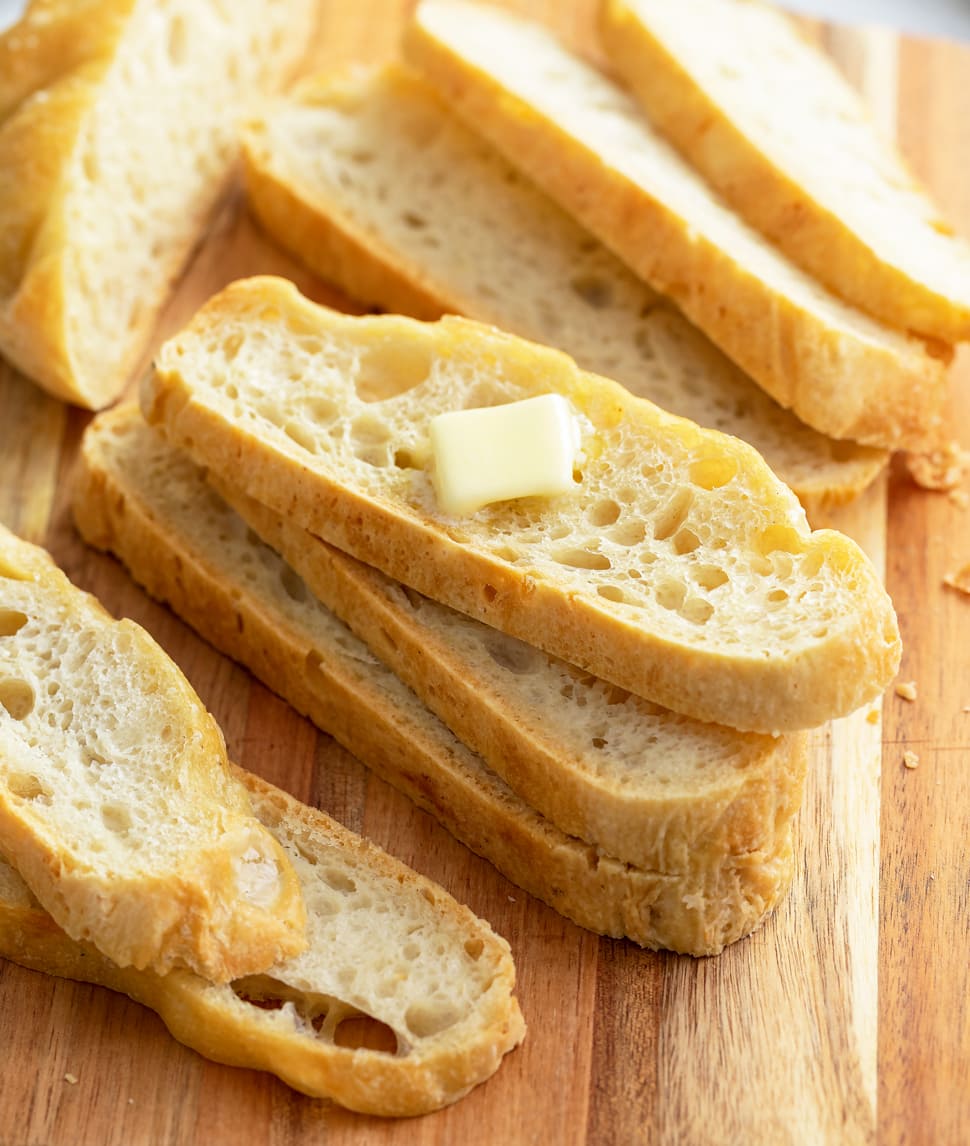
Store in a covered container at room temperature for 5 days, refrigerate for up to 10 days, or freeze for up to 3 months. This bread can be frozen as a whole loaf or in slices. I like to freeze sliced up loaves in a gallon freezer bag, it’s easy to grab for breakfast, lunch, and dinner during the week! Be sure to seal out the air. This bread can be sliced lengthwise if being used for sandwiches, or slice it vertically for toast or serving with soups and dips!
What to Serve With No-Knead Bread
See all of my Soup recipes here!
Kitchen Scale– I like to place my mixing bowl on this scale, clear the weight, and then scoop the flour right in. No mess, no muss, no fuss! (Weighing the flour is everything and eliminates any guess work.) Mixing Bowls– These 3 sizes are perfect for baking. OXO Pop Container– I love storing my flour in here! 3.5 Quart Enamel Cast Iron Dutch Oven Bread Lame– To easily score the top of your bread if desired. Bread Knife & Cutting Board– For nice clean cuts.
Tried This Recipe?
Leave a review, I love hearing your feedback! ⭐⭐⭐⭐⭐
