Lemon Bliss: Unwrapping Sunshine and Sweetness!
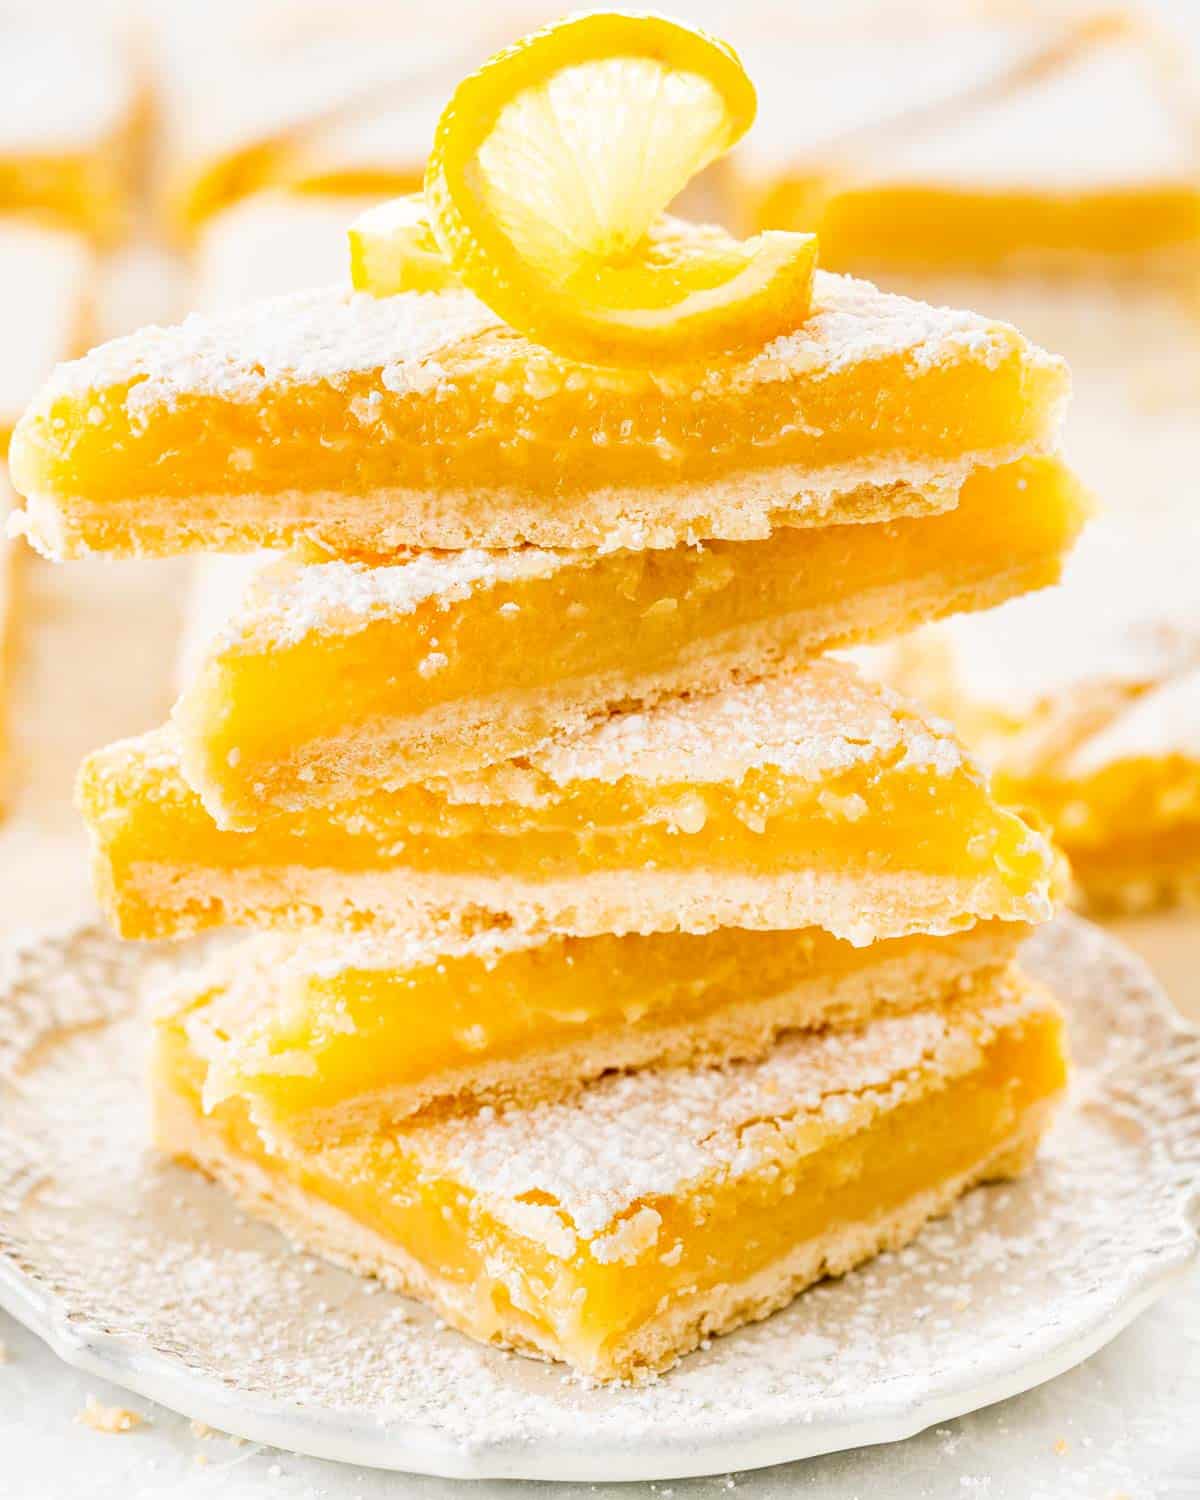
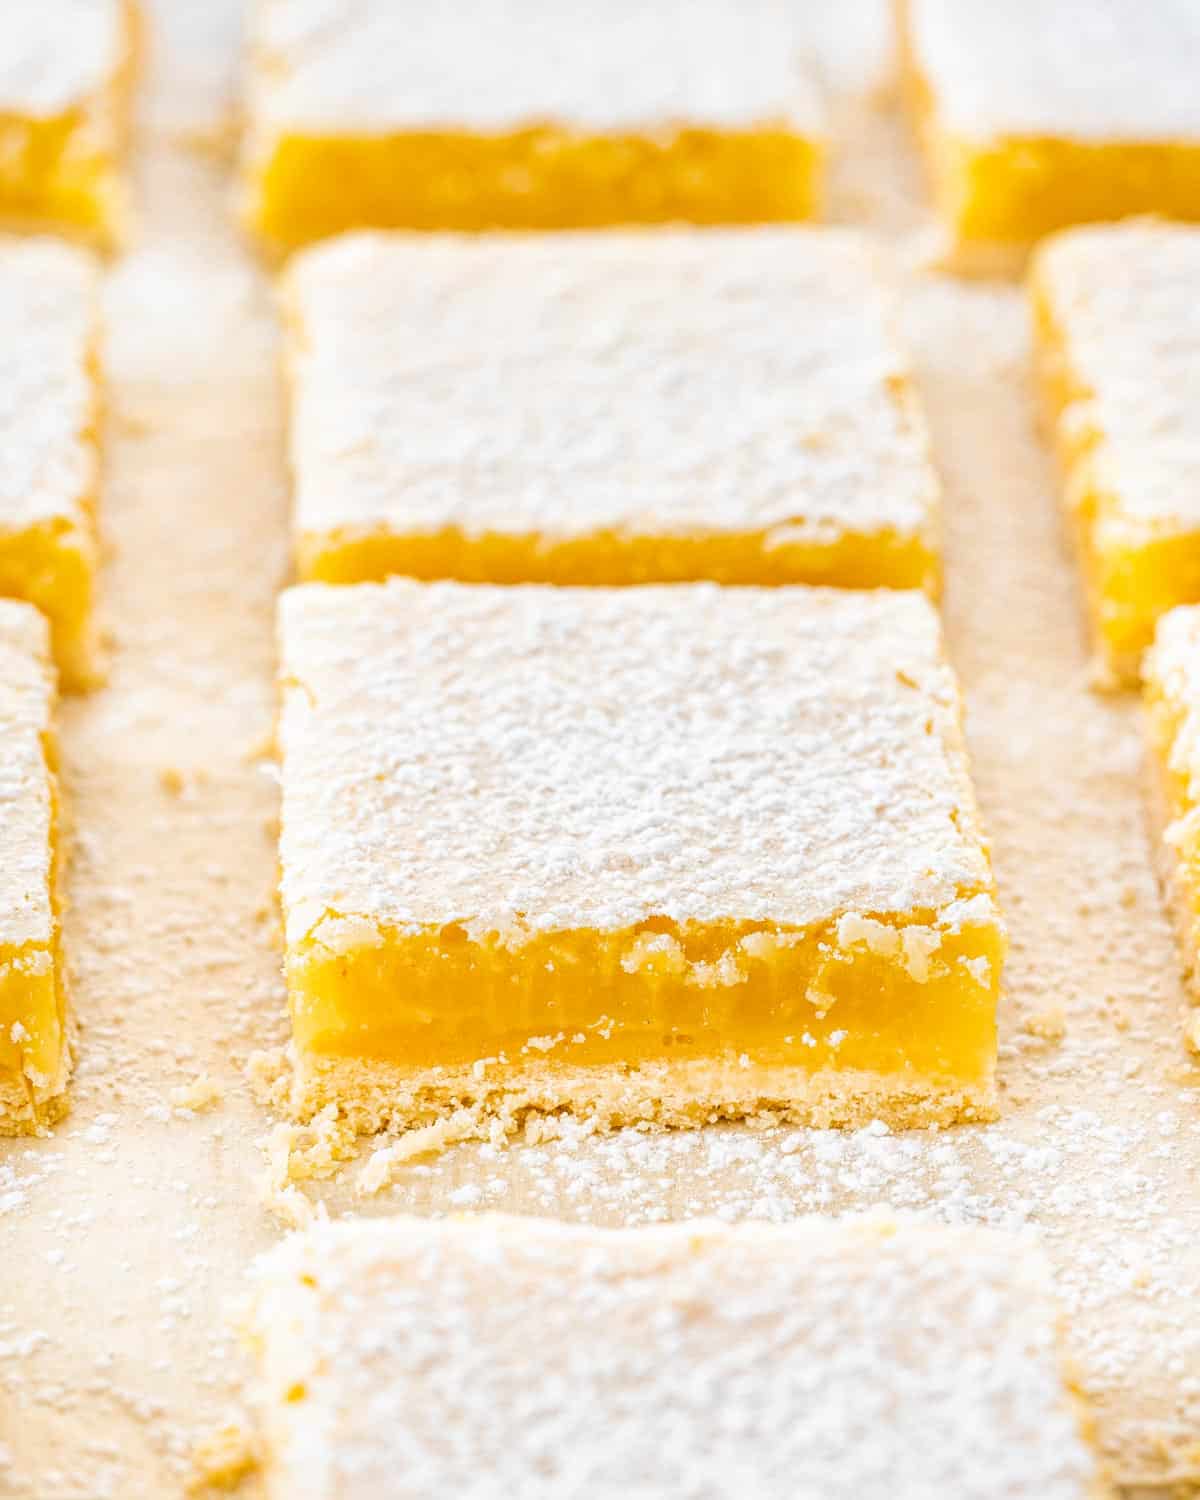
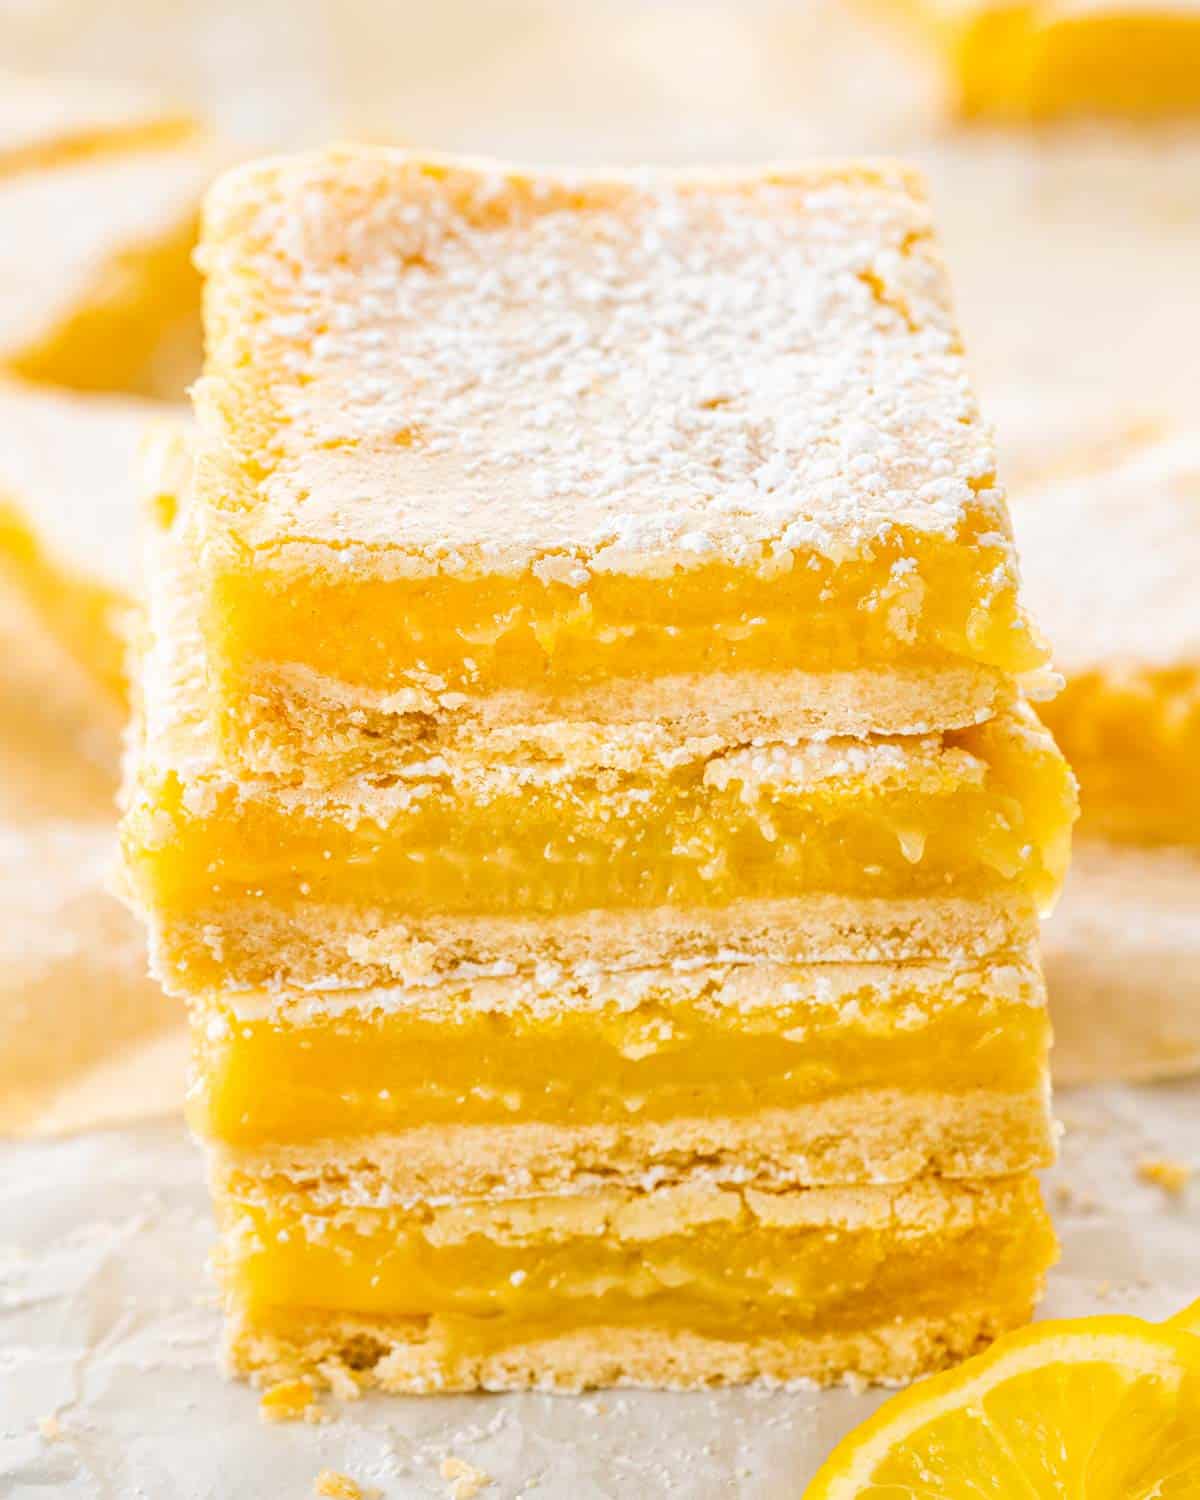
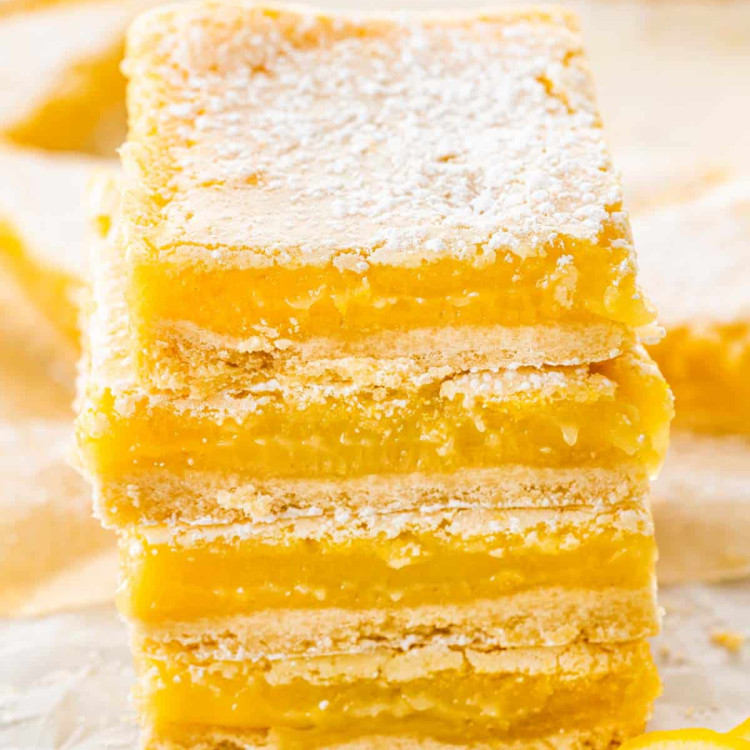
These Lemon Bars bring a ray of sunshine straight to your taste buds, unlocking a vibrant symphony of sweet, tangy goodness with each bite! The buttery, crumbly shortbread crust forms a divine base, eagerly waiting to complement the lively, zesty lemon filling. Trust me, each bite is a cheerful dance of flavors, perfectly balancing the sweet with the sour, leaving you reaching for more. The easy-to-follow steps make whipping up this citrusy delight a breeze! Whether you’re a baking newbie or a seasoned pro, you’ll find the joy in crafting these lemony treats. Plus, their eye-catching appearance and refreshing taste make them a hit at any gathering!
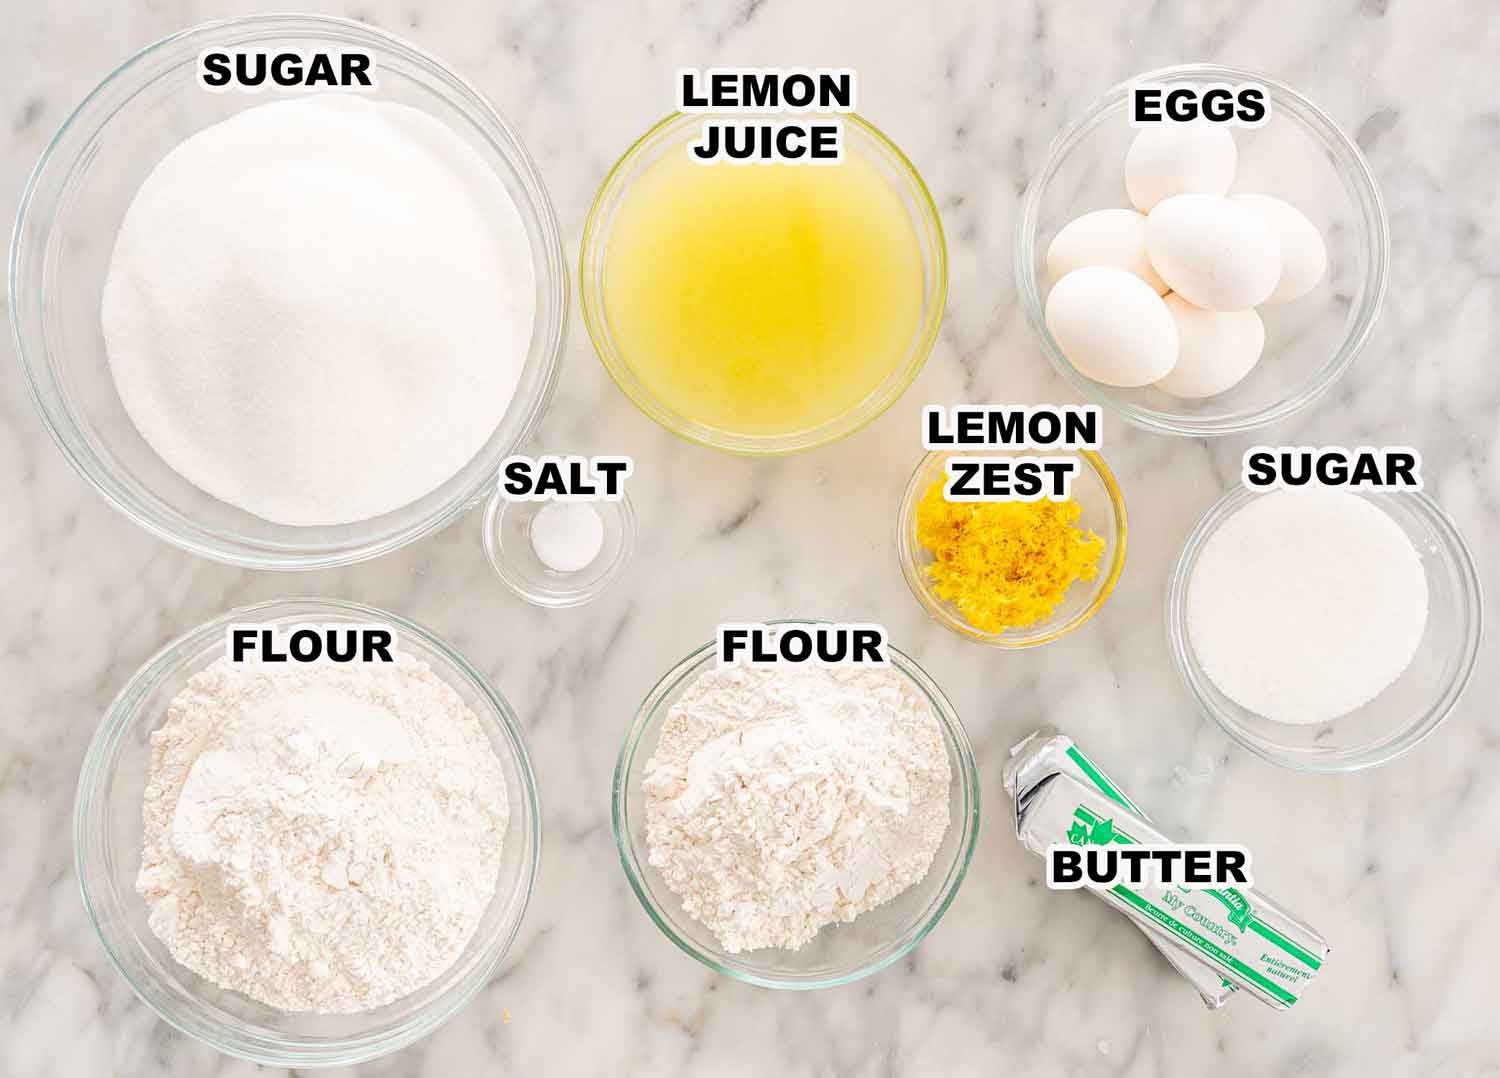
Granulated Sugar: Sweetens both the crust and the filling; you could swap it with coconut sugar if you fancy. Unsalted Butter: Gives the crust its richness and flaky texture; if needed, margarine is a solid alternative. All-Purpose Flour: Forms the structure of the crust and thickens the filling; gluten-free flour works too! Salt: Enhances the overall flavor; any type of edible salt does the job. Large Eggs: They set the filling and make it rich; sadly, there’s no ideal substitute for this one. Lemon Zest & Juice: They’re the star of the show, providing that tangy kick and fresh, zesty flavor; in a pinch, use bottled lemon juice and maybe a bit of orange zest for a twist! Powdered Sugar: For dusting over the bars adding an extra layer of sweetness; if you don’t have it, a light sprinkle of granulated sugar can add a sweet crunch.
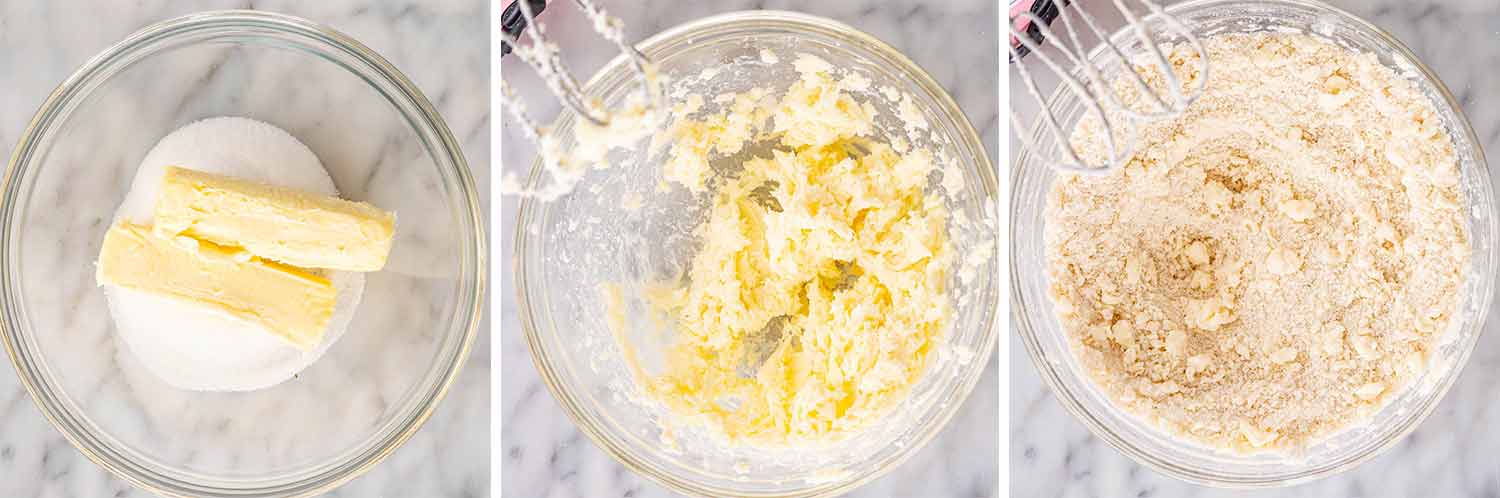
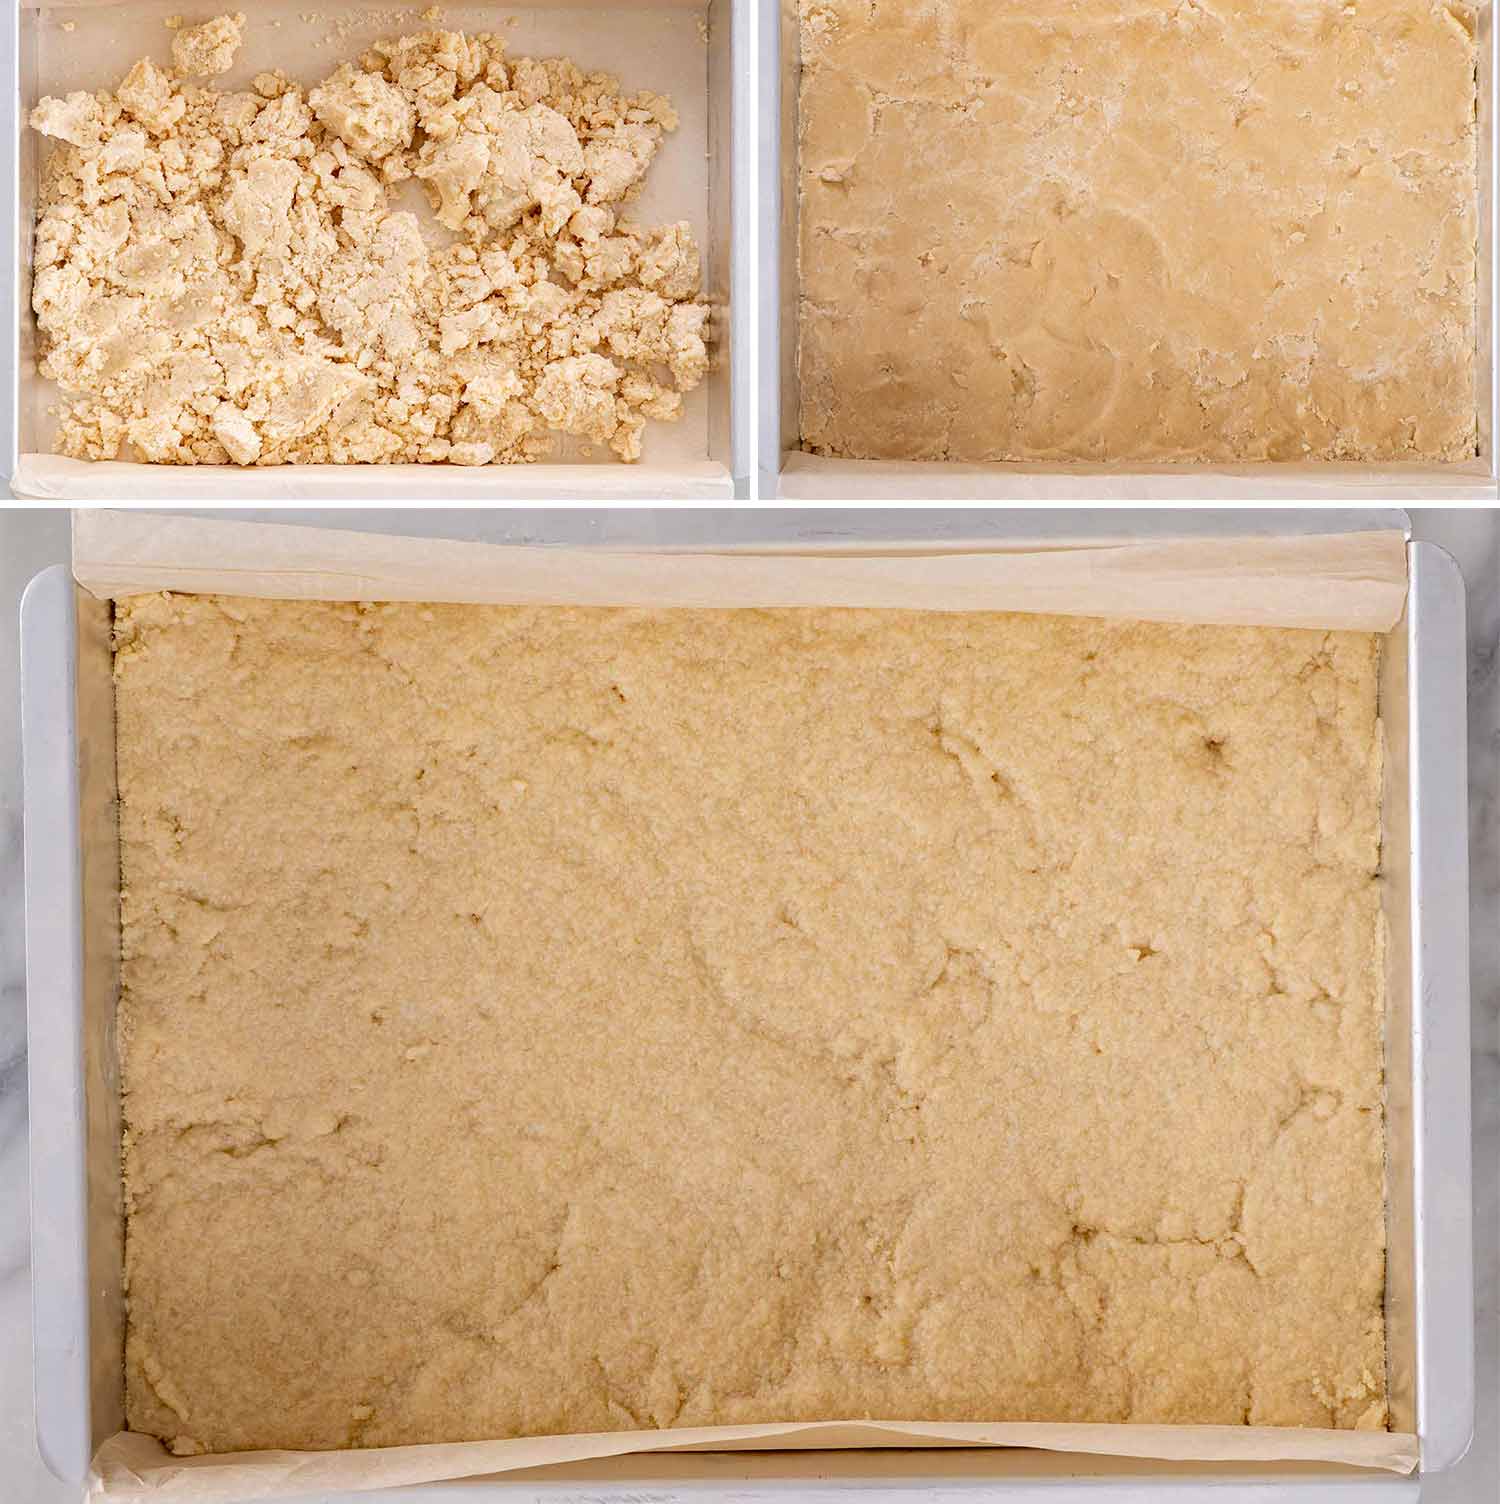
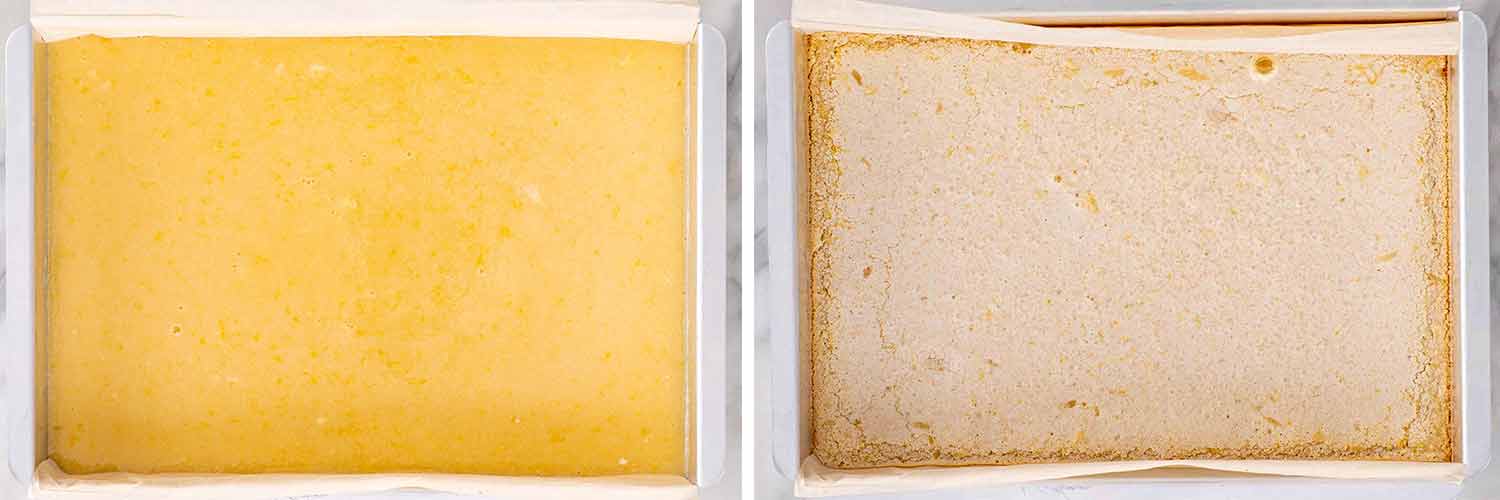
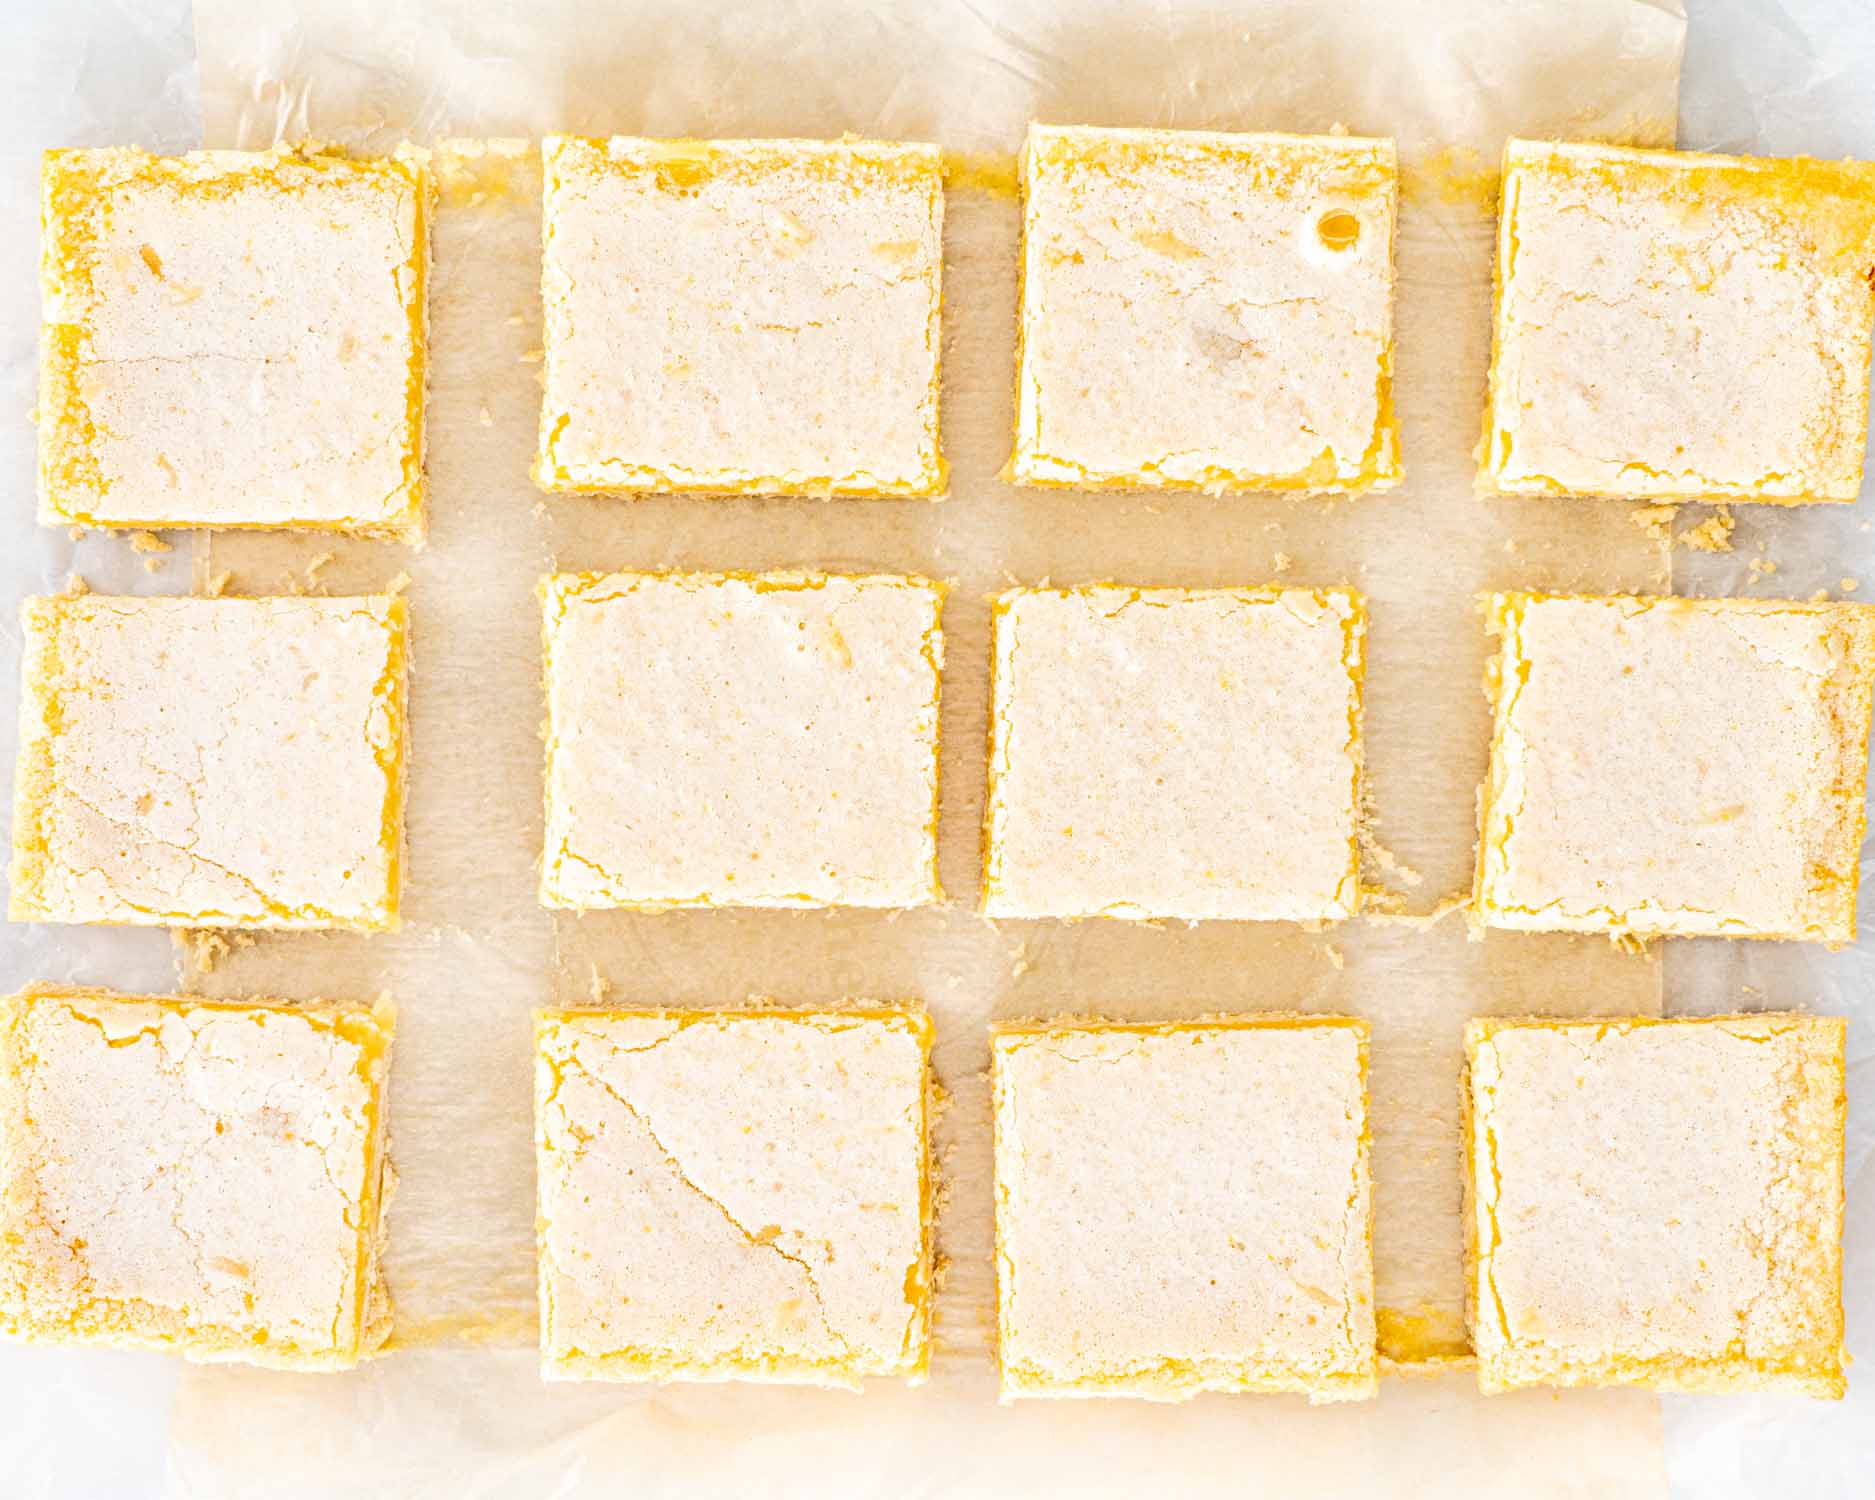
Get ready to whip up some seriously zesty and oh-so-refreshing Lemon Bars! These babies are super simple to make, and the payoff is huge—think sweet, tangy goodness in every bite! Alrighty! First thing’s first, let’s get that oven all warmed up to 350°F. Yep, just hit the preheat and let it do its thing! Next, grab a 9×13-inch baking pan and line it with parchment paper. Make sure the paper hangs over the sides a bit; it’s gonna help us lift out those bars easily later on! Now, for the crust! In your mixing bowl, blend together the sugar and butter until it’s nice and fluffy. Then, toss in the flour and salt, and mix until it all comes together—think crumbly but cool! Dump that crust mix into the pan and press it down flat—you can use your hands or the bottom of a glass. Slide it into the oven for about 20 minutes. You’re looking for a light brown color around the edges. Then, let it chill and cool down a bit. While the crust is getting its cool on, let’s whip up the filling! Mix together the eggs, sugar, lemon zest, lemon juice, and flour. Pour this deliciousness over the cooled crust. Alright, it’s back to the oven with the pan! Bake it for 30 to 35 minutes or until the filling is set. Let it cool down, cut it into pieces, and give it a sprinkle of powdered sugar.
Storage
When it comes to storing these lemony delights, it’s pretty simple! Place them in an airtight container and they’ll be good in the fridge for up to 4 days. If you want to enjoy them for longer, go ahead and pop them in the freezer! They’ll keep well there for about 3 months. When you’re ready to devour them, just thaw them in the fridge overnight and they’ll be as scrumptious as ever! Whether you’re grabbing one from the fridge or defrosting one for later, they’re sure to be a tangy treat!
Pairing Suggestions
Looking to elevate your lemon bar experience? Try pairing these tangy treats with a glass of sweet Moscato wine; its light, fruity notes complement the zesty lemon flavor perfectly! If wine isn’t your thing, a cold glass of milk or a hot cup of herbal tea, like chamomile or peppermint, also pairs wonderfully, balancing the tartness with a smooth finish.
Discover More Lemony Desserts
Lemon CheesecakeEasy Lemon CurdLemon Shortbread CookiesLemon Cheesecake BarsTwo Ingredient Lemon Bars
Recipe adapted from Ina Garten. Recipe originally shared Dec, 17 2014.