Why You’ll Love It
It won’t stick to your pot. Unlike cooking quinoa on the stove, you don’t have to worry about this gluten-free seed sticking to the bottom of the pot as it cooks. This is a huge perk if you get distracted in the kitchen! It’s difficult to mess up. The Instant Pot will automatically switch to low heat when the cooking cycle is complete, so this method is practically fool-proof, even if you forget about it. It also works well for cooking other grains, like Instant Pot Brown Rice, Oatmeal, and Steel Cut Oats. It’s nourishing. Quinoa is a complete source of plant-based protein with all the essential amino acids your body needs. It’s the perfect addition to bowls and salads and is helpful for those following a vegan or vegetarian diet. It’s easy to meal prep. Cook a big batch over the weekend, and add it to bowls, salads, and stir-fries all week. It has more fiber than rice to help keep you feeling full!
How to Cook Quinoa in the Instant Pot
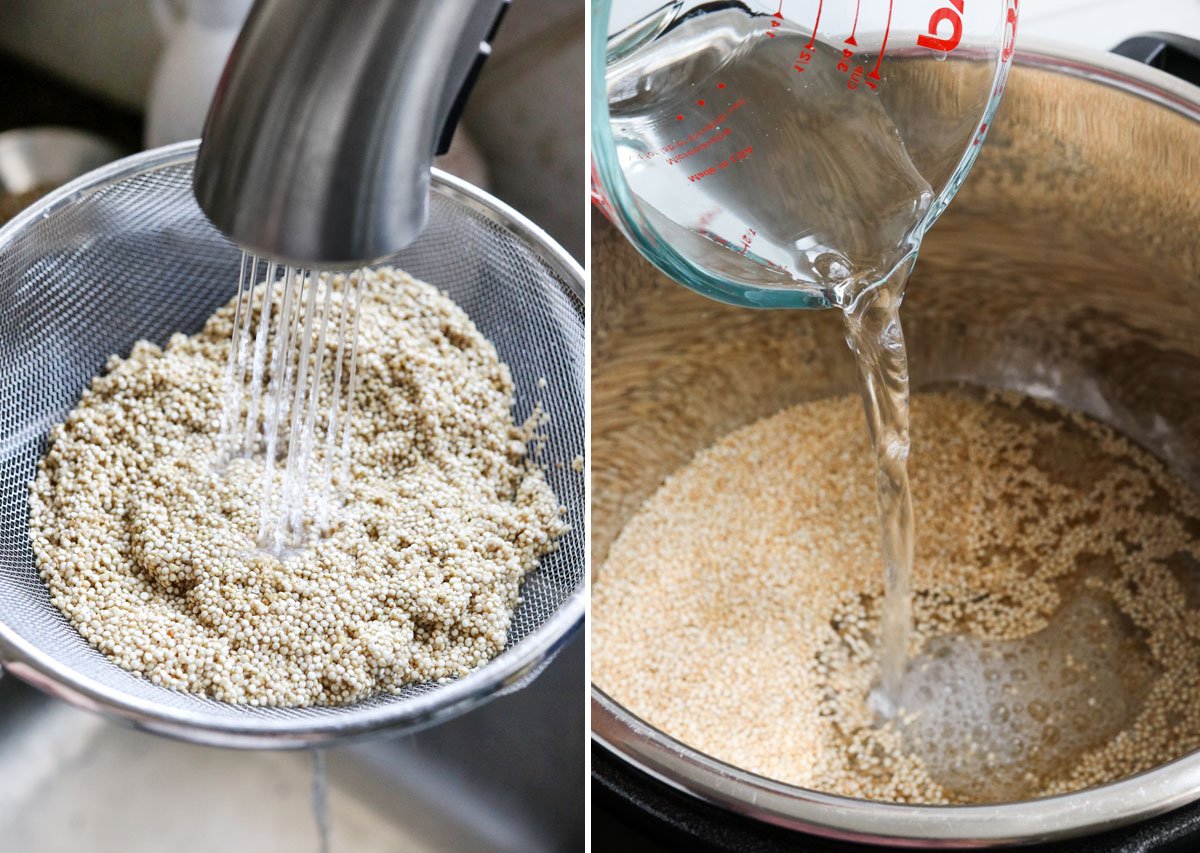
- Rinse the quinoa. Quinoa contains saponins, which can give the outer coating a bitter flavor. You’ll improve the taste by placing the dry quinoa in a fine mesh strainer and rinsing it under water for 30 seconds. It’s a quick step that makes a big difference!
- Add water. Transfer the rinsed quinoa to the Instant Pot, and cover it with water. Unlike cooking quinoa on the stove top, the liquid-to-quinoa ratio is different with pressure cooking because there is NO evaporation in the sealed pot. For every 1 cup of quinoa, you want to cook, use 1 cup of water for cooking. You can also swap the water for chicken broth or vegetable broth, if you prefer, or add a pinch of salt if you’d like to boost the flavor. No other ingredients are required! You can double or triple this amount of quinoa without changing the water ratio or cooking time. The only thing that will change is that it will take longer for the Instant Pot to pressurize due to the larger quantity in the pot. Be sure to use cold water when using your Instant Pot unless a recipe tells you otherwise. Using warm or hot water will change the cooking time slightly and might affect the final result.
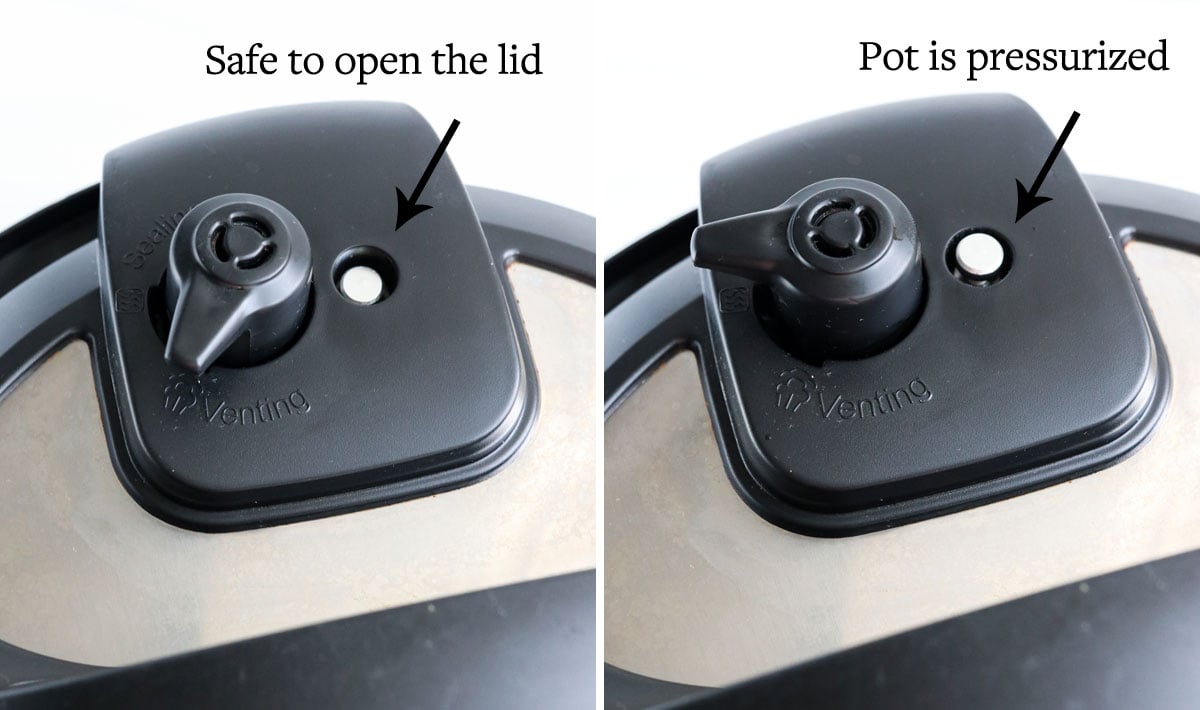
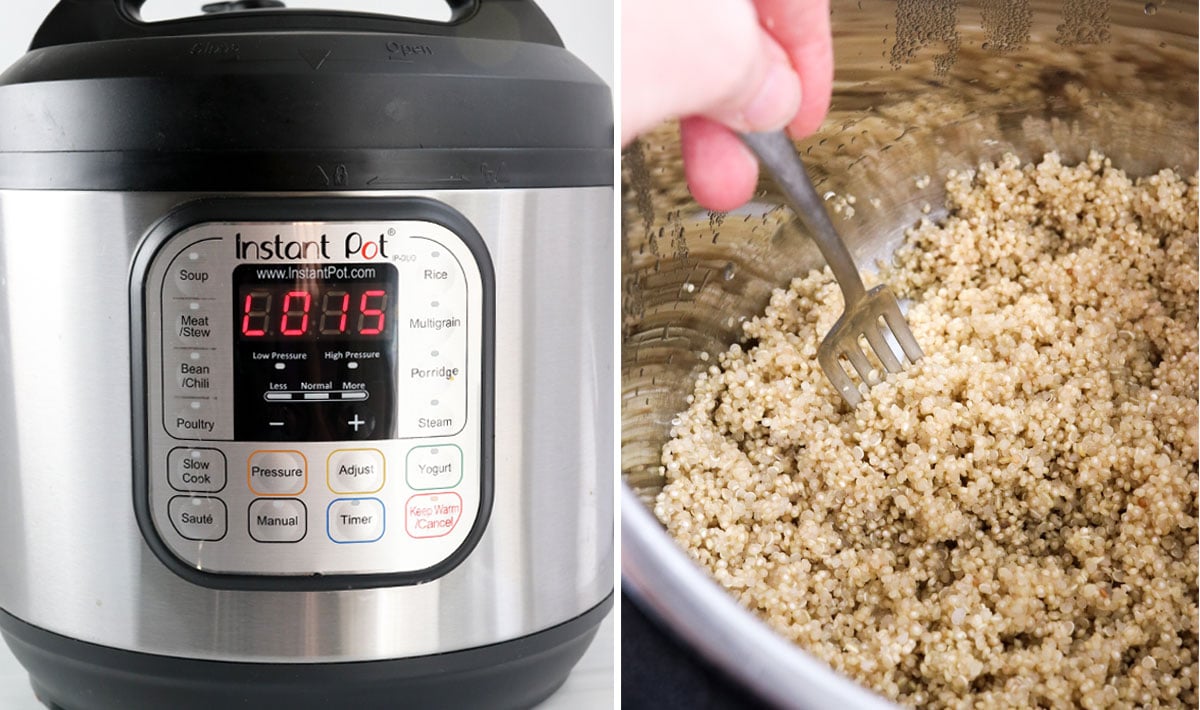
- Cook. Secure the lid on the Instant Pot, and make sure the silicone sealing ring is placed correctly. It should have some wiggle room. (Watch my Instant Pot Tutorial if you want to learn how to use your Instant Pot.) Move the steam release valve to Sealing to make sure the pot will pressurize. Use your machine’s Manual or Pressure Cook button to cook at high pressure for 1 minute. It will take roughly 8 to 10 minutes to pressurize so that the Instant Pot will say “ON” until then. s You’ll know the pot is pressurized when the floating valve in the lid pops up. When the cooking cycle is complete, let the pressure naturally release for 15 minutes. In other words, don’t do anything else until 15 minutes have passed. This will let the quinoa finish absorbing the water, without burning or sticking to the bottom of the pot.
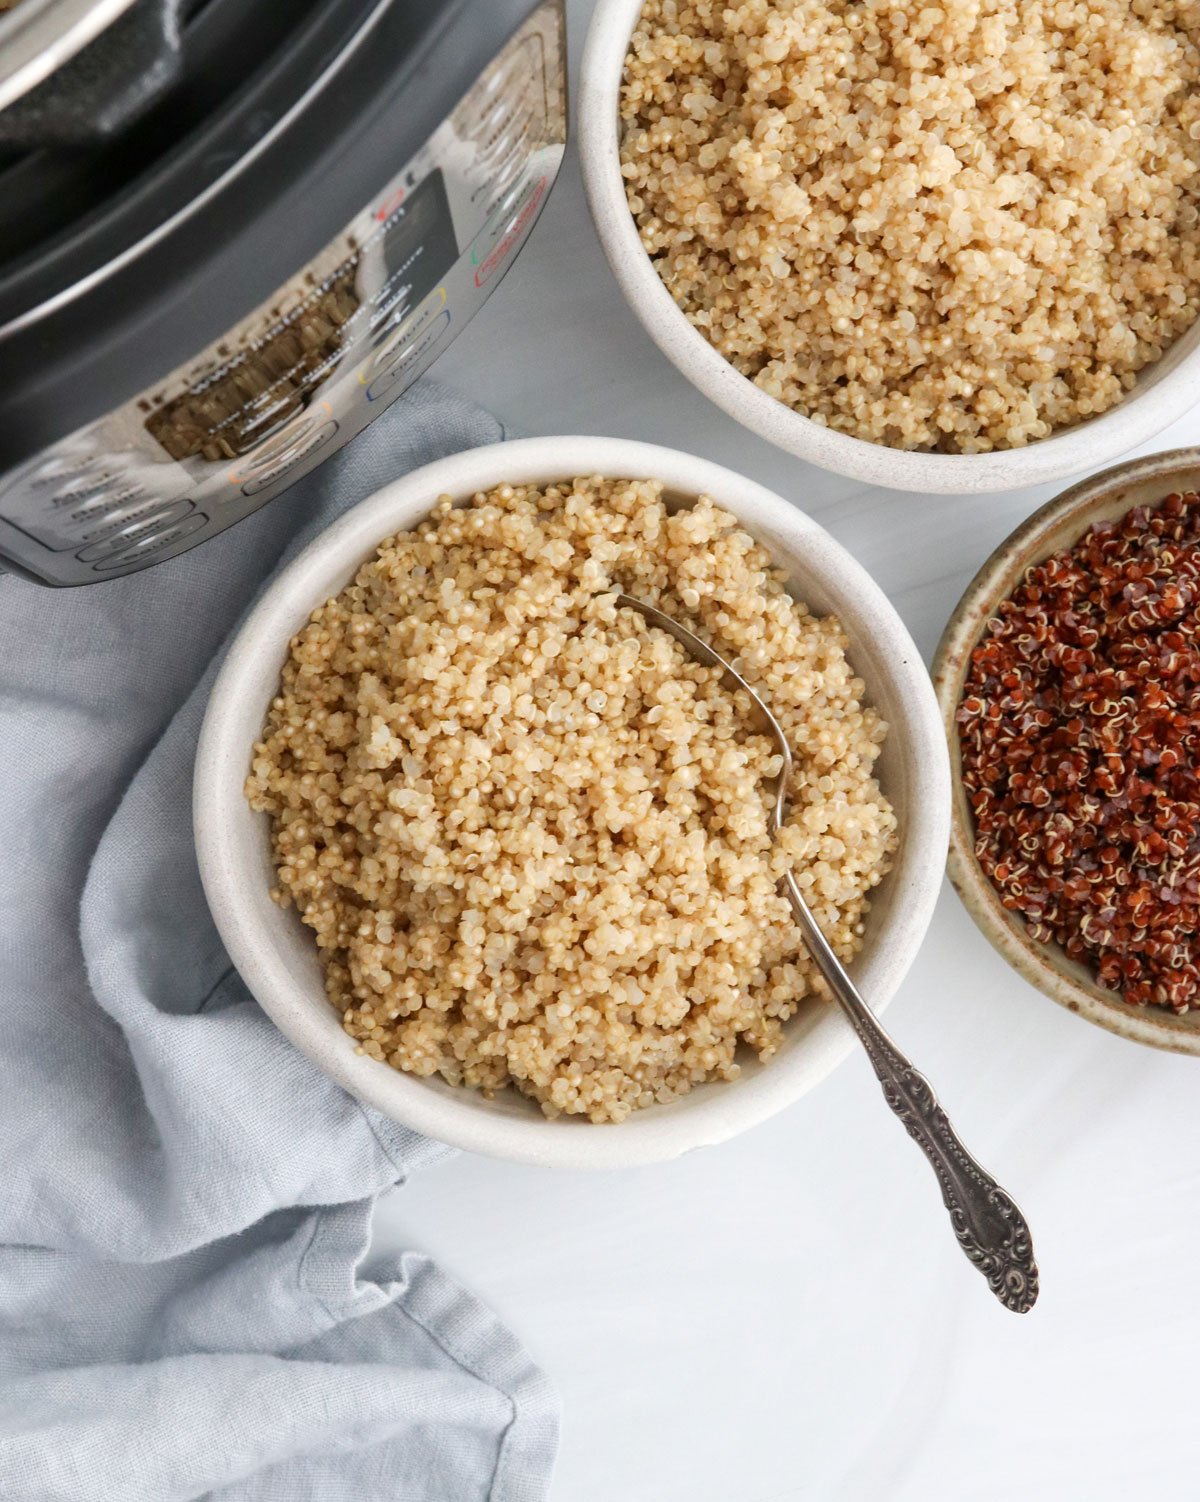
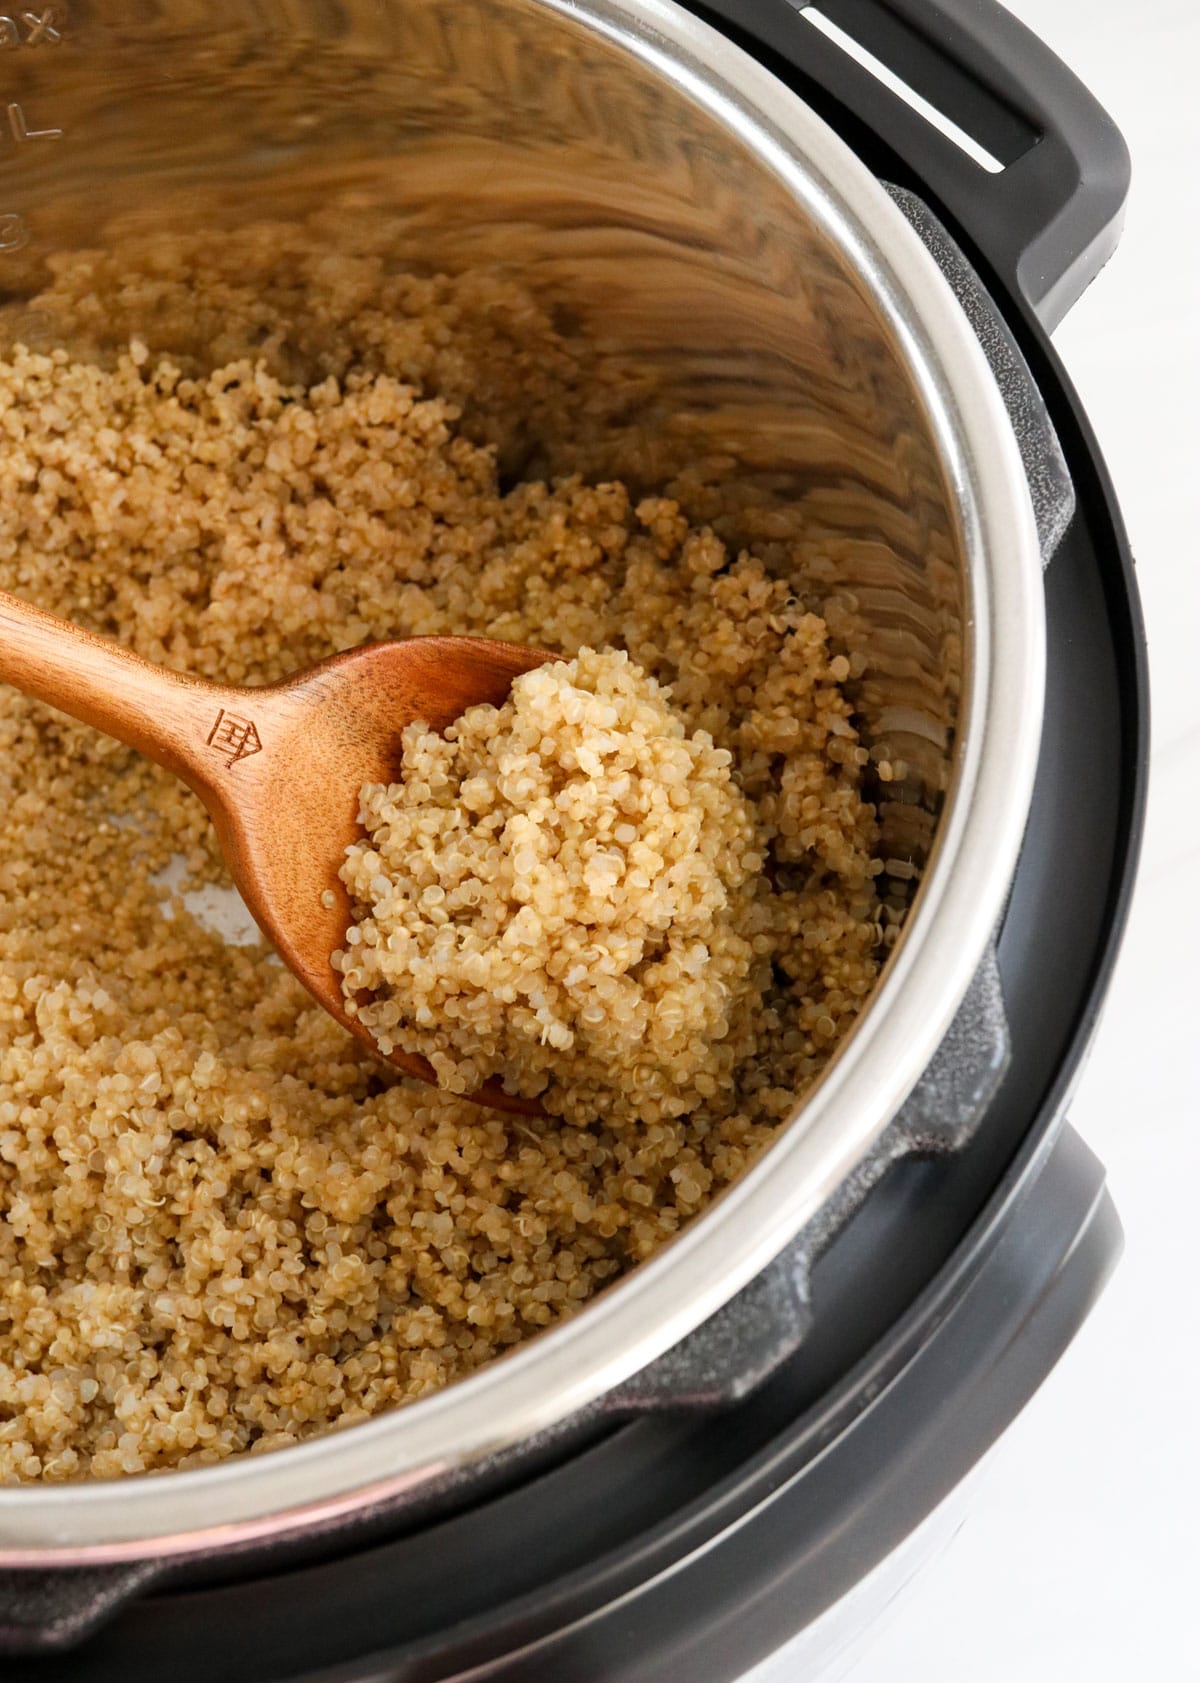
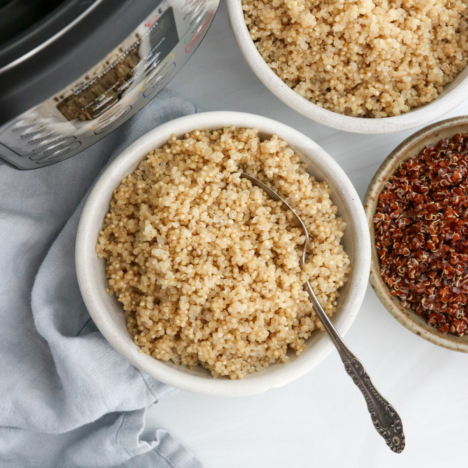
- Fluff. When the natural release is done (the screen will read L0:15), move the steam release valve to Venting. You’ll know it’s safe to open the lid when the floating valve has dropped. This usually happens during the natural release if you only cook 1 cup of quinoa. Still, if you cooked a larger quantity of quinoa, it might need a minute or so to allow the pressure to finish releasing. Remove the lid and fluff the quinoa with a fork. Now it’s ready to serve! This fluffy quinoa makes the perfect side dish, or you can add it to salads for extra texture and protein. You can store leftover quinoa in an airtight container in the refrigerator for up to 1 week. Or, you can store it in the freezer for up to 3 months, if you’d like to freeze individual serving portions to thaw later. Looking for more Instant Pot Recipes? Try my popular Instant Pot Black Beans, Instant Pot Mashed Potatoes, Instant Pot Shredded Chicken, or Instant Pot Lentil Soup. If you try this Instant Pot Quinoa recipe, please leave a comment and star rating below letting me know how it works for you.