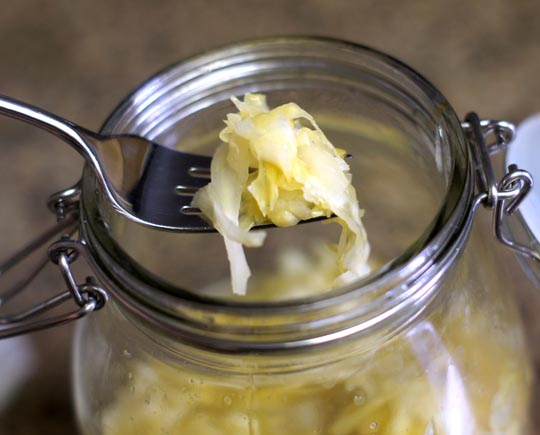
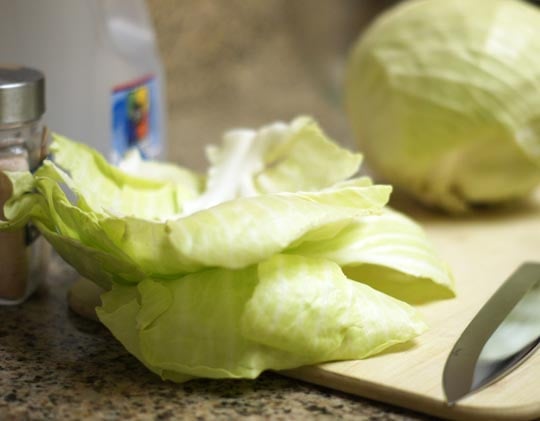
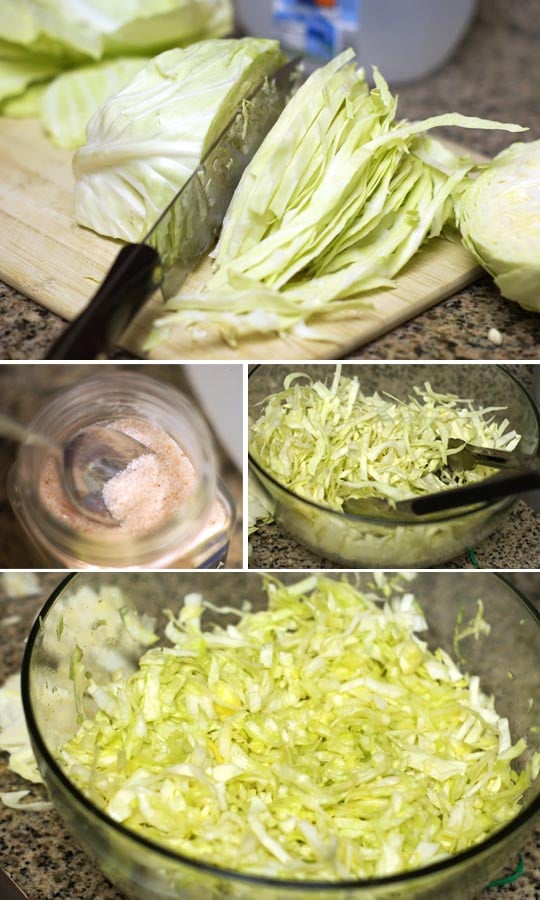
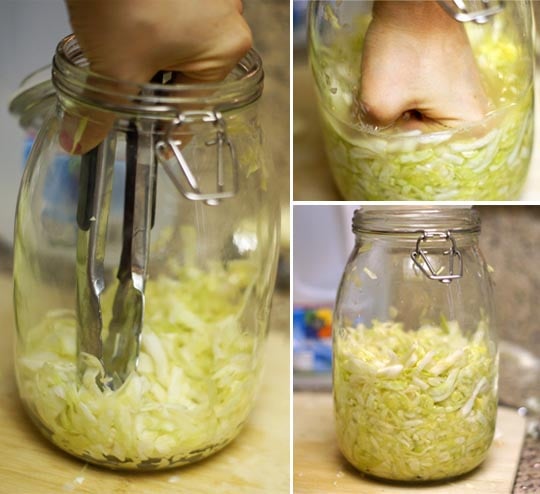
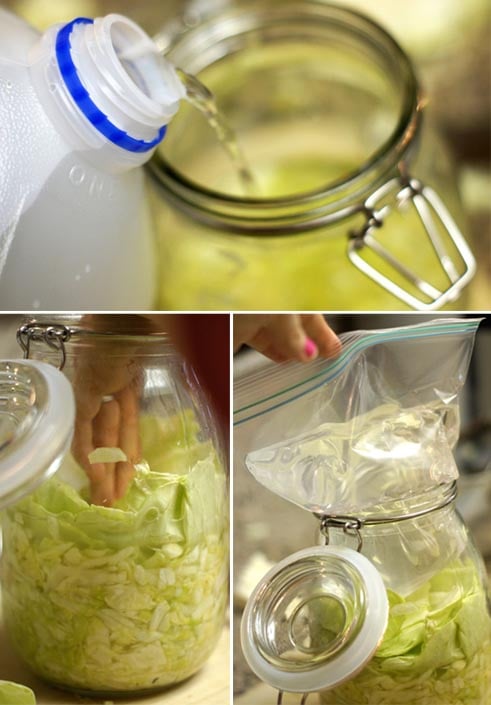
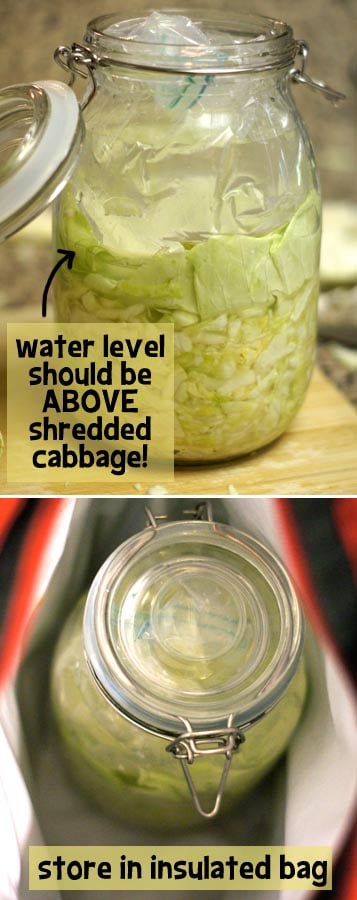
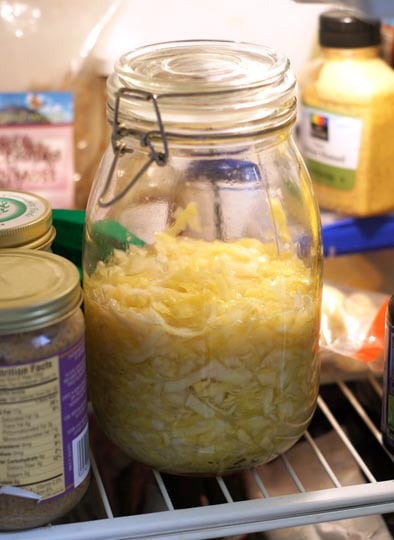
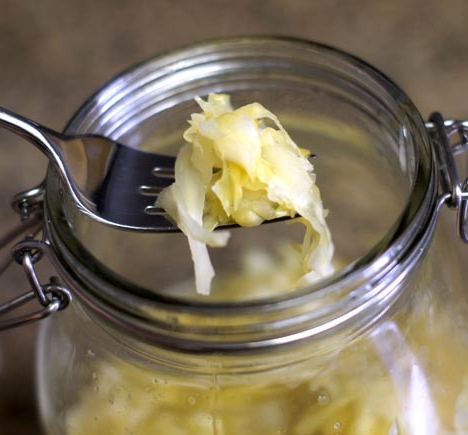
Fermenting my own veggies has always terrified me, since I was convinced I’d probably do it wrong and wind up with botulism. But people have been eating fermented food for centuries, so it can’t be as scary as it sounds, right? Right. Plus, it’s loaded with friendly bacteria for your gut, which has been shown to improve digestion and the absorption of vitamins and minerals. So, eat your (fermented) veggies. — Homemade Raw Sauerkraut Ingredients: 1 head green or purple cabbage 2 Tablespoons sea salt Spring or distilled water, as needed Tools: Wood cutting board Sharp knife Glass jar Large glass or metal bowl Metal Tongs Ziploc bag (if needed for added weight) Directions: (You’ll want to save these for later.) Using a sharp knife, simply shred the cabbage and transfer it to a large glass bowl. Add about 2 Tablespoons of salt, then, using tongs or clean hands, massage the cabbage until it starts to break down from the salt. It will release moisture and reduce in size. Step 3: Transfer to a jar. Transfer the massaged cabbage to a clean glass jar, preferably one that is large enough to fit your hand through the top. The most important part of making fermented veggies is that you remove all the air in the jar–> so you want to pack the cabbage tightly, leaving no gaps! I used my fist to punch it down, but a clean wooden spoon would work, too. Step 4: Cover with water and reserved cabbage leaves. Like I mentioned above, the key to properly fermented sauerkraut is making sure there is no air remaining in the shredded cabbage. While there is already plenty of moisture released from the cabbage to make the brine, I like to add a little extra spring water (do not use tap water!!) to make sure the liquid level is completely ABOVE the shredded cabbage. Once you’ve added the water, use the reserved cabbage leaves to press down the shredded cabbage–> keeping it submerged under the liquid. Ideally, you’d fill up the jar all the way to the top, but mine didn’t work out that way. If that’s the case for you, too, simply fill a plastic bag with salt water (in case it bursts in the jar, you want it to be salt water!) to use as a “weight.” Place the salt water bag on top of the large cabbage leaf layer, and seal the jar. You should be able to see the liquid layer above the shredded cabbage line. Step 5: Store in an insulated bag for 3-7 days. If your house is a too warm or too cold, the insulated bag ensures that the fermentation process is kept at an even temperature. My sauerkraut took a full week to reach the classic “tangy” flavor this time around, but it may take less time in warmer climates. You can start checking on it after 3 days, just make sure the liquid level is high enough each time you re-seal the jar! Once the sauerkraut has fermented to your liking, remove the weight and outer leaves and discard. *I’ve heard that it’s not uncommon for a layer of mold to develop on the outer leaves. This doesn’t mean your sauerkraut is ruined! Simply discard the layer of mold, and everything underneath the brine should be safe. As always, use your best judgement–> if it smells off, don’t eat it. Step 6: Store in the fridge and enjoy! I’ve had raw food teachers tell me that raw sauerkraut can last almost indefinitely in the fridge… but hopefully you’ll eat it all before you can test that theory. It will definitely last for months in the fridge, so feel free to make a BIG batch! Once you’re comfortable making your own sauerkraut, feel free to get creative with the veggies you add to it! Ginger, beets, carrots, garlic, and lemon juice all make tasty additions. SaveSave SaveSave