You’ll love this recipe because it represents the essence of autumn, with warm and cozy spices, a rich pumpkin filling, and a flakey pie crust. Dietary Note: this recipe is suitable for a vegetarian, vegan, and gluten-free diet swapping all-purpose flour for gluten-free flour.
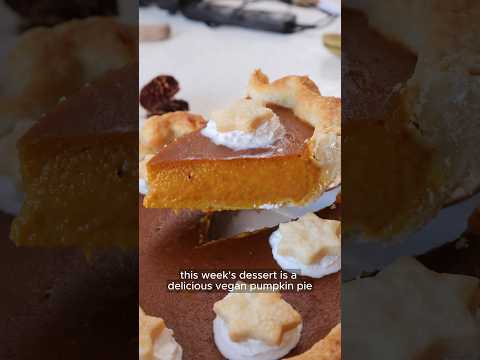
Vegan pumpkin pie video
Ingredients & Substitutions
How to make vegan pumpkin pie
Storage & Make Ahead
More Thanksgiving desserts
If you opt for store-bought, you can pick a vegan or gluten-free pie crust if you need to. If you make the pie at home, we recommend using vegan butter (that’s what we use), vegetable shortening, or good quality dairy-free margarine without hydrogenated fats (they are not good for us). For the pumpkin filling, we go for the usual canned pumpkin puree and warm spices like cinnamon, clove, ginger, and nutmeg. We add coconut milk for richness, but you can also use a soy-based cooking cream. In either case, you won’t be able to taste the coconut or the soy flavor, and no one can tell if this is vegan.
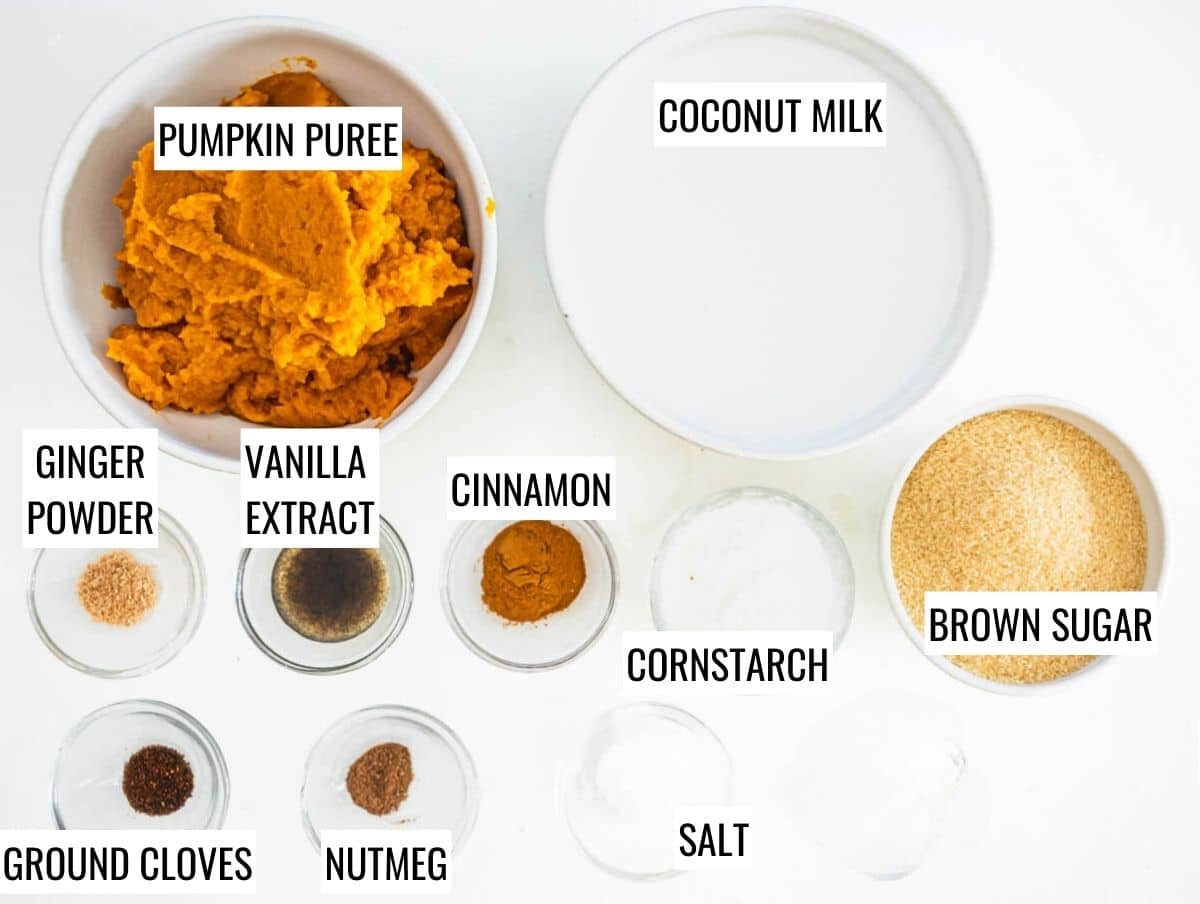
Pumpkin pie filling
Pumpkin puree: we use canned pumpkin puree. To use homemade pumpkin puree, we recommend roasting a chopped winter squash, peeled and diced (our favorite is kabocha squash) in a preheated oven at 400°F or 200°C for 30 minutes or until tender. Measure 15 ounces (425 grams) and blend with the other ingredients in a food processor in a blender. Sugar: you can use white or brown sugar. Substitute maple syrup for sugar, but the filling won’t be as firm. Spices: we recommend cinnamon, ground ginger, vanilla extract, allspice, ground cloves, and grated nutmeg. Also, a pinch of salt is essential. Substitute pumpkin pie spice mix or pumpkin spice mix for the spices. Cornstarch: to thicken the liquid. Substitute tapioca starch or arrowroot powder. Coconut milk: to add richness and a pleasant mouthfeel. Substitute a soy-based cooking cream or coconut cream for coconut milk.
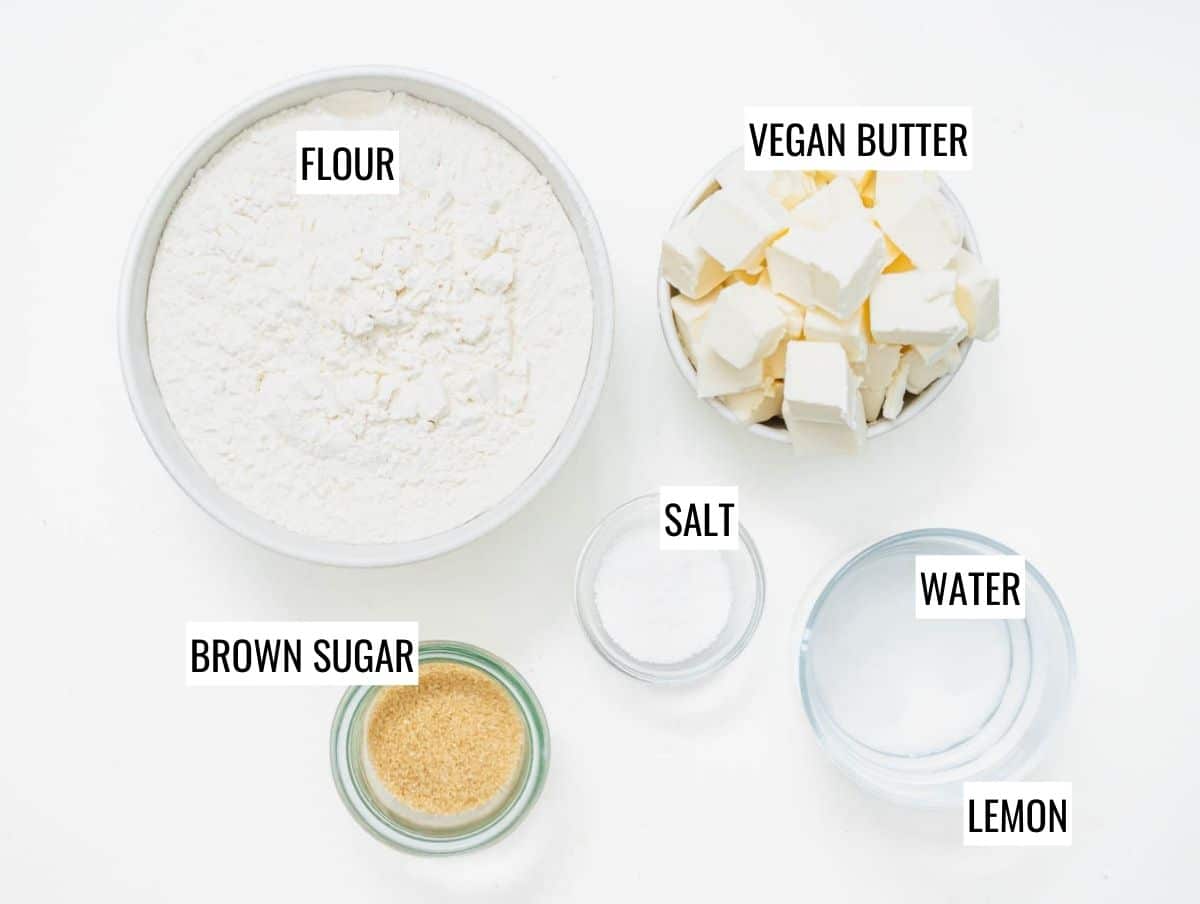
Vegan pie crust
You can pick your favorite store-bought pie crust or make your own at home. Homemade vegan pie dough is easy to make with simple ingredients pulsed together in a food processor. You’ll need:
Flour: we recommend all-purpose flour. For gluten-free, use a 1-to-1 gluten-free flour for baking. Sugar: white sugar is best. Brown sugar works, too, but it’ll leave tiny speckles on the crust. Vegan butter: it is best to use vegan butter that comes in a block and is not spreadable. Salt: sea salt or kosher salt is best. Water: it’s essential to use cold or iced water to ensure the butter doesn’t warm up too much as you work the dough.
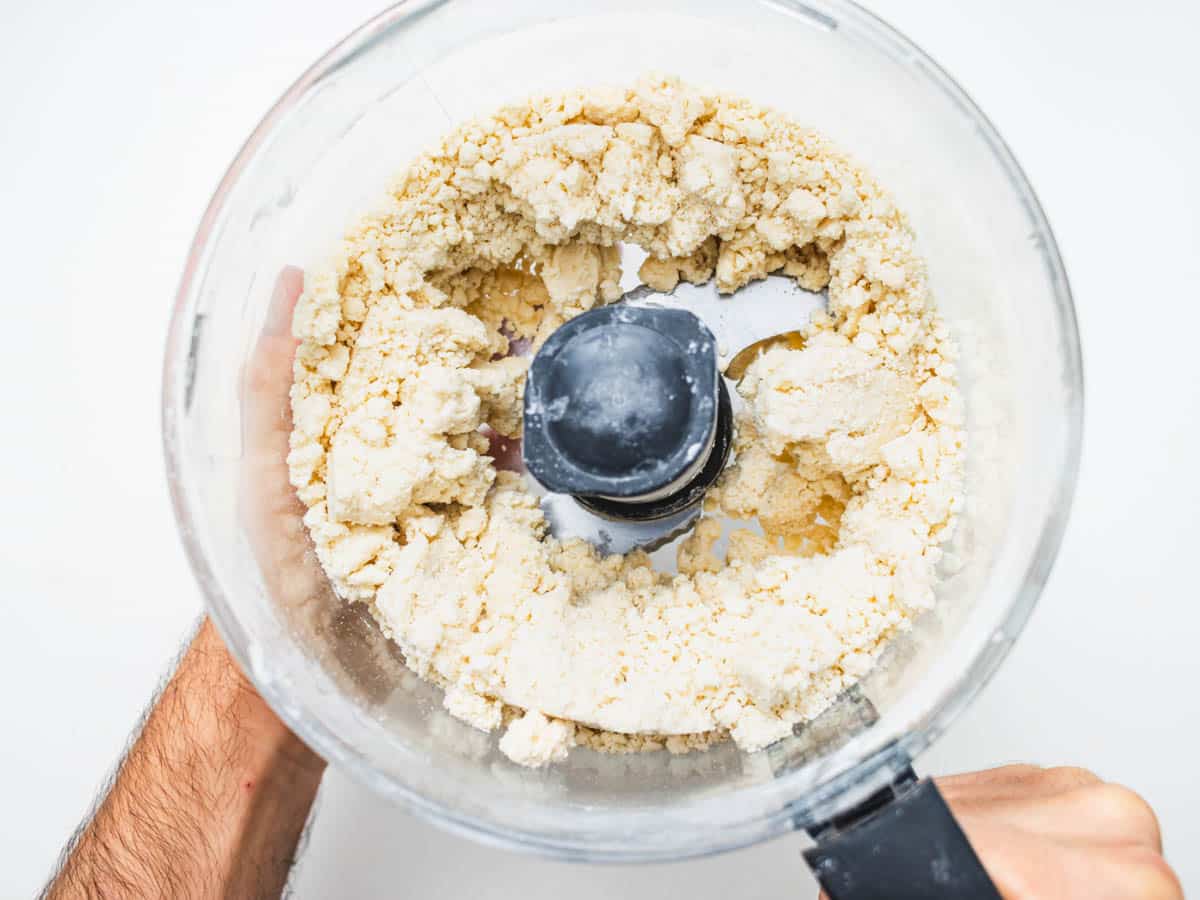
1. Start with the vegan pie crust
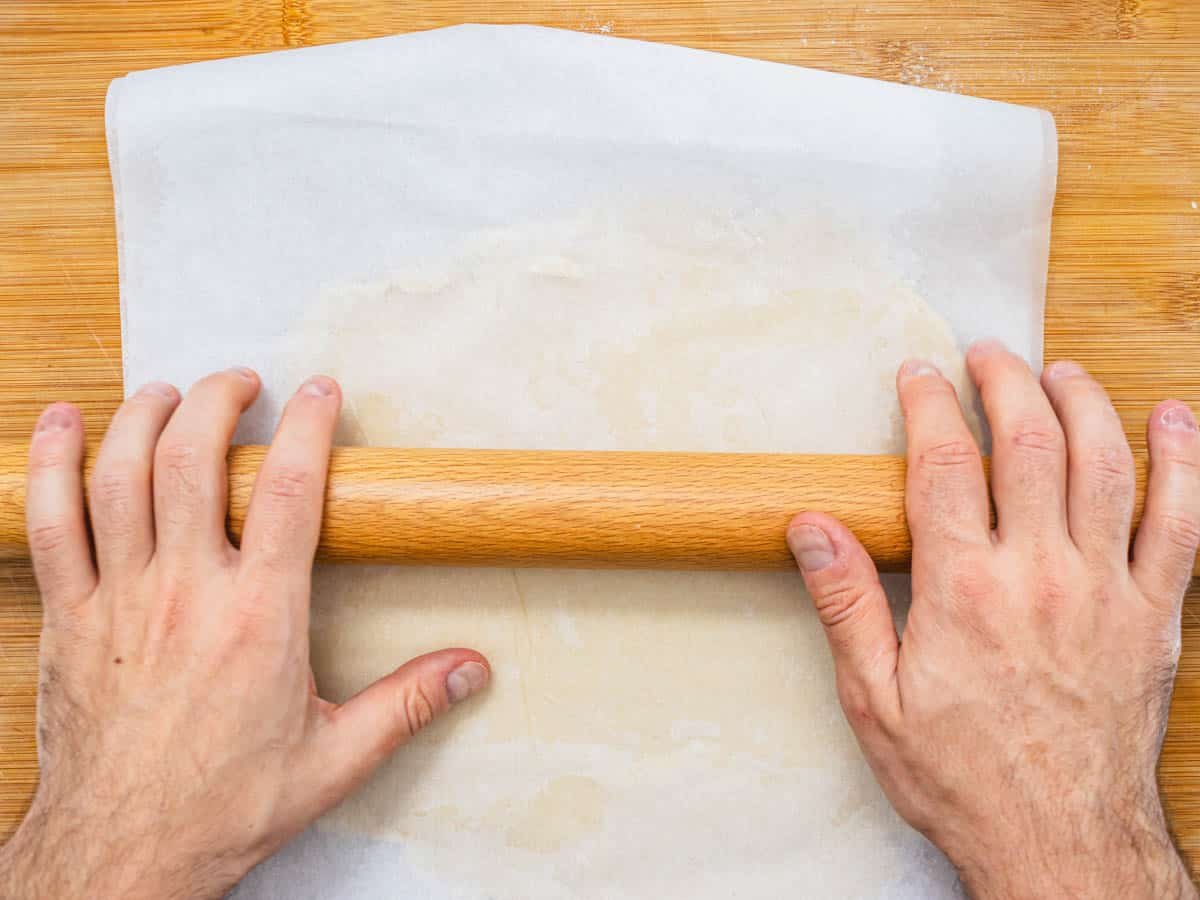
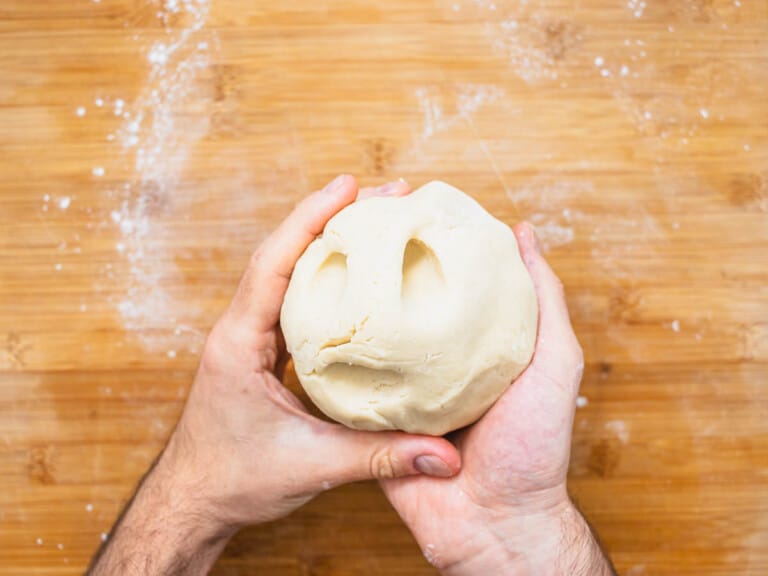
Preheat the oven to 375°F or 190°C. To a food processor, add flour, sugar, salt, and cold-diced vegan butter. Pulse a few times until you have a coarse mixture, then add 2 to 4 tablespoons of water and keep pulsing a few more times until the butter absorbs the flour. Tip: if you don’t have a food processor, mix the ingredients in a large bowl, mashing the butter and flour with a pastry cutter or a fork. Transfer the mixture onto a clean worktop and lightly knead it until it becomes a dough ball. Tip: This step takes about 30 seconds. Avoid kneading and touching the dough for longer than that because 1) the warmth of your hands will melt the butter, 2) kneading too much will develop the gluten in the flour, and your crust won’t be as flaky.Tip: The dough should not spring back when you push a finger in. Divide the dough into two parts. One part should be slightly bigger than the other (that will be the base of the pie), and one slightly smaller (that will be for the cutouts on top). Roll out each dough ball between two sheets of parchment paper, ensuring the larger disc is large enough to cover the pie dish. You can sprinkle the pastry dough with flour so that it’s easier to roll out. Set aside in the refrigerator for 30 minutes or in the freezer for 15 minutes.
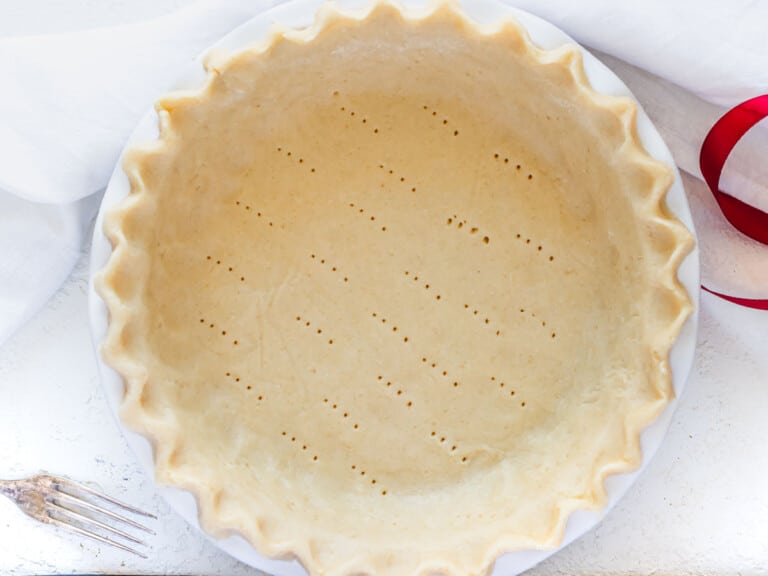
2. Bake the empty pie shell
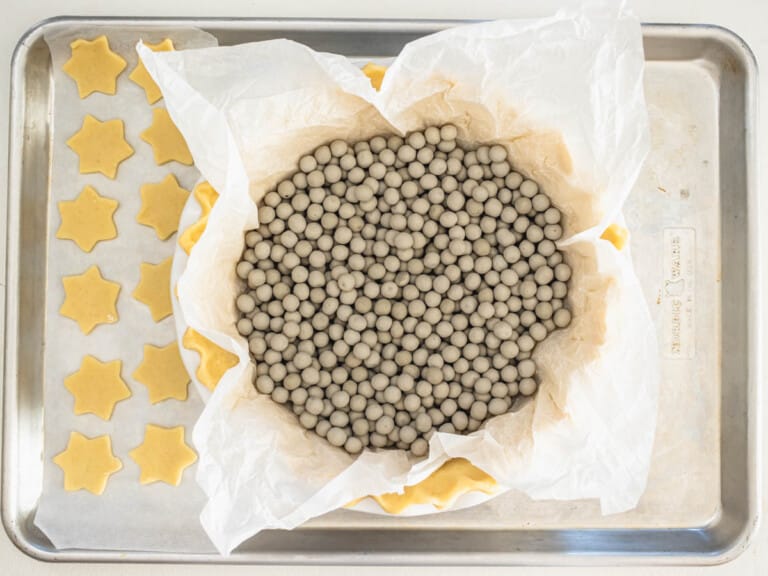
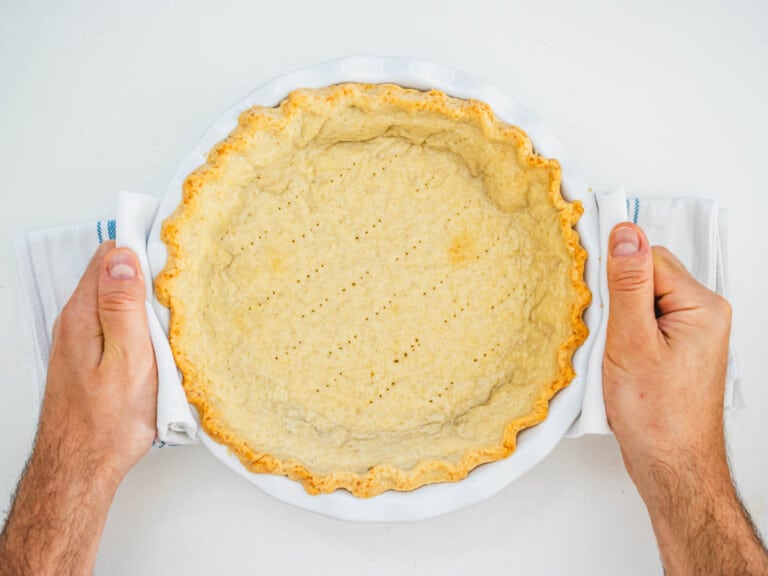
Arrange the larger pie crust on your pie dish without the parchment paper. Pierce the bottom with a fork. Tip: you don’t have to butter your pie dish, but you can if you want to be 100% sure your pie won’t stick. Flute the edges of the pie crust with your fingers or with the back of a wooden spoon. Cover the pie crust with a crinkled sheet of parchment paper, then put baking beans (pie weights) on top. Cut out some stars, hearts, or other shapes with the other sheet of pie crust. Arrange both the pie dish and the cutouts on a baking tray. Tip: if you don’t have baking beans, you can use dry beans, chickpeas, or rice. Bake in the preheated oven at 375°F or 190°C for 15 minutes with the baking beans, then carefully remove the beans (they are hot) and the parchment paper and bake the crust empty for 12 minutes. Tip: this step is called blind baking and is required when making pies with a liquid filling like this vegan pumpkin pie.
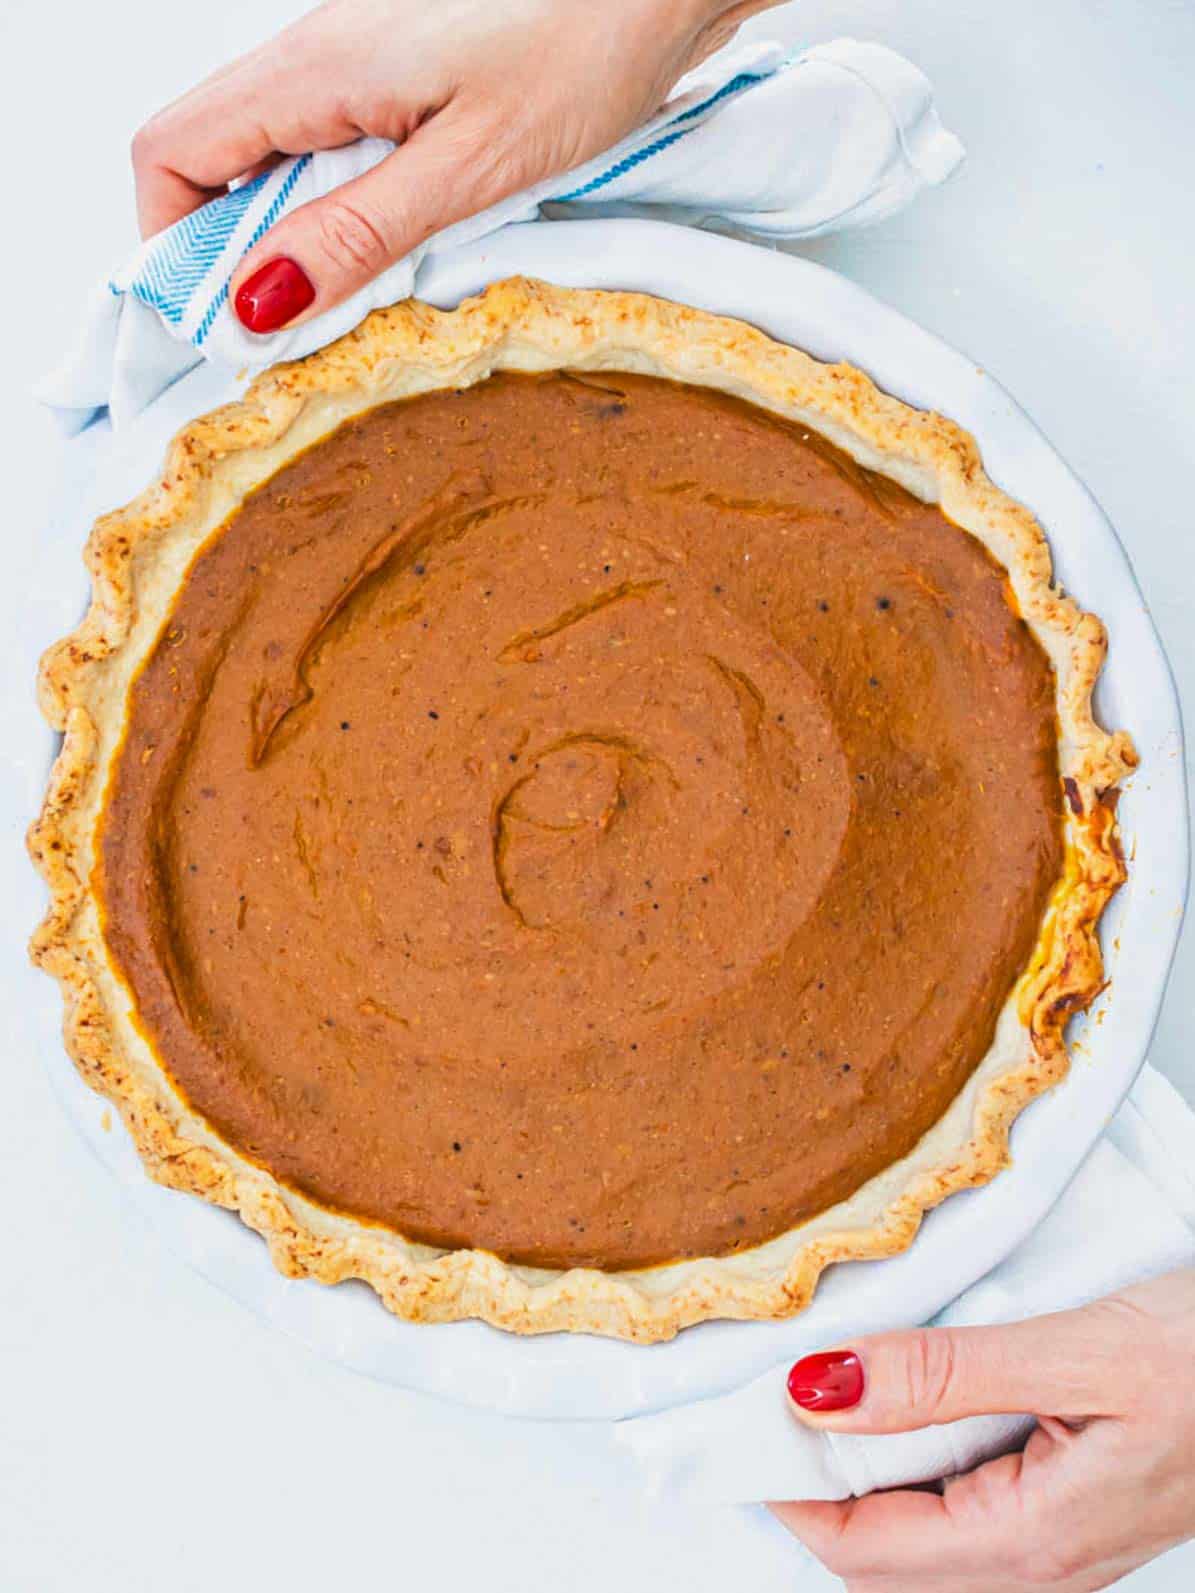
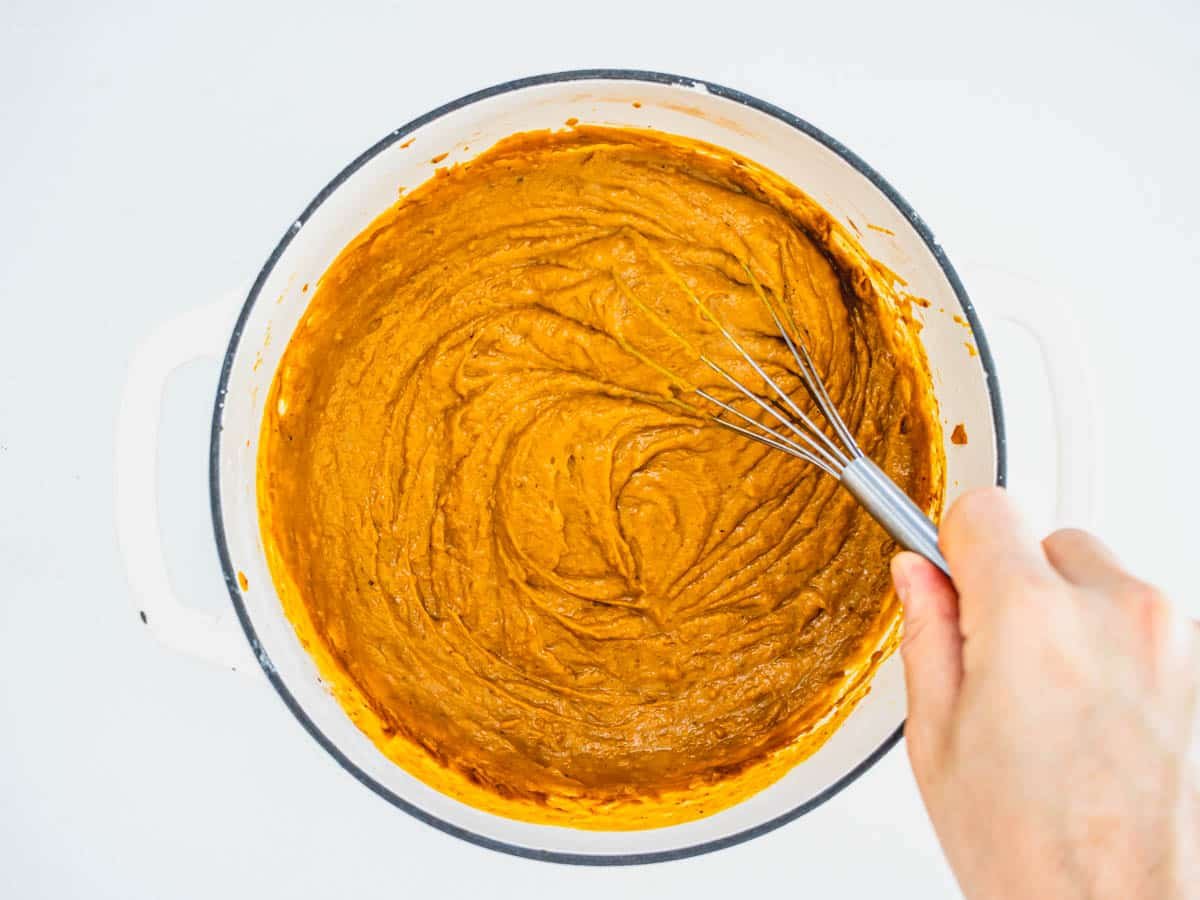
3. Make the vegan pumpkin pie filling
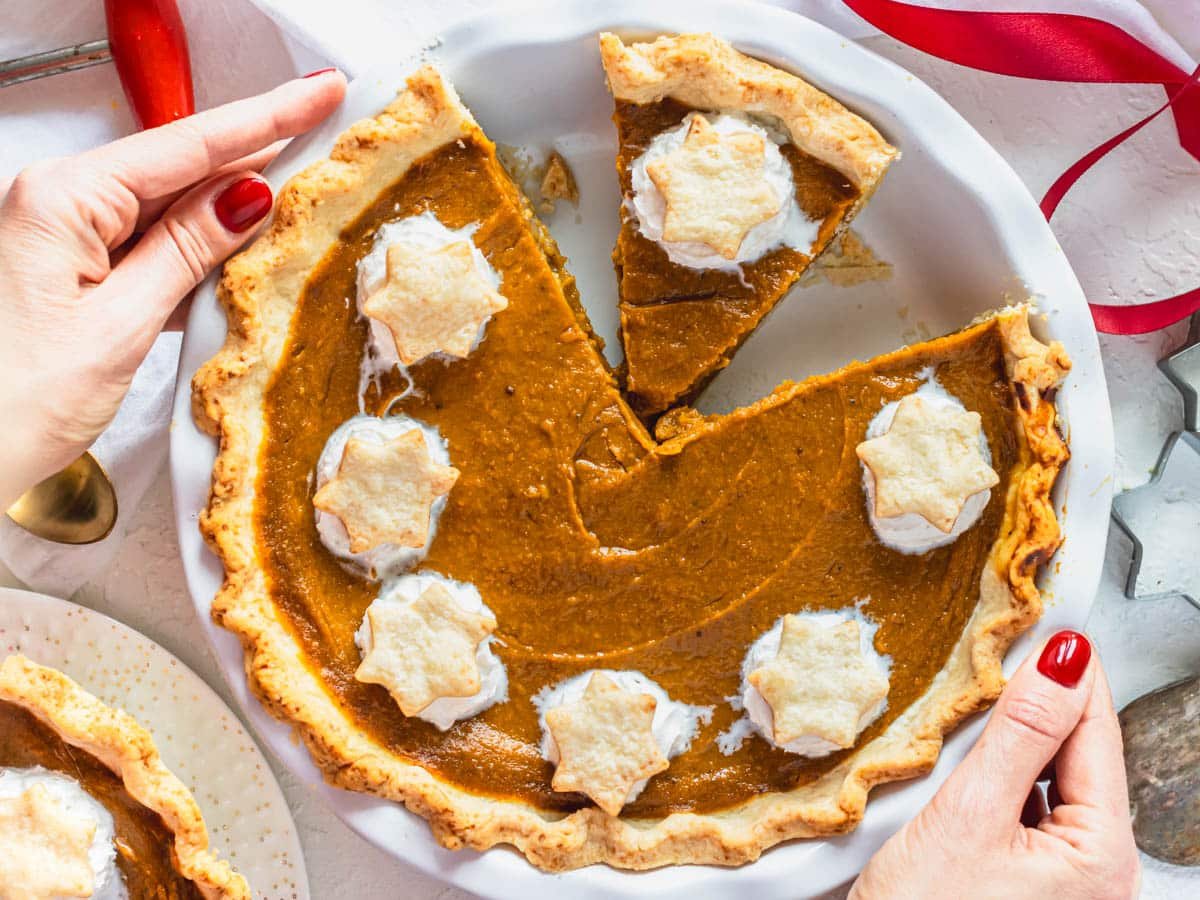
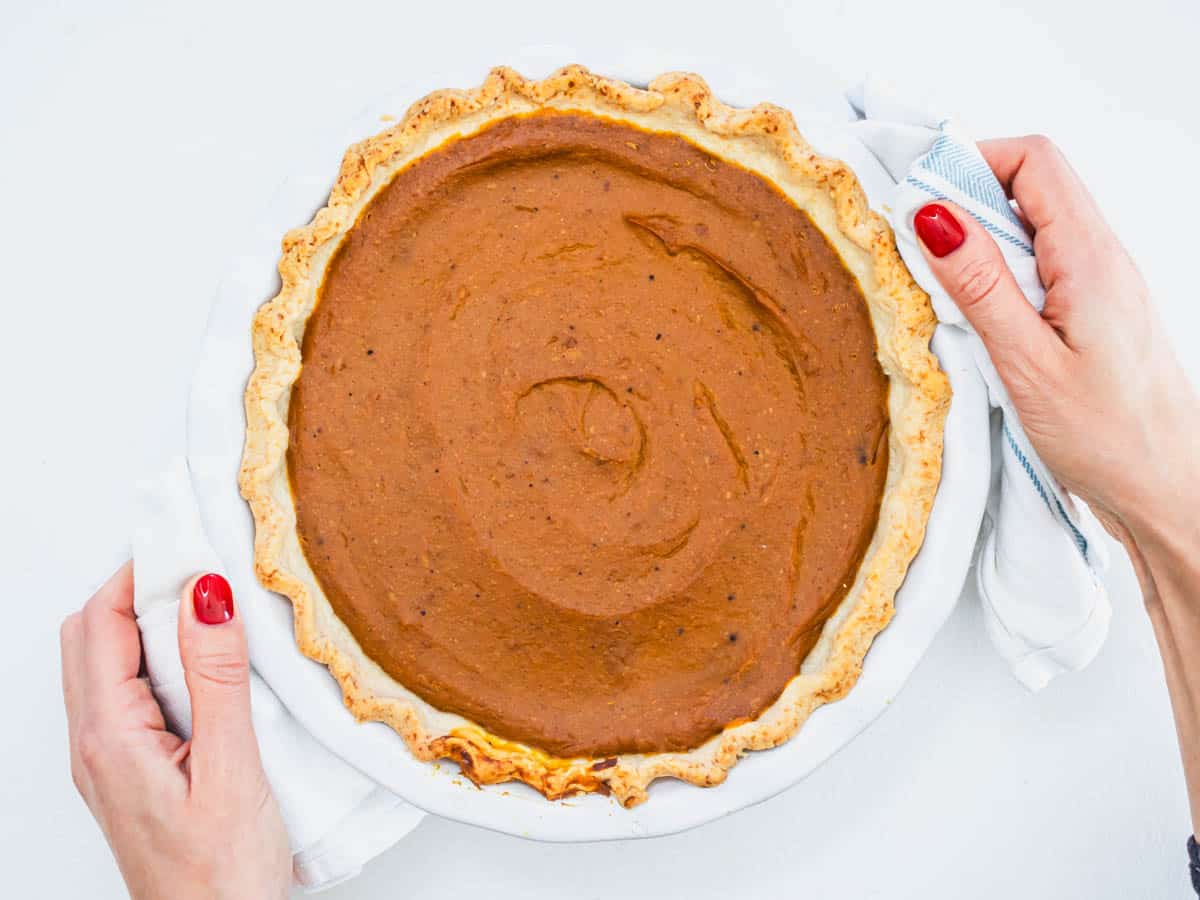
Prepare this while the crust is baking. To a medium-sized pot or saucepan, add all the ingredients for the filling: pumpkin puree, coconut milk, sugar, cornstarch, vanilla extract, cinnamon, allspice, ground cloves, ground ginger, grated nutmeg, and salt. Whisk well off the heat until all combined, then cook on medium heat for 10 minutes, stirring often. Tip: the liquid will thicken, bubble, and change color to a darker brown. Take the cooked pie crust out of the oven, pour the hot pumpkin pie filling, and spread it with a spatula. Bake a final time for 10 to 15 minutes. The filling won’t set entirely yet; it will as the pie cools down. Tip: if the edges of the crust start to brown too much, cover them with aluminum foil. Let the vegan pumpkin pie cool down completely, then chill in the fridge for at least 4 hours if you want the perfect slice. Before serving it, you can garnish it with vegan whipped cream, topped with the pastry cutouts you made earlier. Refrigerator: leftovers keep well for days in the fridge, preferably wrapped or in an airtight container. Freezer: you can freeze vegan pumpkin pie for three months. To do so, let it cool down completely, then wrap it in plastic and freeze. We recommend cutting the pie before freezing it so you have individual portions ready. Thaw and reheat: thaw in the refrigerator over several hours, then reheat in the microwave for a minute or two.
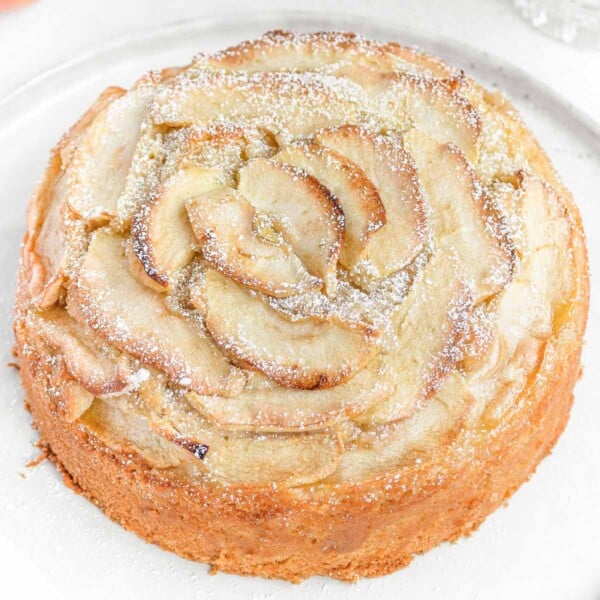
Vegan Apple Cake
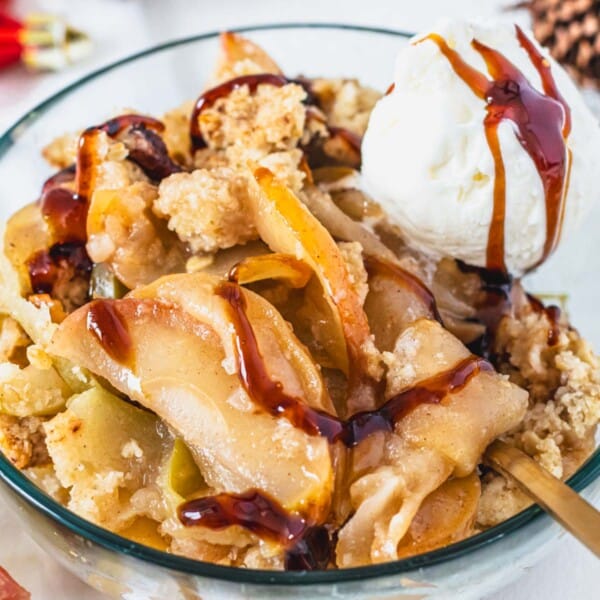
Vegan Apple Crisp
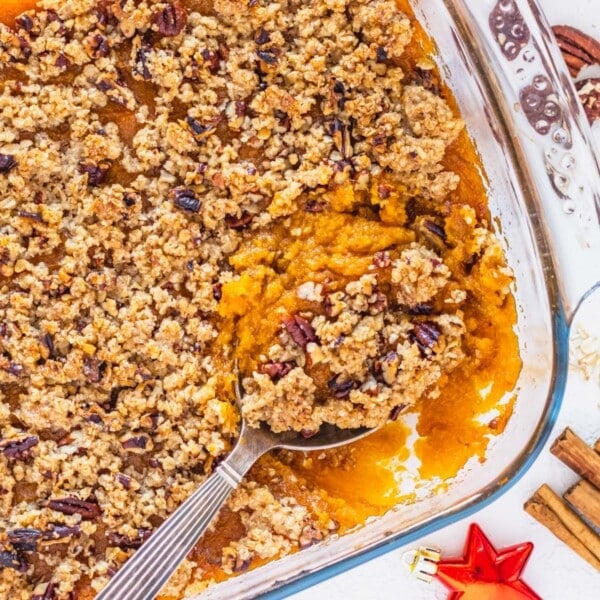
Vegan Sweet Potato Casserole
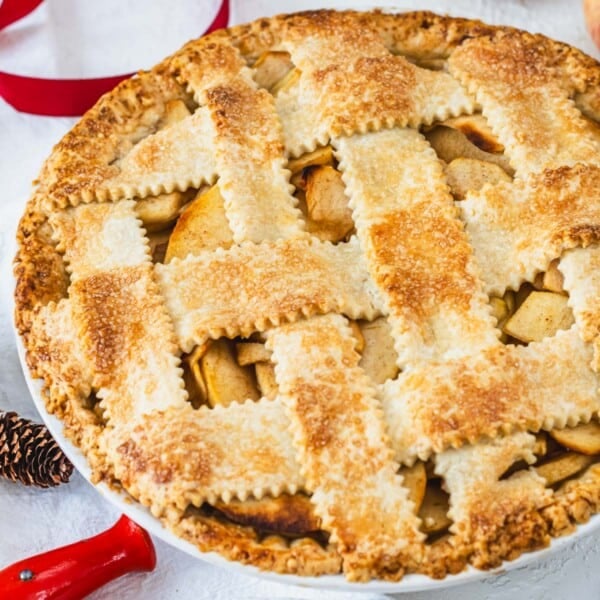
Vegan Apple Pie
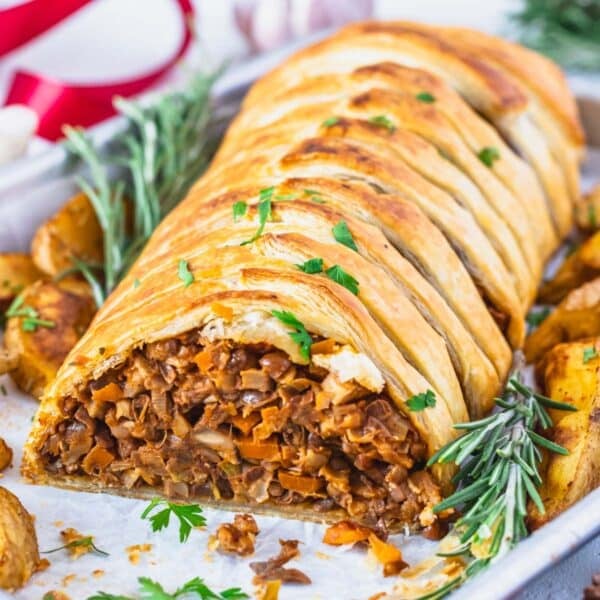
Mushroom Wellington
Mushroom Gravy
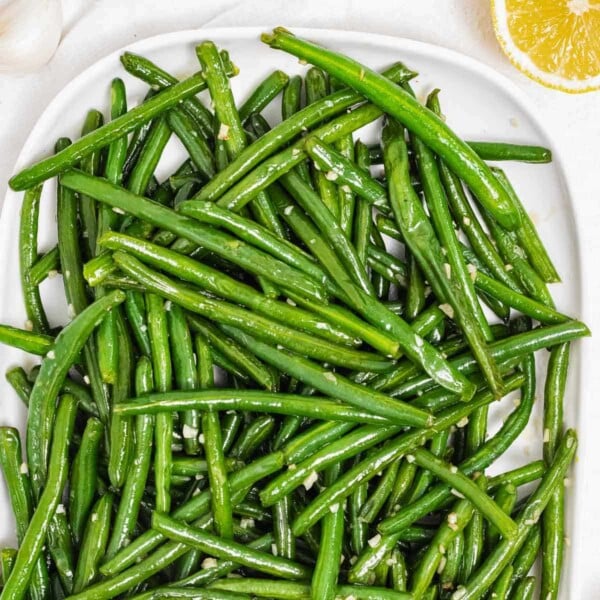
Sautéed Green Beans
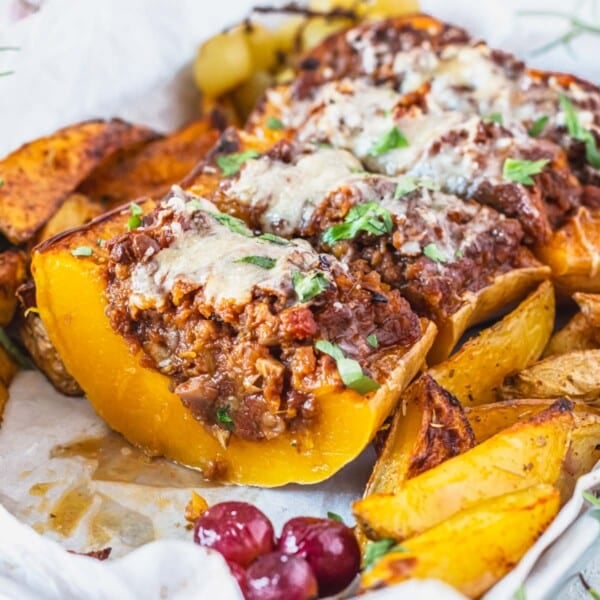
Stuffed Butternut Squash
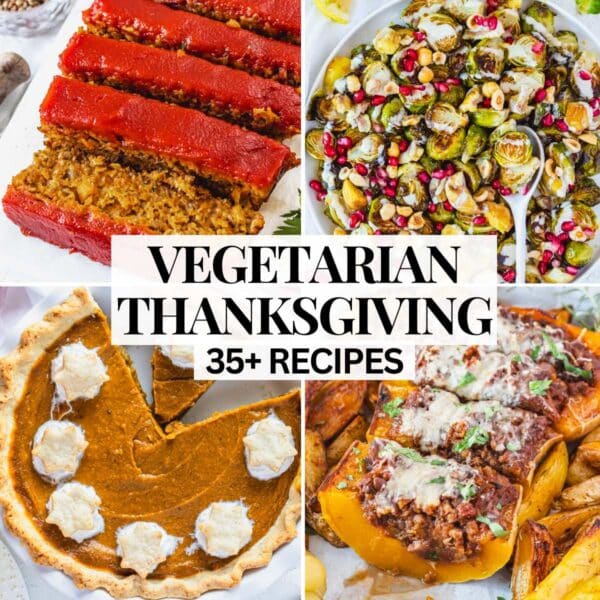
35 Vegetarian Thanksgiving Recipes
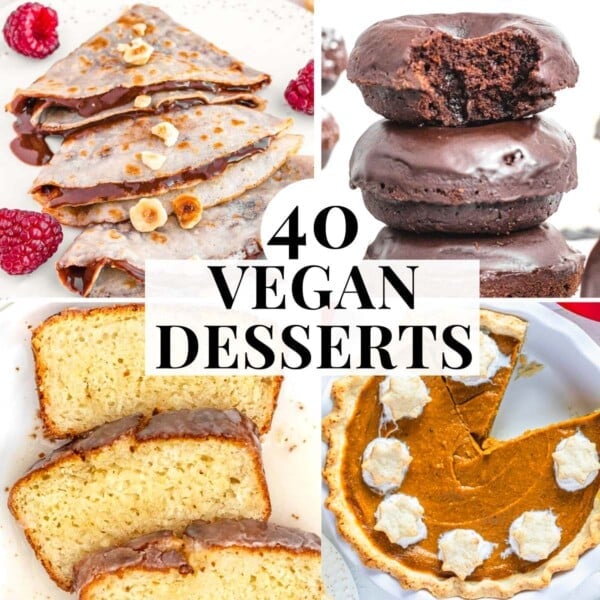
40 Vegan Desserts
45 Easy Vegetarian Dinner Recipes
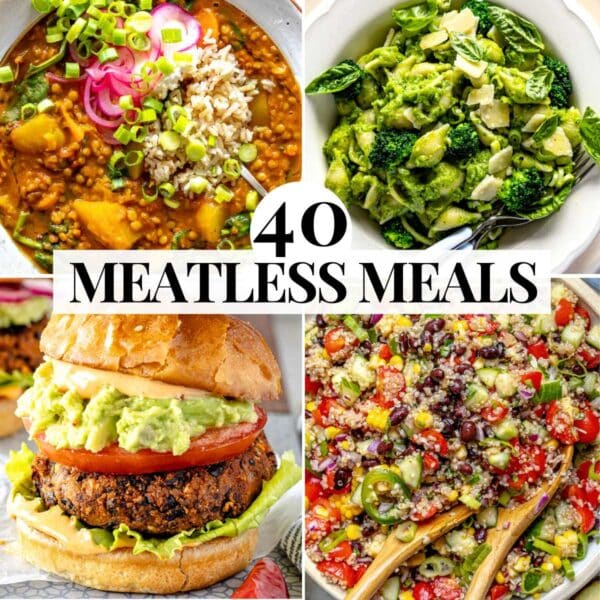
40 Easy Meatless Meals