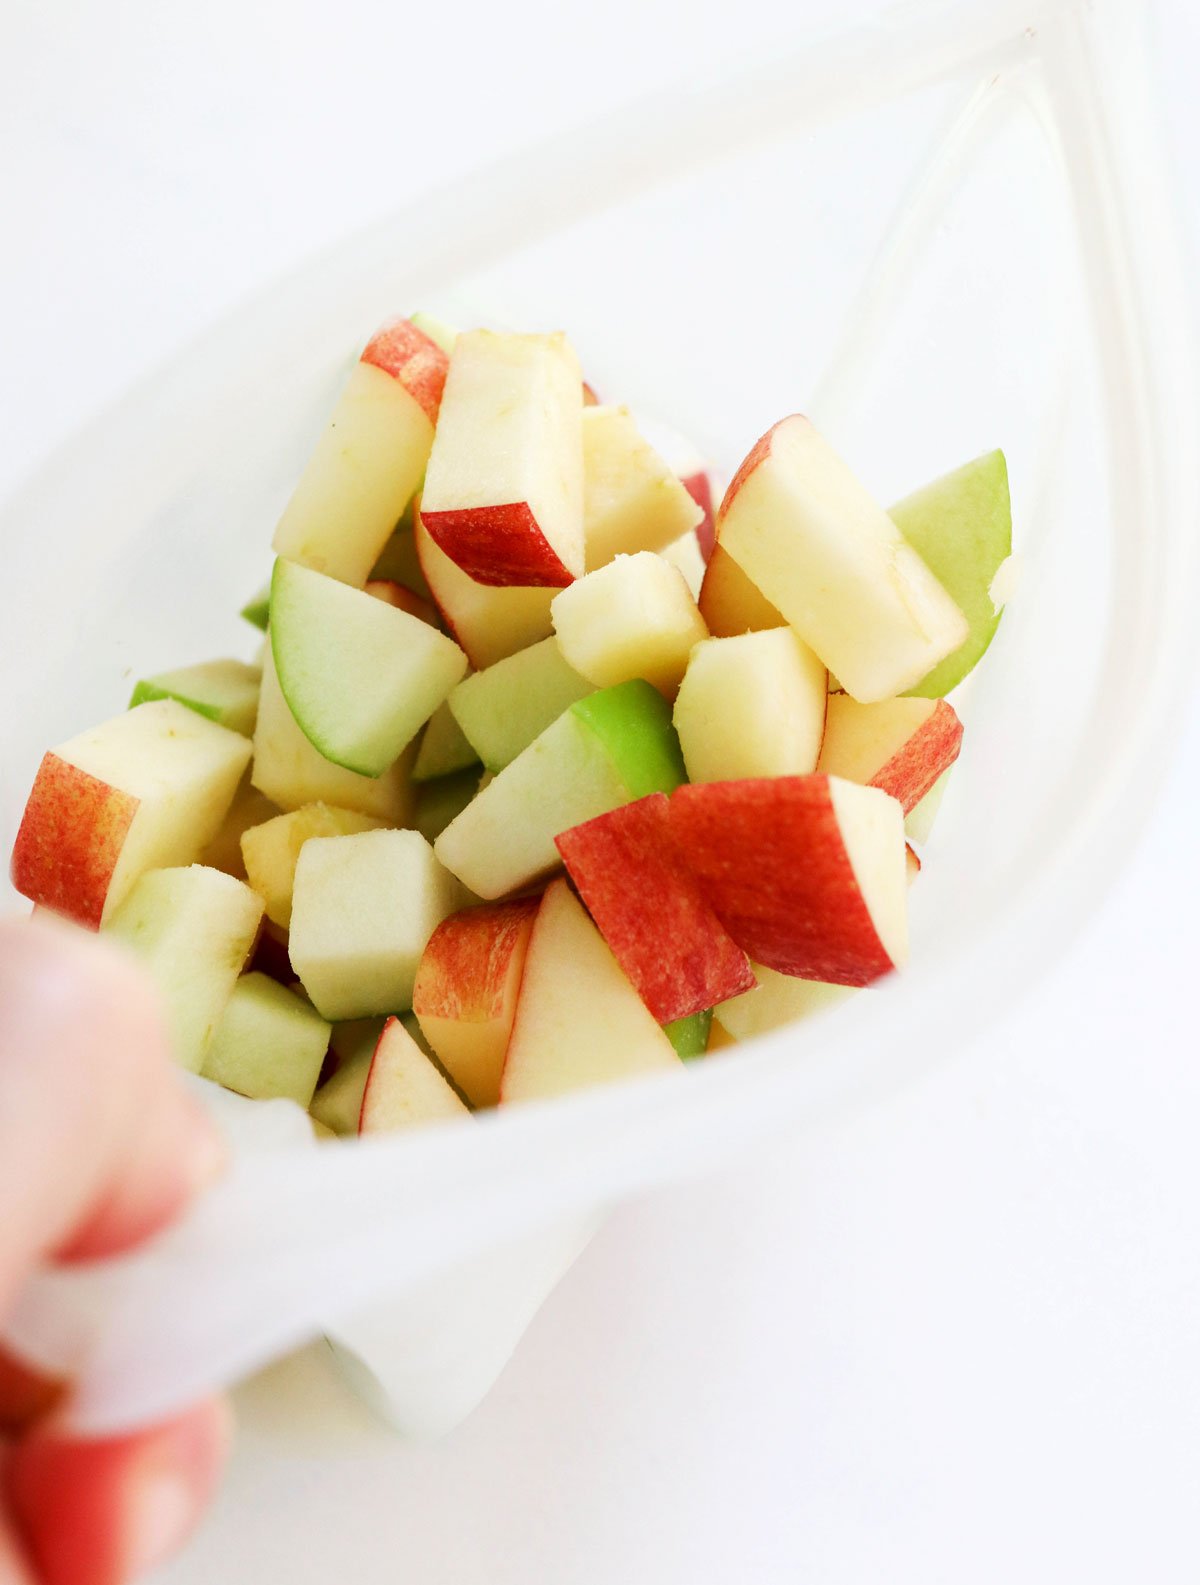
To help prevent spoilage, you can add a squeeze of lemon juice to your apples (which contains vitamin C). It’s not 100% necessary, though, as long as you transfer the frozen apples to an airtight container after the initial freezing process.
What is the Best Way to Freeze Apples?
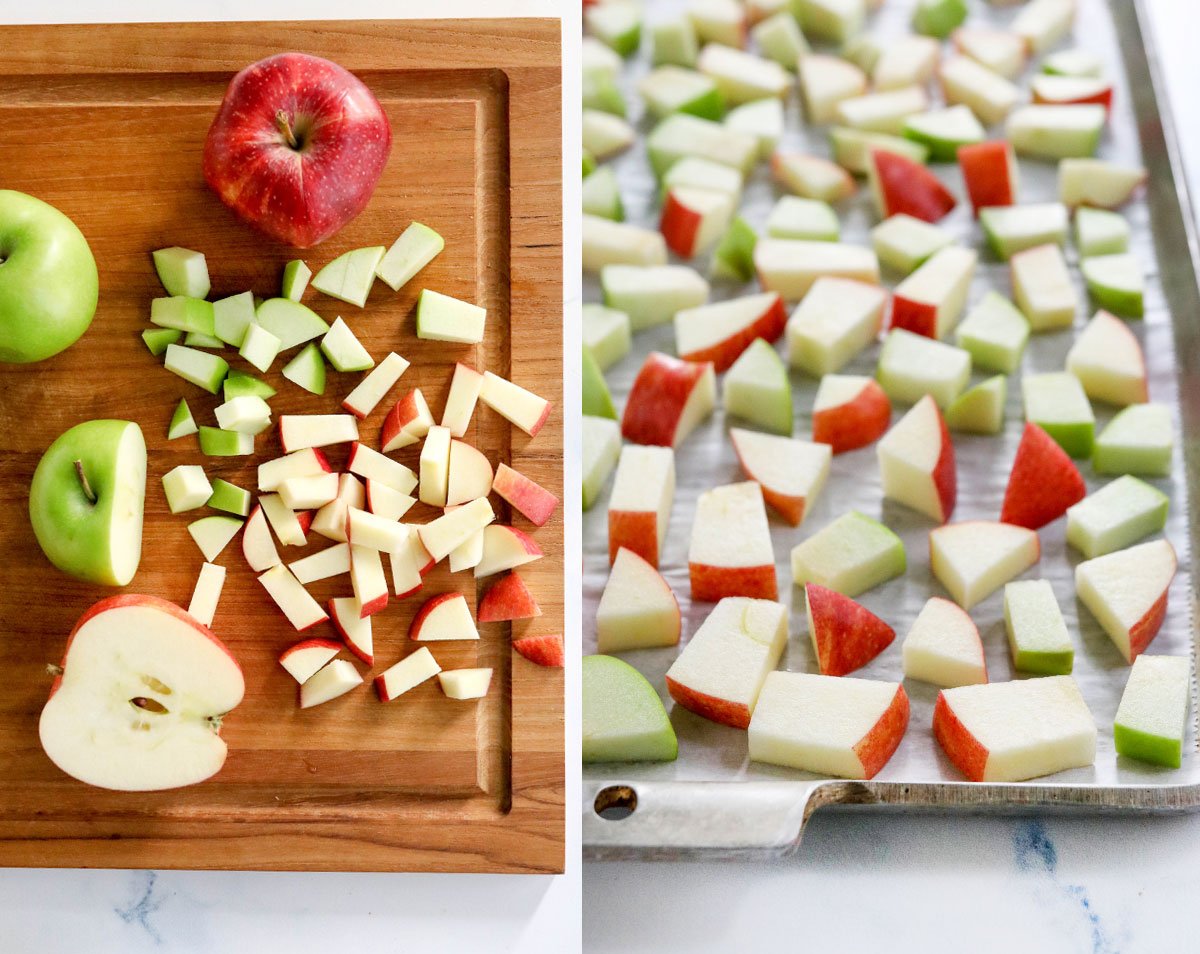
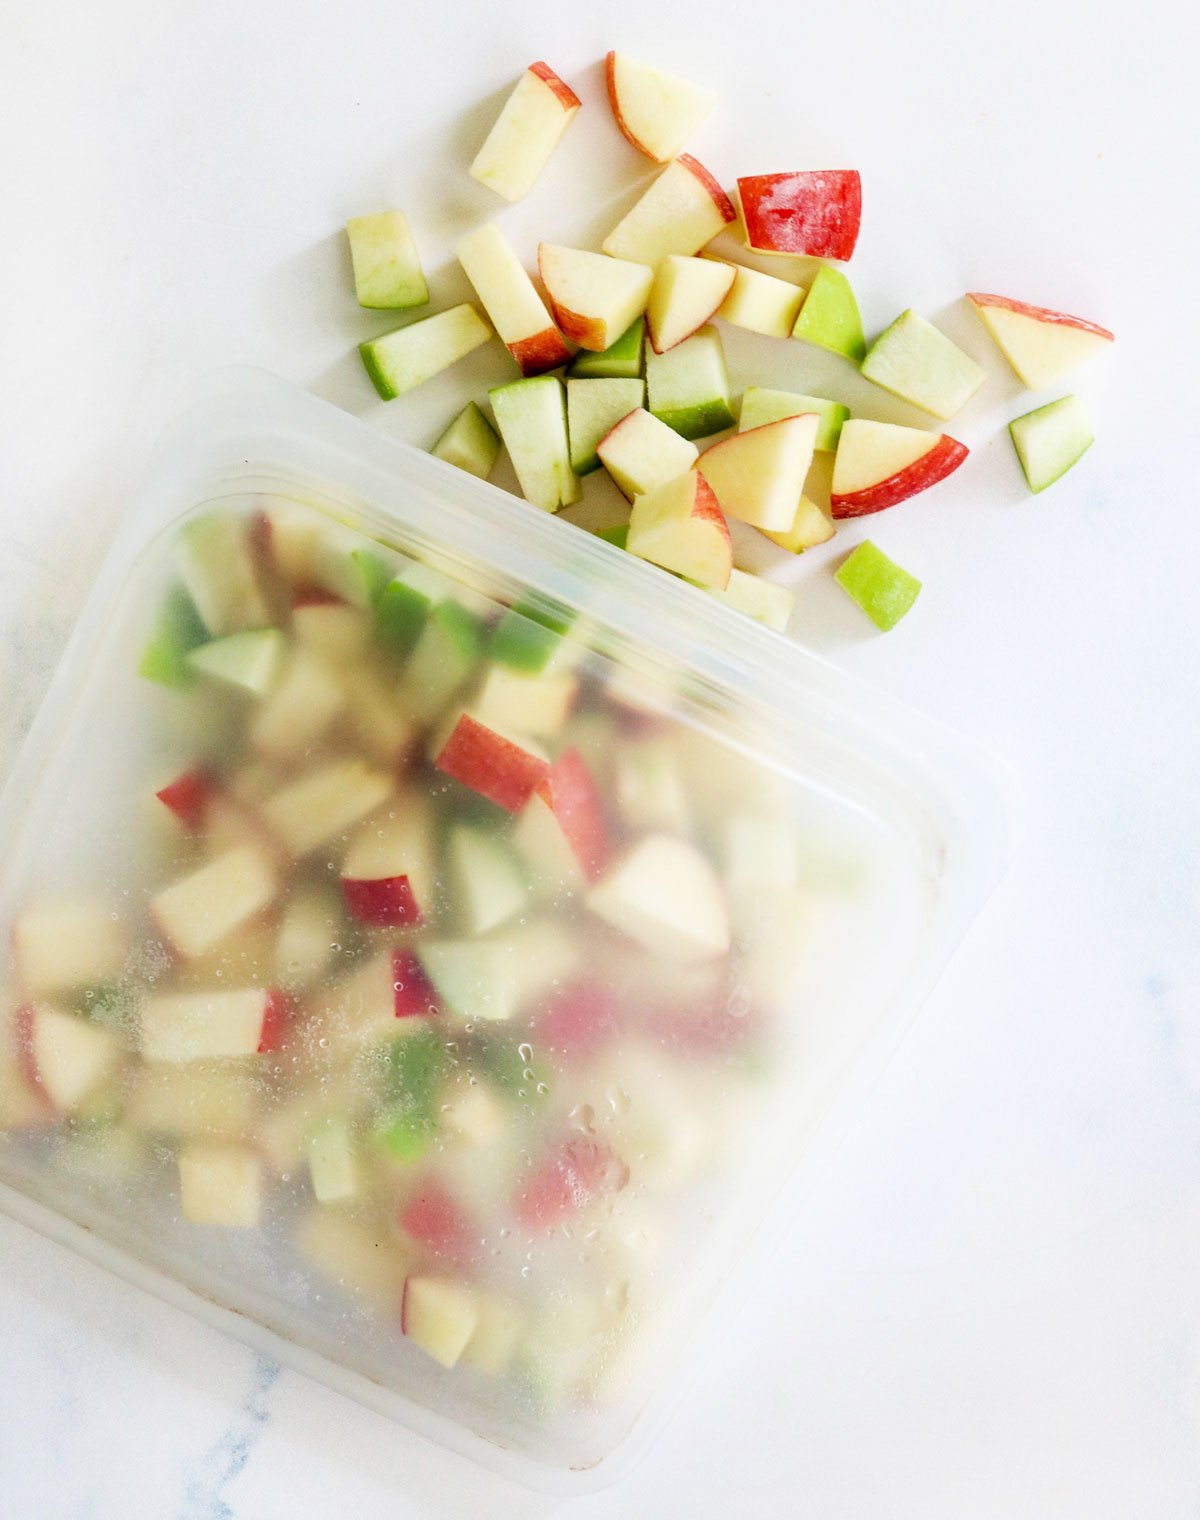
Here’s how to freeze apples: Step 1: Slice & Core the Apples You don’t have to peel apples before freezing them, but you can if you want to. How you slice them will also depend on how you want to use them.
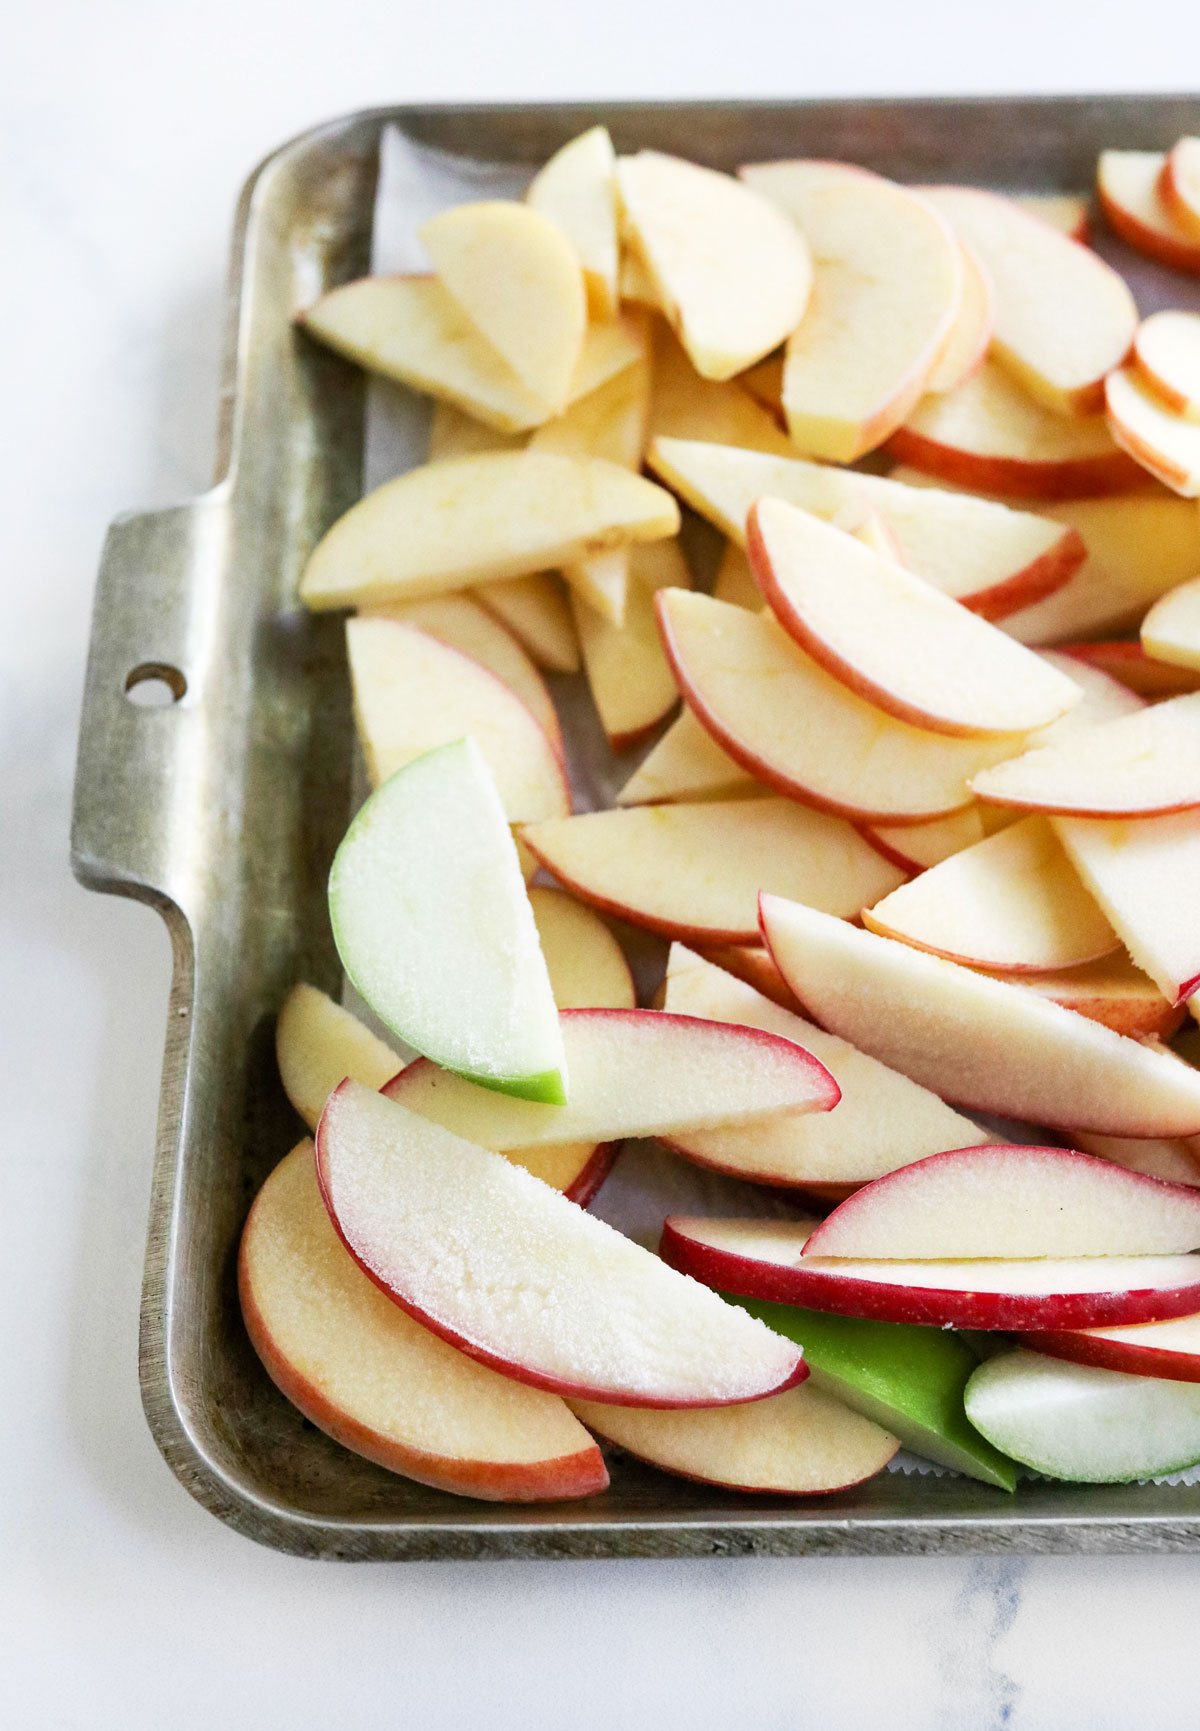
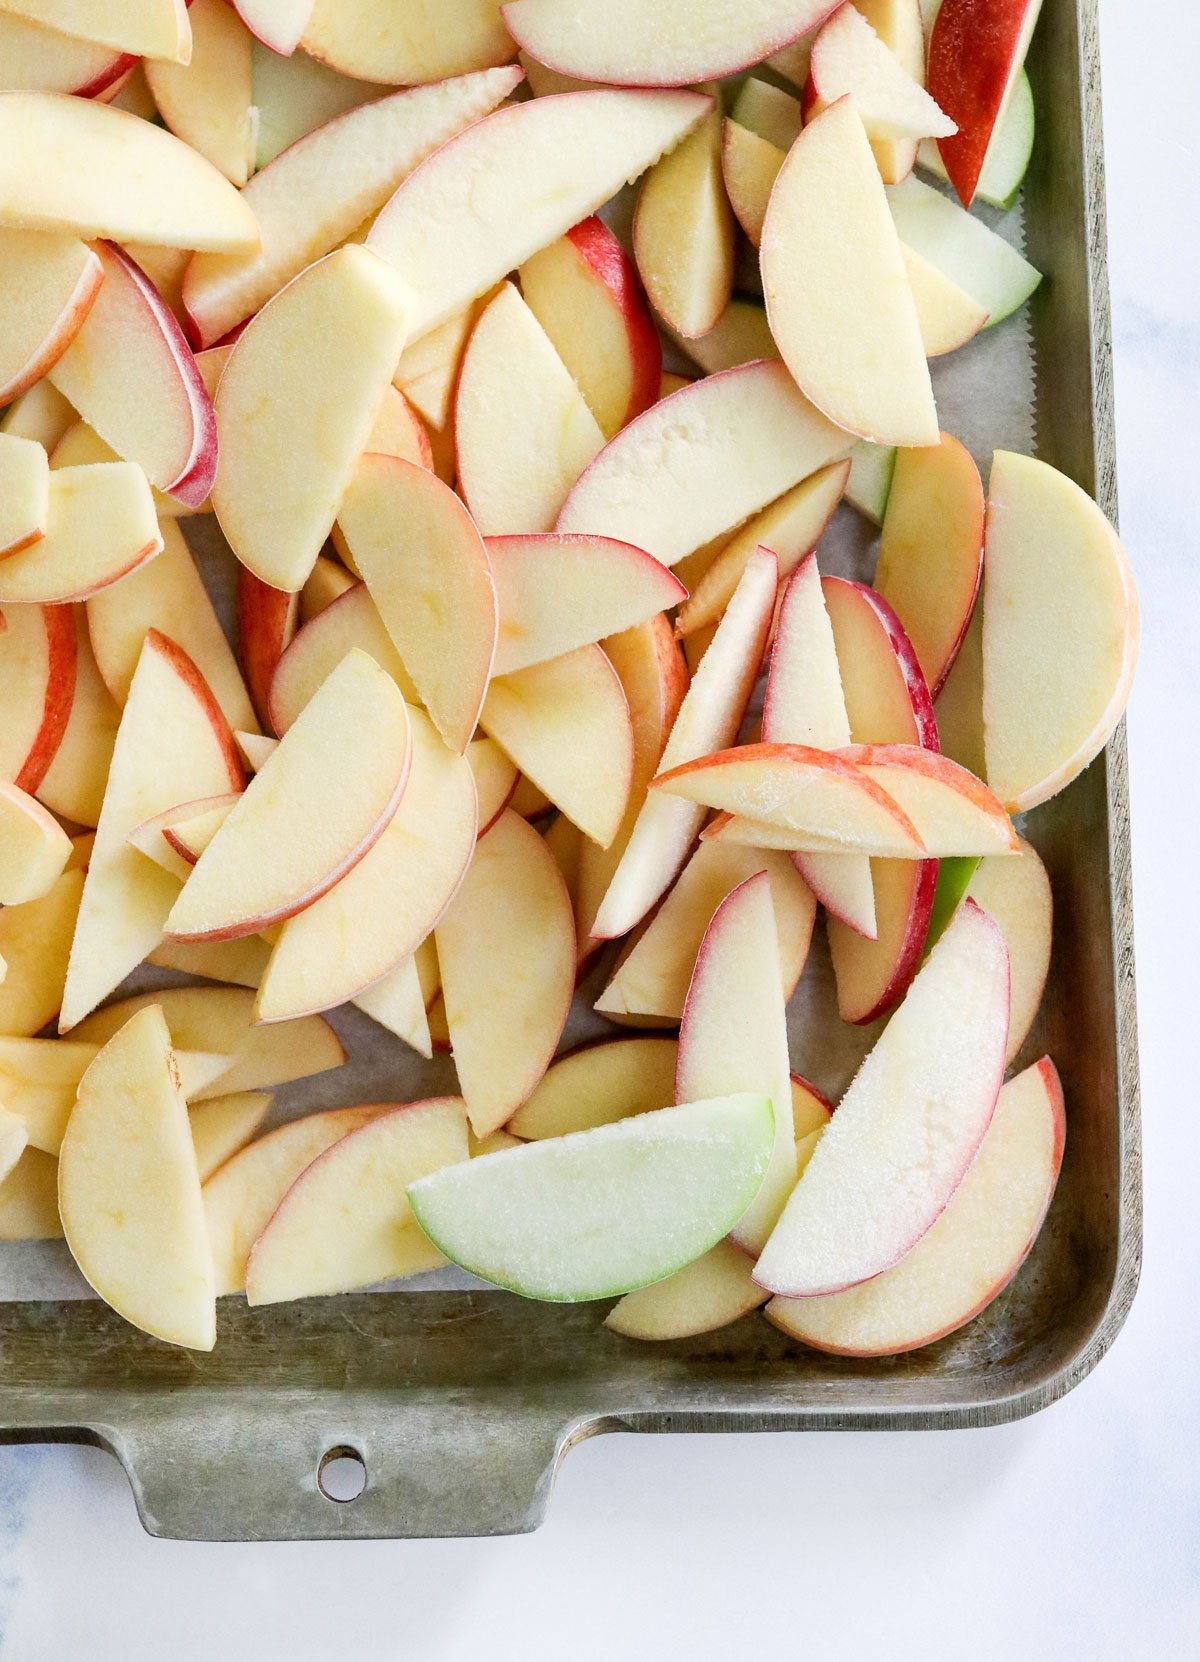
Note: For a dessert, like baked apples, I recommend slicing the apples into thin, 1/8-inch slices, so they can be used directly from the freezer. No need to thaw the apples before using them! (I personally tested this myself, and the dessert turns out just as delicious when using the frozen apples. No other tweaks needed!) For making an apple smoothie, you might prefer slicing the apples into smaller, 1-inch chunks instead. I leave the skin on, since that’s where much of their nutrition is stored, but you can peel them first, if you want to. The process just takes a little longer that way. Step 2. Arrange them on a Lined Baking Sheet Line a baking sheet with parchment paper, and make sure the baking sheet will fit flat in your freezer. You can use a large plate, if you have a narrow freezer design. Arrange the sliced apples in a single layer on the baking sheet. Ideally, you don’t want the pieces to touch too much, so they won’t freeze together in a big clump.
Note: If you want to freeze 2+ pounds of apples, like you might need for a dessert recipe, you can make a single layer of sliced apples, freeze the pan briefly while you cut 2-3 more apples, then take the pan out of the freeze and layer more fresh slices on top of the slightly frozen apples. I tested this method for my Baked Apple recipe (which calls for 2.5 pounds of apples) and I was able to layer them without the individual apple slices sticking together much. You can see how much I was able to layer the apples in the photo above. Step 3. Freeze Place the pan of apples in the freezer, and let them freeze until they are firm to the touch, about 2 hours. (You can leave them in there longer, if you need to.) Transfer the frozen apples to an airtight container, to help preserve their flavor and color.
How Long Do Frozen Apples Last?
Frozen apples can be stored in the freezer for up to 6 months, without affecting their flavor too much. In theory, they can be stored for up to a year, but I prefer to be on the safe side. If you’ll be using them in a holiday dessert, I think the flavor is best if you use them within 3 to 6 months.
How to Use Frozen Apples (Recipe Ideas!)
Frozen apples won’t have the exact same texture as fresh when thawed, so they work best when cooked. Here are some ideas for using them up:
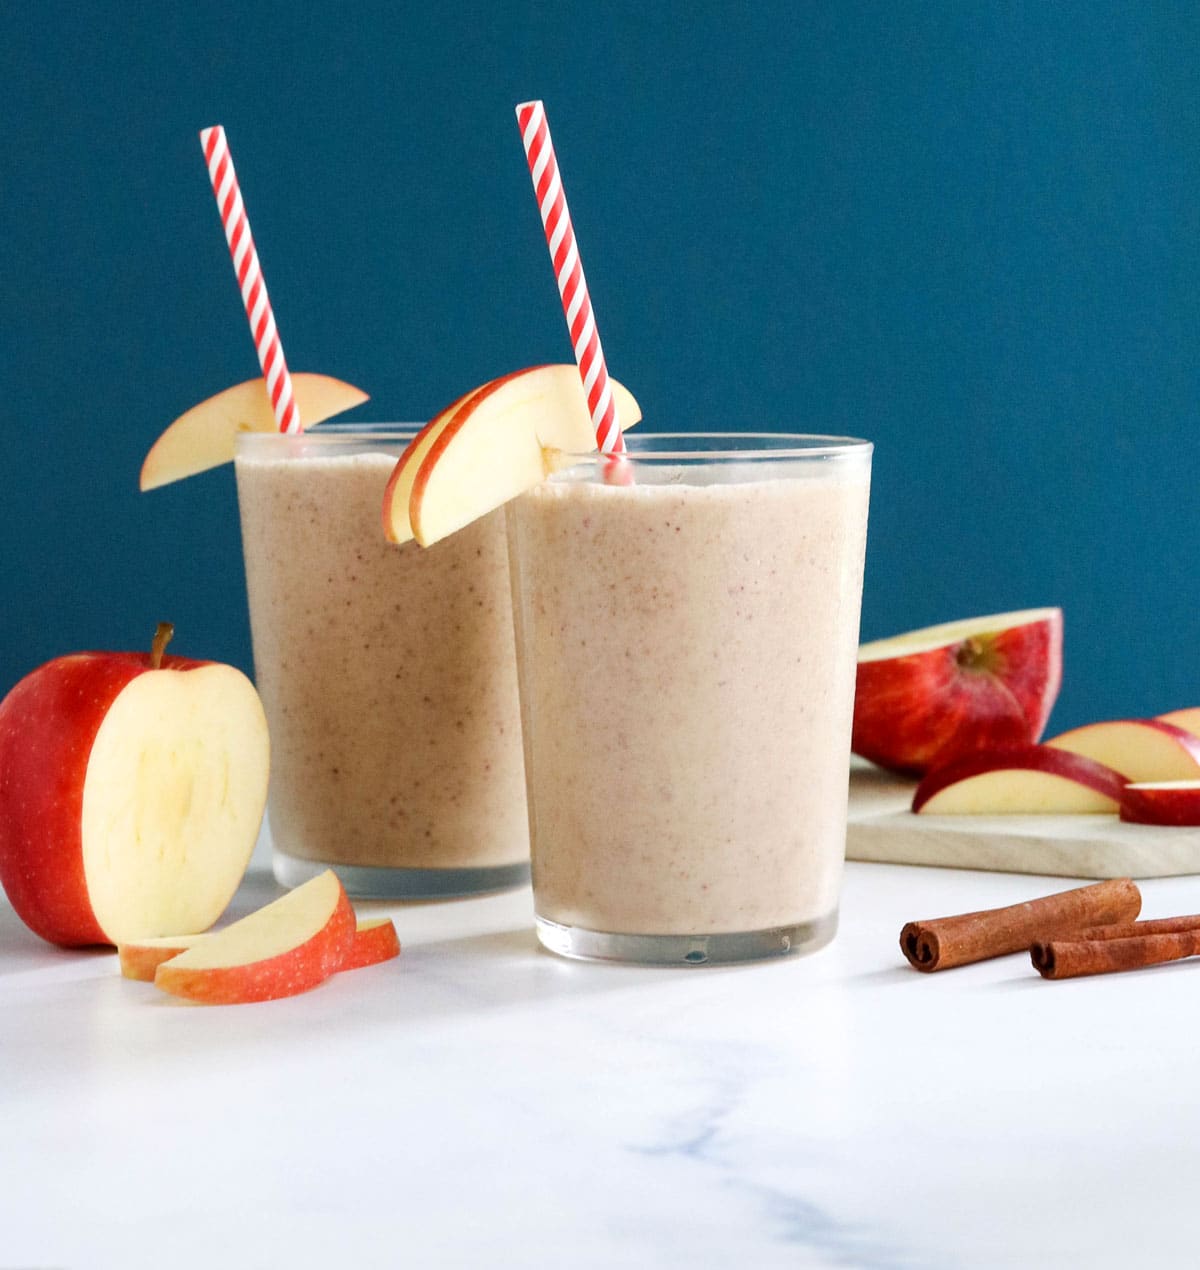
Apple Smoothie Baked Apples (freezing apples is my favorite way to make this ahead of time!) Instant Pot Applesauce (or Slow Cooker Applesauce) Paleo Apple Crisp Homemade Apple Butter Add a handful to any smoothie recipe
However you use them, I hope this tutorial will be helpful the next time you have too many apples on hand!
If you try this method for freezing apples, please leave a comment below letting me know how it works for you! And if you try anything different, I’d love to hear about that, too. We can all benefit from your experience. – Reader Feedback: Have you tried freezing your own fruit before? I started freezing strawberries this year, too. It’s a great way to save any fresh produce my family doesn’t end up eating in time!