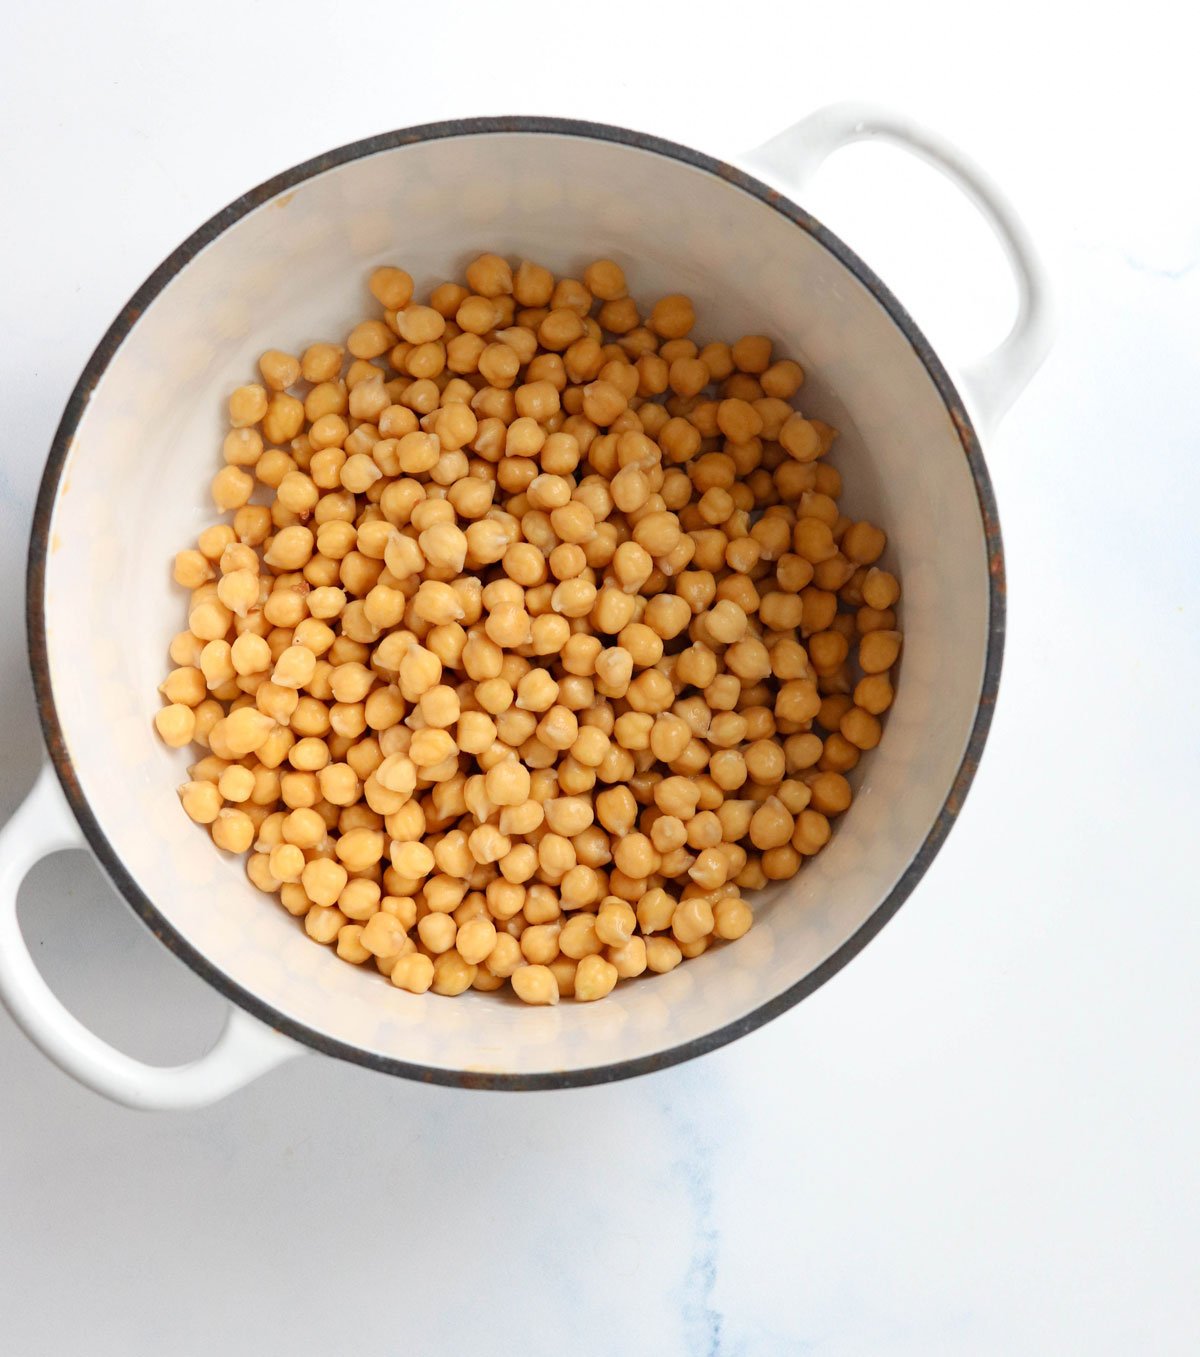
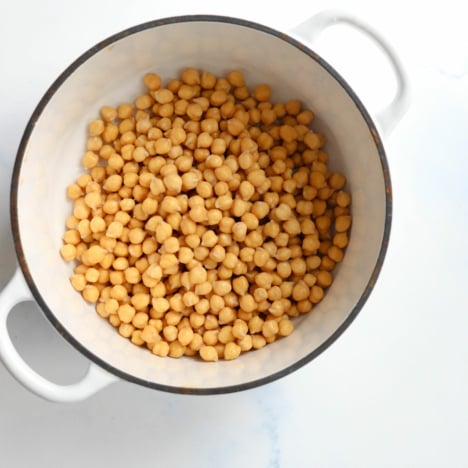
How Long Does it Take to Cook Chickpeas?
When you start with soaked chickpeas, it takes about 45 to 60 minutes to cook them from scratch. It can take longer if you add salt to the cooking water, or if you start with particularly old beans. (Older beans take longer to cook, and it’s difficult to know how old they are when you buy them at the store.) Pro Tip: Beans that you buy from a bulk bin may be fresher than the ones you buy in a package off the shelf. This is especially true if you find a grocery store that has an active bulk bin section, so that the contents in the bins turnover faster.
Do You Have to Soak Beans Before Cooking?
No, you don’t have to soak beans before you cook them. If you forget, you can simply start the cooking process, but expect them to take longer to cook than if you had soaked them first. It can take up to twice the time if you don’t soak them first. The reason most people prefer to soak beans is: When it comes to avoiding gas and bloating, I’ve also heard that eating beans consistently for 3 to 4 weeks is usually enough to make excess gas go away. Your body has to get used to it, so any new addition can cause gas and bloating at first. (The same thing can happen when you add more cruciferous veggies to your routine.)
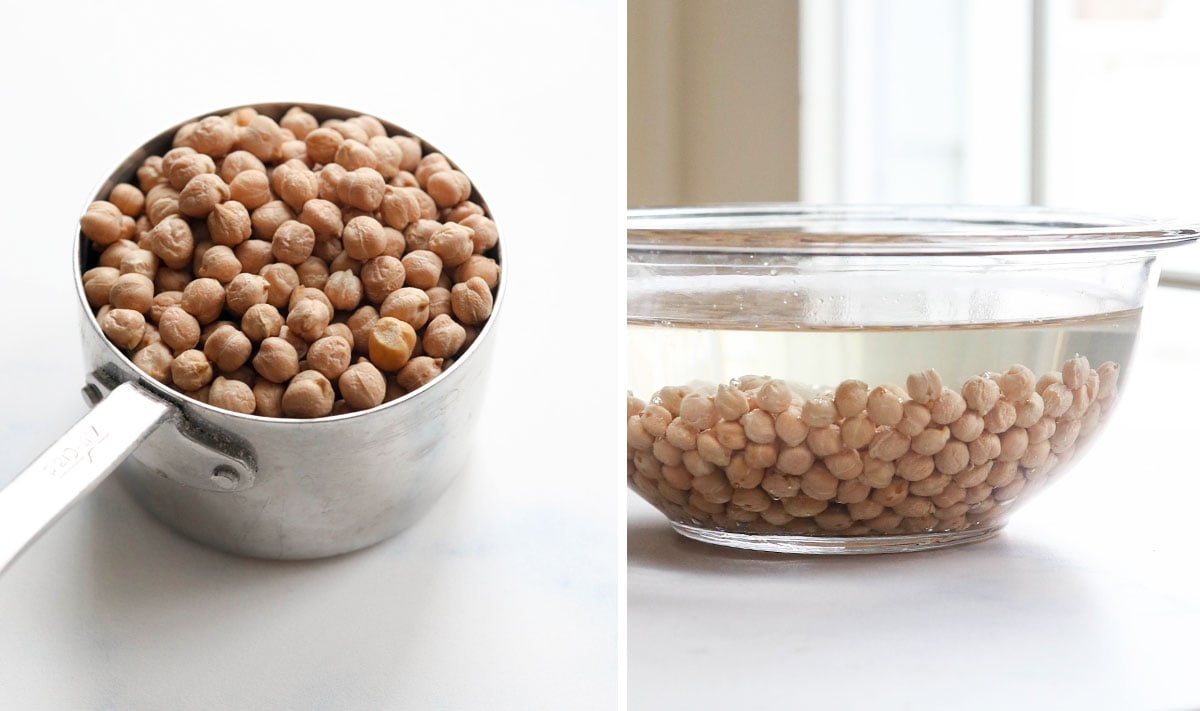
How to Soak Dry Beans:
Place the dry beans in a large bowl, with enough room for them to double in size. Cover the beans with roughly 3 inches of water, and let them soak in the fridge overnight. The longer you soak them, the faster they will cook. I recommend keeping the beans in the fridge so that you don’t have to worry about spoilage, for up to 24 hours.
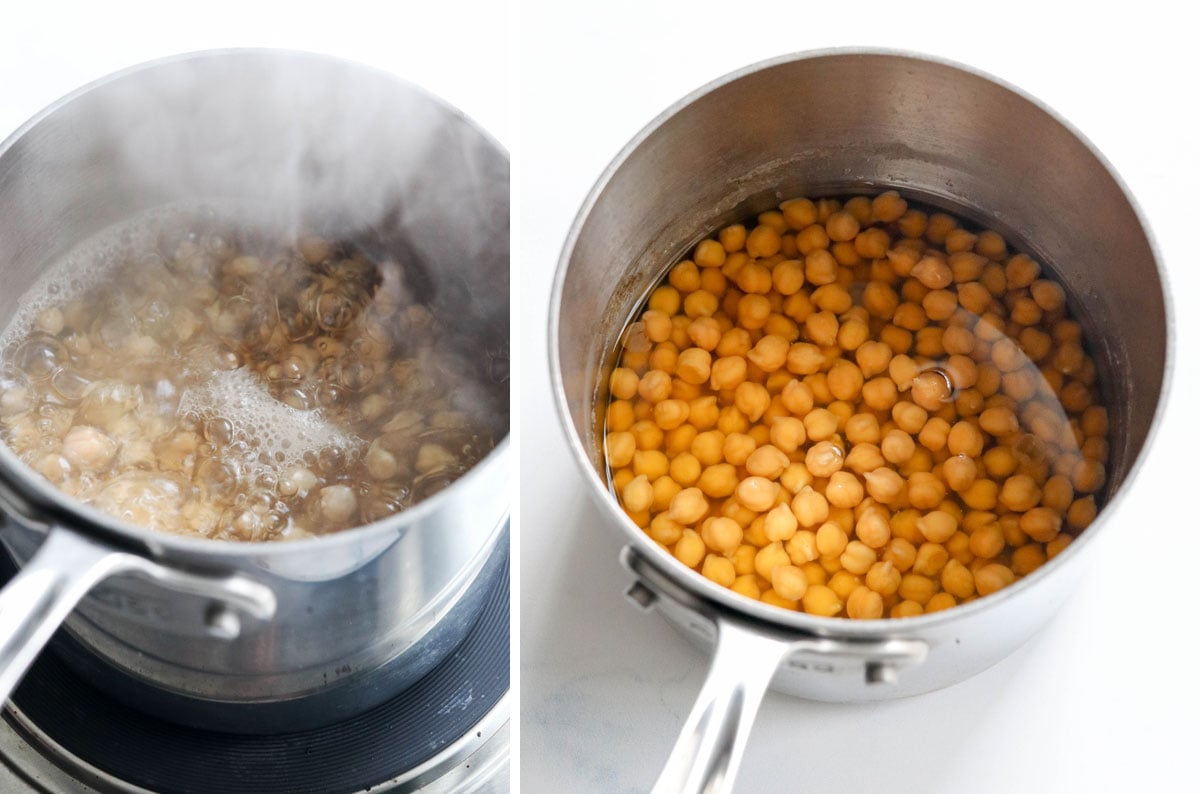
How to Quick Soak Beans
If you don’t have time to soak your beans ahead of time, you can use this “quick soak” method, which shortens the overall cooking time. To quick soak beans: The benefit of quick-soaking beans is that you may help to remove some of those indigestible sugars that may cause digestive troubles, and the beans will cook faster than if you didn’t soak them at all. Plus, you only have to watch the pot for 5 minutes in this case, instead of up to 2 hours like you might when cooking un-soaked beans.
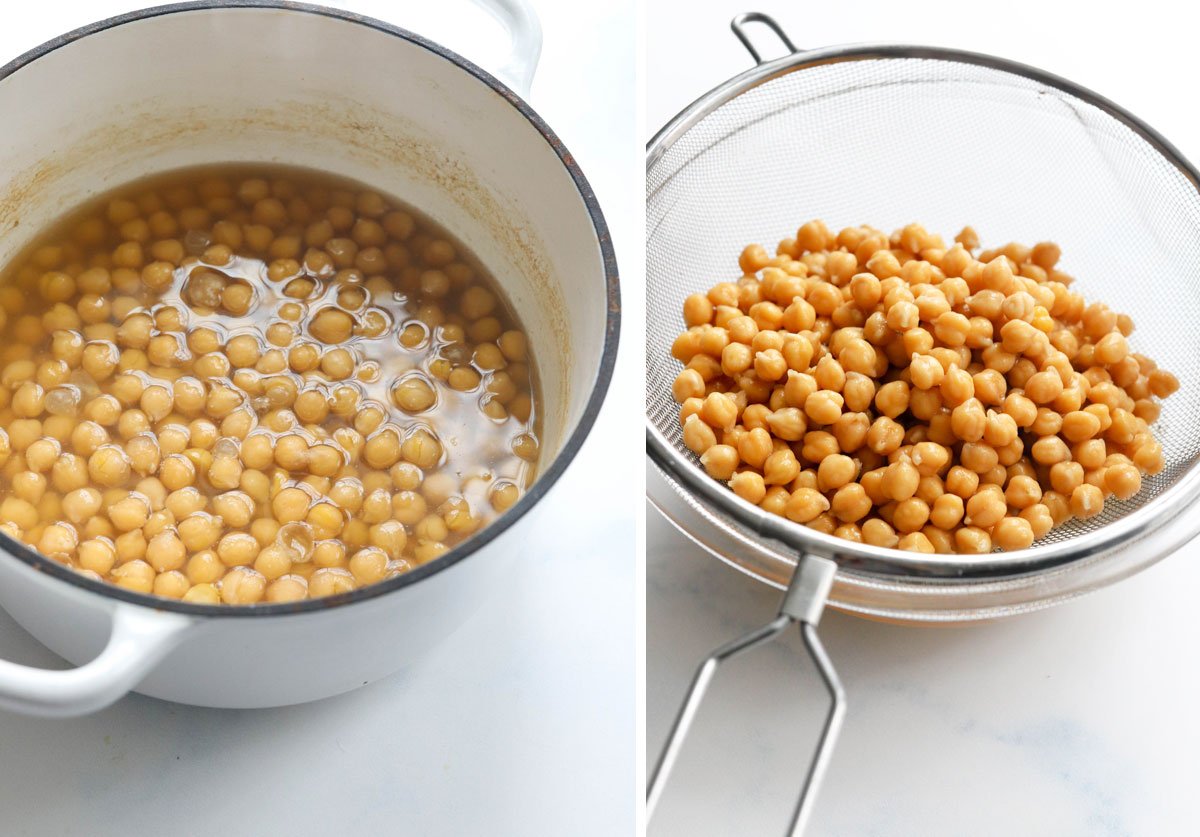
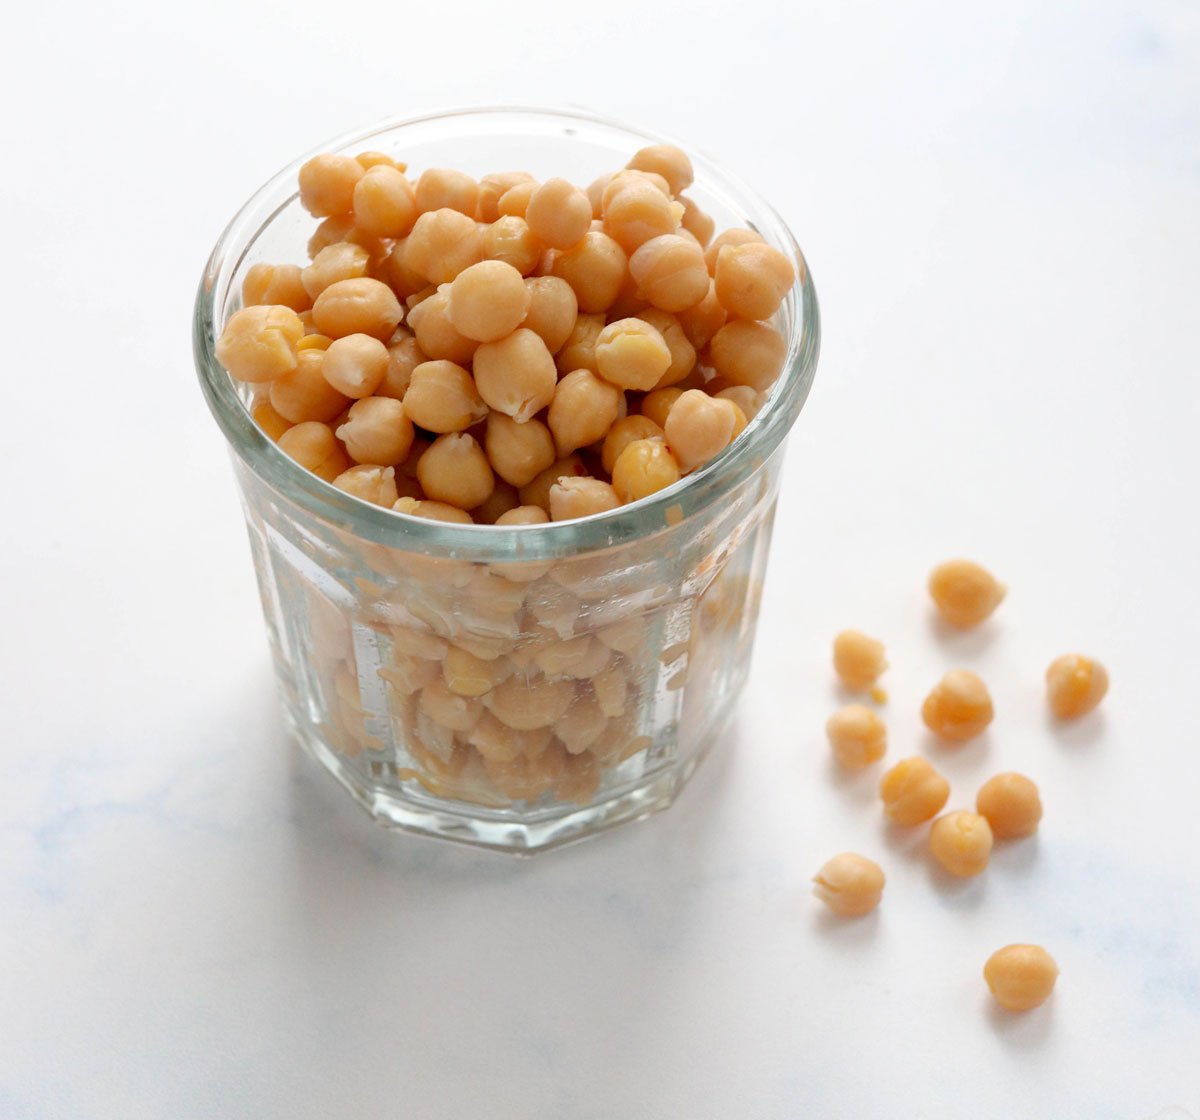
How do You Know When Chickpeas are Done?
When cooking chickpeas from scratch, you’ll need to check on them periodically for tenderness. I usually start with a timer around 35 to 45 minutes, when cooking soaked chickpeas.
You can press one of the beans against the side of the pot to see if it easily smashes, or you can use a slotted spoon or fork to lift one out of the pot and carefully taste it. (I like to cool off the bean under running water so I don’t burn my mouth!) When using the quick-soak method listed above, chickpeas are usually done in 40 to 45 minutes, but they can take up to 60 minutes depending on the age of the bean. For traditionally soaked chickpeas, they take roughly 45 to 60 minutes of cooking to become tender. These times assume you are using unsalted water. Adding salt may increase the cooking time.
I know that some experts out there will say that salting the water doesn’t slow the cooking process, but in my experience it can make a big difference– especially if you pressure cook them. While I was writing my Instant Pot Cookbook, I had batches of beans that NEVER became tender when I salted the water, even after 2 hours of cooking. So, I never salt my dry beans after that!
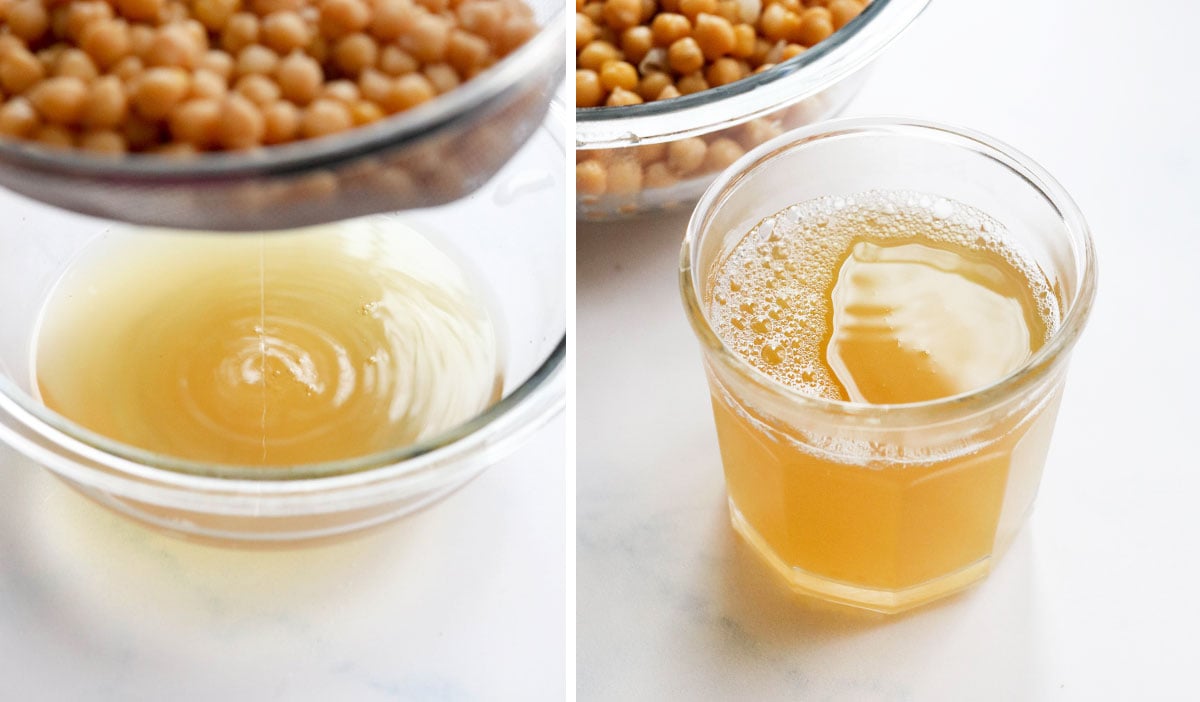
Save the Aquafaba
Did you know that the leftover chickpea cooking liquid can also be useful? It’s often called aquafaba, and can be used as an egg substitute in several recipes. Try it in my Vegan Oat Flour Pancakes!
If you’re not ready to use the aquafaba right away, you can freeze it for future use. I like to use ice trays to freeze it, so that it will be easier to thaw in portions later.
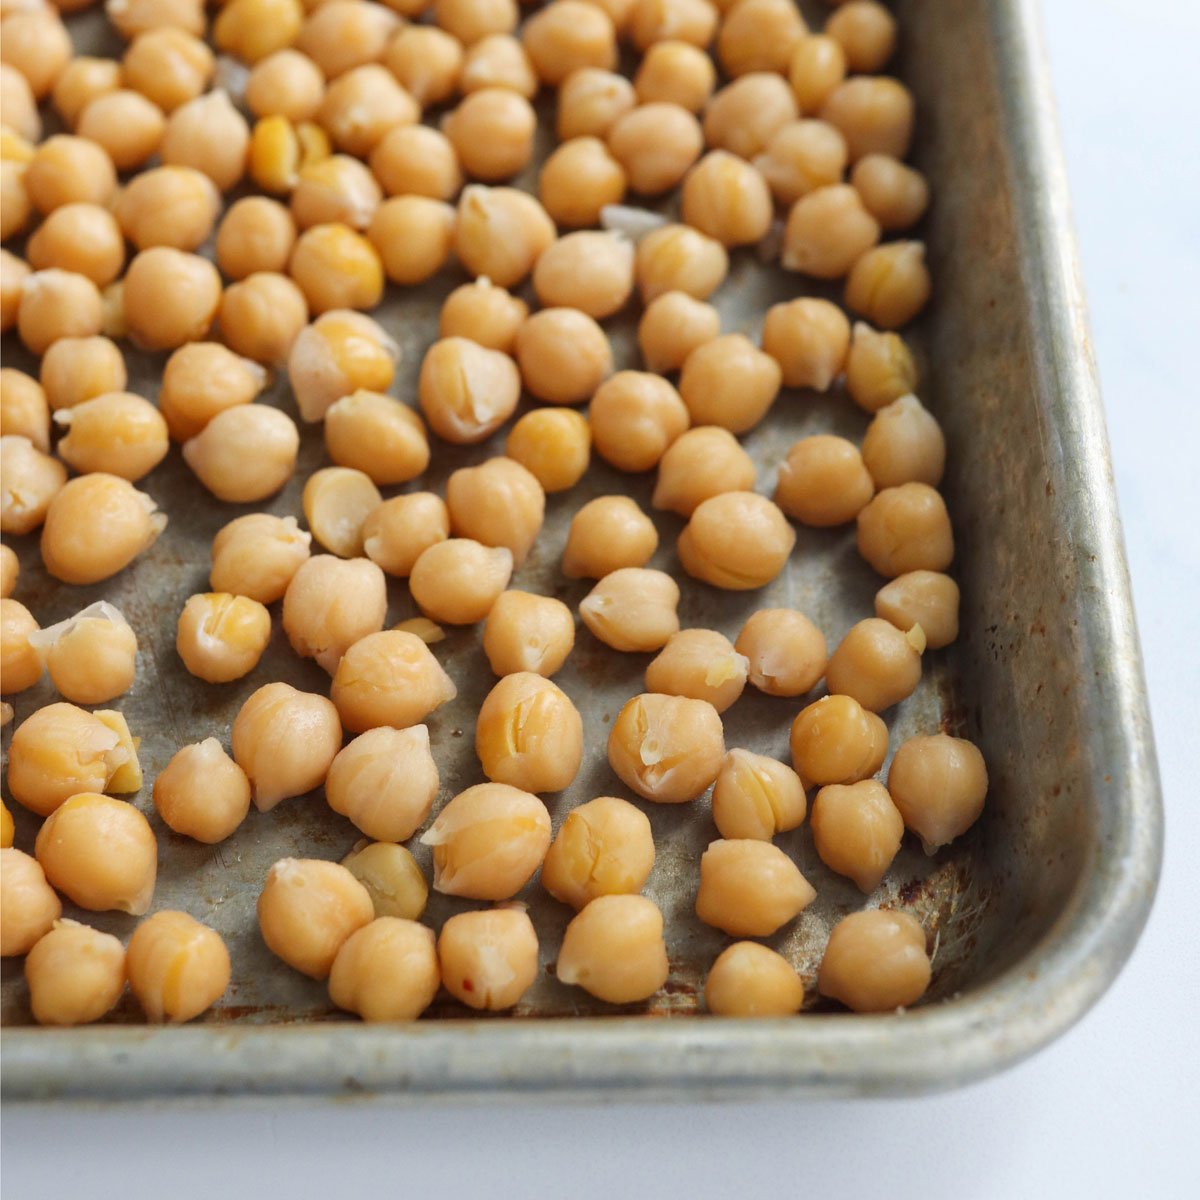
How to Freeze Chickpeas
If you like to cook large batches of chickpeas and save them for future use, my favorite way to store them is in the freezer. To freeze cooked chickpeas, you’ll simply spread them out on a large baking sheet, into a single layer. (This way they won’t stick together.)
Store them in the freezer for about 2 to 4 hours, then transfer them to an airtight container to freeze for up to 6 months. You’ll see that the beans easily separate when you freeze them this way, instead of being stuck in a large frozen chunk. This will make them easier to measure when you’re ready to use them. Store them in 1 1/2 cup portions if you want to use them in recipes that call for 1 can of beans.
Chickpea Recipes
If you wind up having extra cooked chickpeas on hand, here are some delicious ways you can use them up.
Sun-Dried Tomato Pasta Salad Vegan Chickpea Salad Mediterranean Chickpea Mason Jar Salads Kung Pao Chickpeas Instant Pot Chickpea Curry Kale Caesar Salad with Roasted Chickpeas Vegan Chickpea Masala Chickpea Chocolate Chip Cookies 5-Minute Hummus Recipe Chickpea “Tuna” Salad
If you try this method, please leave a comment below letting me know how it turns out for you! And if you try anything different, I’d love to hear about that, too. We can all benefit from your experience – Reader Feedback: Have you tried cooked dry beans from scratch yet? I didn’t try until I started using my Instant Pot, so I make them most often in there (check out my Instant Pot Black Beans tutorial, too), but it’s nice to know how to cook them on the stove now, too!