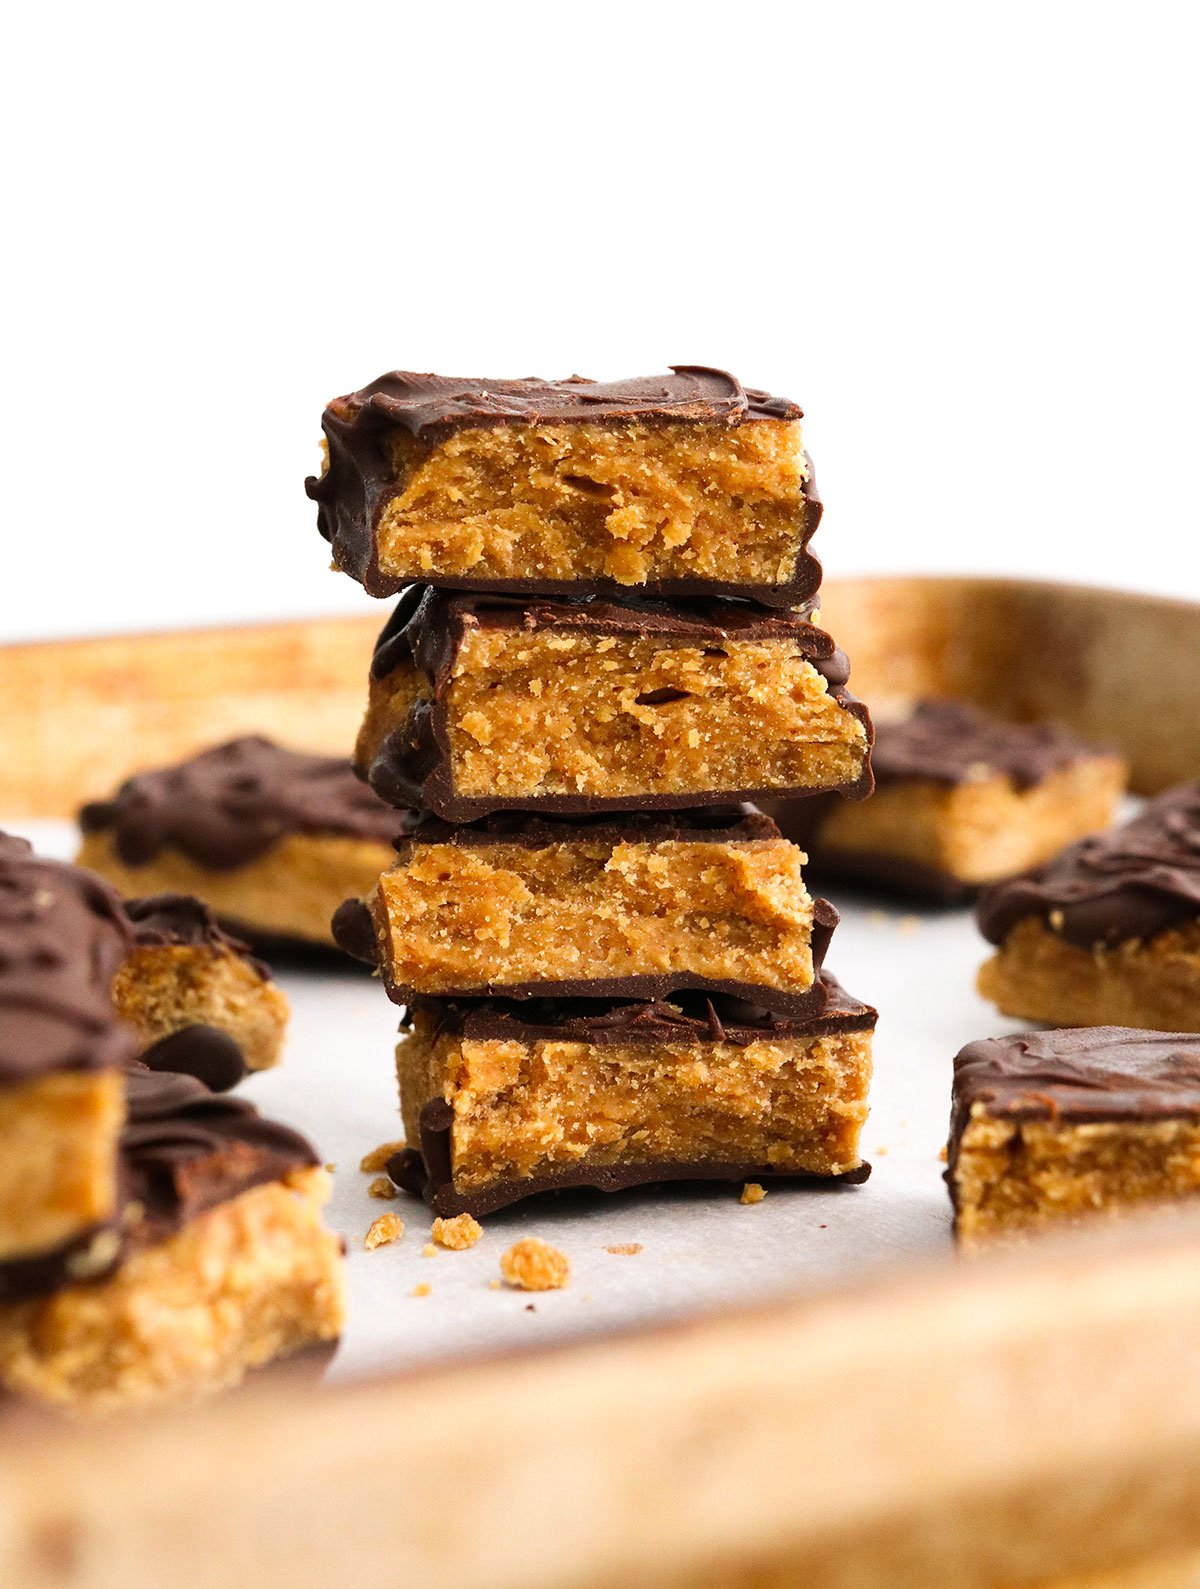
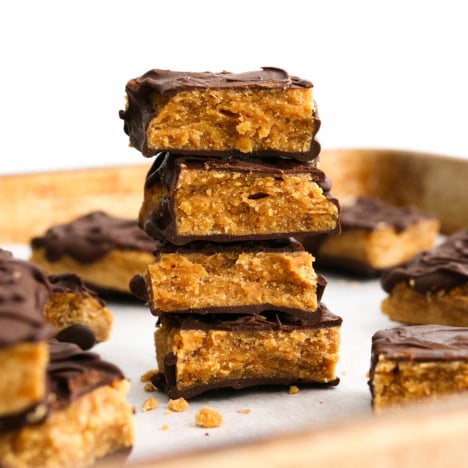
The concept of making Butterfingers is surprisingly easy. The filling is essentially a hard candy mixed with peanut butter, to create a crispy, crunchy, and buttery texture. They are the perfect treat to make for Halloween! While other popular recipes rely on melted candy corn and crushed corn flakes, this recipe gets its crunchy texture by boiling maple syrup until it reaches the “hard crack” stage used in candy making. The result is a less-processed butterfinger candy bar. Looking for other homemade candy recipes? Try my popular homemade Crunch Bars, Almond Butter Cups, or Vegan Snickers Bars for more delicious ideas.
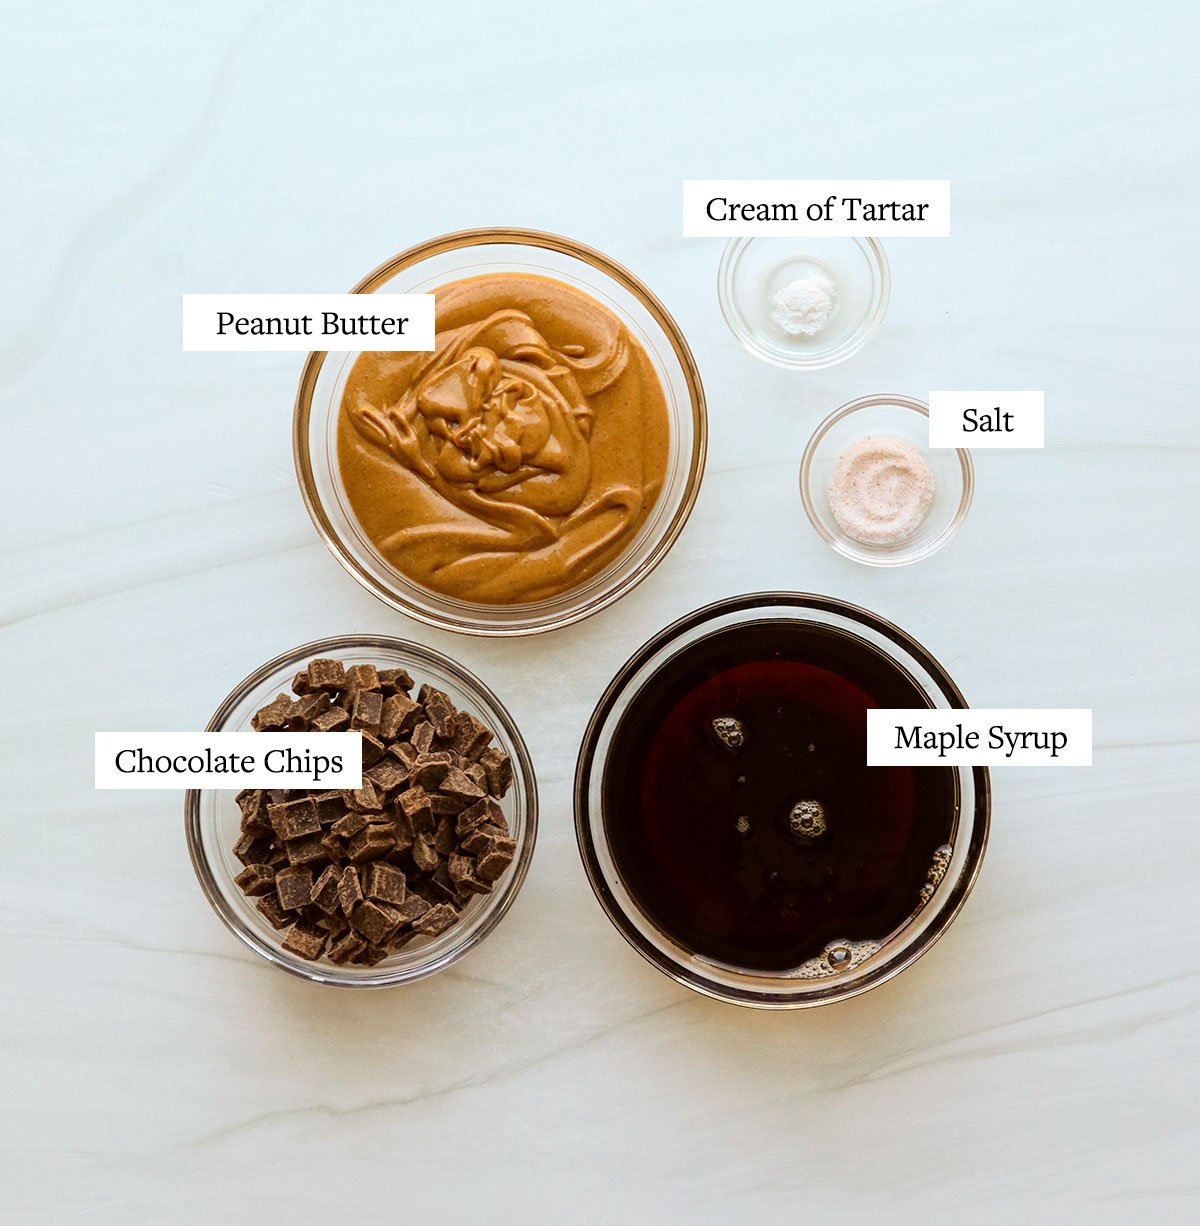
Ingredients You’ll Need
Maple syrup or honey can be used for the base in this recipe, but honey will give you a more prominent honey-flavor. I use an all-natural creamy peanut butter for this recipe, but I imagine any other nut butter could be used if you prefer. Cream of tartar is used in candy making to prevent large sugar crystals from forming. Adding it to the maple syrup should help with the crunch factor in this recipe. Melted dark chocolate chips make the outer chocolate coating easy, but you can also make your own chocolate coating using the one in this recipe, if you prefer.
How to Make Homemade Butterfingers
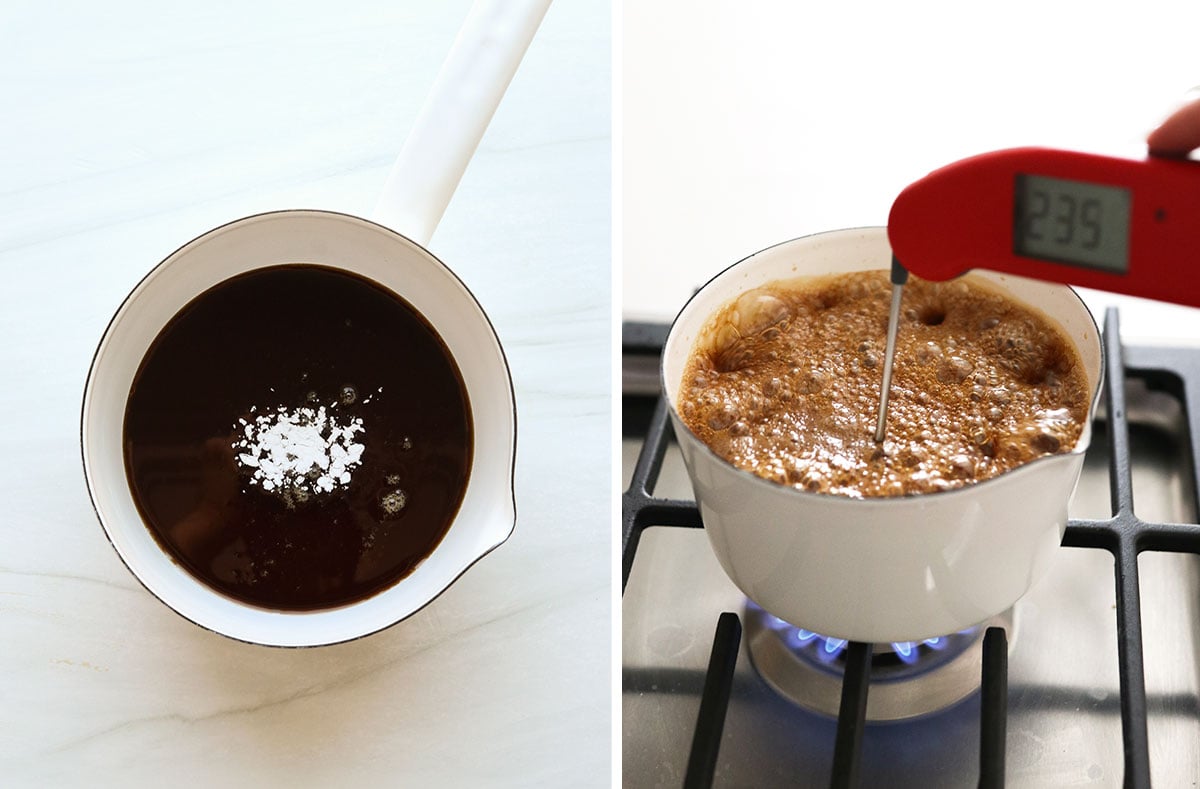
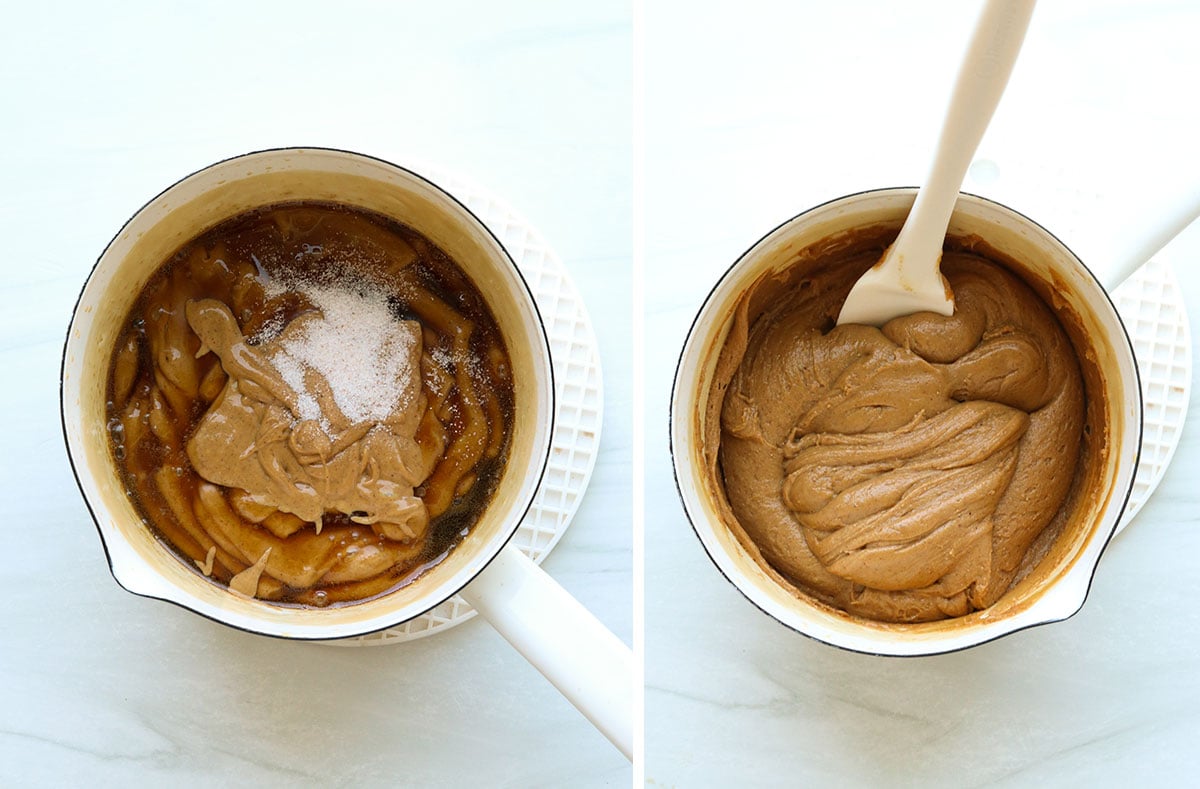
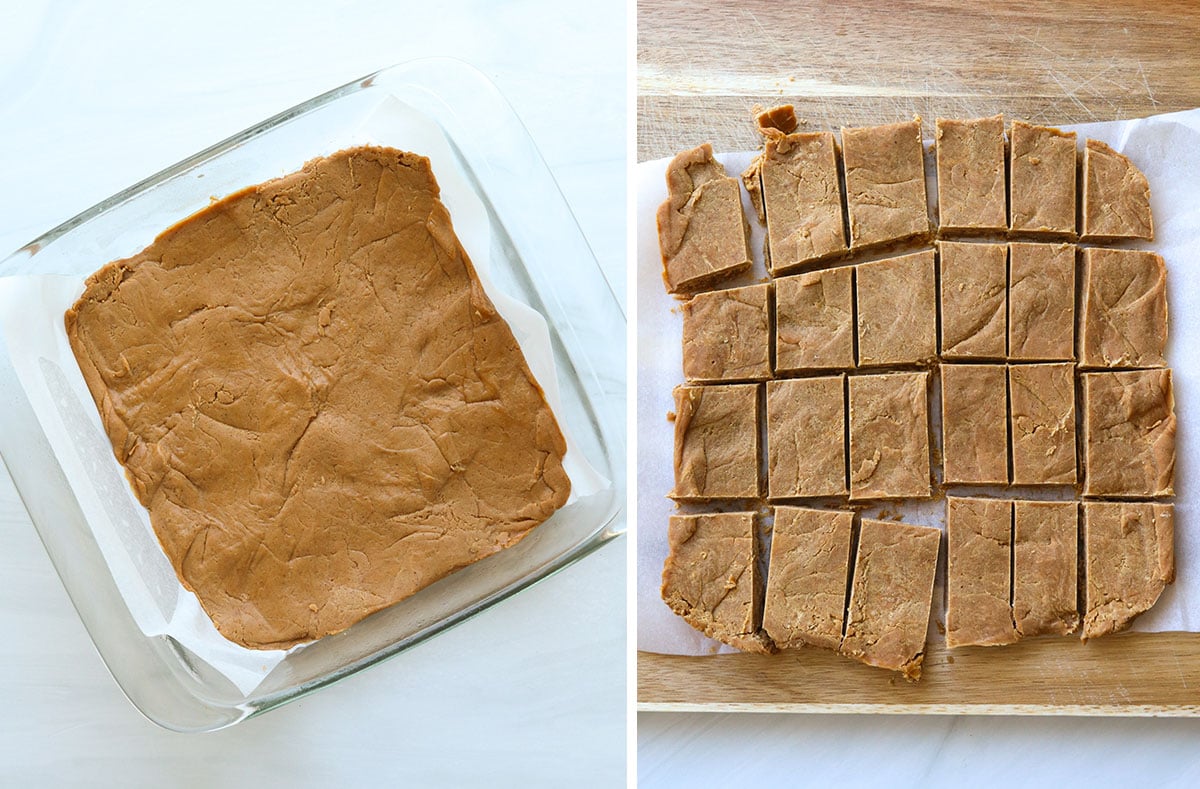
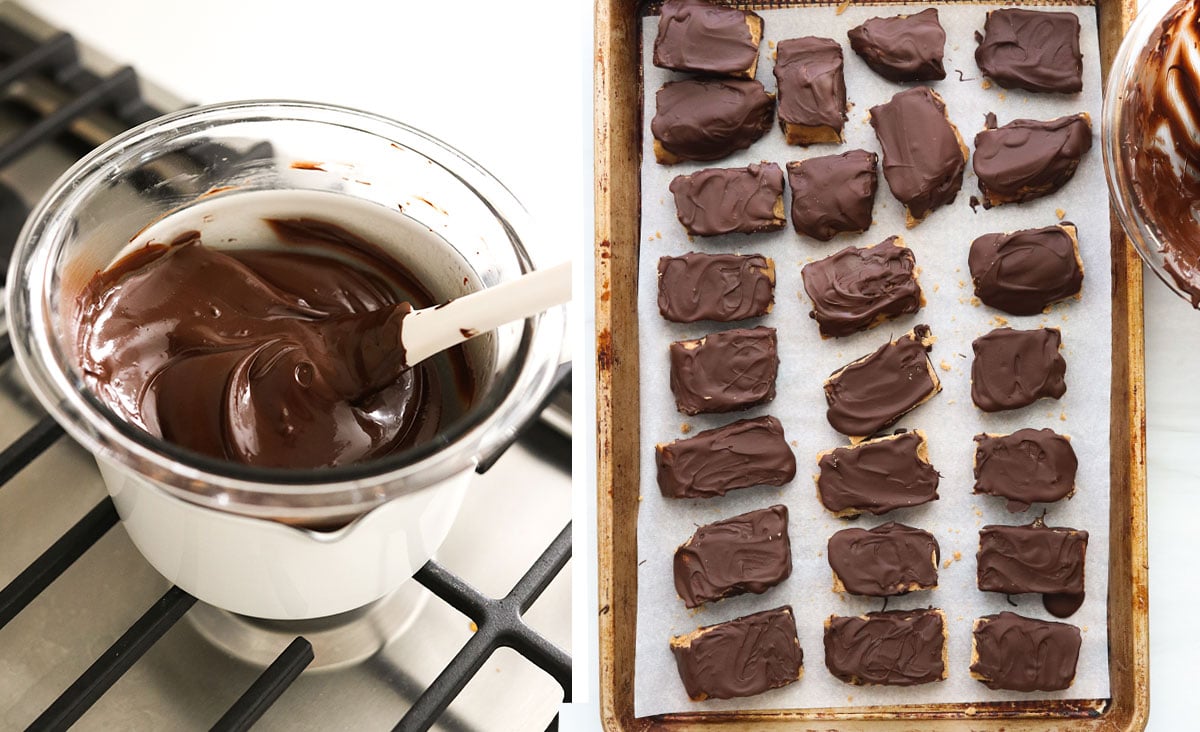
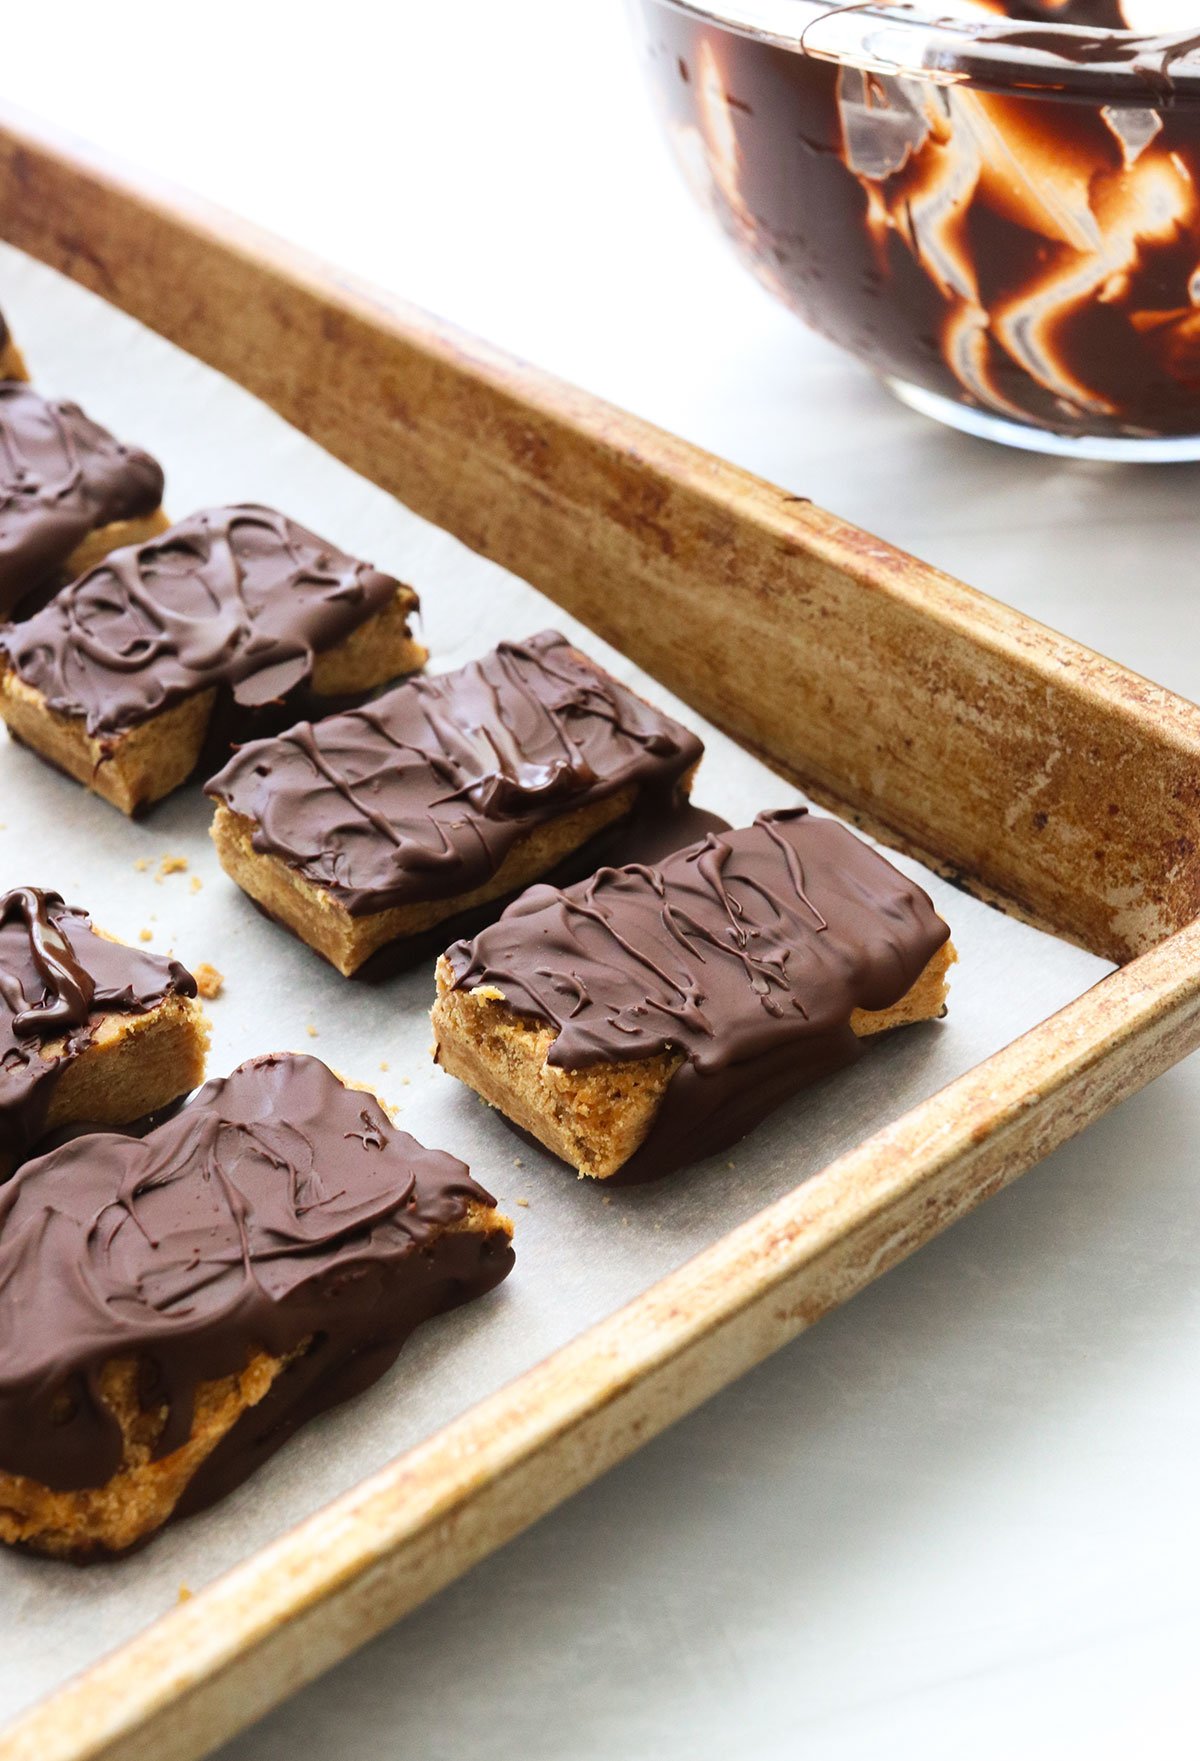
Spray a square 9-inch baking dish with cooking spray and line it with parchment paper. It’s important that this is ready to go right away because this recipe will move quickly. Measure out the peanut butter and salt, too. In a small saucepan combine the maple syrup and cream of tartar. Whisk well until the cream of tartar has dissolved. This is the ONLY time you will stir this mixture. Attach a candy thermometer (affiliate link) to the saucepan, making sure that the stem of the thermometer is not touching the sides or bottom of the pot. Ideally, the tip should be submerged in 2 inches of syrup for the most accurate results, but you can also use an instant-read thermometer periodically as the maple syrup boils. Bring the maple syrup to a rolling boil over medium-high heat. Watch the pot to make sure it doesn’t boil over (lower the heat if it starts to rise too much) and continue to boil until the maple syrup reaches the “hard crack” stage which is 300ºF. Note: Candy making is tricky because the sugar can quickly burn once you get near the 300ºF goal temperature. You’ll get the crispiest results if you let the maple syrup reach 300ºF, but if you don’t want to risk burning it, you can remove it from the heat once it reaches at least 270ºF which is the soft crack stage. (This stage is used for making toffee and butterscotch. It’s not quite as crispy, but will still create a firm candy.) Once the maple syrup has reached the correct temperature, immediately turn off the heat and stir in the peanut butter and salt. Stir as quickly as you can without splattering (because it’s hot!) then immediately pour it into the parchment-lined pan. Use a spatula to spread out the mixture while it’s still hot because it will harden quickly. (For example, I took a quick photo of the mixture in the pot for this post, and it totally hardened in the pan before I could get to the next step. So work quickly!) Transfer the pan to the freezer to chill for 10 minutes. While you wait, go ahead and melt the chocolate over a double-boiler. The perk of using a double boiler is the pan of boiled water can be kept underneath the bowl of chocolate, so it will stay melted while you coat both sides of the candy bars. (Alternatively, you can melt the chocolate in a heat-safe bowl in the microwave using 30-second intervals.) Remove the pan from the freezer. The bottom may still feel warm to the touch, which is good because the bars are easier to slice when they aren’t totally cold. Use a large sharp knife to cut the peanut butter layer into bars. Make 5 vertical cuts to make 6 rows of candy bars, and then cut them in half to create 12 large candy bars. Or, cut them in half again to make smaller fun-size bars. (Or Butterfinger bites!) Use 2 forks to dip each bar into the melted chocolate and let the excess chocolate drip off before placing them on a parchment-lined baking sheet. Or, use a spoon to spread the melted chocolate over each bar. Once the chocolate has hardened, flip the bars over and coat the other side. There’s no need to be perfect or totally coat the sides of the bars because the process can feel tedious. (Next time, I’d probably just coat the tops and call it a day.) Store homemade butterfingers in the fridge or freezer for the longest shelf life and crispiest results. They will keep for 2 weeks in the fridge, or up to 6 months in the freezer.
Helpful Tips
Because candy-making has a bit of a learning curve, here are some helpful notes that may prevent any disasters during the process.
Test your Candy Thermometer: Testing the thermometer may help to prevent any scorched maple syrup in your kitchen. Test your candy thermometer by placing it in a pot filled with at least 2 inches of water and bringing it to a boil. Boiling water should reach 212ºF. If your thermometer is off, adjust accordingly! (See tips below) Prevent Boiling Over: To prevent the maple syrup or honey from boiling over, spread a small amount of butter or coconut oil along the inner rim of your saucepan. Adjust the temperature for the level of liquid: The thermometer’s temperature reading will vary, based on the level of liquid in the saucepan. My smallest saucepan is too wide to have the liquid level cover enough of the thermometer’s tip, and as a result, I didn’t get an accurate reading. I ended up compensating for this measurement by figuring out how many degrees “off” my thermometer was with such a low level of liquid. To do this, boil exactly 1 cup of water, and see what the thermometer reading is. For mine, it only reached 180ºF, but I know the boiling point for water is actually 212ºF. So, there was a 32-degree difference, which I accounted for by only boiling my maple syrup to 268ºF, which would be the equivalent of 300ºF. Looking for more crunch? You can add up to 1 cup of crushed cereal for extra crunch. But be sure it’s ready to stir in quickly since this recipe hardens so fast after the maple syrup is boiled.
Looking for more healthy desserts? Try my date-sweetened Chocolate Peanut Butter Balls, Vegan Freezer Fudge, or Banana Snack Cake for more ideas. If you try these homemade candy bars, please leave a comment and star rating below letting me know how you like them.