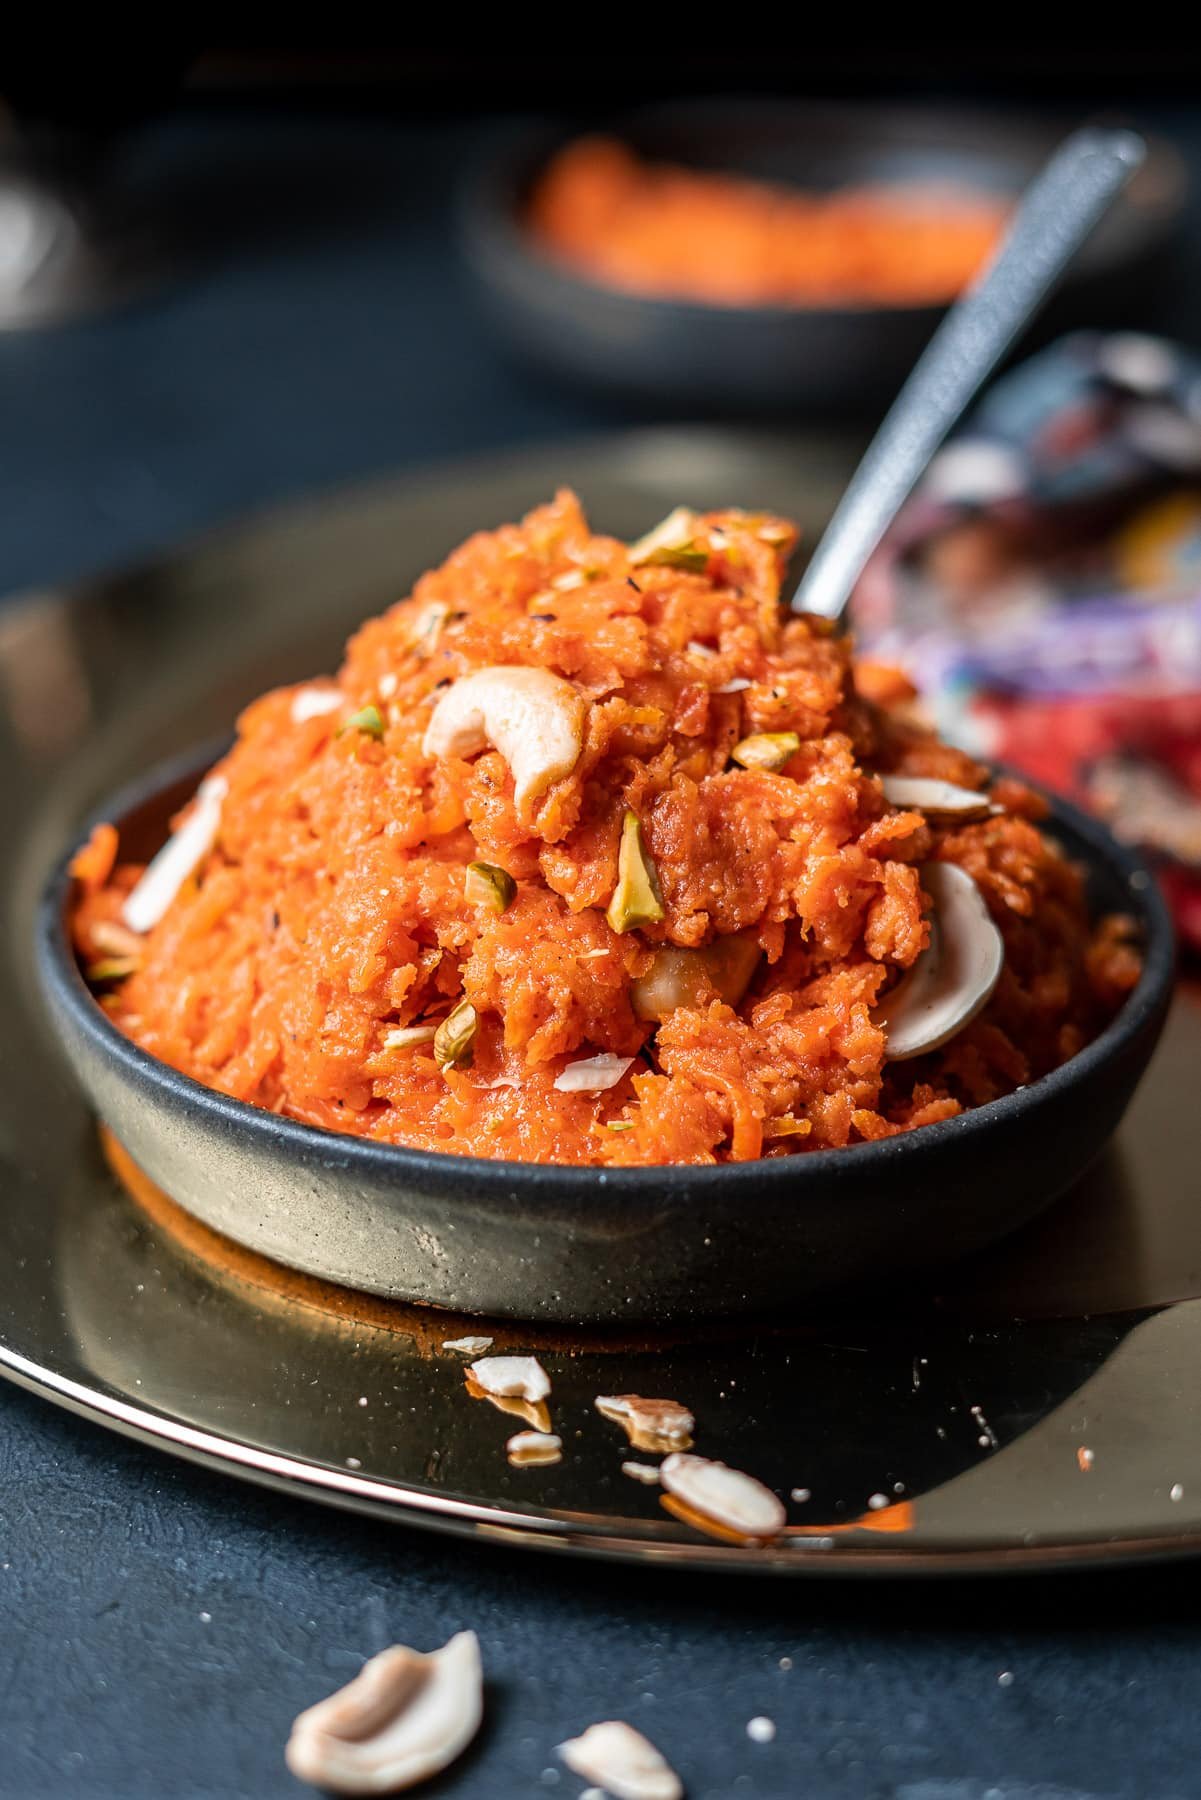
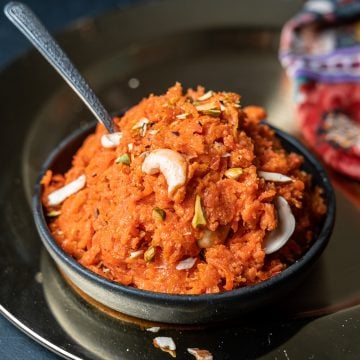
Growing up, my mom was and is the QUEEN of Indian stovetop desserts - no baking necessary. In fact, most Indian desserts are cooked or fried stovetop. Now that I think about it, my mom only uses the oven for storage! She was recently inspired by me to start using it to roast vegetables haha. Her gajar ka halwa is my absolute favorite. Gajar, meaning carrots in Hindi, are simmered for around 20-30 minutes with milk until it’s a pudding-like consistency, hence “halwa” which is a broad term for pudding-ish desserts. It’s served for just about any occasion in India and I have fond memories of eating it at the temple on Sundays. The dish is so popular for several reasons - the ingredients are simple and easy to come by, it requires almost no work, it’s vegetarian in nature, and easy to make in large batches.
3 different ways to make Carrot Halwa
There are three different ways to make gajar ka halwa at home. I’m sharing the simplest way in this recipe where you’re more likely to already have the ingredients at home to satiate your cravings.
Five Simple Ingredients - Notes and Substitutions
I was shocked at how easy it is to make halwa! I was FaceTiming my mom and honestly thought it would be way more complicated to make it. Admittedly, I’m frequently intimidated by Indian cooking. But it turns out that it takes five simple ingredients that you may already have on hand to make an incredible gajar ka halwa.
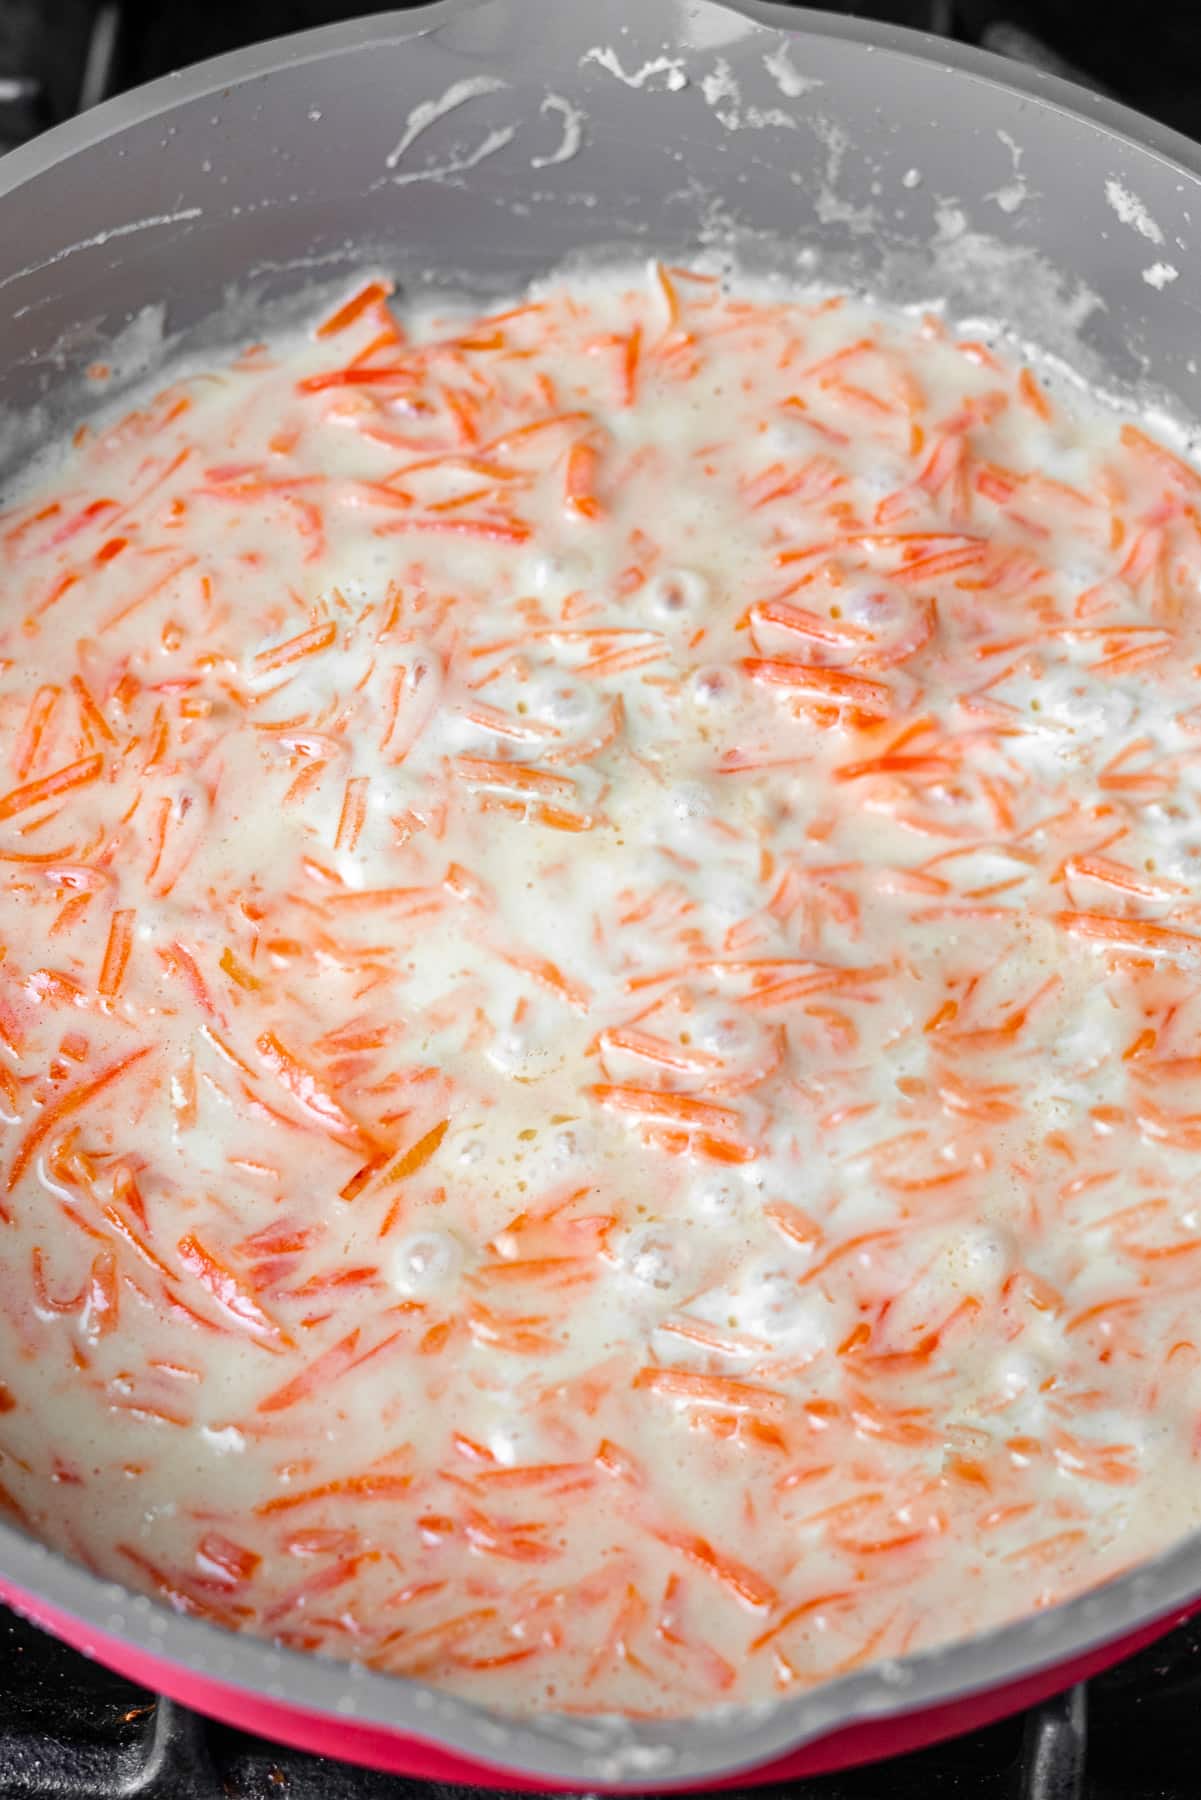
Carrots: I fully recommend shredding your own carrots so that you can get the proper size and prevent mushy halwa.Milk/milk powder: The carrots soften in boiling milk to make the pudding-like texture.Ghee: By far my favorite golden ingredient for making desserts. Ghee is clarified butter and a fan favorite for Indians. There’s really no similar vegan substitute, but you can use vegan butter.Sugar: To sweeten per your desire.Cardamom: Adds a sweet taste and aroma.
The base of the halwa is so so easy. You can also mix in nuts and raisins, which is incredibly common but optional.
Step-by-step Instructions
The only thing you’ll need to prep are the carrots - otherwise all this recipe requires is a lot of simmering!
Expert Tips
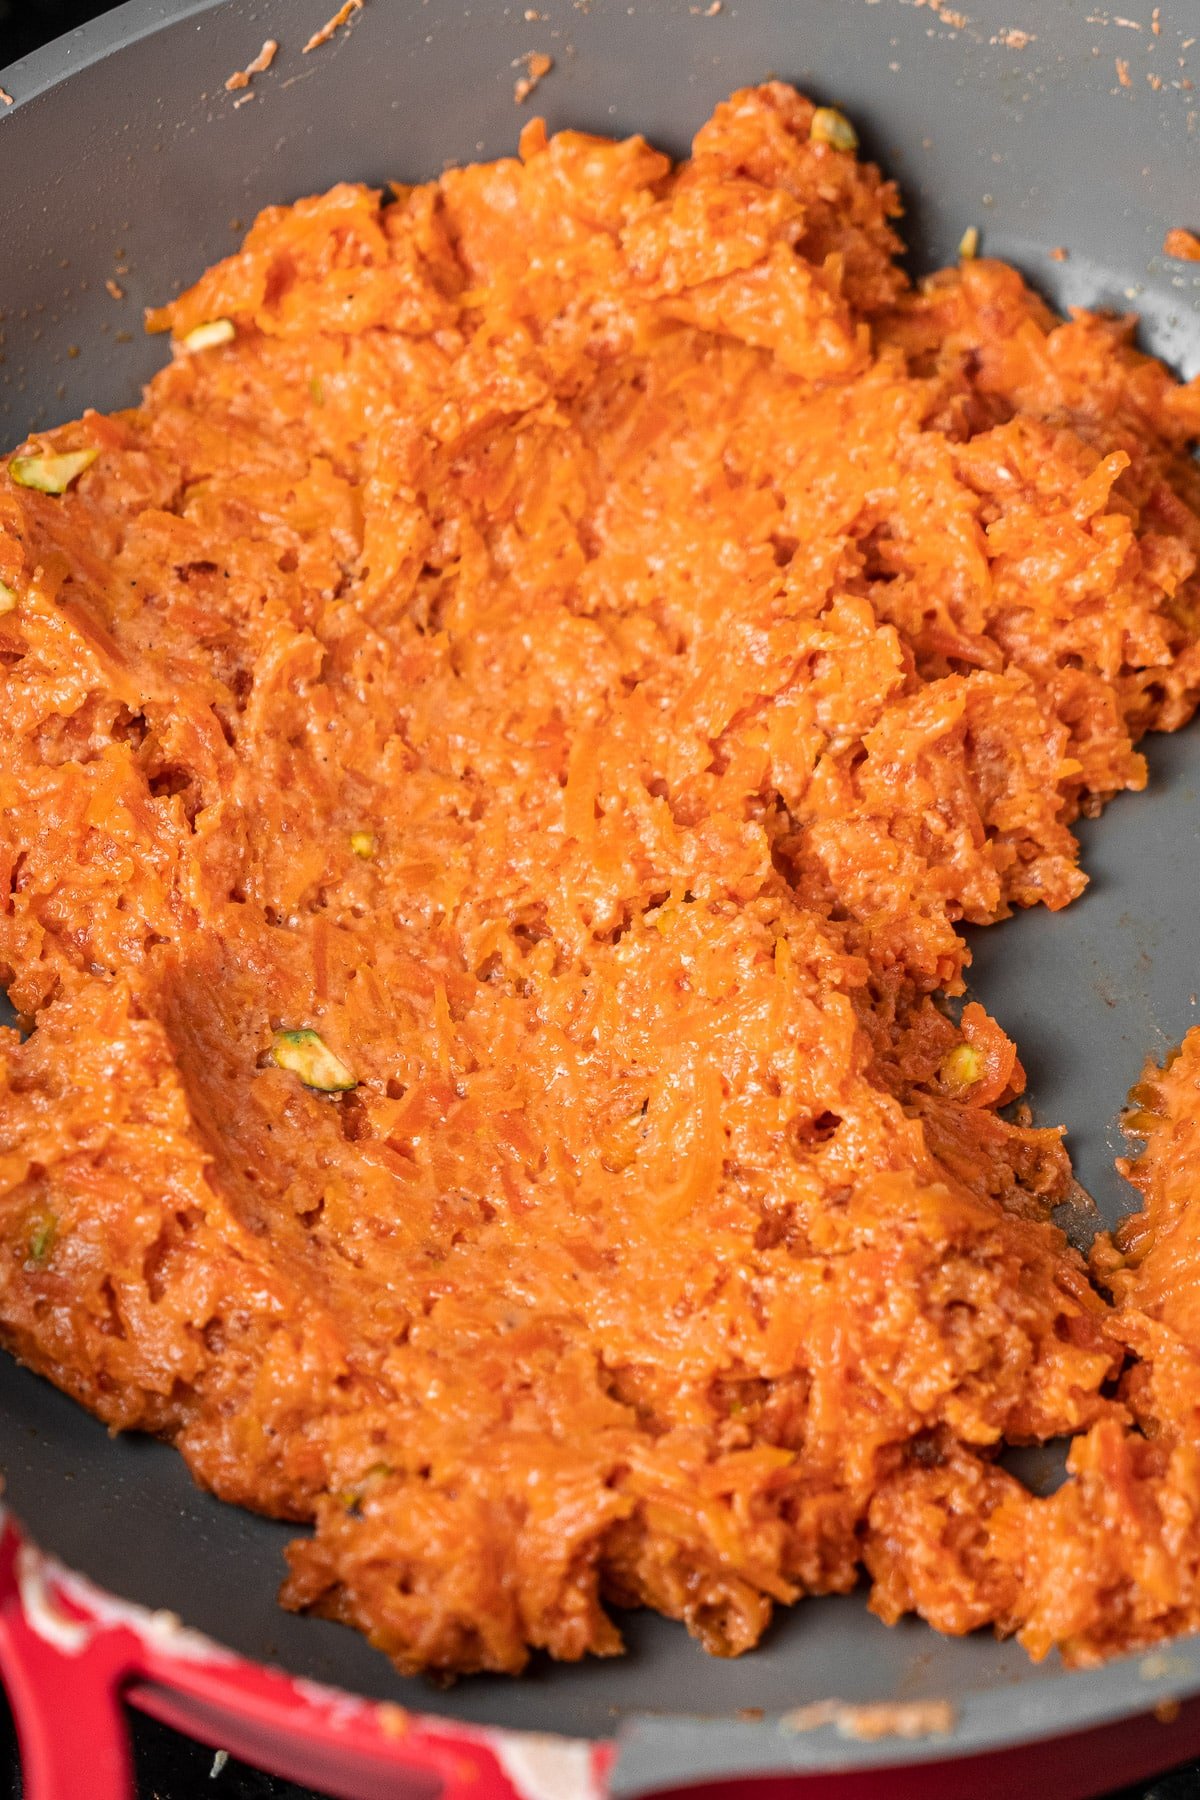
Here’s a few tips to get the perfect halwa! Use dark orange/red carrots: If you can find farm-fresh carrots that are a bit red, these are the perfect carrots to use for halwa. This is what lends a gorgeous color to the dessert, but can be hard to find outside of a farmer’s market. Using shredded carrots: Don’t buy pre-shredded carrots if possible. You’ll want to shred them yourself with a grater, using the medium-sized holes. Too large, and the texture will be more like thickened mushy milk. Too small, and the halwa will be mushy and watery but just a slight notch up can result in halwa that melts in your mouth. You’ll also want to choose carrots that are less fibrous. The best milk to use: I recommend whole milk, but have seen some aunties use sweetened condensed milk and omit the sugar. I’ve also seen a 50/50 mix of whole milk and heavy cream used to make it extra rich. The milk powder helps thicken the consistency of the halwa, but too much can also ruin the texture. If you’re unsure, omit the milk powder and use an extra quarter cup of milk. You may need to continue simmering for a longer period in this case. Milk-to-carrot ratio: This is so important, I cannot stress it enough! Having too much milk in your halwa will leave you with a weird thickened milk mushy texture at the end. You want just enough milk to cover the carrots and nothing more than that. Don’t be tempted to add more. If you get to this mushy state, simply add more shredded carrots and a quarter cup of water at a time until the carrots are tender. Checking the doneness: You’ll know when the halwa is done when the fat (in this case, the ghee) starts separating on the sides. The halwa will be thick and pudding-like, the carrots will slightly mush into each other, but the individual shreds of carrots will still be there. Don’t leave the halwa unattended. You don’t want the carrots to brown from the hot pan or burn the milk. Using a heavy bottom pan is preferred for simmering/boiling milk.
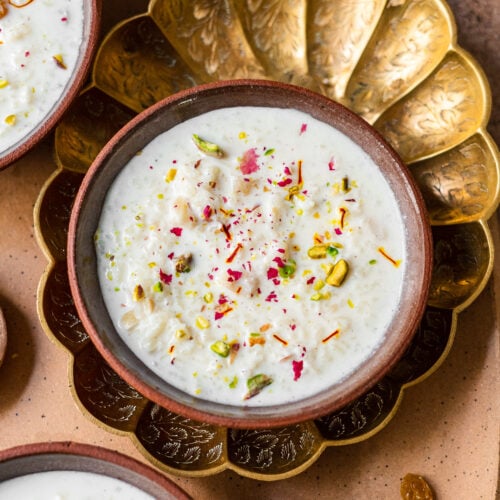
More Indian-Inspired Desserts to try
Recipe
I’d love to know what you thought of this recipe! Don’t forget to leave a comment and ⭐️ star rating below! Thinking about making this recipe? Enter your email and I’ll send it straight to your inbox to save for later. Plus, get new recipe inspiration from me every week! By submitting this form, you consent to receive emails from Masala and Chai.