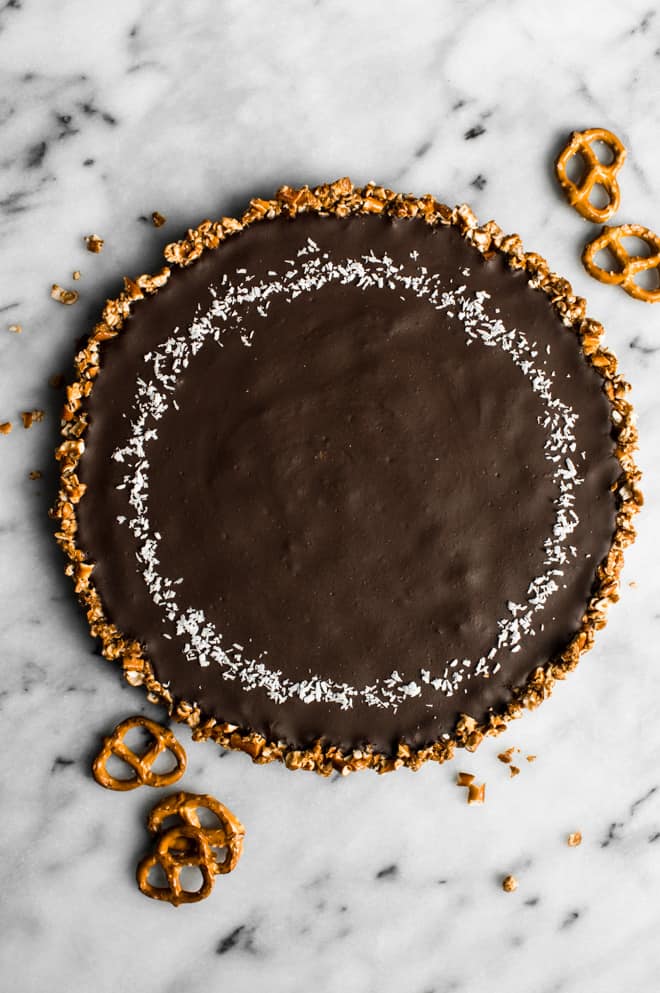
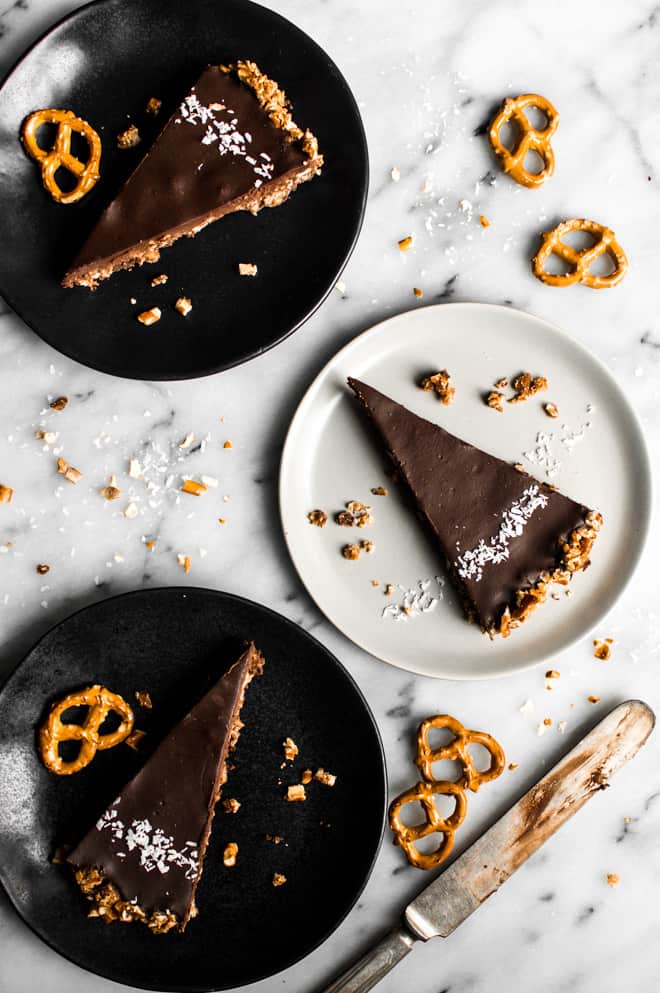
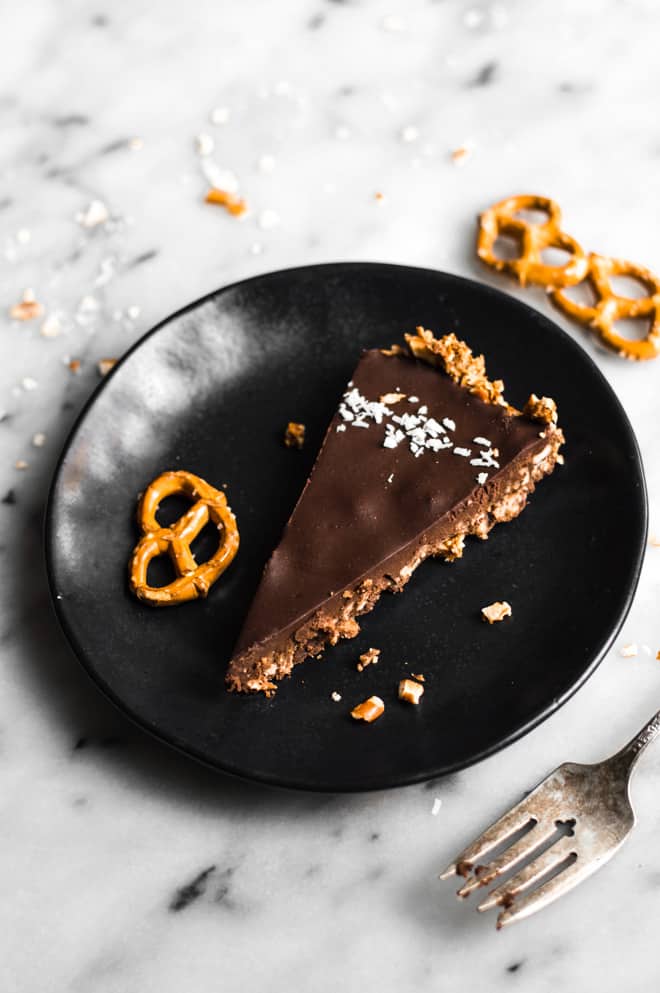
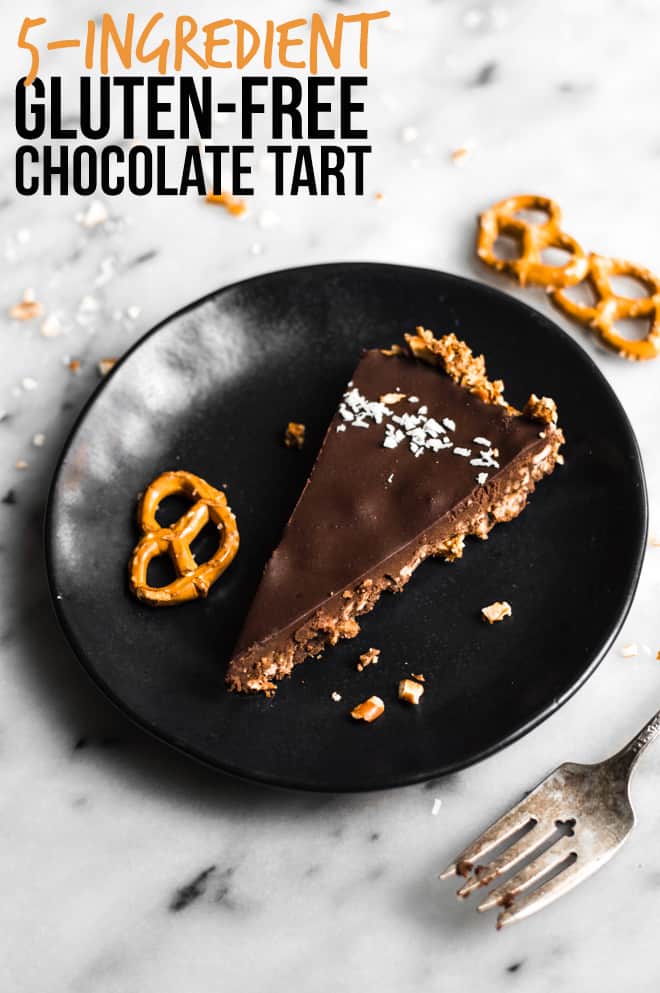
Will I be able to answer everyone’s questions? Can I explain how gluten-free pie crusts work without sounding like I’m stupid? Will I be able to transfer the pie crust to the pan without ripping it? (Turns out I couldn’t.) Will they like my pies? Will there be anyone there to eat my pies? Will there be some sassy person in the audience waiting to tell me what I’m doing wrong? Will I be talking with something stuck inside my teeth the entire time? Insecurities and nervous jitters—they always keep me on my toes when it comes to show time. In the end, I couldn’t have asked for a better group of attendees. No one shamed me when the pie crust ripped apart, I had many lovely volunteers, and everyone told me that they learned something that afternoon (yay!). (By the way, everyone’s favorite tip was learning how to make whipped cream in a mason jar.) But the best part of it all? Everyone loved the pumpkin pie and chocolate tart that I made! So much good feedback on the tart. I didn’t intend on sharing the recipe here, but considering that many people have told me how much they enjoyed it, I felt like I had to share it with you, too! It’s decadent without being too heavy, rich, or overly sweet, and it requires only FIVE ingredients to make!
MASTER MY MISTAKES / COOKING NOTES
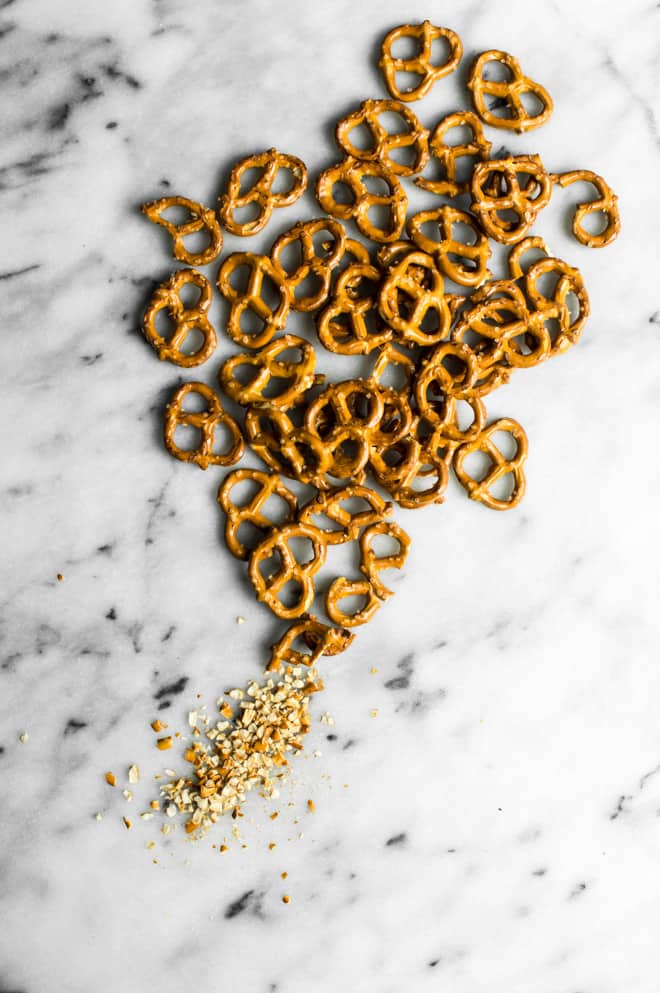
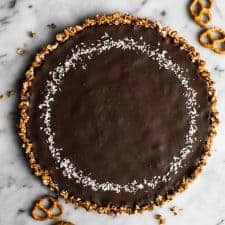
Use a Tart Pan: Having made several of this recipe in pie form, I’ve come to realize that it is best made in a tart pan. Whenever I made this in a regular pie dish, a lot of the crust got stuck in the bottom crease of the pie dish, which made lifting slices of pie out of the dish very difficult. When I made this as a tart, the whole thing popped out easily, and it was quite easy to cut into.Use Bittersweet Chocolate: I’ve tried this recipe with 3 different types of chocolate: milk, semi-sweet, and bittersweet chocolate. Bittersweet chocolate was by far my favorite. If you’re looking for something sweeter, add more sugar to the filling. DON’T use milk chocolate—the sweetness was out of control.Use Melted Coconut Oil (or Butter): I tried making the pie crust several ways. First, I mixed softened butter, crushed pretzels, and sugar together and par-baked it in the oven. This was a disaster. The pretzels all sank to the bottom of the dish, and I ended up with a pool of pretzel bits and melted butter. Next, I mixed the same ingredients together, but I didn’t par-bake the crust. Although the crust held together pretty well, the pretzels got way too stale. I was getting a bit frustrated with the crust at this point and sent an SOS message to Cindy, who suggested mixing the pretzel bits with melted coconut oil or butter and then par-baking the crust. Cindy’s suggestions were spot on! Melted (virgin or unrefined) coconut oil adds a lovely flavor to the tart.Use Pretzel Twists: Twists are so much easier to crush than pretzel sticks. I also suggest going for the regular pretzel twists instead of the low-sodium version. The salt on the pretzels are a great contrast to the chocolate filling.Ditch the Heavy Cream, Go for Whole Milk: I made a version of this with heavy cream because I thought it would make the filling extra decadent. I was right, but I also ended up with a thin layer of congealed fat on the pie filling after it was chilled. It wasn’t pretty, but it sure was decadent.Making This Ahead: If you make this overnight, the crust on the bottom will turn a bit soggy. Sorry, there’s no way around that. However, the outer crust remains quite crunchy, and the tart slices much more cleanly.
If you try this recipe, be sure to share your creations with me! Tag me on Instagram or Twitter so that I can give you a fist bump!