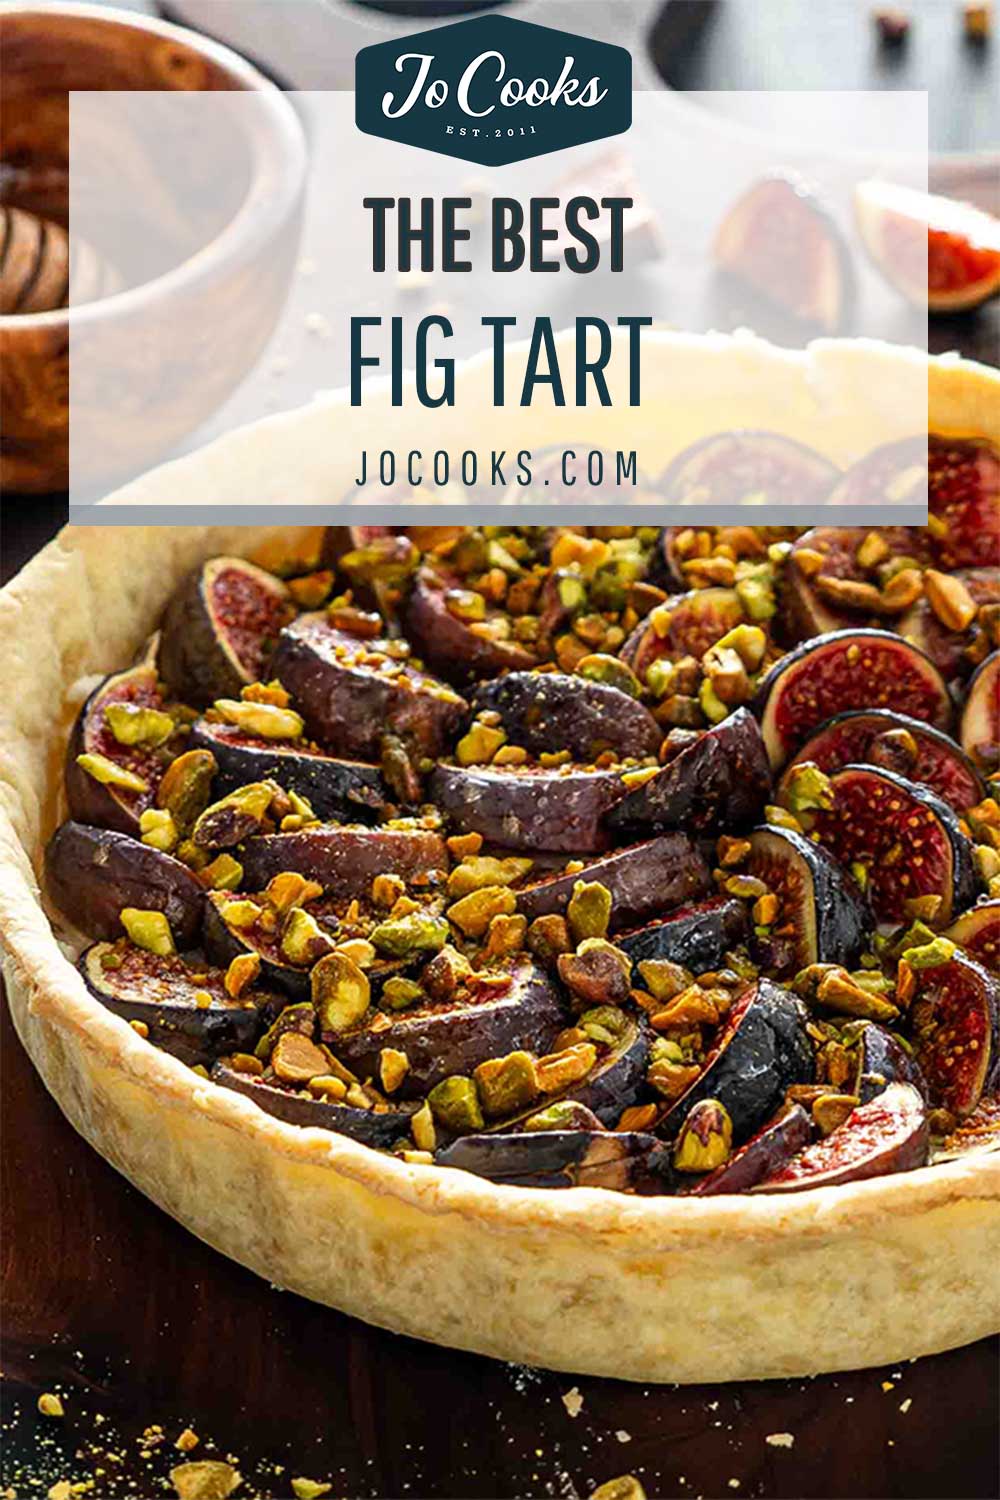
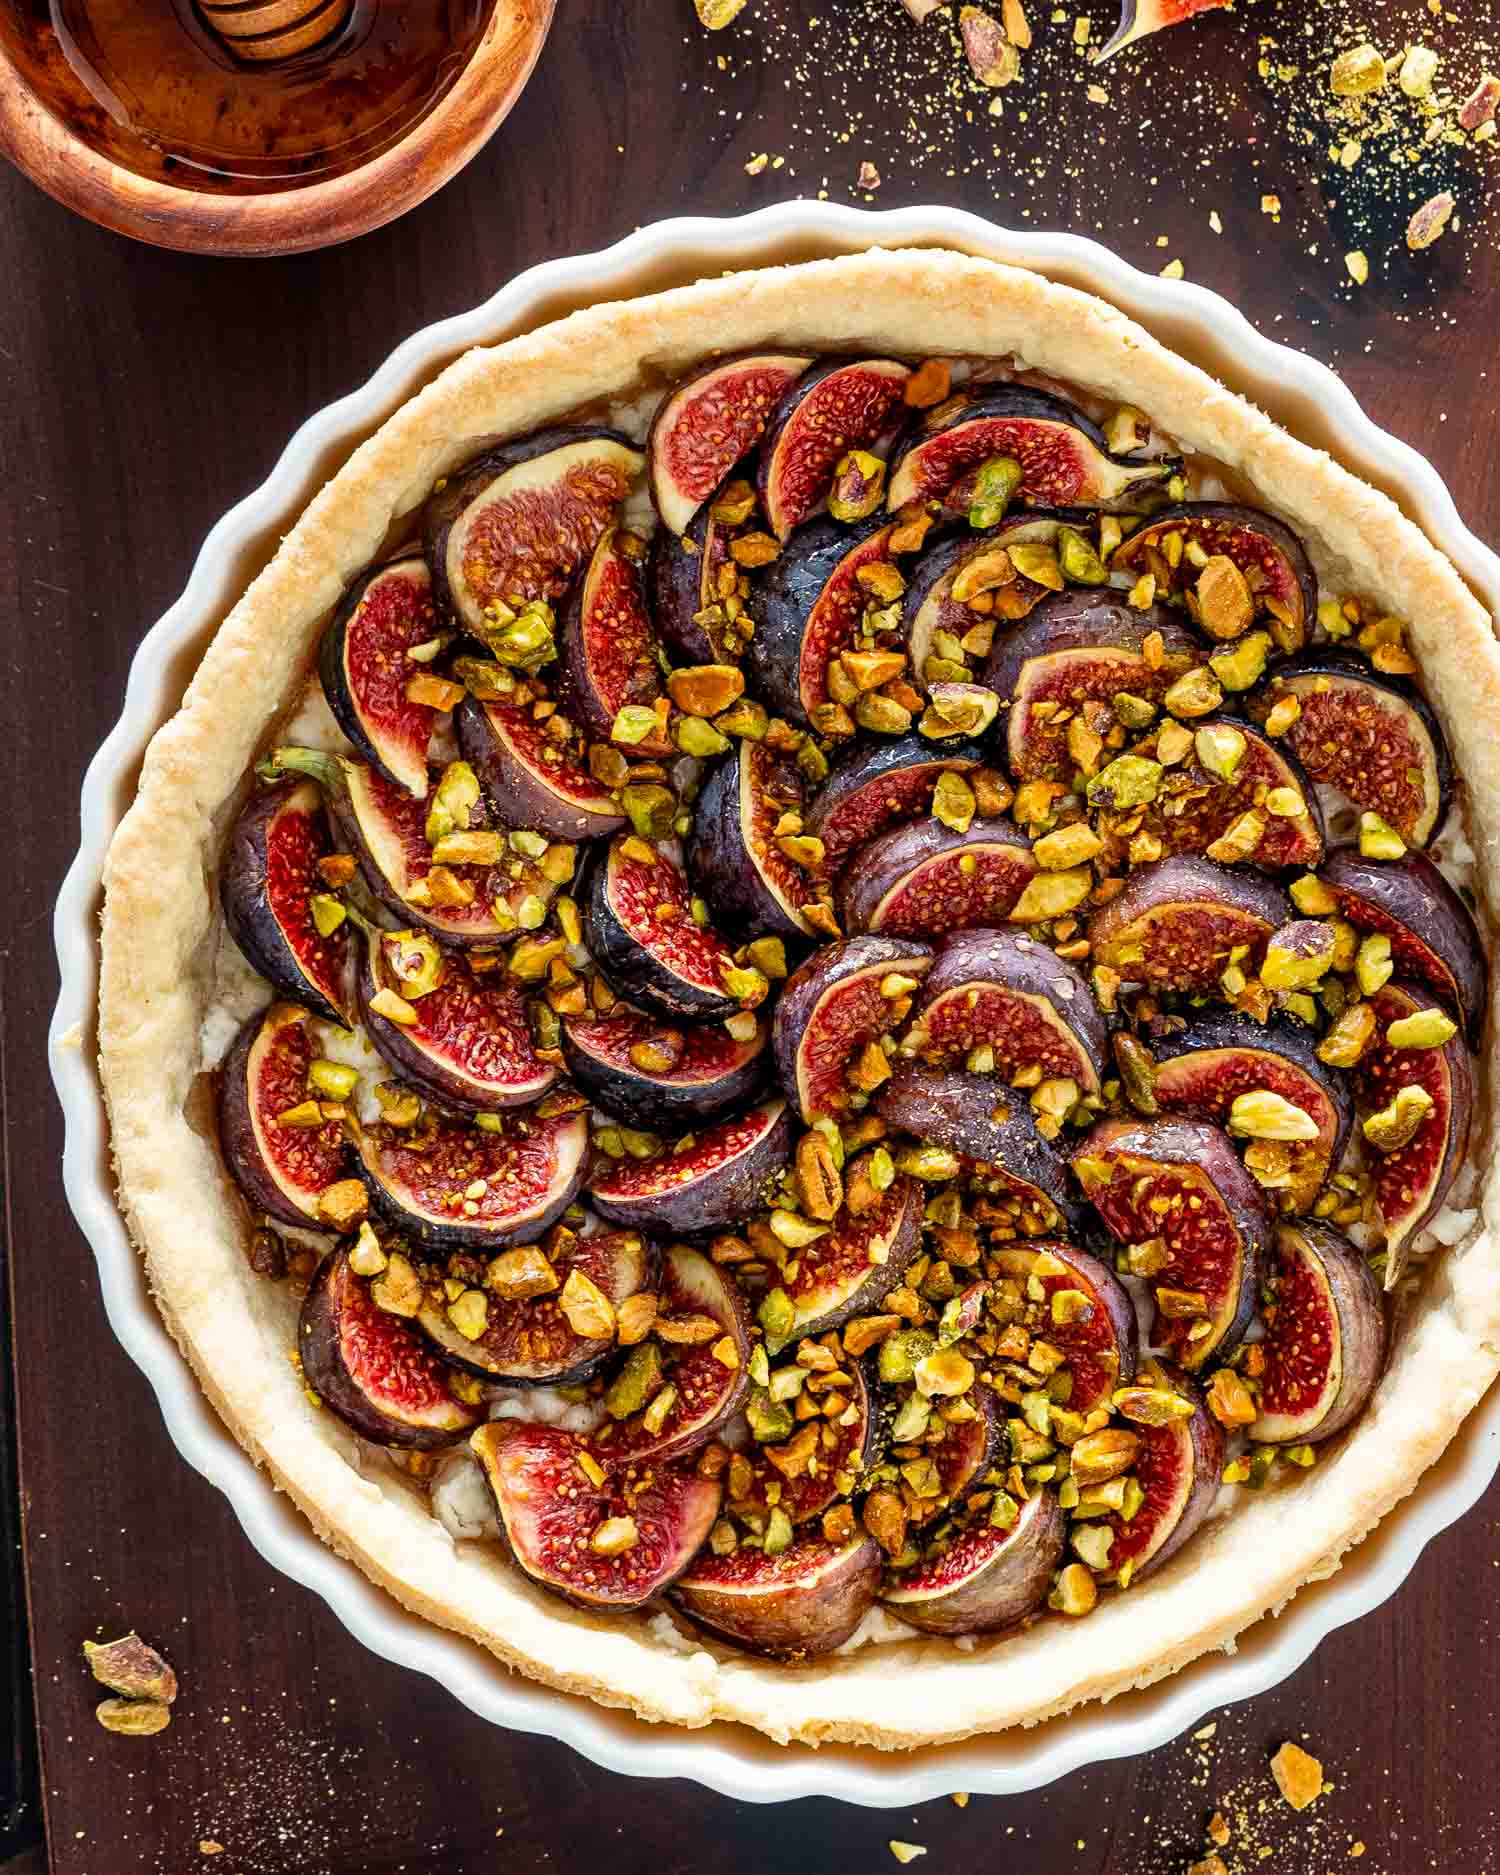
Easy Fig Tart Recipe
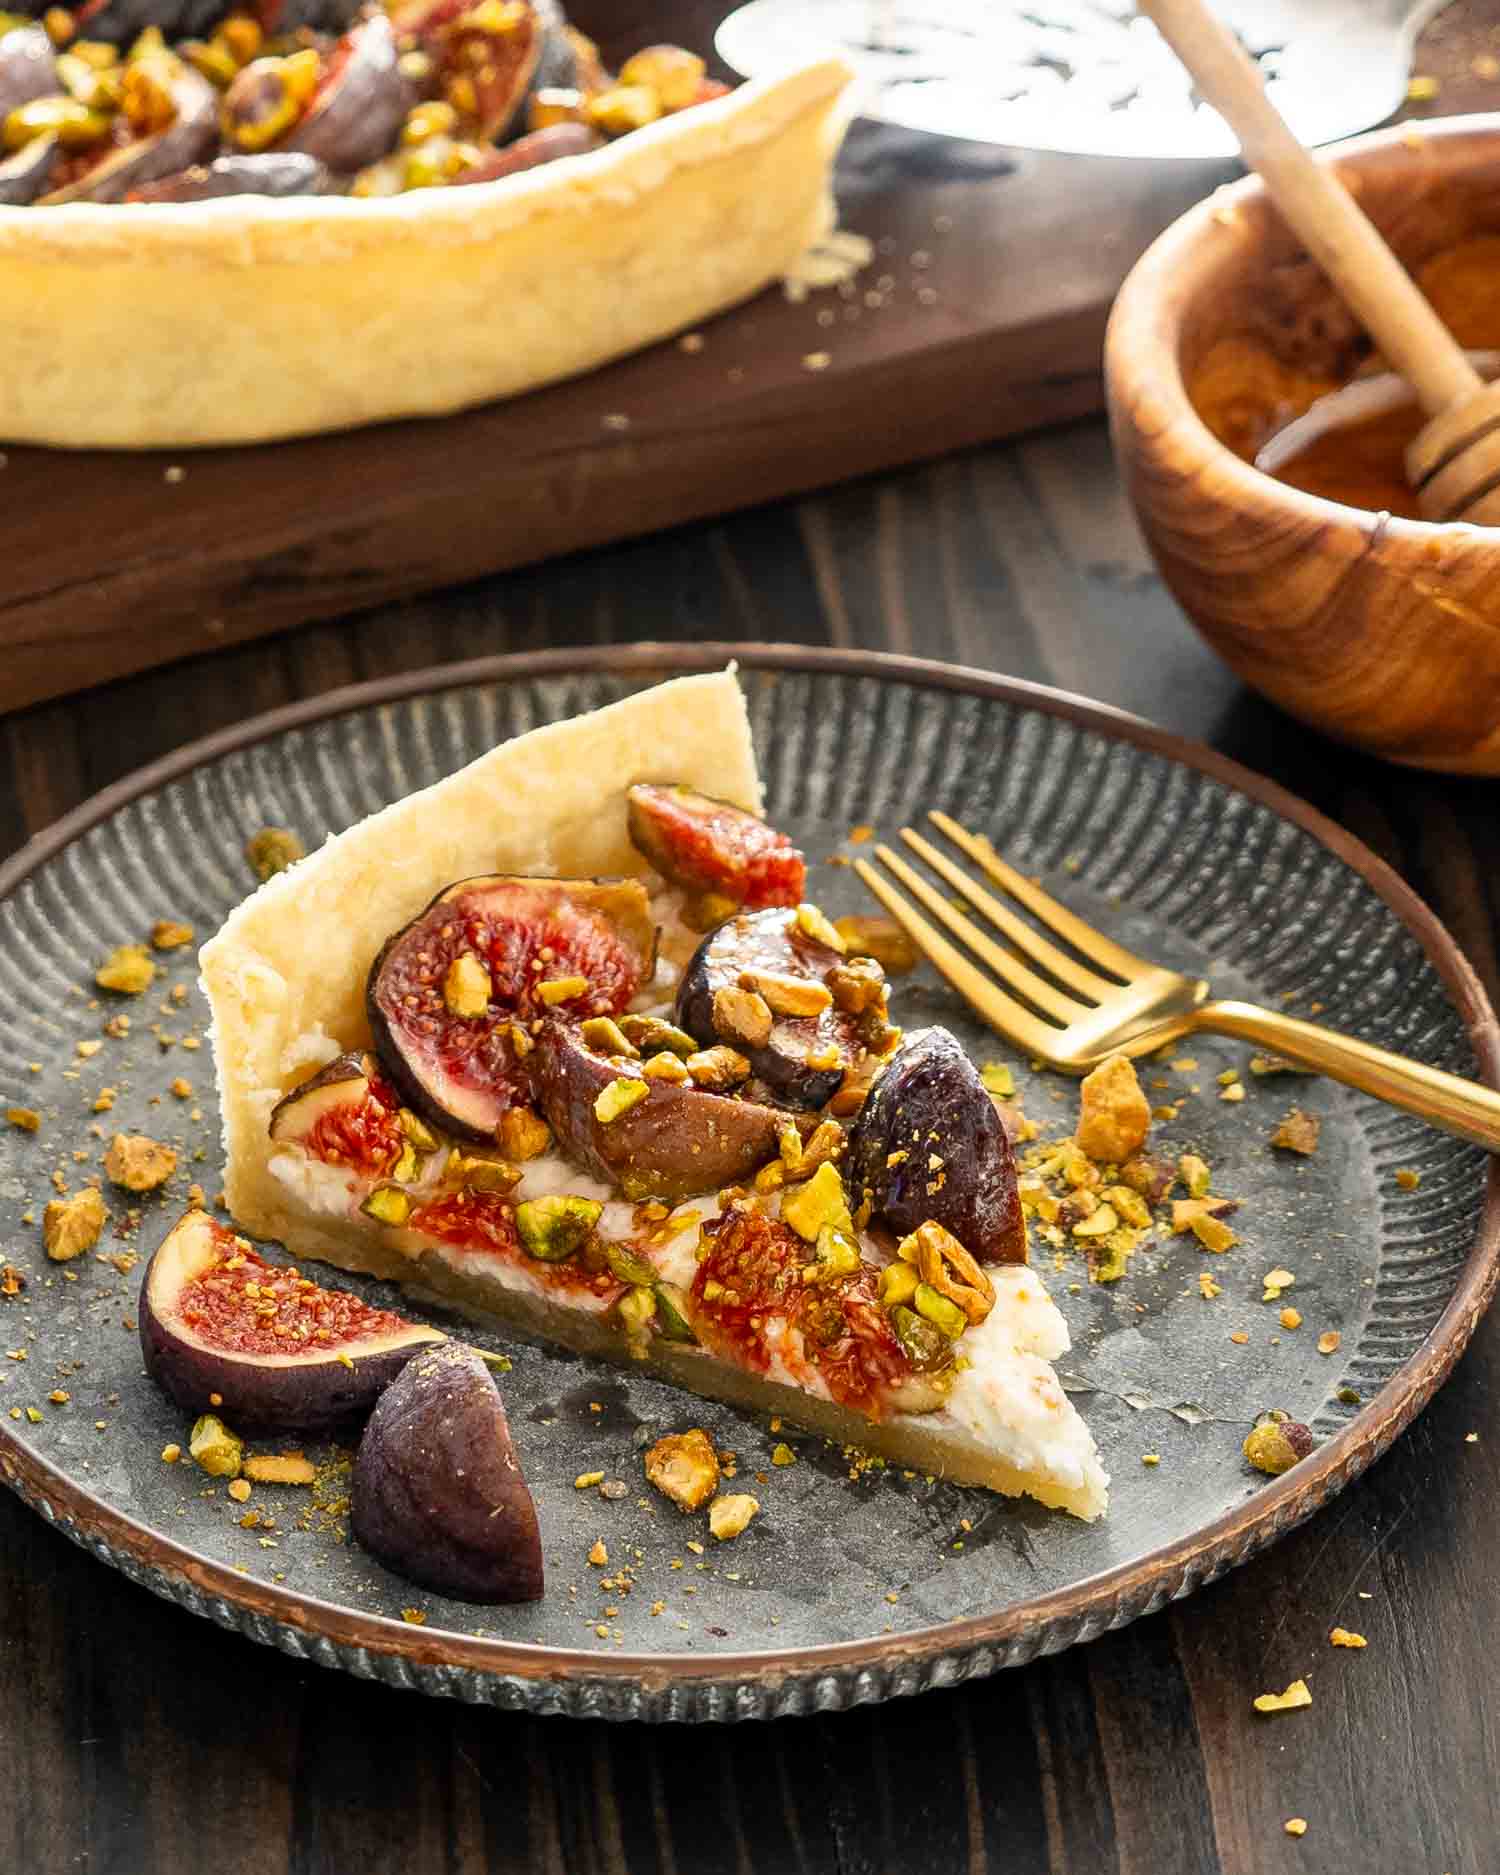
There’s something truly magical about the honey-like sweetness of fresh figs! It’s a unique taste with a subtle hint of refined floral flavor that just melts in your mouth. So today we bring together the sweetness of fresh figs, the creamy allure of goat cheese, and the delightful crunch of pistachios to create this delicious fig tart with pistachios and goat cheese recipe. It is the perfect balance of sweet and savory flavors all cuddled into a homemade buttery crust! But it doesn’t stop there! What makes this tart even more enticing is how remarkably easy it is to make. With just a handful of ingredients and a little bit of time, you can create a stunning dessert that looks and tastes like it came straight from a gourmet bakery. This simple fig tart recipe will have your friends calling you a pastry pro in no time!
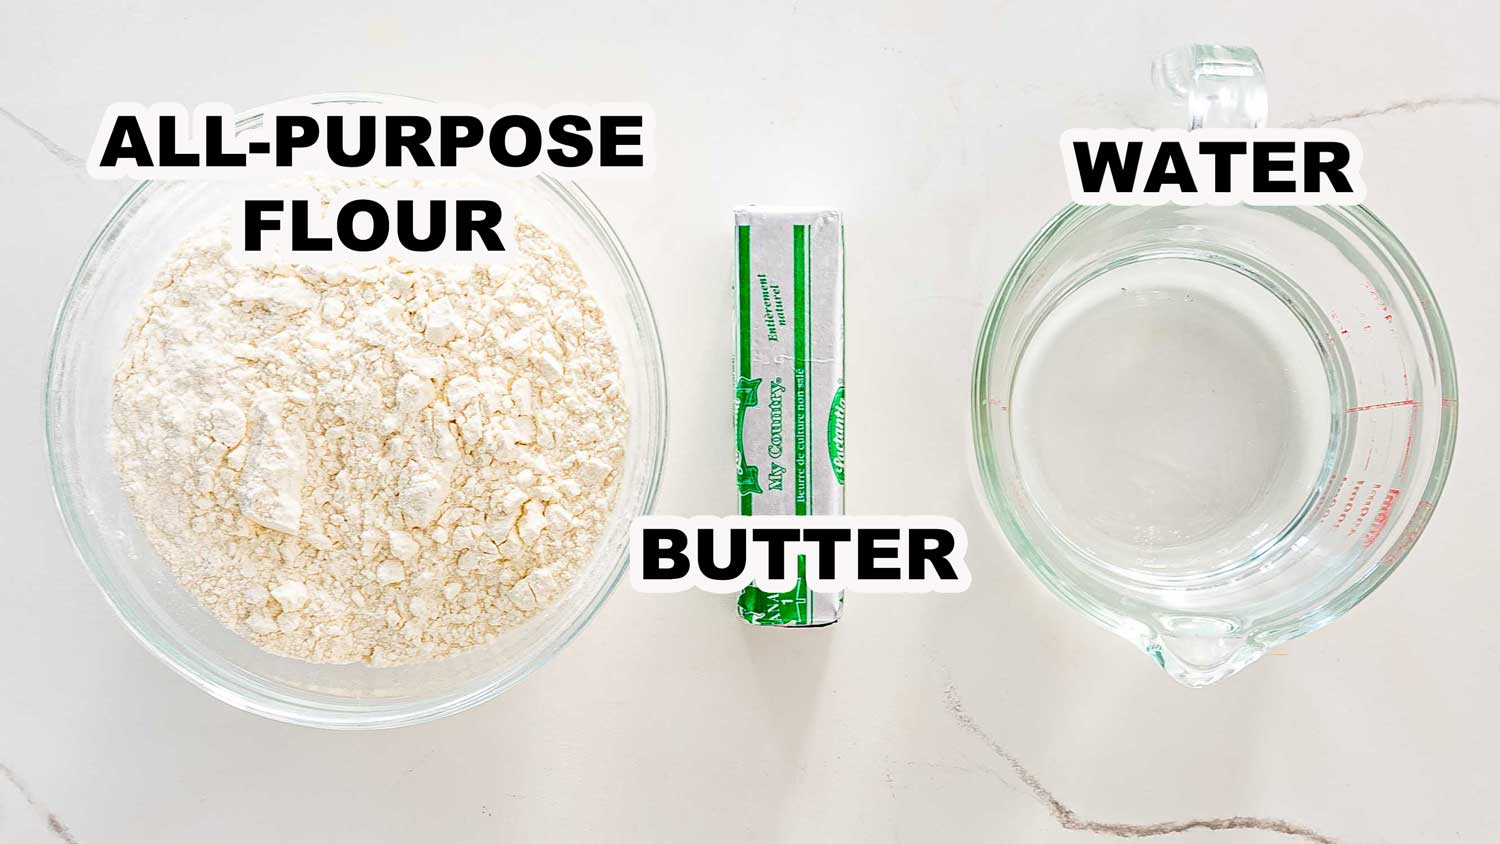
All-Purpose Flour – Provides the structure of the pastry crust. You can substitute regular flour with gluten-free flour provided that it has xanthan gum in it. Butter – Adds richness and makes the crust light and flakey. I used salted butter but if you have unsalted, you’ll want to add a pinch of salt to the pastry. You can use vegetable shortening or cold coconut oil as a substitute if you prefer. Cold Water – Used to bind the dough together and make it pliable. It’s important that the water is very cold or it can soften the butter.
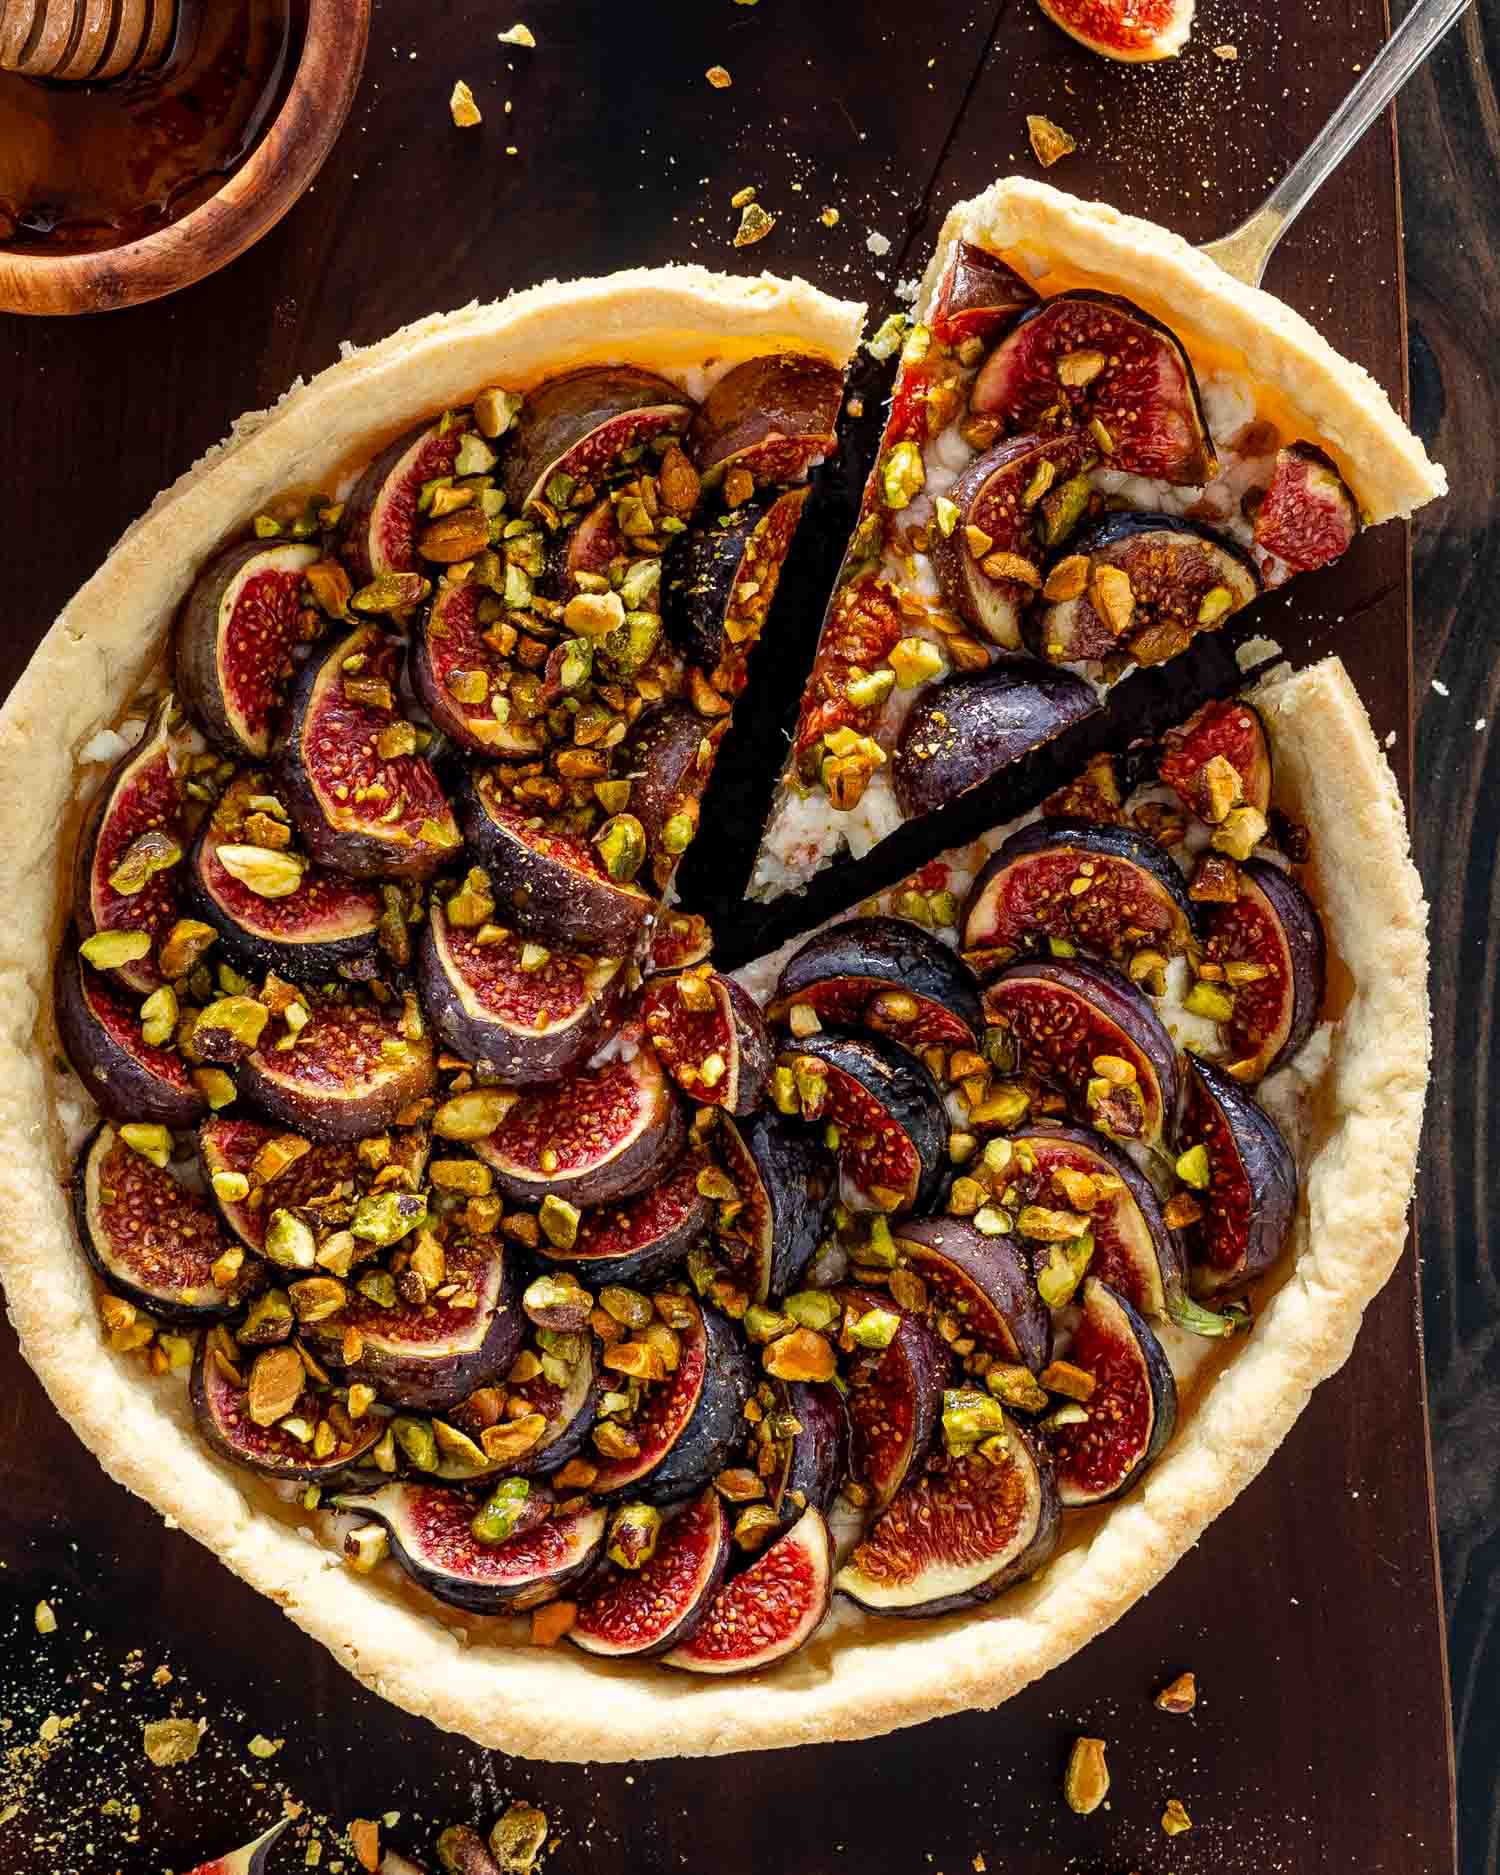
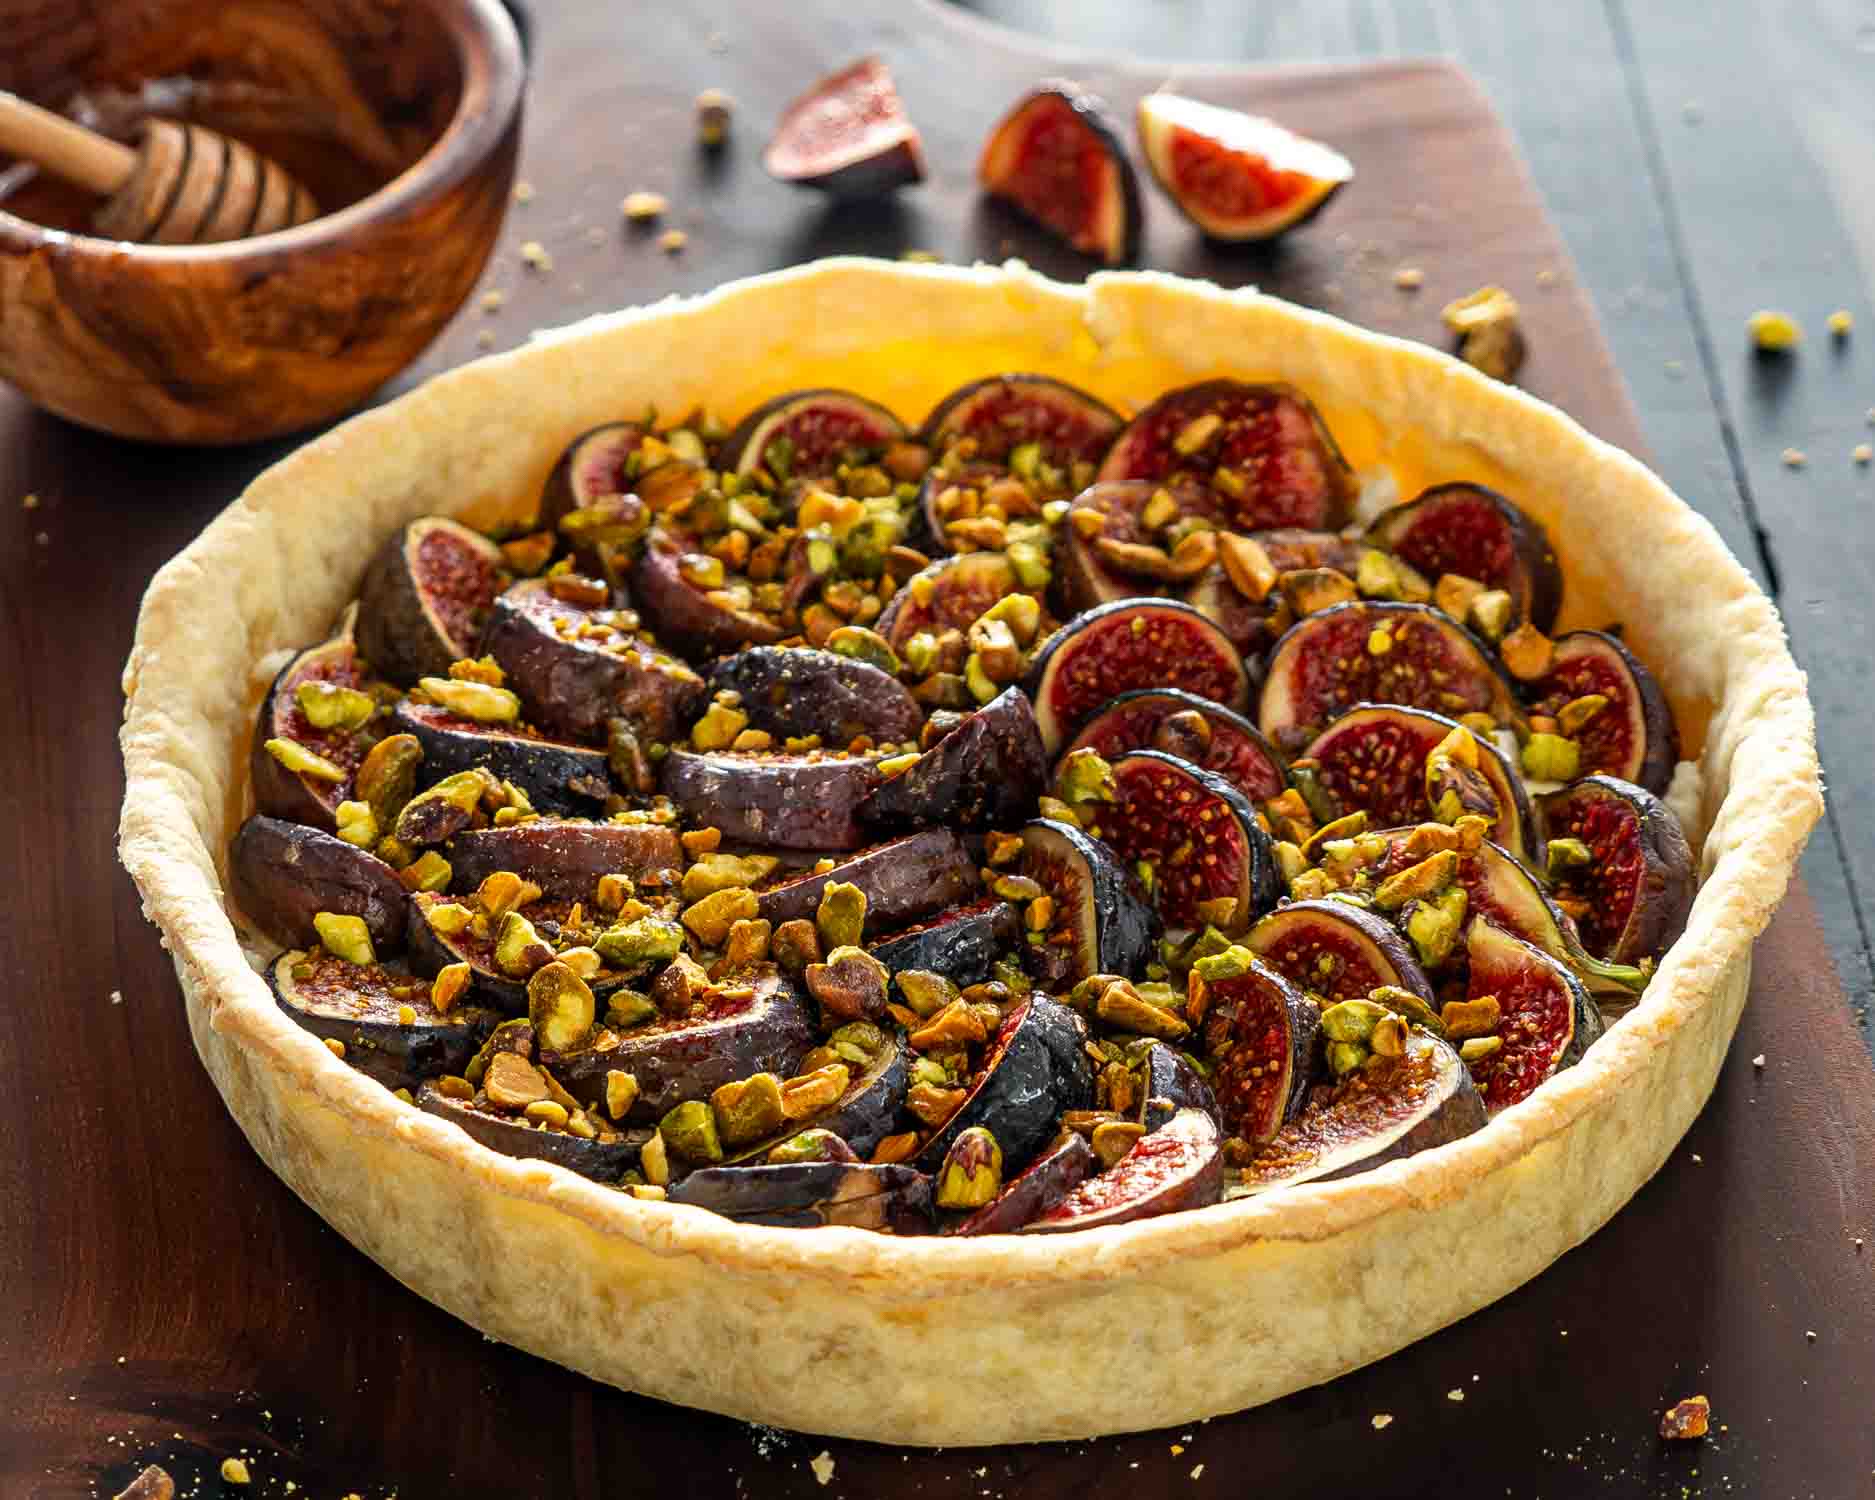
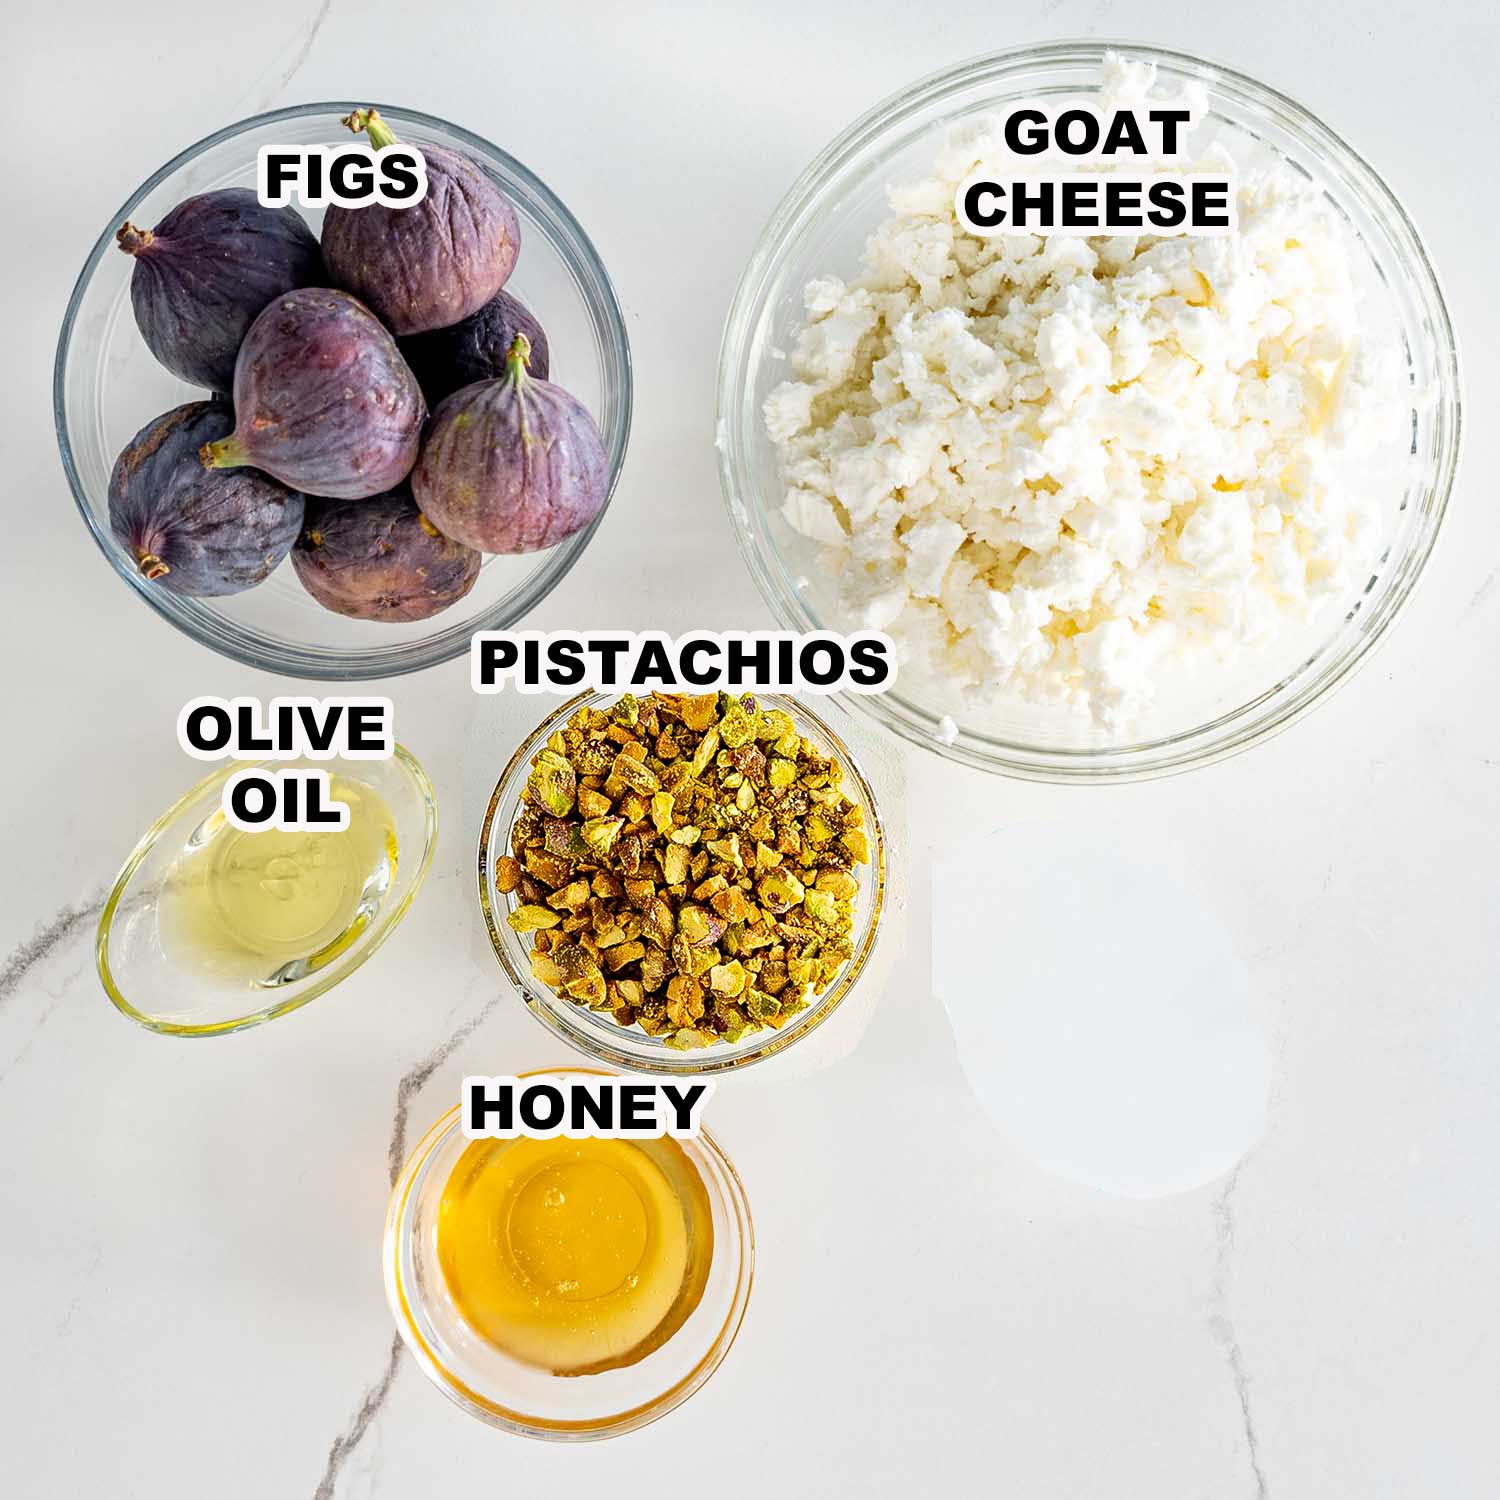
Fresh Figs – The star of the tart! The natural sweetness of the fresh figs blends perfectly with the goat cheese. Yet, if figs aren’t in season you can use other fresh fruit like plums, apricots, or pears for other flavor variations. Pistachios – Gives the dessert a lovely nutty flavor and a bit of crunch. Feel free to substitute the pistachios for other nuts, such as almonds, walnuts, pecans or even hazelnuts. Goat Cheese – The creaminess and tanginess of goat cheese pairs perfectly with the sweetness of fresh figs. Olive Oil – Just a drizzle adds a hint of savory richness. Honey – The natural sweetness of honey complements the figs and adds to the texture of the filling.
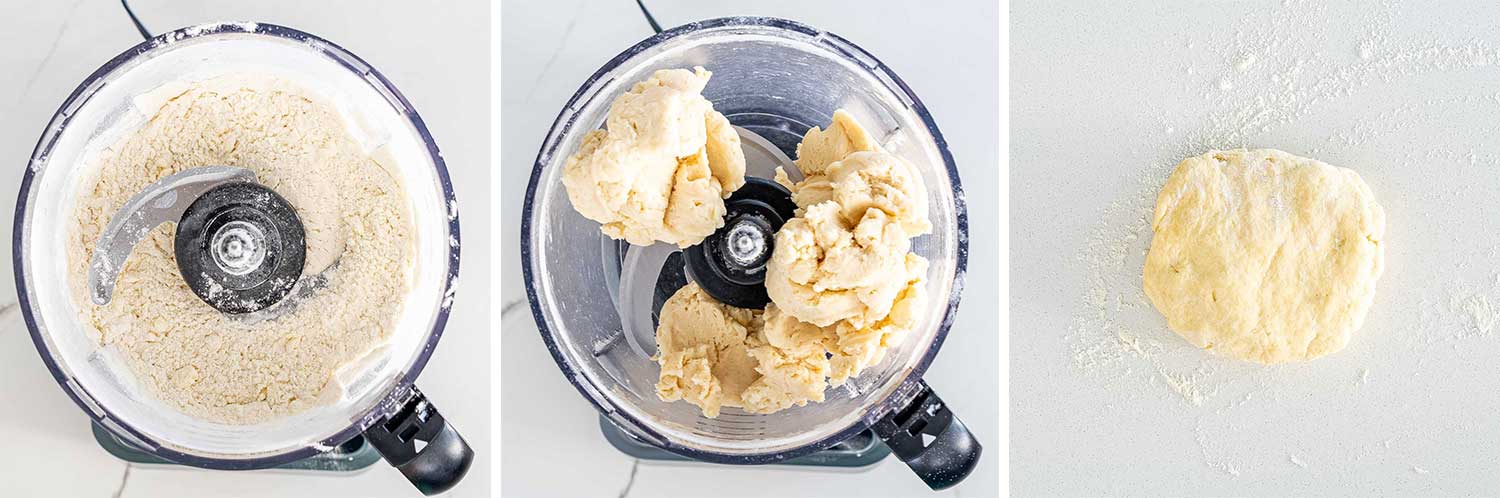
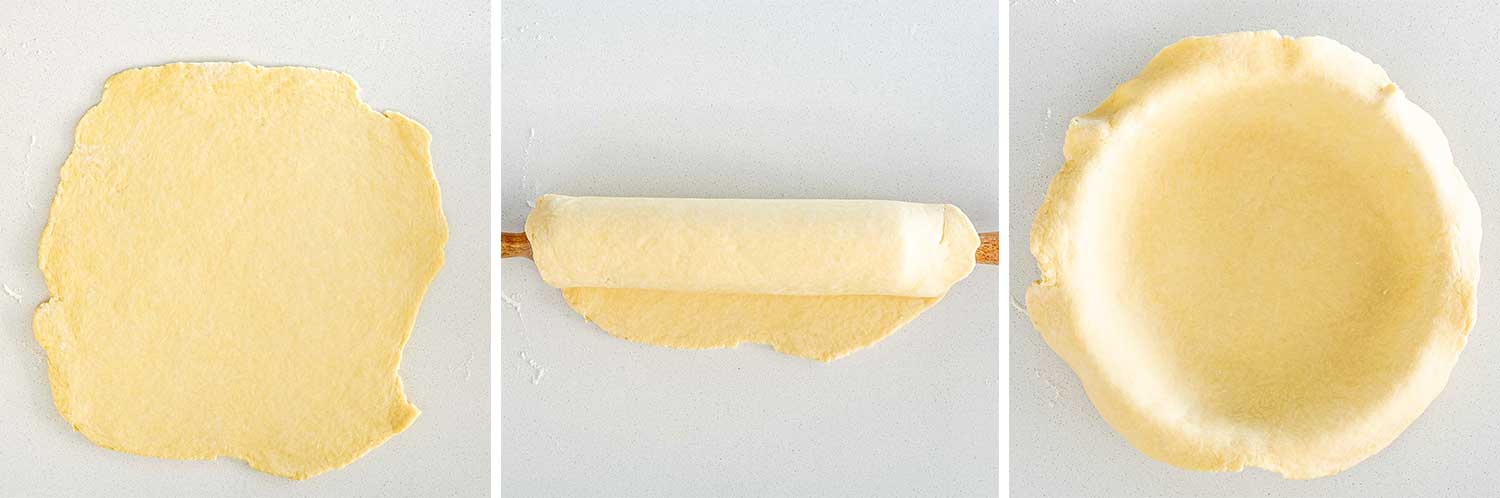
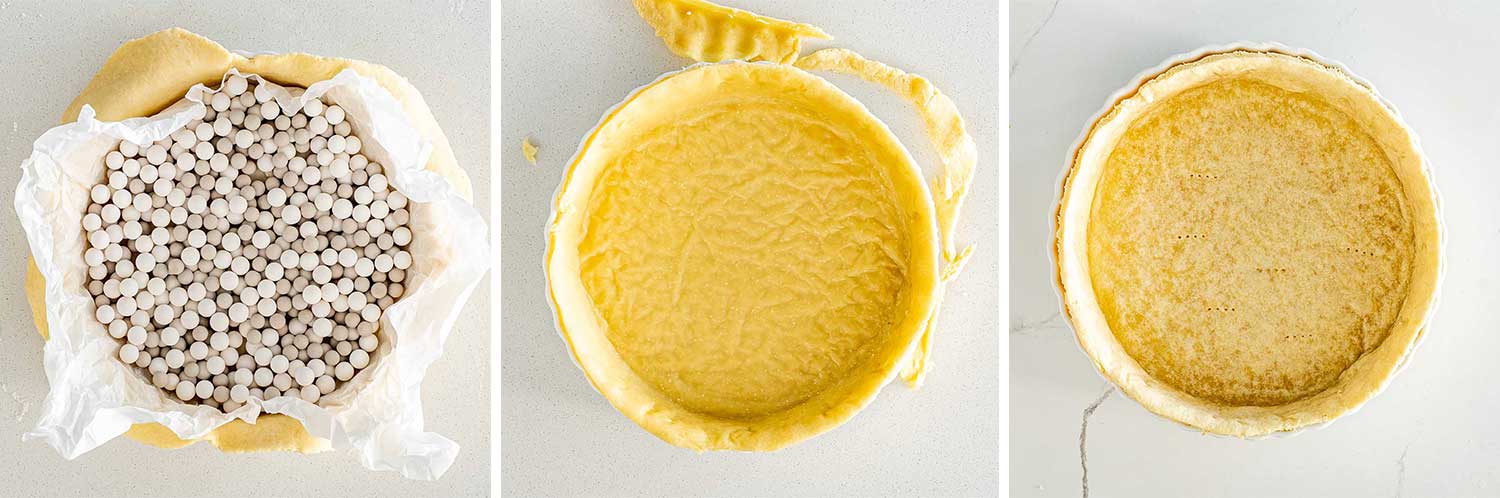
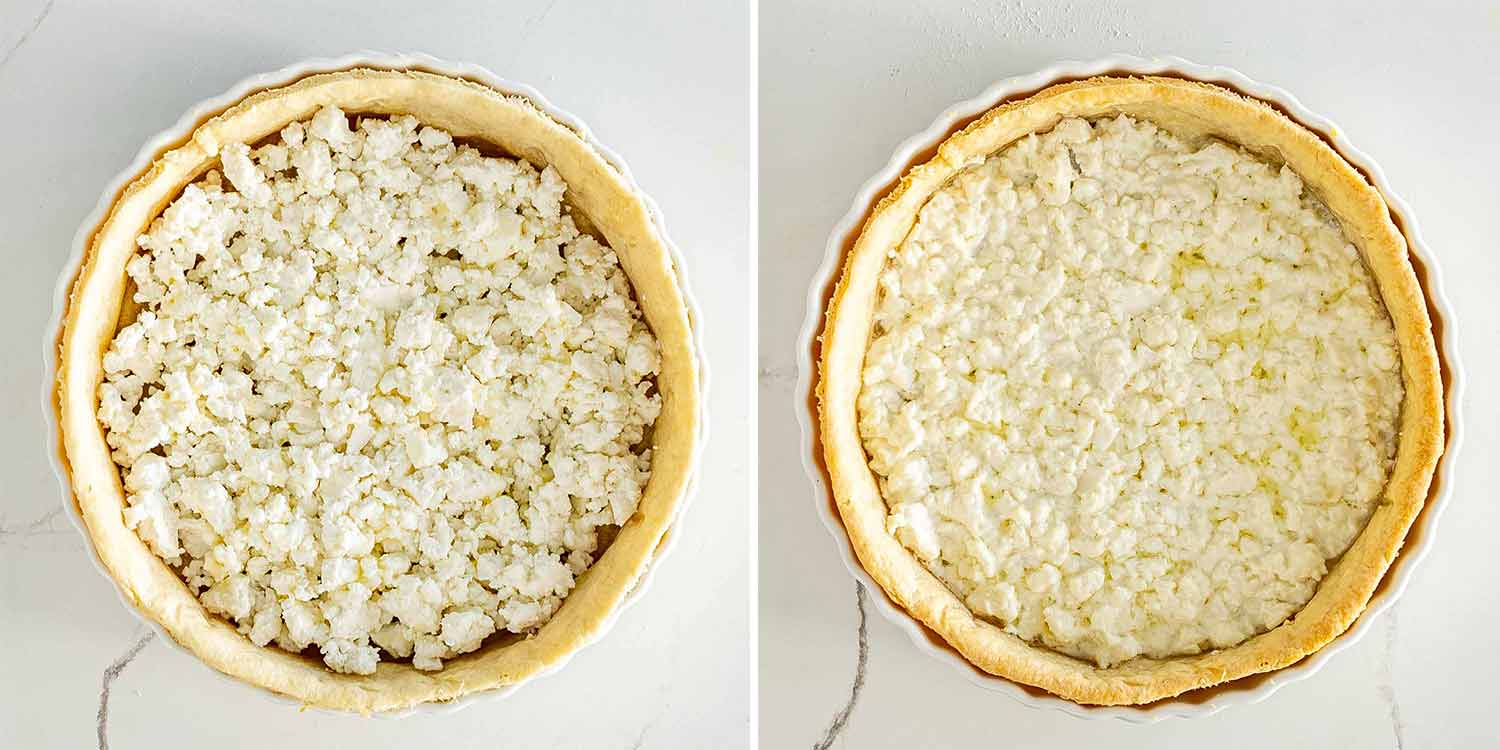
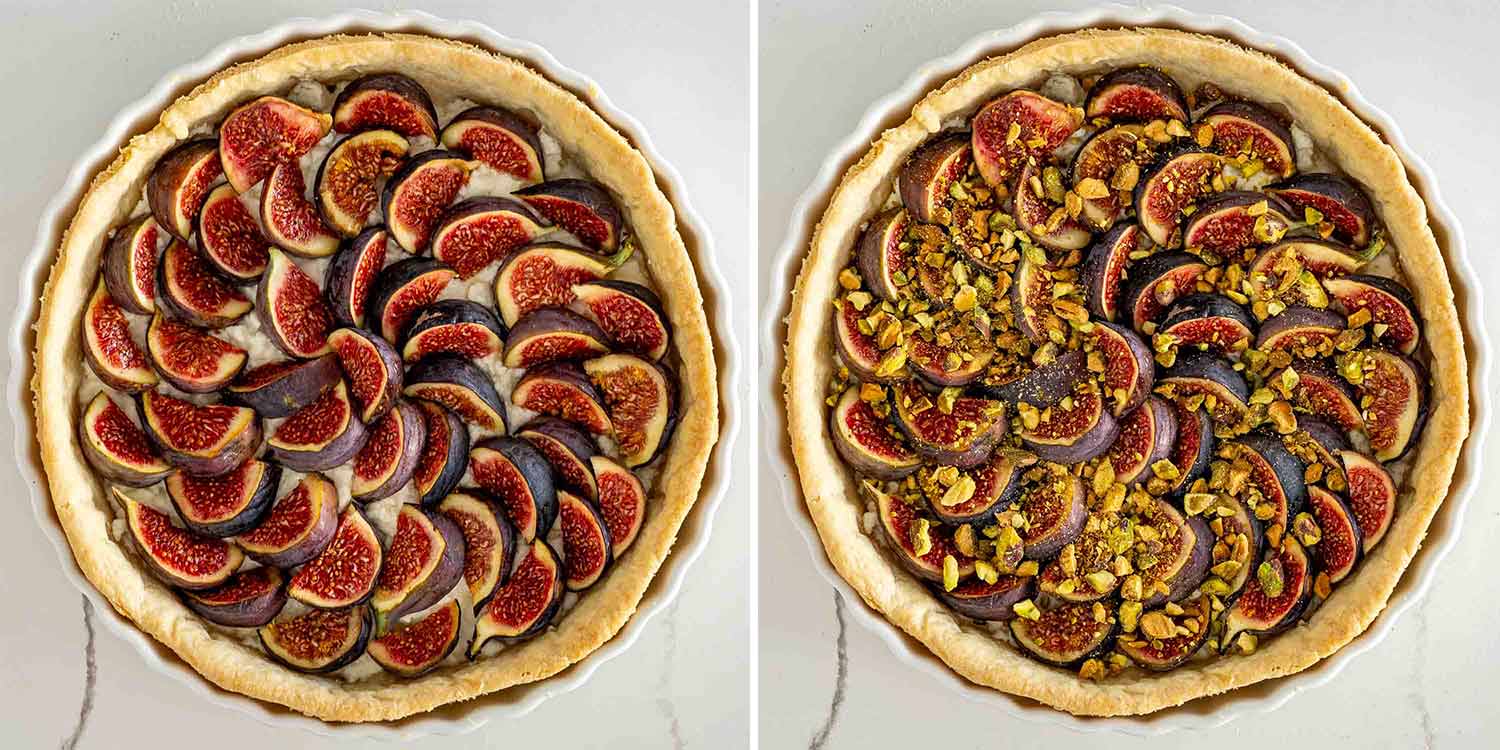
With my easy to follow steps and foolproof recipe making a homemade tart is simple! From making the buttery pastry crust from scratch to assembling the dessert, the process is easy even for beginners! In the bowl of your food processor, add the all-purpose flour and cold butter. Pulse until the mixture resembles coarse crumbs or cornmeal. While the food processor is running, gradually add cold water just until the dough comes together. Take care not to overwork the dough. Shape the dough into a disk, wrap in plastic wrap, and refrigerate for at least one hour. Before you start working with the dough, you need to preheat your oven to 350°F (175°C) so it’s ready for baking! If the oven isn’t hot enough when the tart goes in it can lead to uneven baking, potentially resulting in a soggy, undercooked bottom or a filling with a runny texture. After the dough has chilled, take it out of the fridge and let it sit for up to 10 minutes on the counter to come to room temperature, making it easier to roll out. Then place the dough on a lightly floured surface and use a rolling pin to gently roll it out into a circle large enough to fit into a 9-inch tart pan with a removable bottom or pie pan. You can add a little more flour if the dough is sticking to the counter or rolling pin. Next, carefully place the dough into the tart pan. The easiest way to do this is to roll your circle of dough onto your rolling pin and then unroll it over the pan. Then gently press the dough against the bottom and sides of the pan to form the tart. Once the crust is formed, prick the bottom of it a few times with a fork. Next, cover the dough with a sheet of parchment paper and fill the unbaked crust with some pie weights or dried beans to prevent it from puffing up or burning while it’s blind baking. Then put the unbaked crust in the oven and bake it for 10 minutes. Now, remove the pie weights and parchment paper, trim off any excess dough that’s hanging over the edges using a knife, and bake it for another 10 minutes. It’s time to fill the crust with flavor! First, crumble the goat cheese evenly over the bottom of the tart. Then drizzle it with a bit of olive oil. Transfer the tart to the preheated oven and bake it for 30 minutes. Please note that you can also bake the tart with the figs on it as well, but I prefer the fresh figs over the baked ones, but this is totally up to you. Remove it from the oven and let it cool for a few minutes in the pan on a wire rack. Now, you’ll want to neatly arrange the fresh figs on top of the goat cheese, and then add the chopped pistachios. Finally, drizzle everything with the honey and your tart is assembled. Then unmold it from the tart pan and serve it!
Storage
You can store leftover fresh fig tart for up to 4 days in the fridge in an airtight container or wrapped in plastic wrap. To reheat, just cover it with aluminum foil, put it on a baking sheet, and then pop it in the oven at 300°F (150°C) for about 5 to 10 minutes. It’s also possible to freeze the tart for up to 3 months for longer storage. However, freezing can impact the texture of the filling.
Other Delicious Desserts You’ll Love
Pear And Almond Cream Tart Canadian Butter Tarts Egg Tarts (Hong Kong Style) Homemade Cherry Pie Blueberry Bars Berry Tart