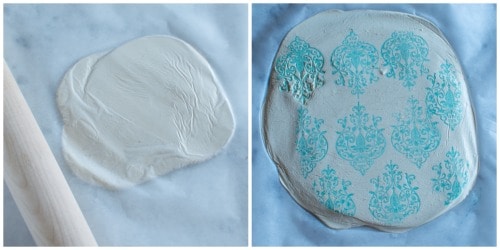
Essentially, you take some air dry clay and roll it out into a thin layer. I placed the clay in between 2 sheets of wax paper so that my rolling pin wouldn’t get too dirty. I still need it to make baked goods with it after all!
Next, I stamped an ornate design all over the clay to create a pattern. As you may have noticed, I pressed a bit too hard on the first try, and the stamp stuck to the clay quite a bit.
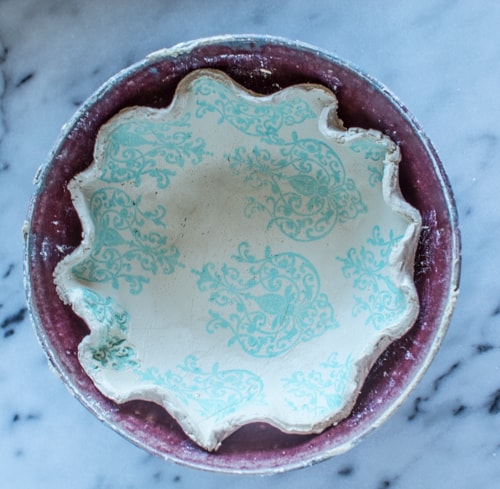
Next, I traced the outline of a bowl on the clay with a knife, cut out a circle, and placed the clay inside the bowl. I made sure to press the clay to the bottom of the bowl so that it would form a nice shape when it hardened. The fluting of the edges wasn’t in the original instructions, but I thought they added a bit of pizzazz.
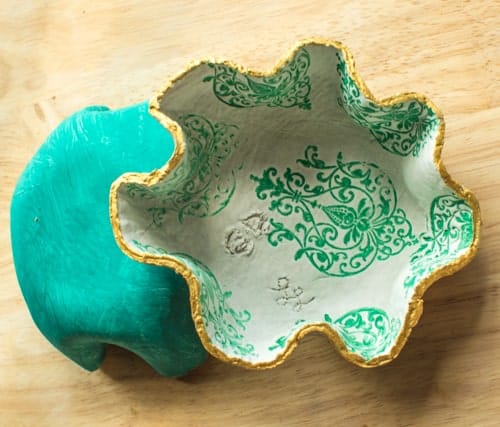
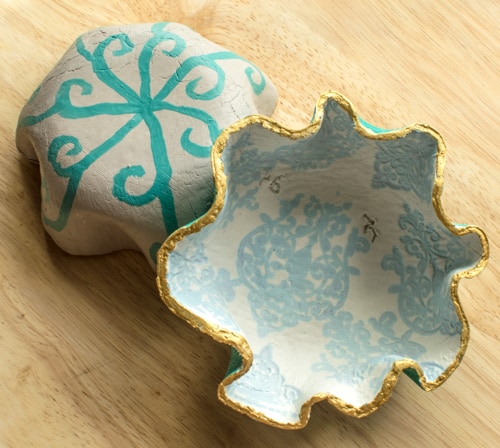
Gold trim + painting on the outside of the bowls: more pizzazz! The edges were a bit uneven, so I sanded down the edges before painting them with a shimmery gold color. Unfortunately, I used cheap ink to stamp the clay, which explains the color bleeding in the design. These bowls took about 2 days to dry completely, so make sure to budget time for that! For detailed instructions on how to make these bowls, hop over to the tutorial at Gathering Beauty!
I know it’s been a LOONG while since I’ve done an article round-up, so it’s time to shake up the cobwebs. This week’s round-up is focused around articles related to my half-marathon training. Strength + stability workouts for non-running days // According to Elle Ideas for my running playlist // Greatist 5 light meals to fuel the morning workout // According to Elle Run with better form [something I need to work on] // Greatist How to breathe when I’m running // Runner’s World Yoga poses for runners // Love, Life, Surf Tips for bringing myself to work out in the morning // Fit Bottomed Girls