Ahh, crème brûlée! We all know someone with a brûlée obsession. In fact, you might BE that someone! Why does it have to be so much effort to make from home? I’ve got you covered with these incredibly easy bars! This rich and silky cheesecake is the perfect vessel to satisfy your crème brûlée cravings. Plus, using a kitchen torch to create perfectly bubbly caramelized sugar has to be one of the most satisfying things!
What Is Crème Brûlée?
Crème Brûlée translates literally to “burnt cream”! This refers to the velvety custard topped with crunchy caramelized sugar. This recipe has been around for hundreds of years, and is still a crowd favorite to this day for a good reason. Traditionally, crème brûlée is made by pouring the custard into individual dishes, and baking in a water bath. After baking it’s set in the fridge to cool completely. Sugar is sprinkled generously over the custard and caramelized with a torch right before serving to give it optimal crunchiness. Can you say YUM?!
How to Make Crème Brûlée Cheesecake Bars
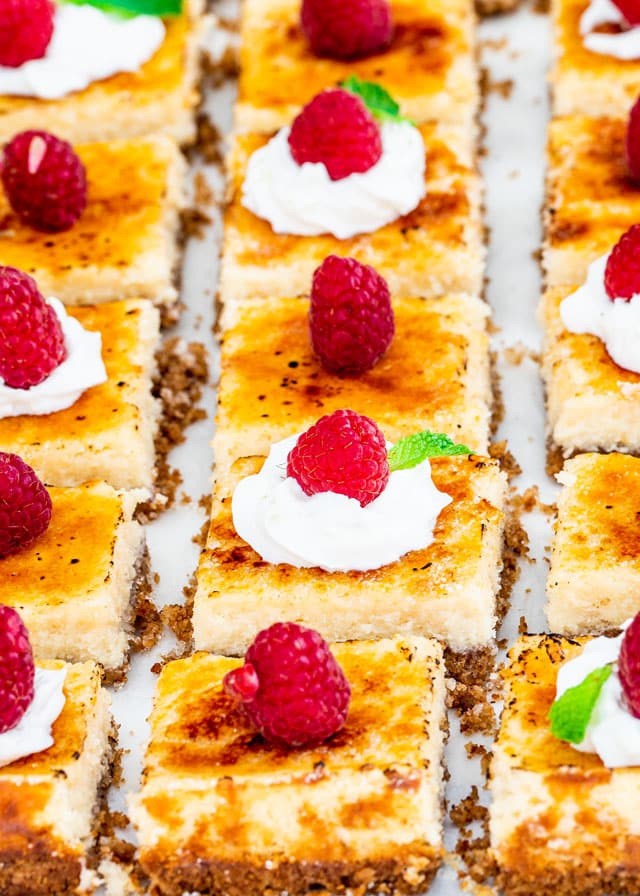
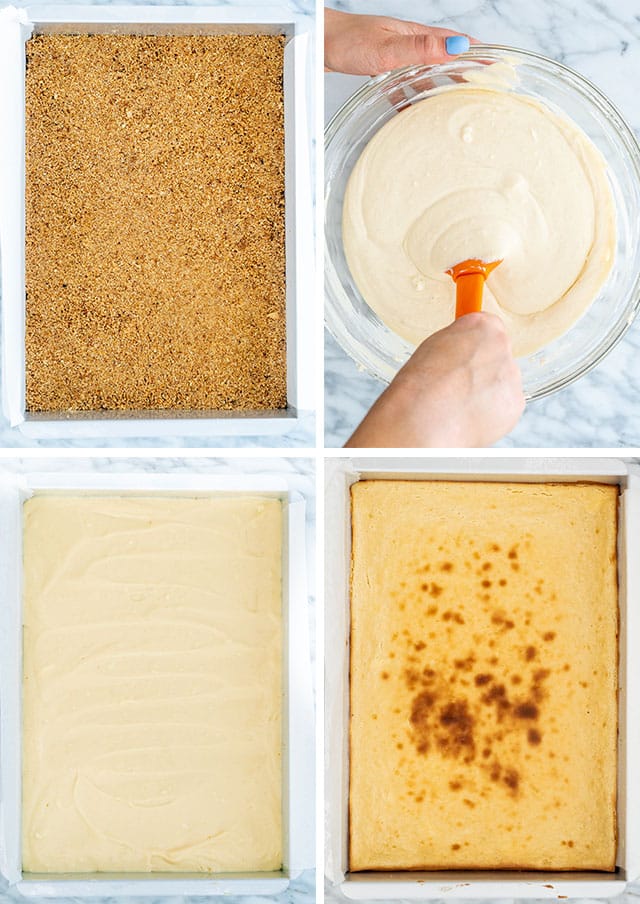
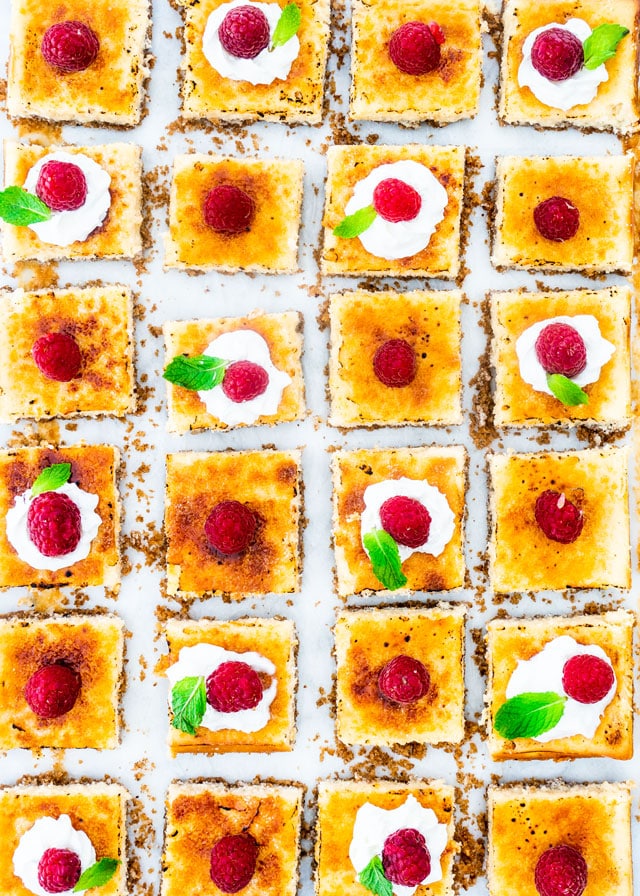
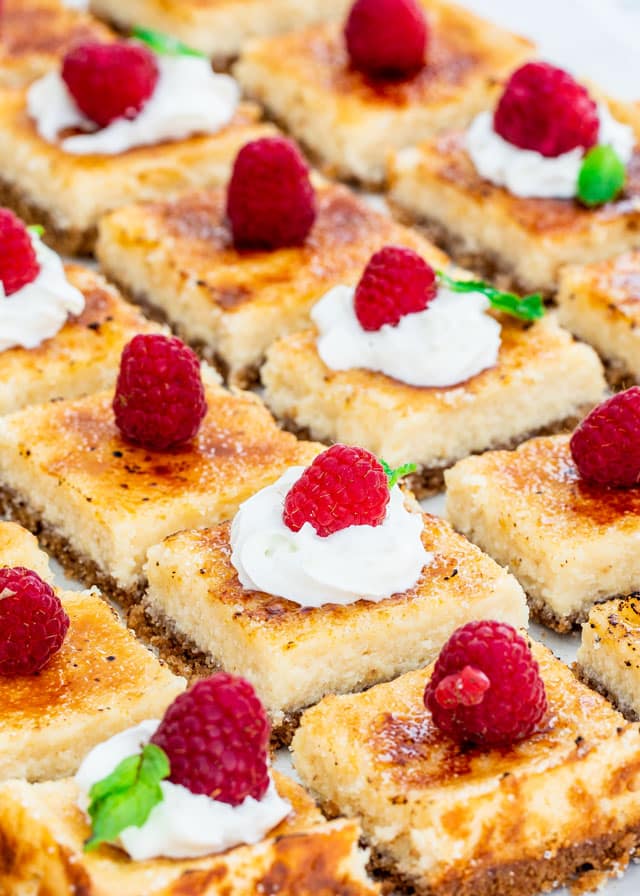
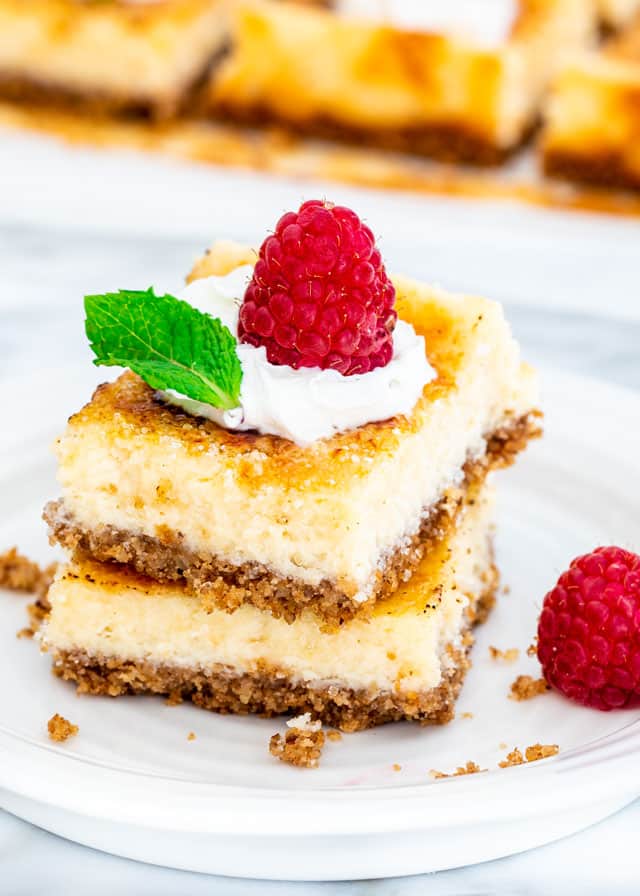
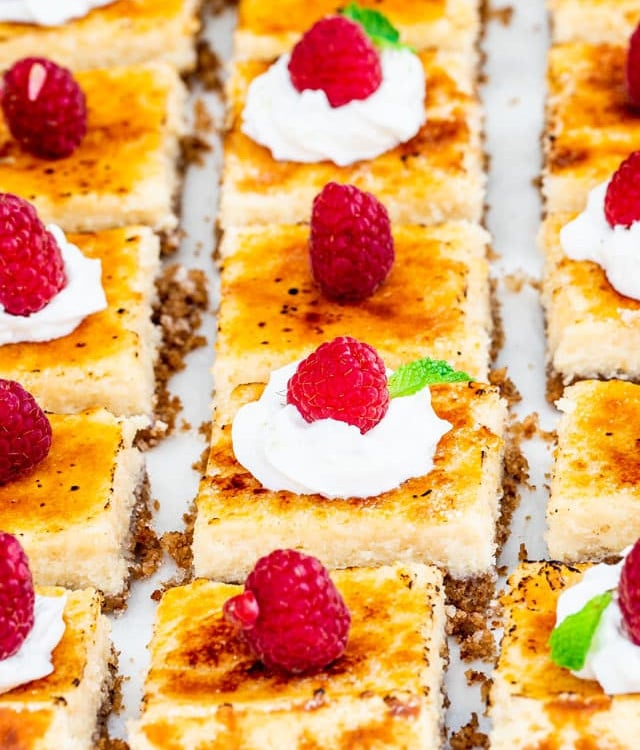
Step one: Make the crustThe crust couldn’t get any easier for this recipe! Throw the graham crackers, pecans, and butter into your food processor and pulse until a nice and even texture forms. You might need to run a spatula around the edges a couple times to make sure all the big pieces get mixed in. Line a 9 x 13 pan with parchment paper, and dump out the contents of your food processor right into the pan. Use a spatula to spread the crust evenly. I used the bottom of a one cup measure to compact the crust and make it even. Step two: Make the cheesecake batterI used a very simple cheesecake recipe. This one is my go-to for making cheesecake bars! Using a hand mixer, mix the softened cream cheese until smooth. Add the eggs, sugar, vanilla and salt, and continue to mix until the batter is well combined and smooth. Step three: Bake the cheesecakePour the cheesecake batter over the prepared crust and bake for 45 minutes at 350F, or until the top of the cheesecake has browned slightly. Set the cheesecake aside until it fully cools down. You can even leave it in the fridge overnight to make sure it’s firm and easy to slice. Step four: Assemble the Crème Brûlée Cheesecake BarsCarefully lift the cheesecake out of the pan and slice it into your desired size bars. We cut it 4 x 6, making 24 bars. Top the bars generously with granulated sugar. Using a kitchen torch, carefully torch the sugar until it becomes brown and bubbles. If you’d like to dress your bars up like ours, you can top each one with a dollop of whipped cream, a raspberry, and a small mint leaf.
Make Ahead
You can do everything except for assembly to make these delicious bars ahead to save you time the day of a potluck, having guests over, an event, etc. Sprinkle the sugar, torch, and garnish right before serving these bars. The sugar will absorb moisture and lose its crunch if done too far in advance. Want to get creative? Feel free to garnish your bars with your favorite fruits, a curl of chocolate, whatever floats your boat!
How to Store Crème Brûlée Cheesecake Bars
Keep these bars in an airtight container. They can last in the fridge for 5-6 days, or in the freezer for 6-8 months. You will need to let these thaw slowly at room temperature if you choose the freezer. Now, who would like to try a piece?
Craving More Desserts? Try These Recipes:
Cheesecake Recipe Hawaiian Cheesecake Bites Mini Salted Caramel Cheesecakes Mini Tiramisu Cheesecakes Matcha Mini Cheesecakes