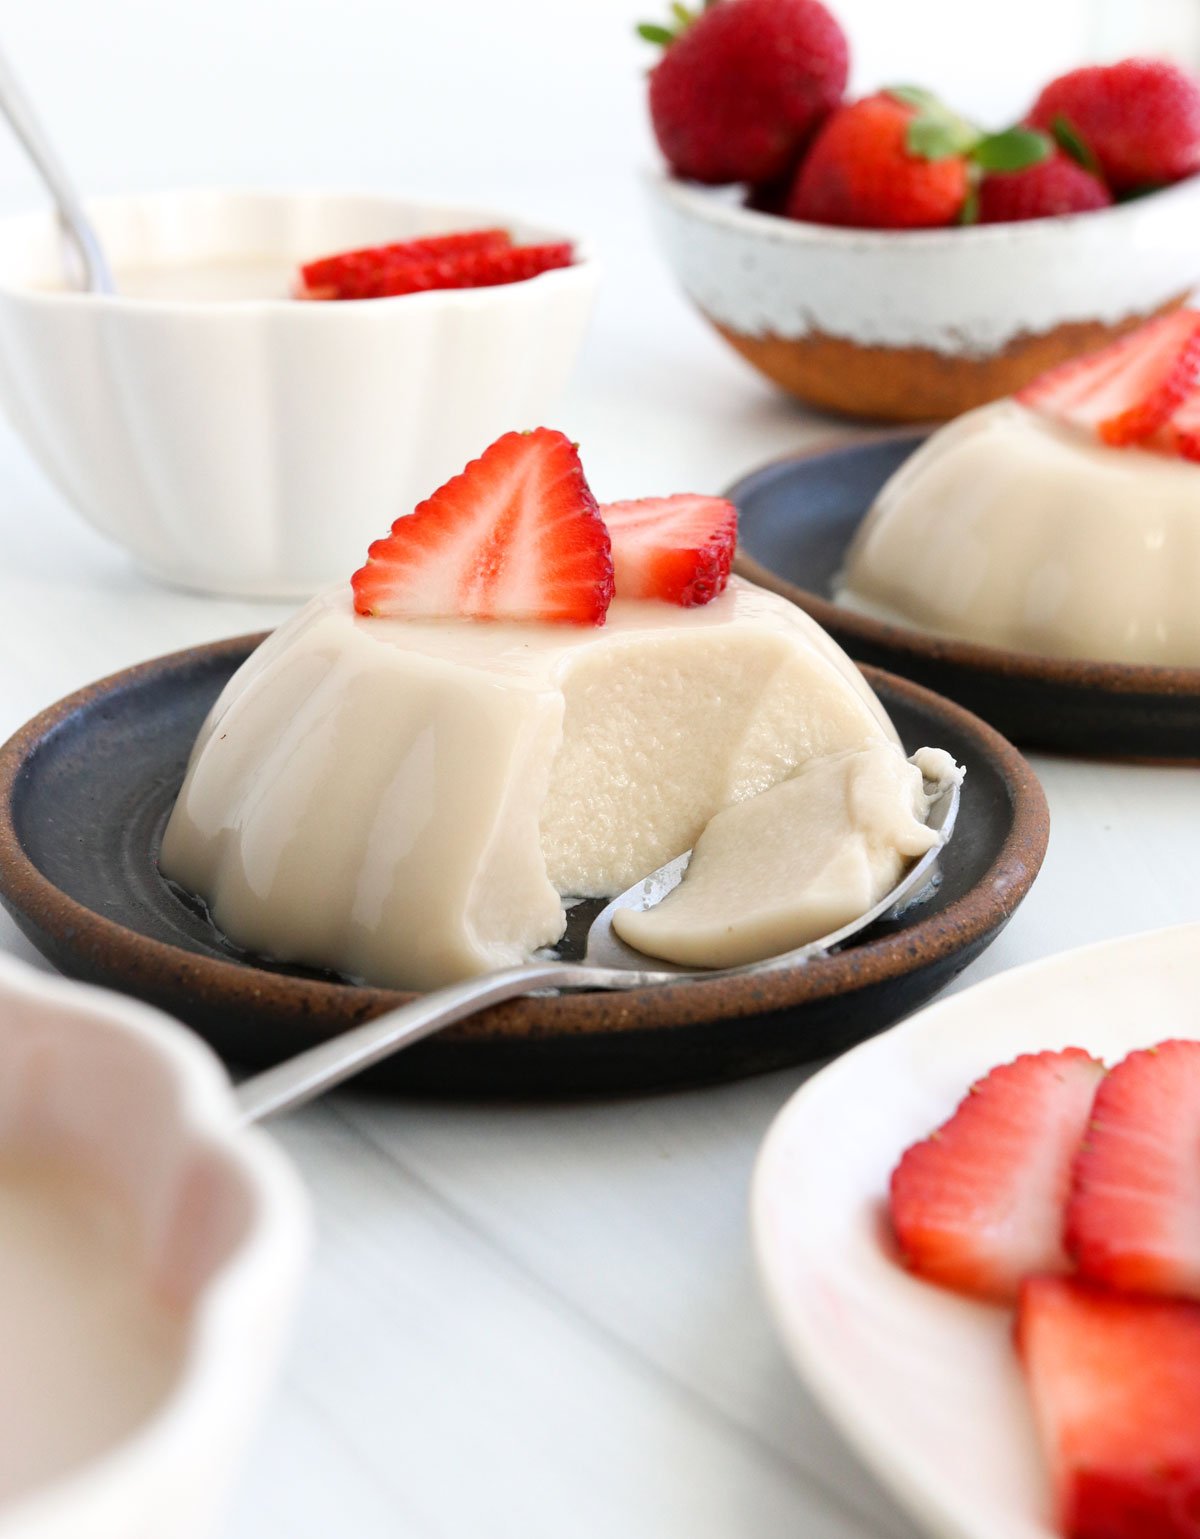
What is panna cotta? It’s a creamy dessert that originates from Italy, featuring heavy whipping cream, sugar, and gelatin. You can serve it in a molded shape (similar to Jello), or serve it directly in small dishes for an easier presentation. It reminds me of whipped cream, only it’s a little sweeter and holds its shape.
Ingredients You’ll Need
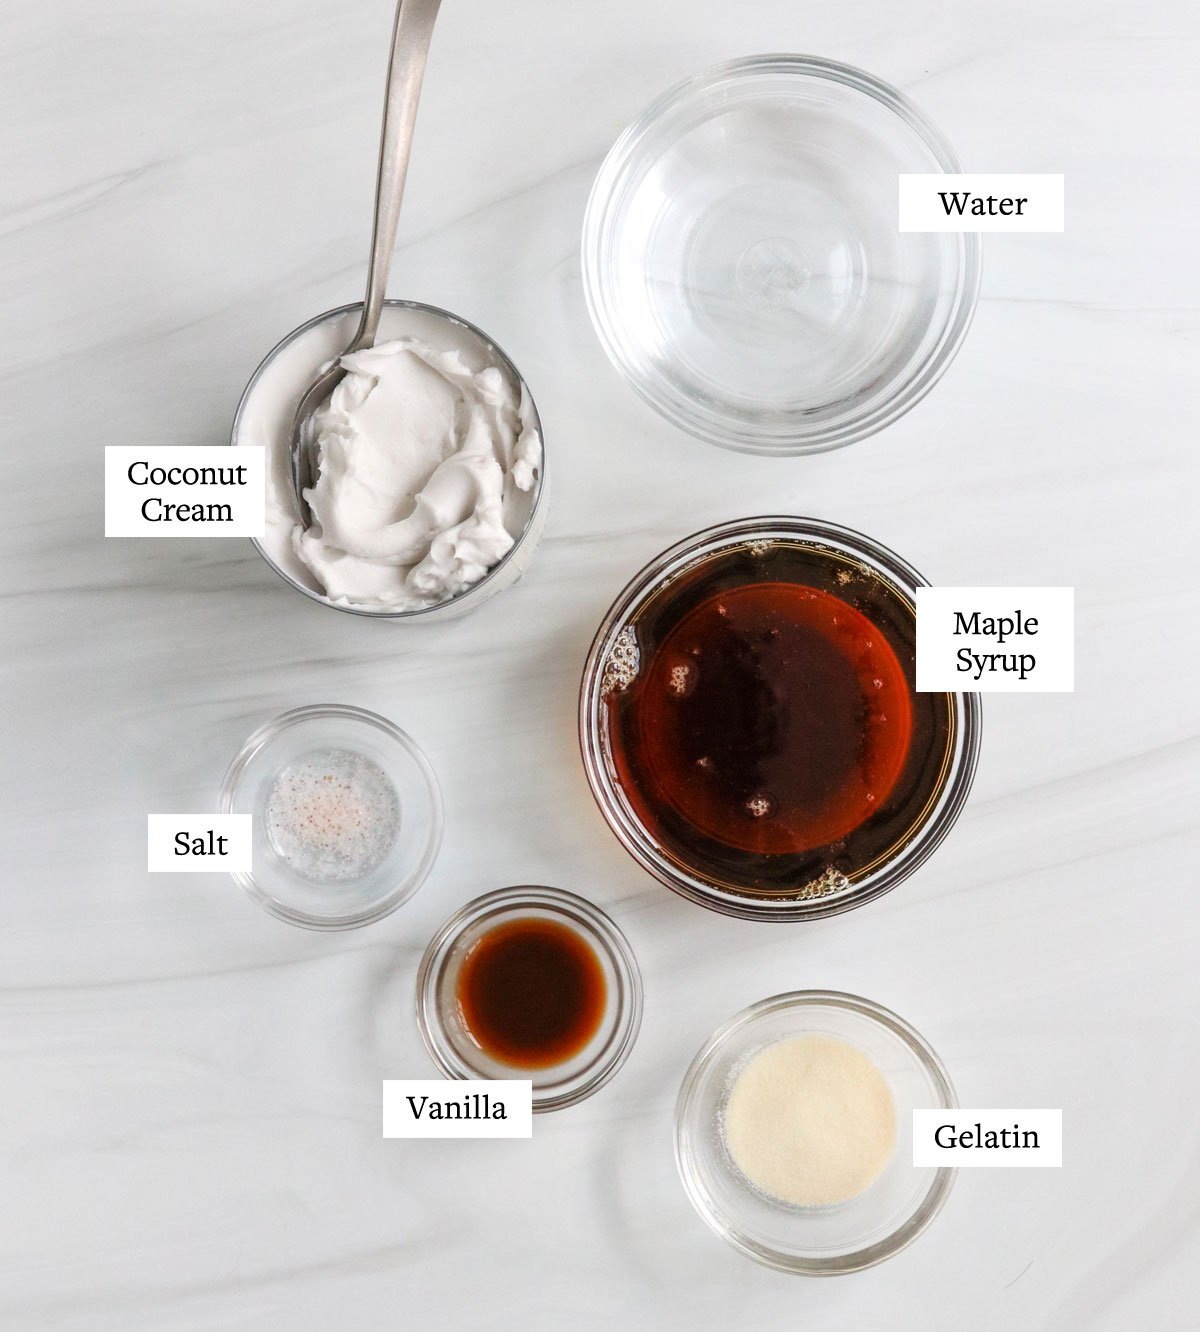
What’s in coconut panna cotta?
Coconut cream (see tips below) Maple syrup Gelatin (or agar agar flakes for a vegan version) Vanilla extract
I recommend looking for canned coconut cream for this recipe, for the best results. (This isn’t to be confused with creamed coconut, which is more similar to coconut butter.) Using canned coconut cream will have more of the creamy solids you’d find in a regular can of coconut milk, with less liquid. This means your coconut panna cotta will turn out much more creamy, without separating as it cools and firms up. In my experience, certain brands of coconut milk will separate when you make this recipe, leaving behind a layer of fat on top. This hasn’t happened to me when using coconut cream, so I think it’s worth searching for at the store. (I tested this recipe with the 365 brand from Whole Foods, FYI.)
Only have canned coconut milk on hand? I measured out the ratio of coconut cream to liquid in a can of “coconut cream,” so you could achieve a similar ratio at home using canned coconut milk. To get similar results, you’ll need to use 1 1/4 cups of the solid coconut cream, plus a 1/2 cup of liquid found in a can of coconut milk. You may need to open two cans of coconut milk to get this amount of cream.
How to Make Coconut Panna Cotta
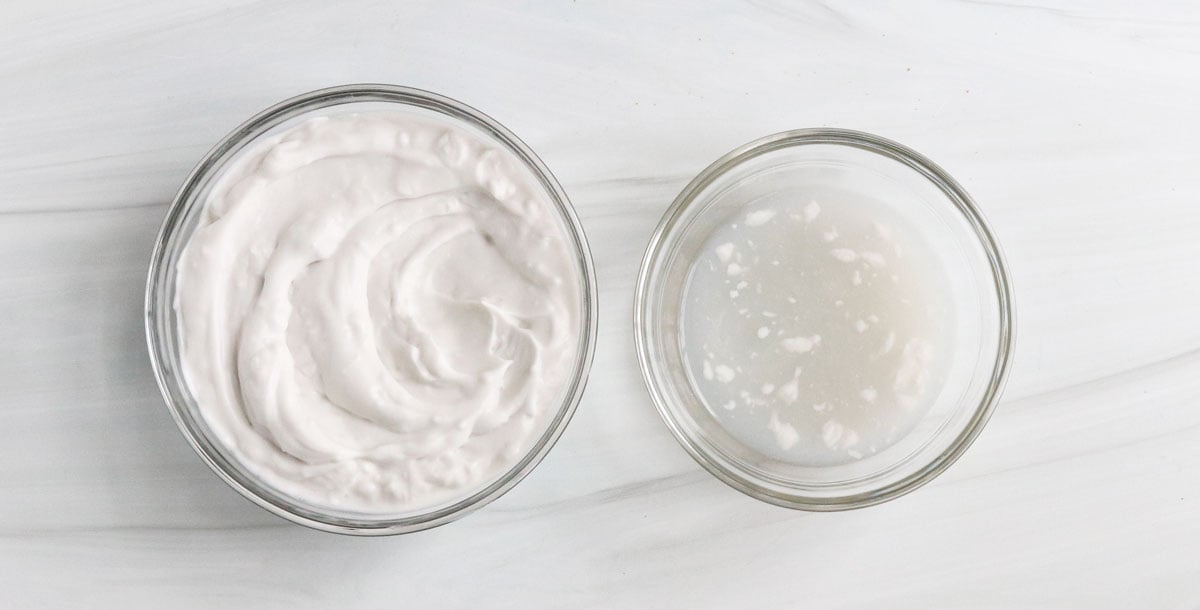
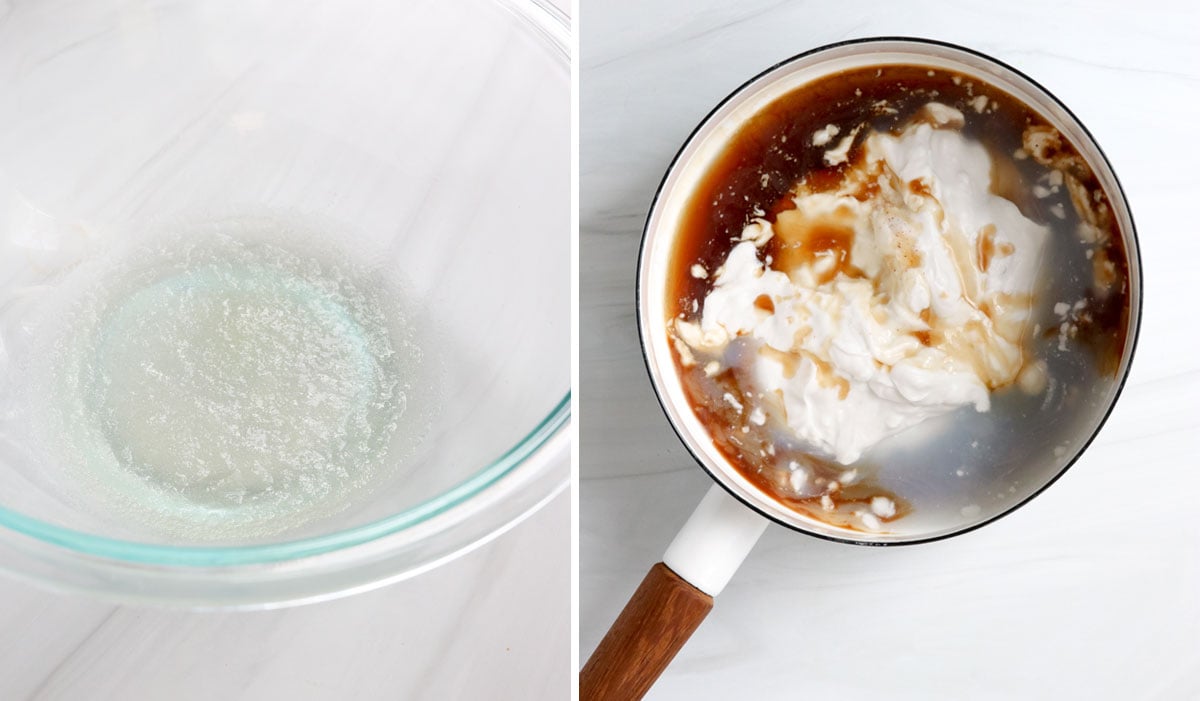
Bloom the gelatin. If you’re using gelatin for this recipe, it’s important that you mix it with a bit of cool water first. (Skip this step if you’re going to try the vegetarian substitution below.) In a large bowl, add a 1/4 cup of cool water and the gelatin, and mix well. Let it rest during the next step, but keep in mind you don’t want it to rest too long, because gelatin becomes stronger the longer it blooms. This means your coconut panna cotta may turn out too firm if you let it rest for too long.
Heat the coconut milk. In a small saucepan over medium-high heat, add in the whole can of coconut cream, along with the maple syrup, vanilla, and a pinch of salt. Stir well as it starts to heat up, and remove the pan from the heat as soon as it starts to boil.
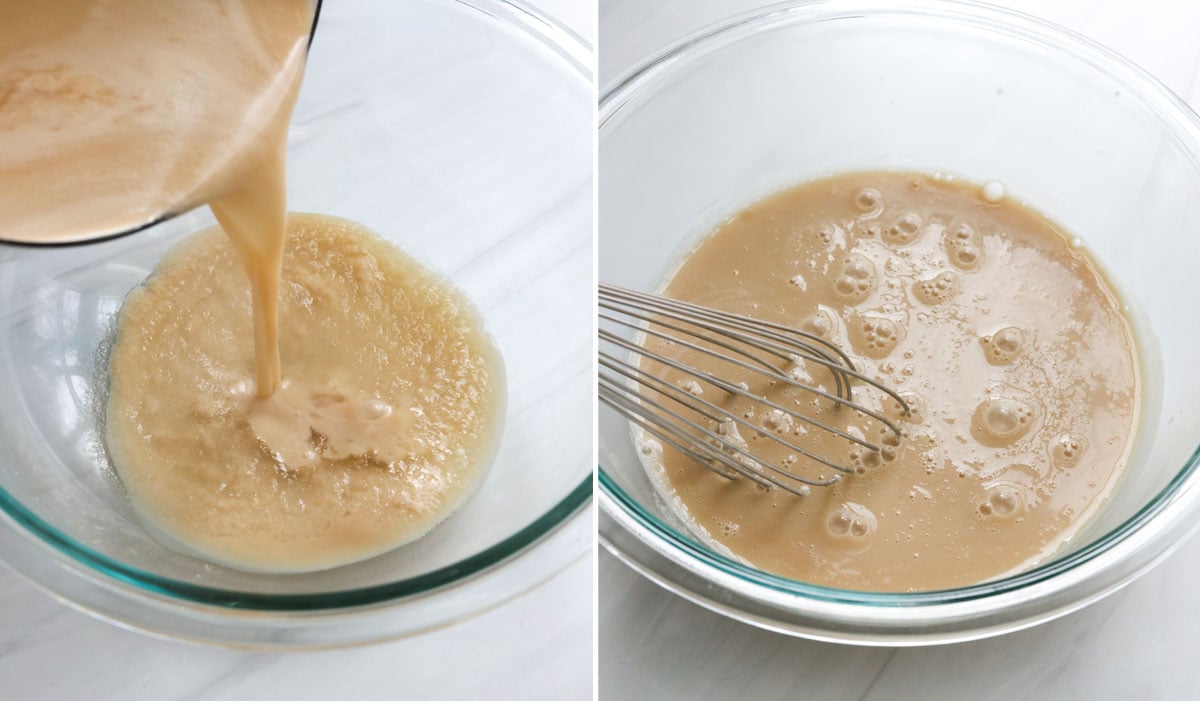
Combine. Pour a little bit of the hot coconut milk mixture into the bowl of bloomed gelatin, and mix well with a whisk. As soon as it looks smooth, pour in the rest of the heated coconut milk and whisk well to combine.
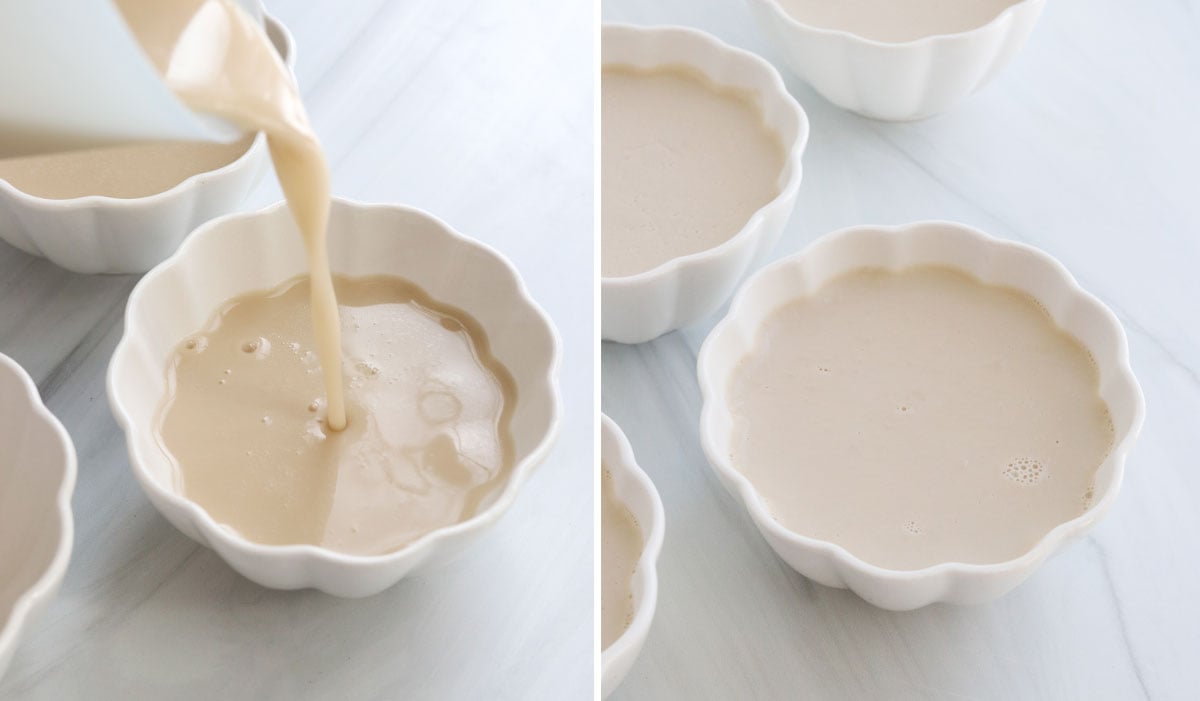
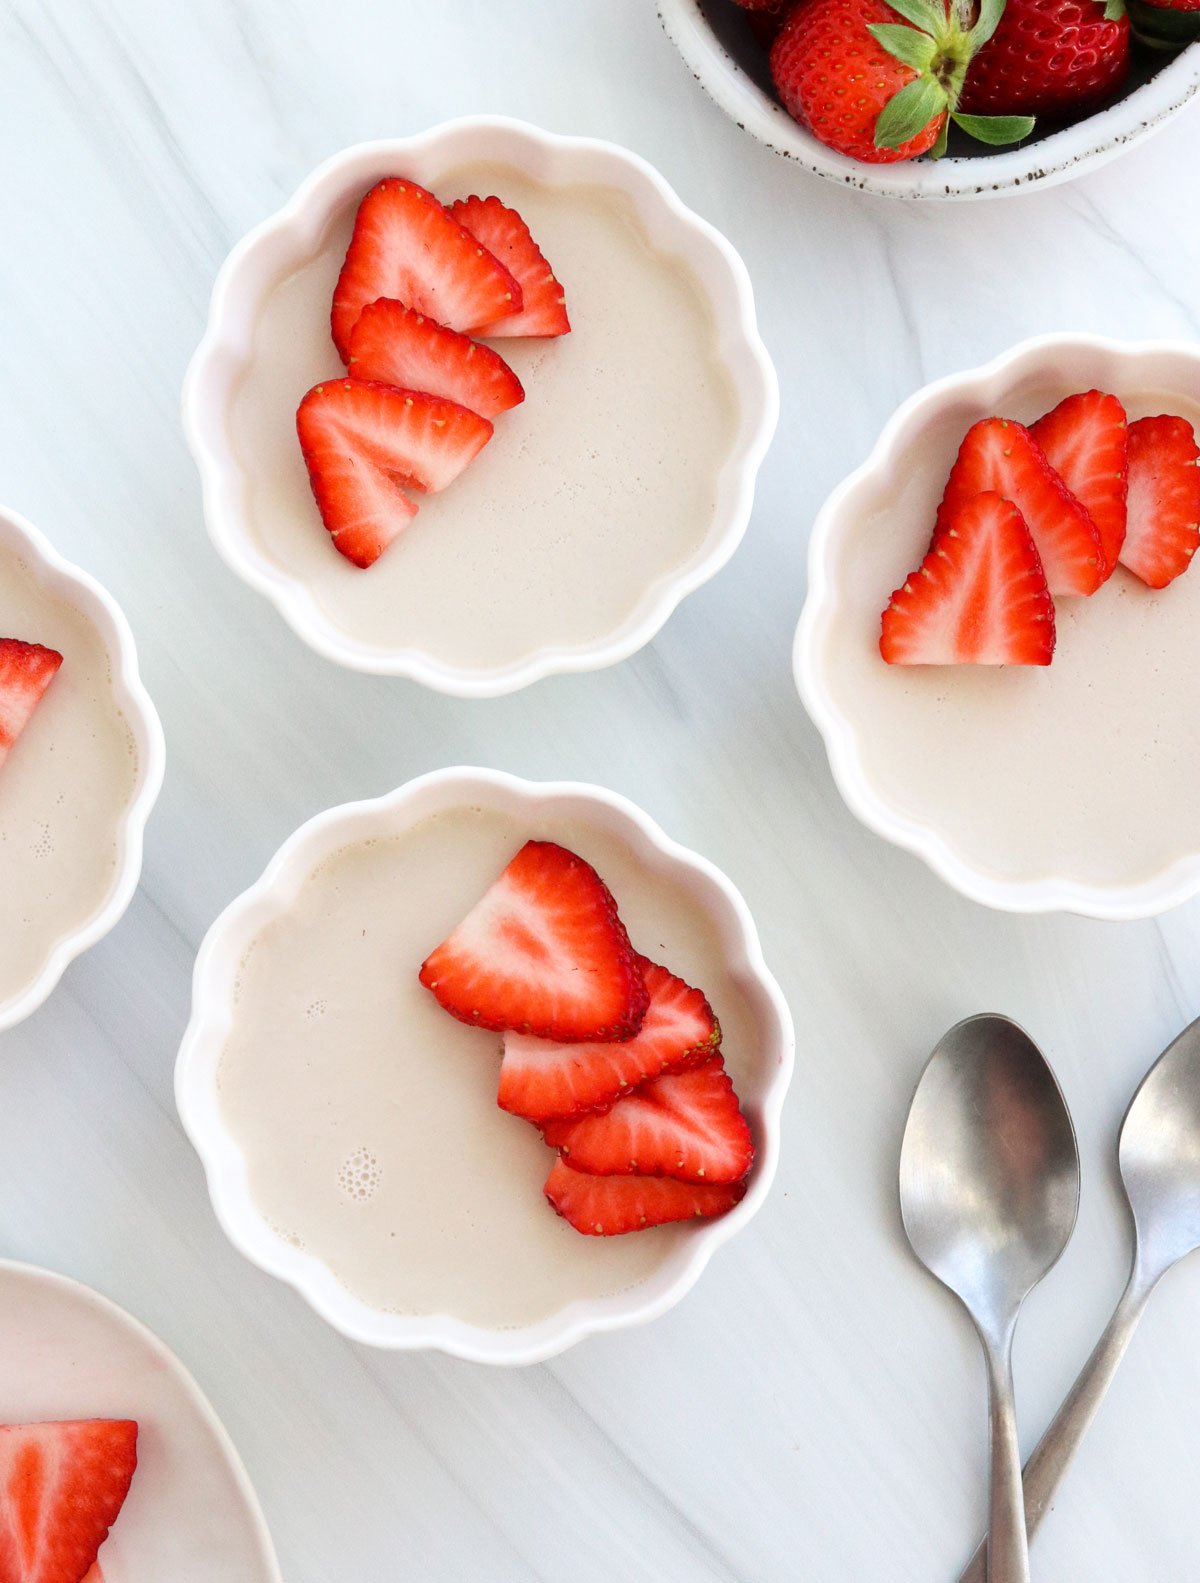
Chill. This recipe makes roughly 4 to 5 servings, depending on the size of your serving bowls. (If using a small 1/2 cup bowl, you should get about 5 servings.) Divide the mixture into 4 or 5 small bowls, then place them in a flat surface in the fridge to chill until firm, about 6 hours. When the center of the panna cotta feels firm to the touch, it’s ready to serve. Top with sliced fruit and serve these directly in the bowls for an easy presentation.
How to Release Panna Cotta from the Mold
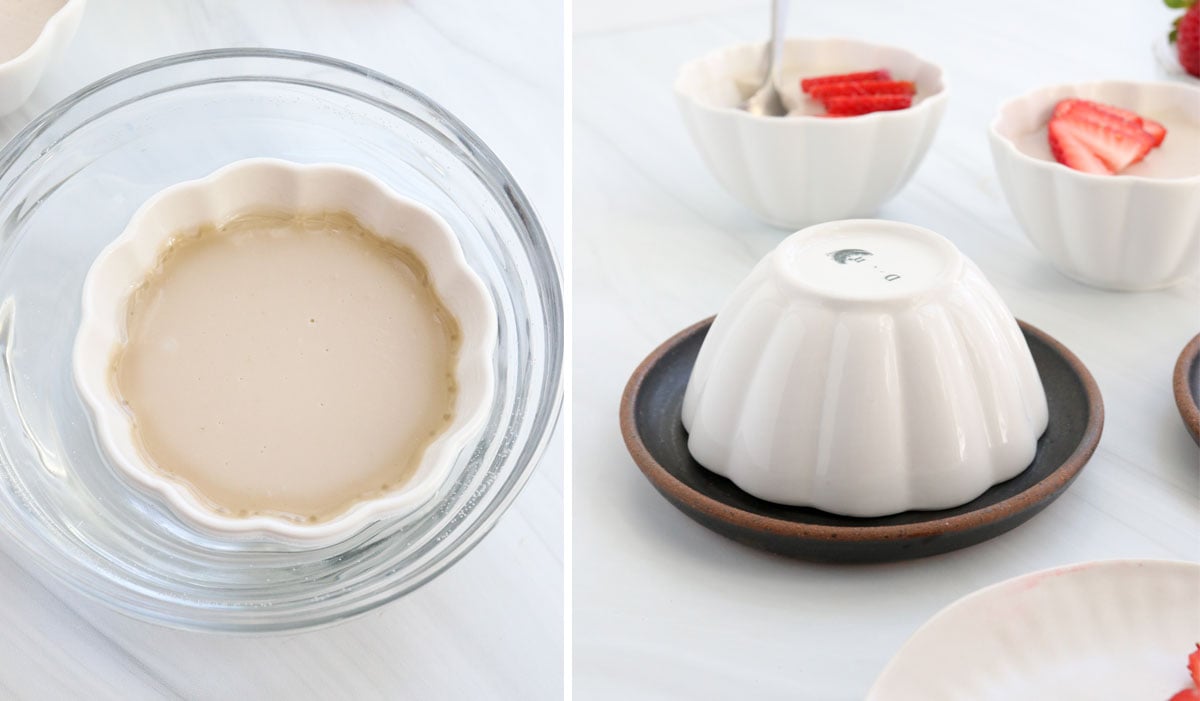
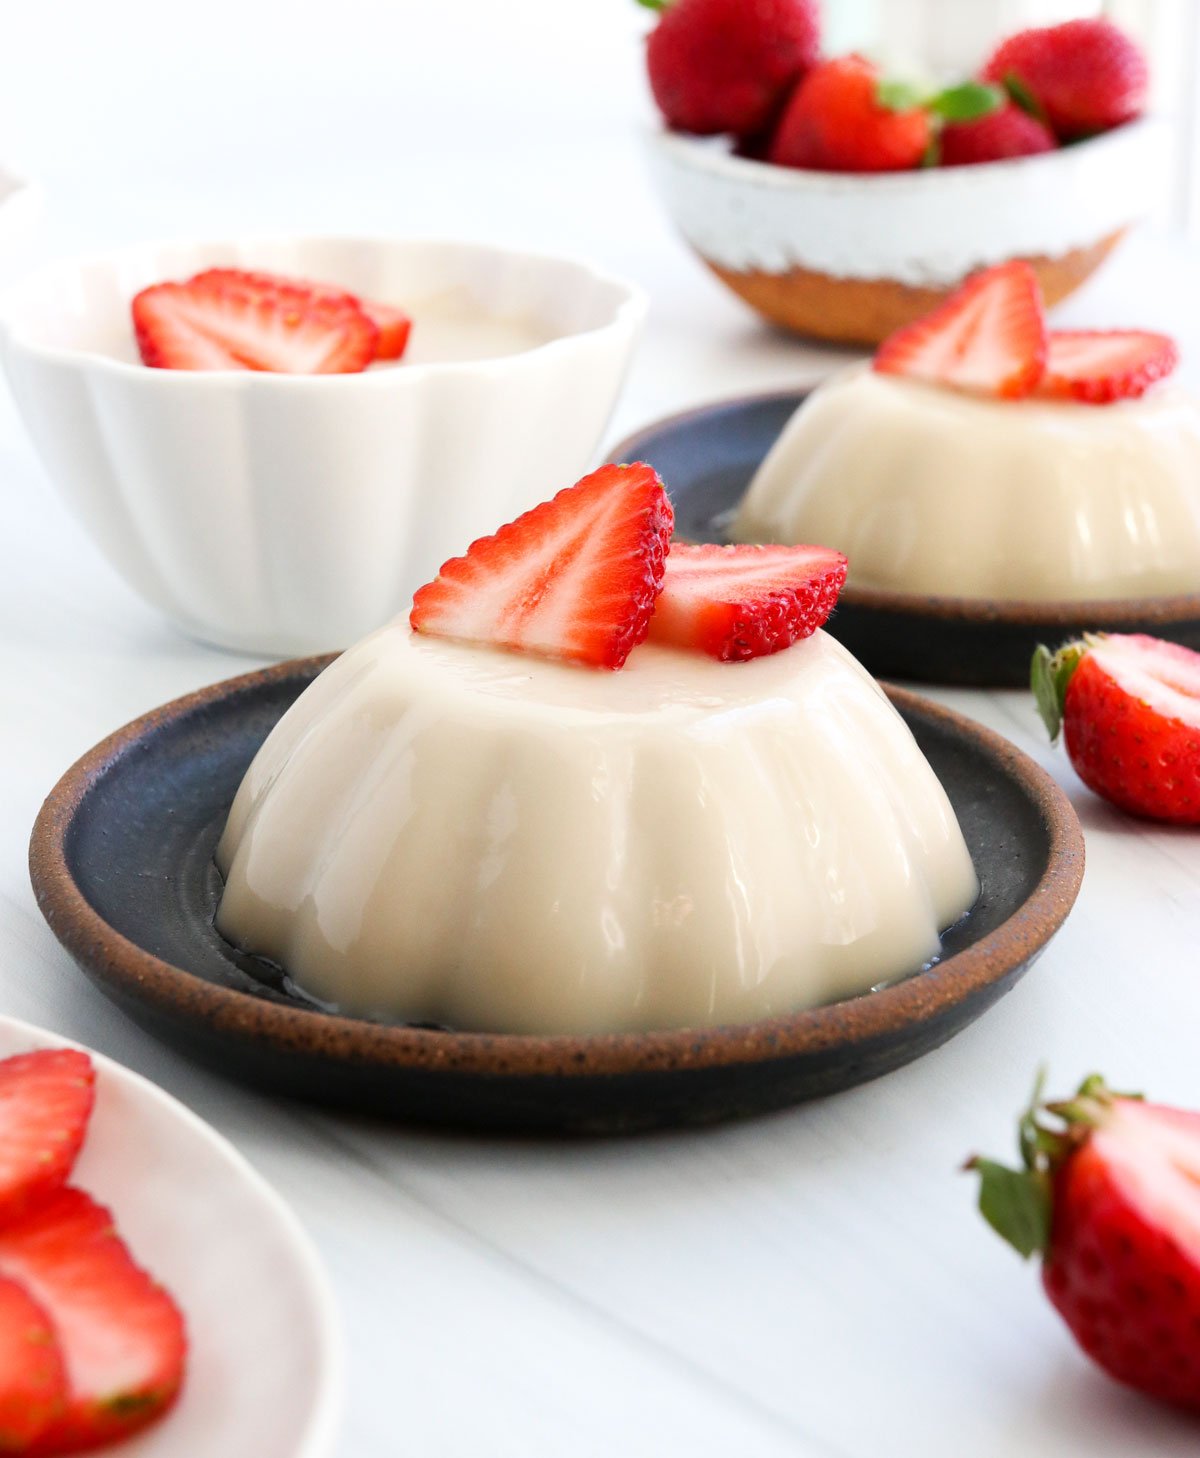
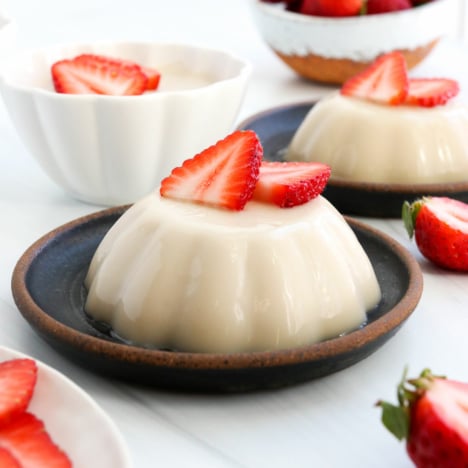
If you’d like to serve the coconut panna cotta on a plate, like a little jello mold, place the bowls in a shallow dish of very hot tap water, for about 30 to 60 seconds. You want the outside of the bowl to warm up, without the hot water reaching the inside of the bowl, with the panna cotta inside. Once the bowls are warm, you’ll notice that the panna cotta starts to look a little wet around the edges. This is a good sign, and means it will probably release easily from the mold. (There’s no need to grease the bowls; I tested it both ways and greasing didn’t make a difference.) Don’t let the bowls sit in the hot water too long, or the entire panna cotta will start to become too soft for serving. Place the serving plate on top of the bowl, then flip it over and give the bottom of the bowl a tap, to help the panna cotta release on to the plate. Serve chilled right away, with fresh fruit on top. It reminds me of strawberries and whipped cream, only this version looks more impressive!
How to Make Vegan Panna Cotta
If you’re using coconut milk to make this dessert because you need a vegan option, then you will want to skip the gelatin and use agar agar flakes instead. Agar agar is made from red algae, but has properties very similar to gelatin, so it’s perfect for making thing like Vegan Jello and Vegan French Silk Pie. It’s important to know that agar agar comes in two forms: flakes or powder. The powder form is much more concentrated, and isn’t available at any of my local grocery stores, so I’ve only tested this recipe with the flakes. If you use the powdered version, you’ll need to use much less than what is called for here. Tip: You can typically find agar agar flakes near other seaweed products in your local grocery store, where sushi making supplies are sold.
To make vegan coconut panna cotta, replace the gelatin with 1 1/2 tablespoons of agar agar flakes instead. Agar needs to be boiled in order to dissolve, so add it directly into the saucepan with the coconut milk, maple syrup, vanilla, and salt and bring the liquid to a boil. Whisk often as the coconut milk boils, and lower the heat if the coconut milk starts to boil over. After 2 to 3 minutes of stirring and boiling, the agar flakes should be completely dissolved. Pour the mixture into 4 bowls, and place them in the fridge to set. This should take 6 hours, or overnight. You’ll be able to release these from the bowl using the same method above, or serve them directly in the bowl for an easier presentation. Agar agar flakes make things set up very firmly, so the panna cotta will hold its shape well, but the texture still feels very creamy when you bite into it. Feel free to experiment with using only 1 tablespoon of agar flakes, if you’d like an even softer result.
Substitution Notes
Curious about another binder? I also tested this recipe using arrowroot starch as a binder instead of the agar agar flakes, and the results were not appealing at all. I don’t have another vegan option at the moment, but please let me know if you experiment with anything else! Want to skip the coconut milk? I tested this recipe using almond milk years ago, and it did not turn out as creamy as this coconut milk version. (Using homemade almond milk will cause it to separate into layers as it firms up, too. It’s not very appealing.) Experiment with other milks at your own risk, and use a store-bought version with an emulsifier if you are hoping that it won’t separate into layers.
If you try this Coconut Panna Cotta recipe, please leave a comment and star rating below letting me know how you like it!