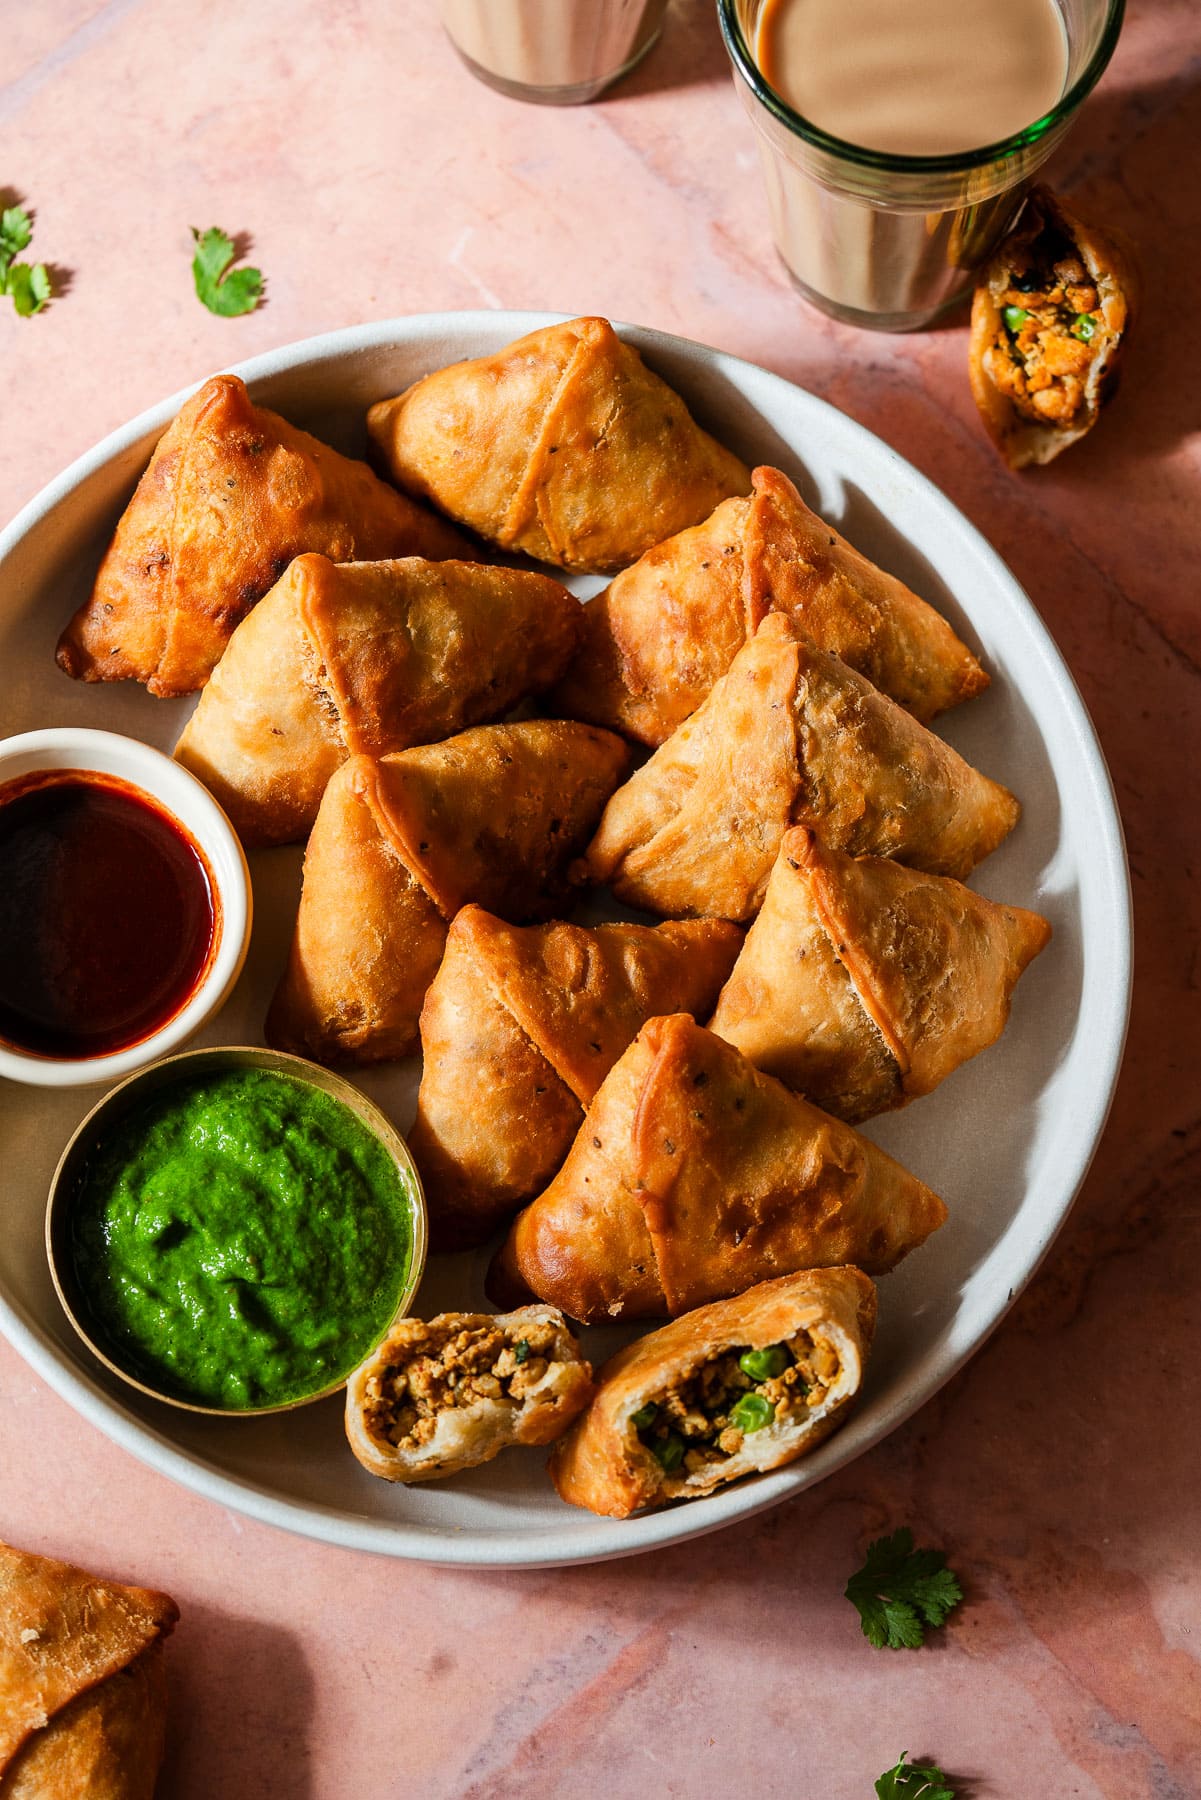
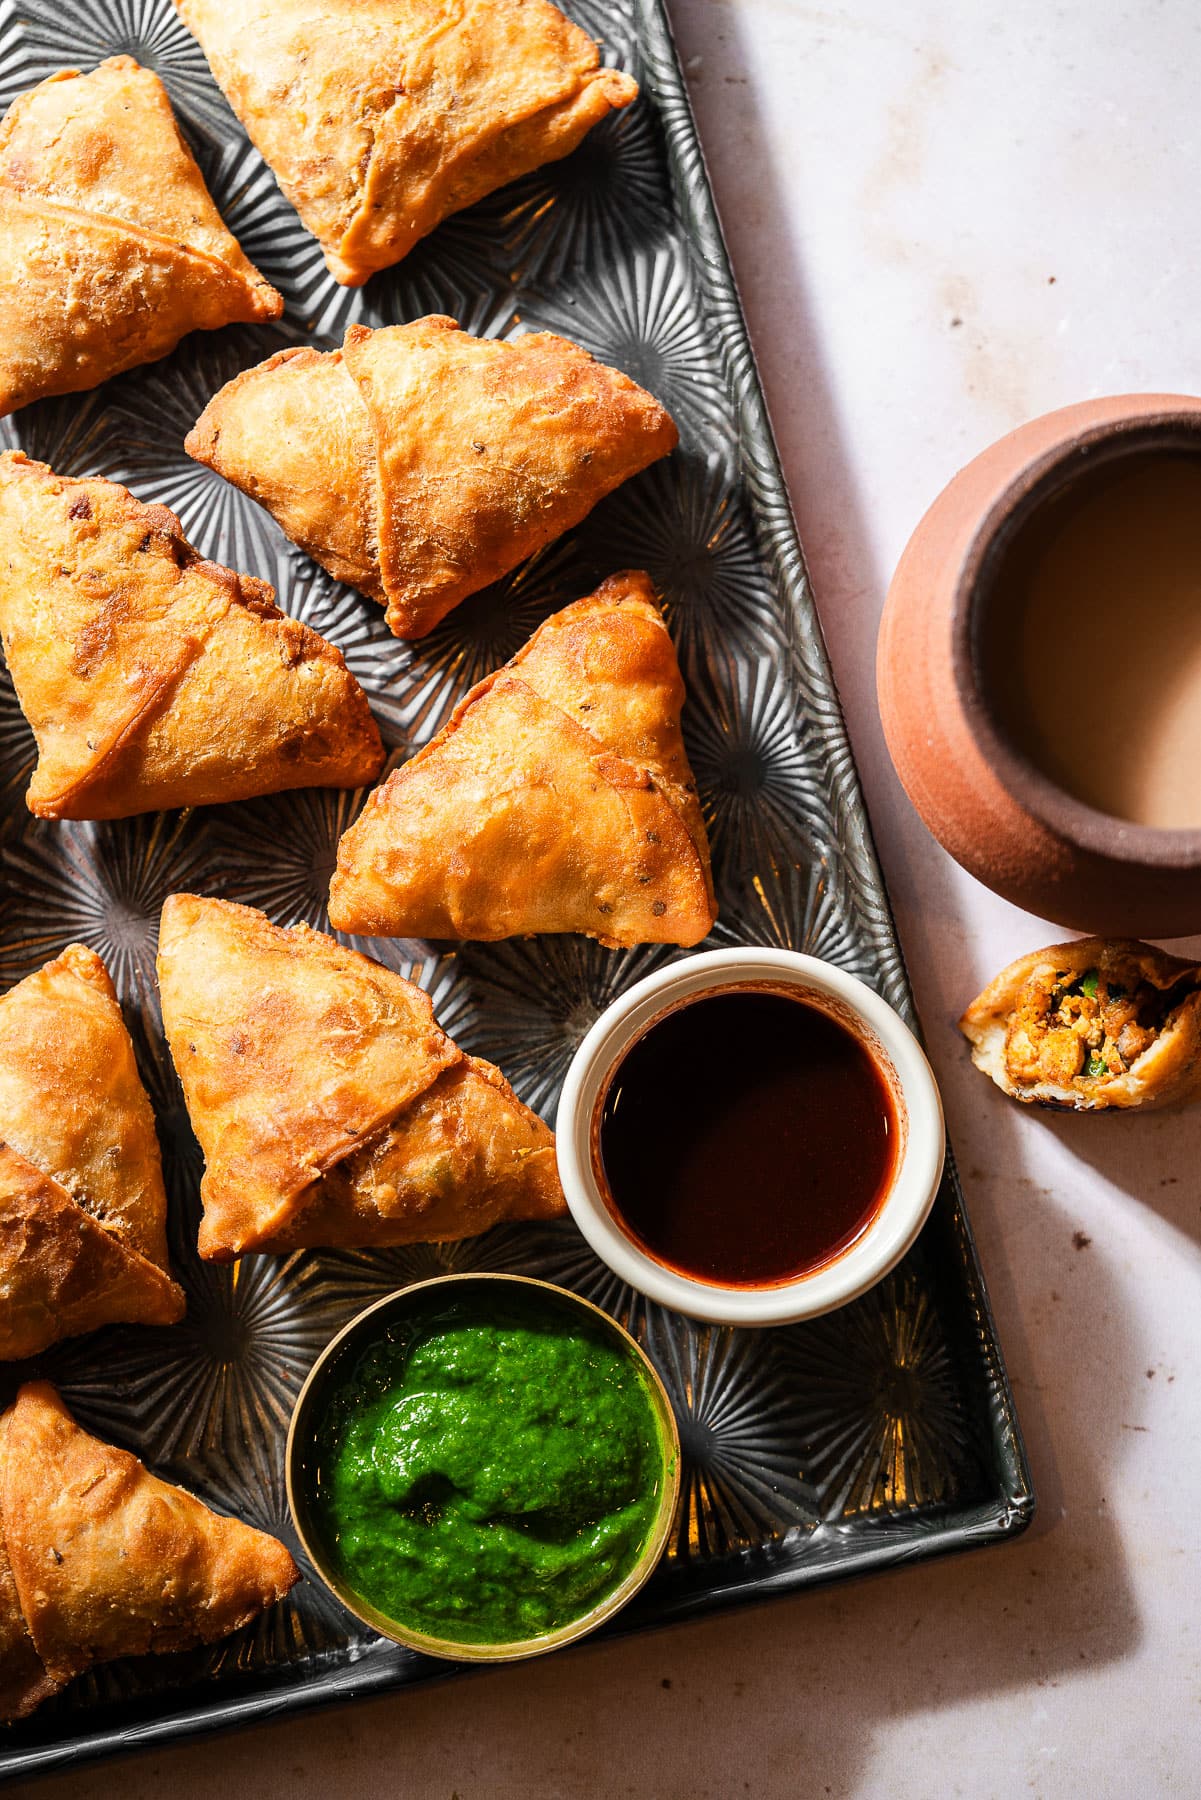
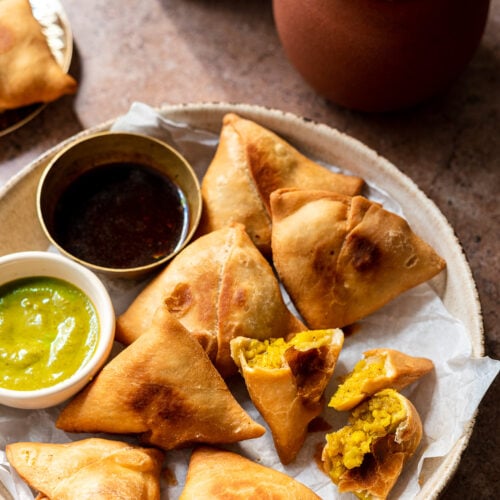
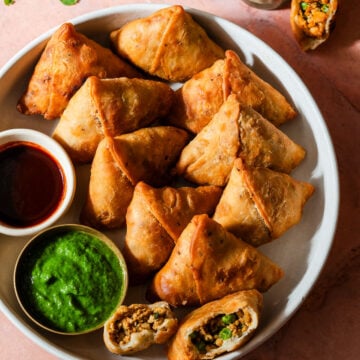
Chicken Keema Samosas are a savory Indian snack made of crispy, buttery fried pastry filled with a flavorful spiced mince chicken. Keema refers to the ground chicken filling that is seasoned with traditional Indian spices, onions, ginger, garlic, peas, and cilantro. Samosas are deep-fried crispy, golden brown perfection and a true labor of love to make them at home. When they’re fresh off the fryer… uff the crunch shell could never taste better! Serve them with a cilantro-mint chutney and imli chutney to balance off the savory snack. These samosas are popular as restaurant appetizers, a mid-afternoon snack, or passed around during parties and weddings. They’re not only enjoyed in India but are seriously enjoyed everywhere.
Why You’ll Love this Recipe
Growing up in a mostly vegetarian household, we were really lucky to get days where my dad would make chicken curry. And then, we came across that our uncle made crazy good chicken samosas. It was seriously such a treat, and still is today! Here’s why you’ll love these samosas:
The chicken keema filling stays delicious and juicy, even after it’s initially cooked and put through frying. Because these are smaller samosas, the fry time is really quick so you don’t end up with dry ground chicken. There’s so much joy to making or sharing homemade samosas with loved ones. Besides the quality time together, you’re also able to enjoy quality ingredients and customize the spice levels and ingredients to individual preferences. They’re great for freezing so they can be fried fresh for a snack or prepped ahead for a large party.
Ingredients - Notes and Substitutions
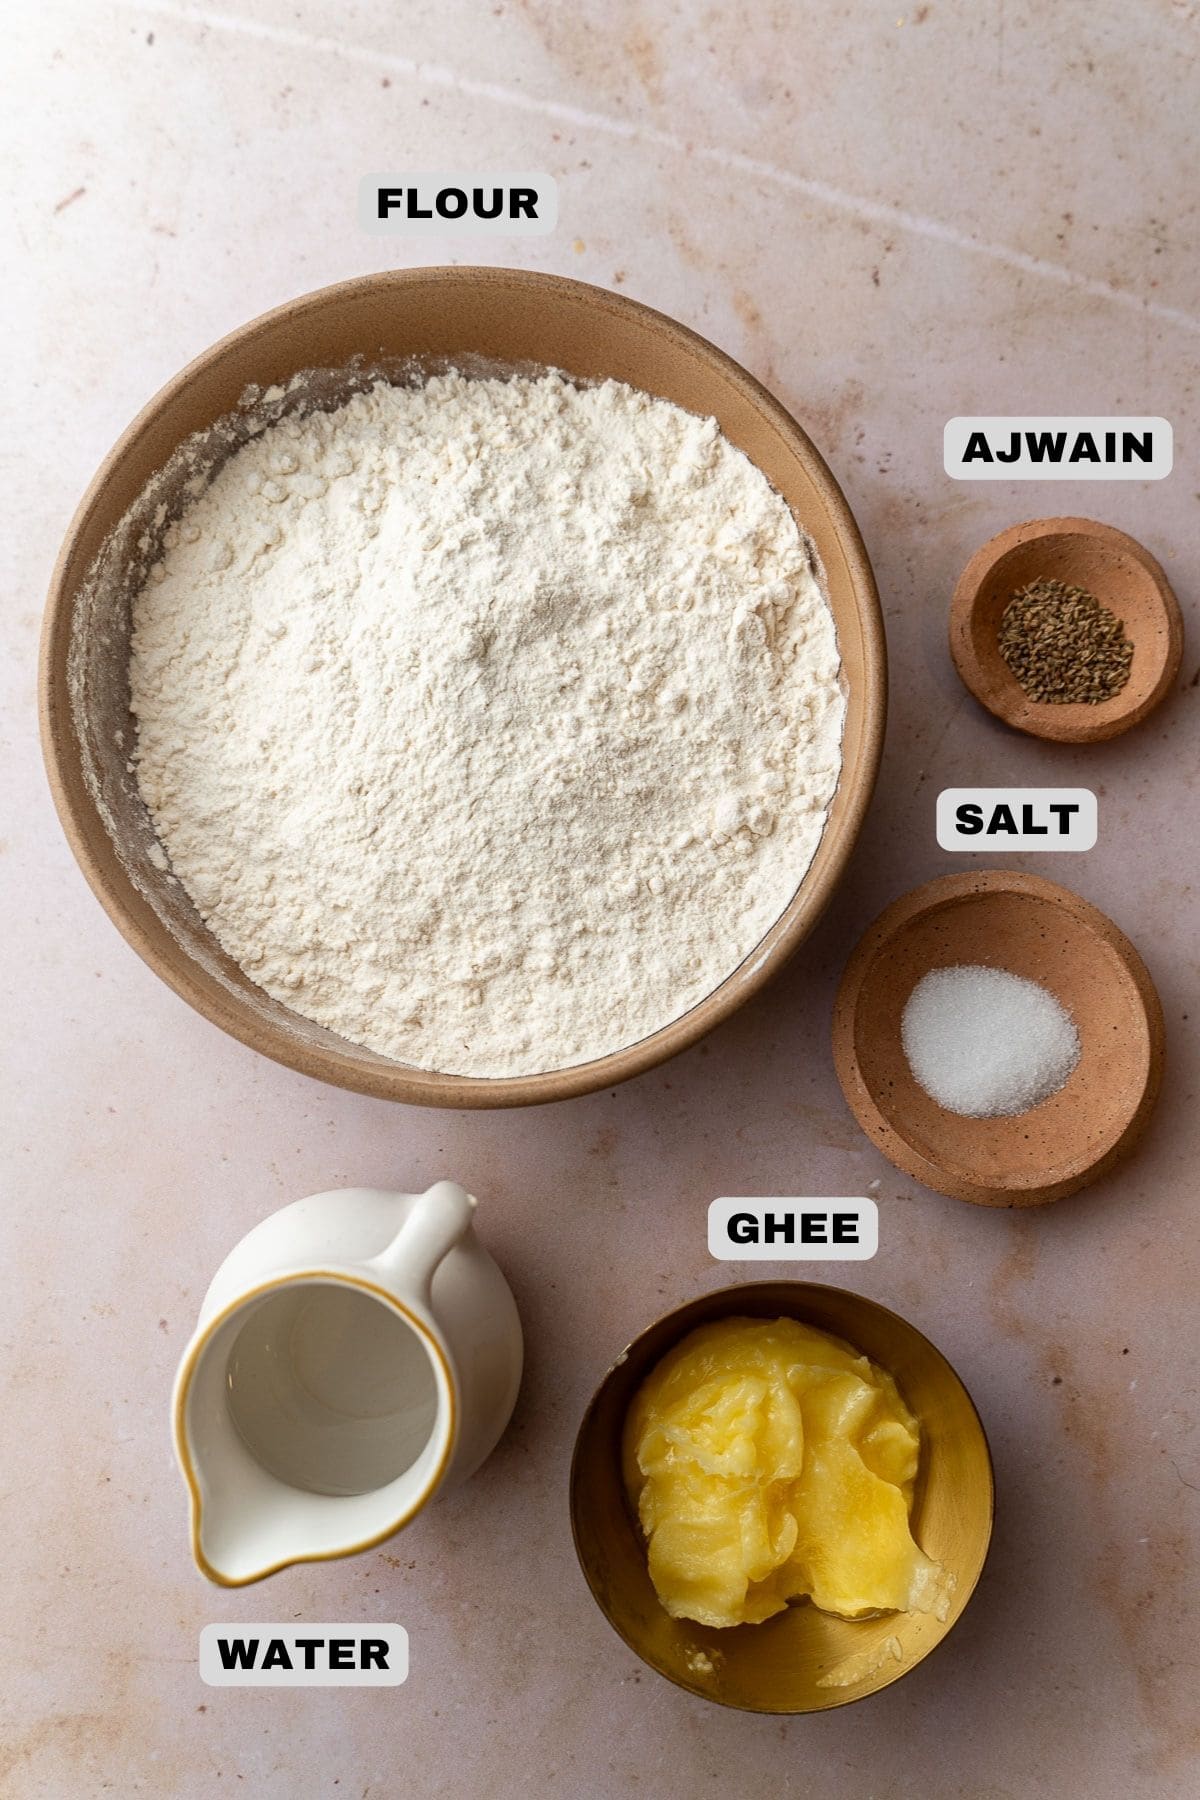
Samosa Dough
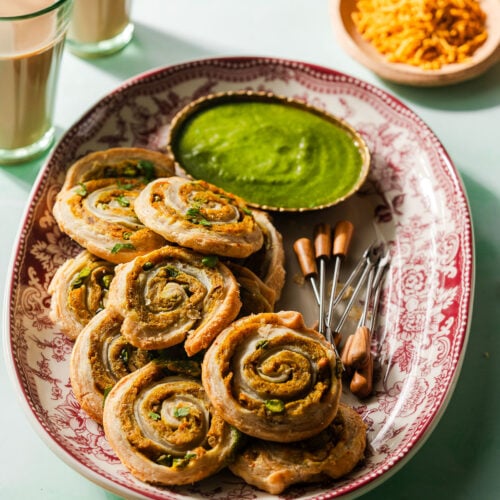
The samosa dough recipe was developed over several years by my mother to result in the crispiest, flakiest, buttery shell you could imagine. I’m very lucky to be able to share it with everyone! A samosa is a deep-fried South Asian snack and appetizer that’s traditionally filled with spiced potatoes and peas, and sometimes paneer. Other variations include pumpkin or meat fillings like chicken keema (spiced ground chicken). It’s typically folded into a triangular cone which is then deep-fried, giving it a crispy flaky outer shell with a savory filling. It’s served with a cilantro-mint chutney and tamarind chutney when starting a meal along with other snacks and chaats. Another delicious way to eat samosas is to smash them and eat them in sandwiches with cheese and chutney, or as Samosa Chaat with chutneys, dahi (yogurt), and sev (crispy chickpea noodles). The same dough is also featured in the Paneer Aloo Samosas, but this one adds ajwain for a stronger flavor for the dough.
Flour - Use plain, unbleached all-purpose flour Ajwain - Or carom seeds, add a bit of an extra savory flavor to the flaky samosa crust. Feel free to substitute it with cumin seeds or omit it entirely. Ghee - This is a traditional cooking fat in lieu to oils in Indian cooking. The milk solids and impurities are removed from regular butter to make clarified butter. Melted ghee hydrates the dough to give it an intense buttery flavor. Substitute ghee with vegetable oil. Water - Use lukewarm water.
Instead of making your own dough, you can also grab spring roll wrappers from the freezer section of grocery stores. After they’re filled, fold them into triangles for frying. It cuts down on preparation time. Note: My mother and I decisively use ghee in the samosa dough instead of oil. Ghee results in a softer, flaky samosa crust. In contrast, using vegetable oil in samosa dough results in a hard crust, just like the ones you typically get at restaurants. Personally, we prefer our samosa crust to be crispy, flaky, and tasty from the richness of ghee. However, the tradeoff is that they’re better served on the day of frying or kept un-fried in the freezer until you’re ready to fry and enjoy.
Chicken Keema
For the chicken keema, we are only using ground spices! Whole spices, like black cardamom and cinnamon, are usually the key to making a delicious keema. But we don’t want to accidentally bite into them while enjoying samosas.
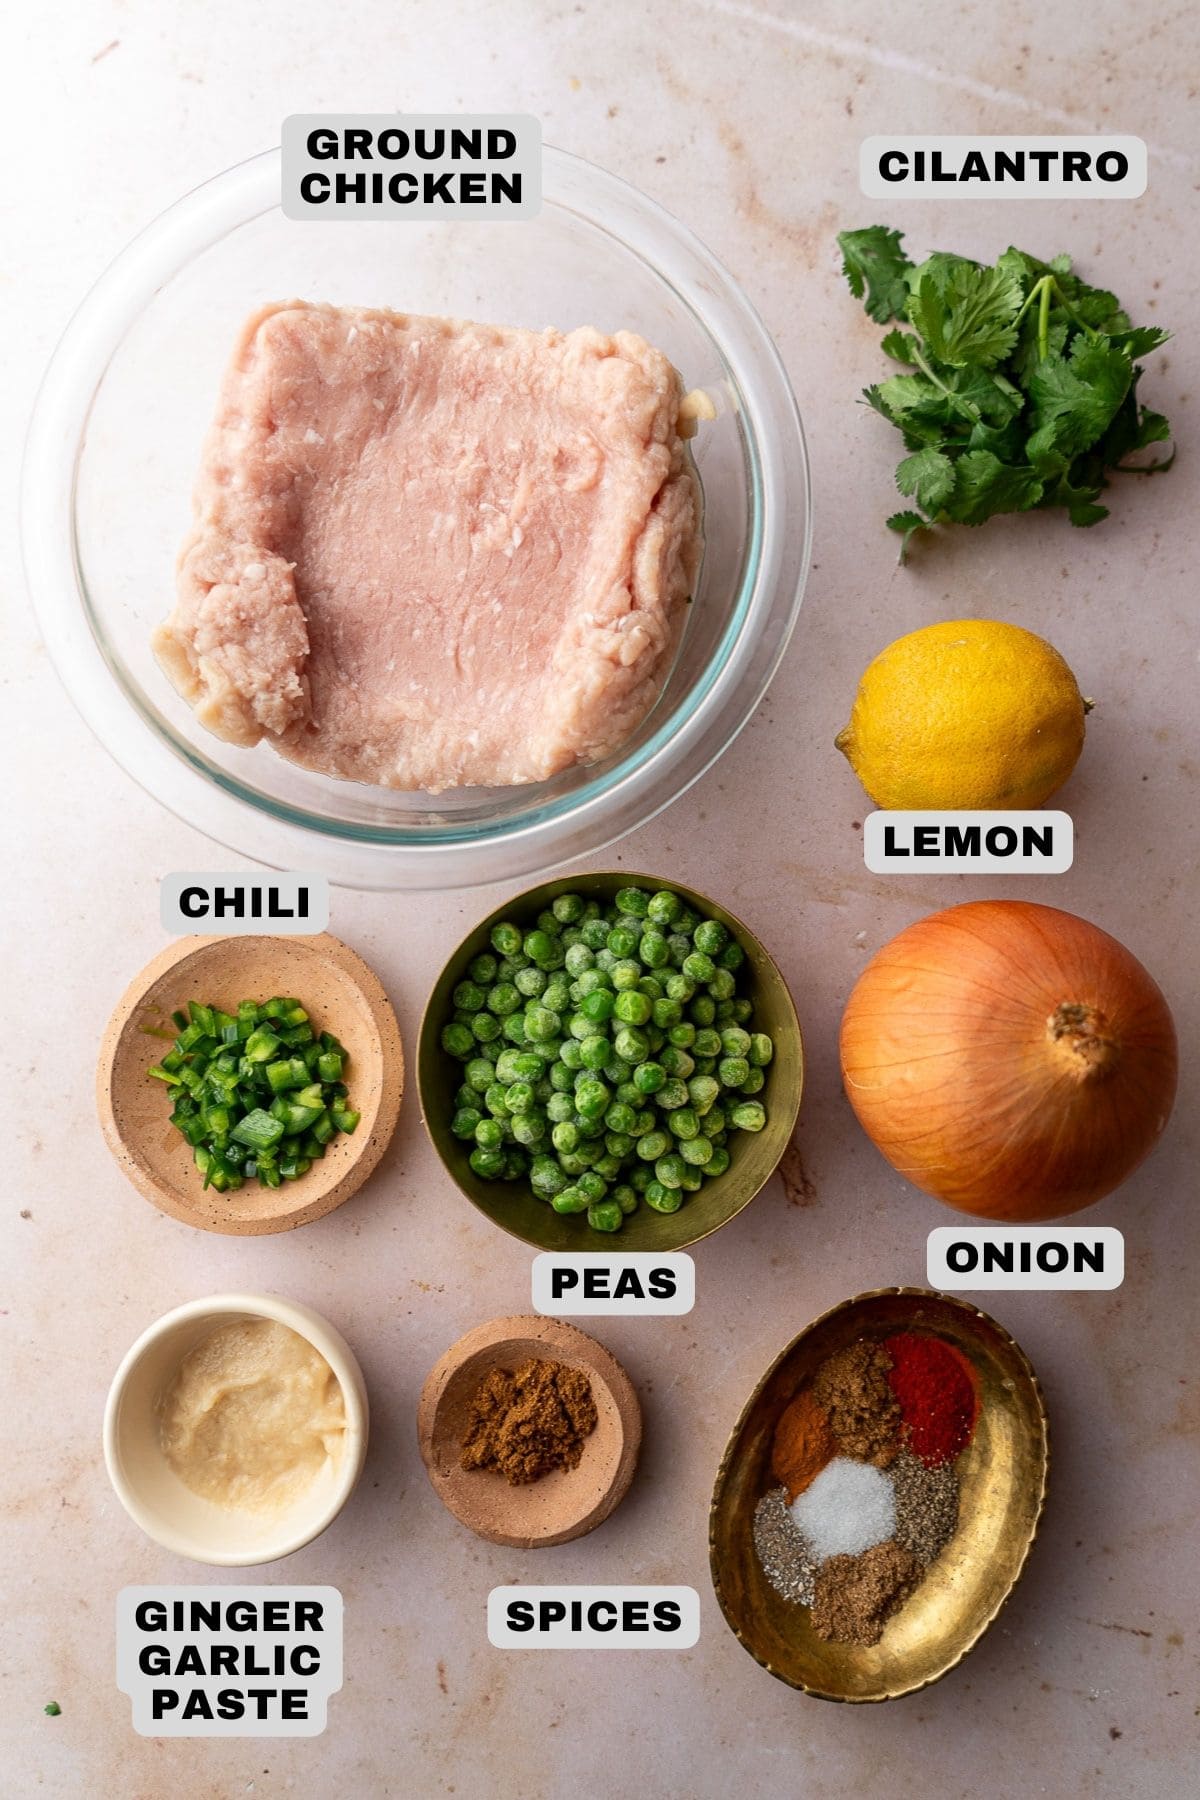
Ground Chicken - Use a blend of 80% lean 20% fat ground chicken for optimal succulence. If you’re making your own ground chicken mixture, use equal amounts of chicken breast and chicken thighs. You can also use minced lamb, turkey, or beef. Just note that the cook times may vary with other meats. Chili - A small Indian green chili or serrano pepper is best, but half of a large jalapeño works as well. Remove the seeds if it’s too spicy. Peas - If you don’t like peas, the frozen peas can be omitted! However, they add a bit of mild delicious flavor to keema and and they’re common to samosas. Lemon - A spritz of fresh lemon juice brightens the warm spices in the chicken keema. Onion - Use a small yellow onion or red onion. Ginger Garlic Paste - Or as I call it, gigi paste! This is simply a 50/50 mix of ginger and garlic that’s blended into a paste. You can easily make ginger garlic paste at home in a mortar and pestle or blender, or purchase it readymade. Spices - We are using black pepper, salt, ground coriander, ground green cardamom, kashmiri chili powder, ground cumin, ground turmeric, and garam masala to finish off the keema. Kashmiri chili powder is really mild, so you can also use a pinch of cayenne and paprika. Cilantro - This is completely optional but it adds a pop of color to an otherwise very brown/yellow appetizer.
How to make Chicken Samosas
1. Make the Samosa Dough
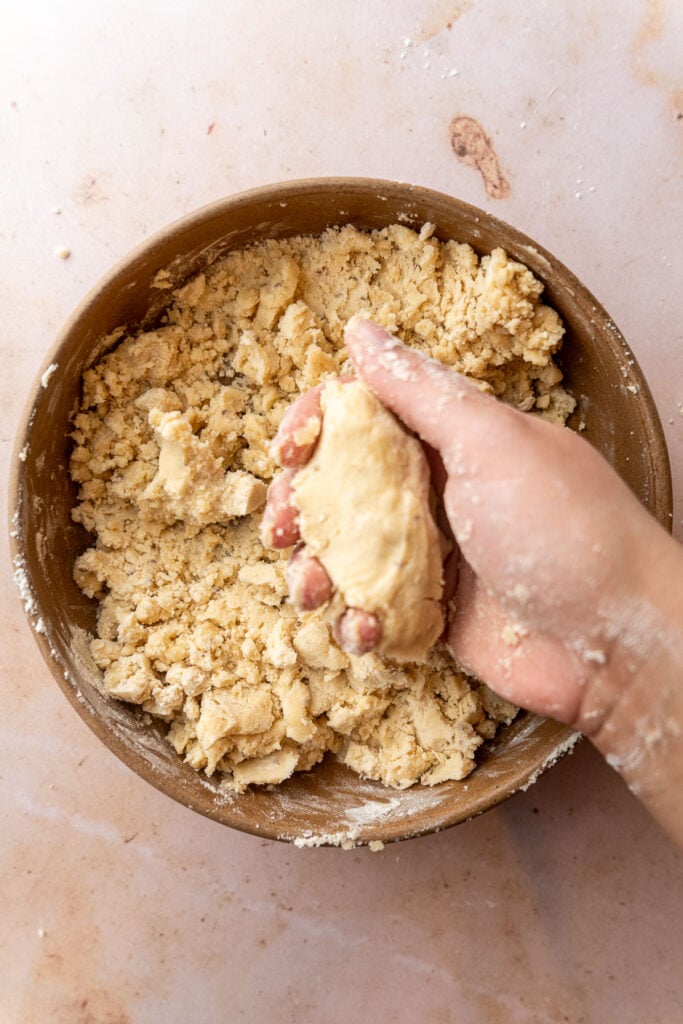
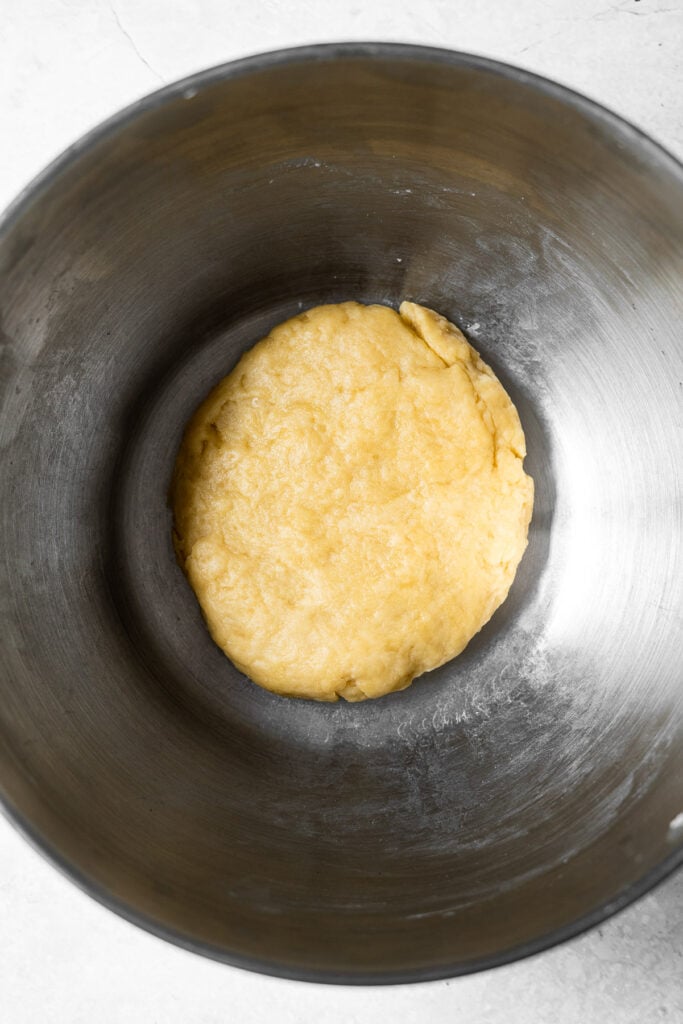
Whisk together the flour, ajwain, and salt. I like to make a well in the middle of the flour and add the melted ghee all at once. Get dirty with your hands! Rub the ghee into the flour with your hands until you get coarse crumbs. The texture will be sandy and clump in your hand when you squeeze your fist. Slowly pour in the warm water while kneading the dough. It may not seem like it, but you’ll need the full amount of water for a soft dough. Knead the dough for 5 minutes until it just starts to comes together. The dough may be a bit lumpy before you rest it. This is super important otherwise it’ll be difficult to roll out the dough. Cover and rest it for at least a minimum of 20 minutes. Now it is time to prep the chicken keema filling.
2. Make the Chicken Keema
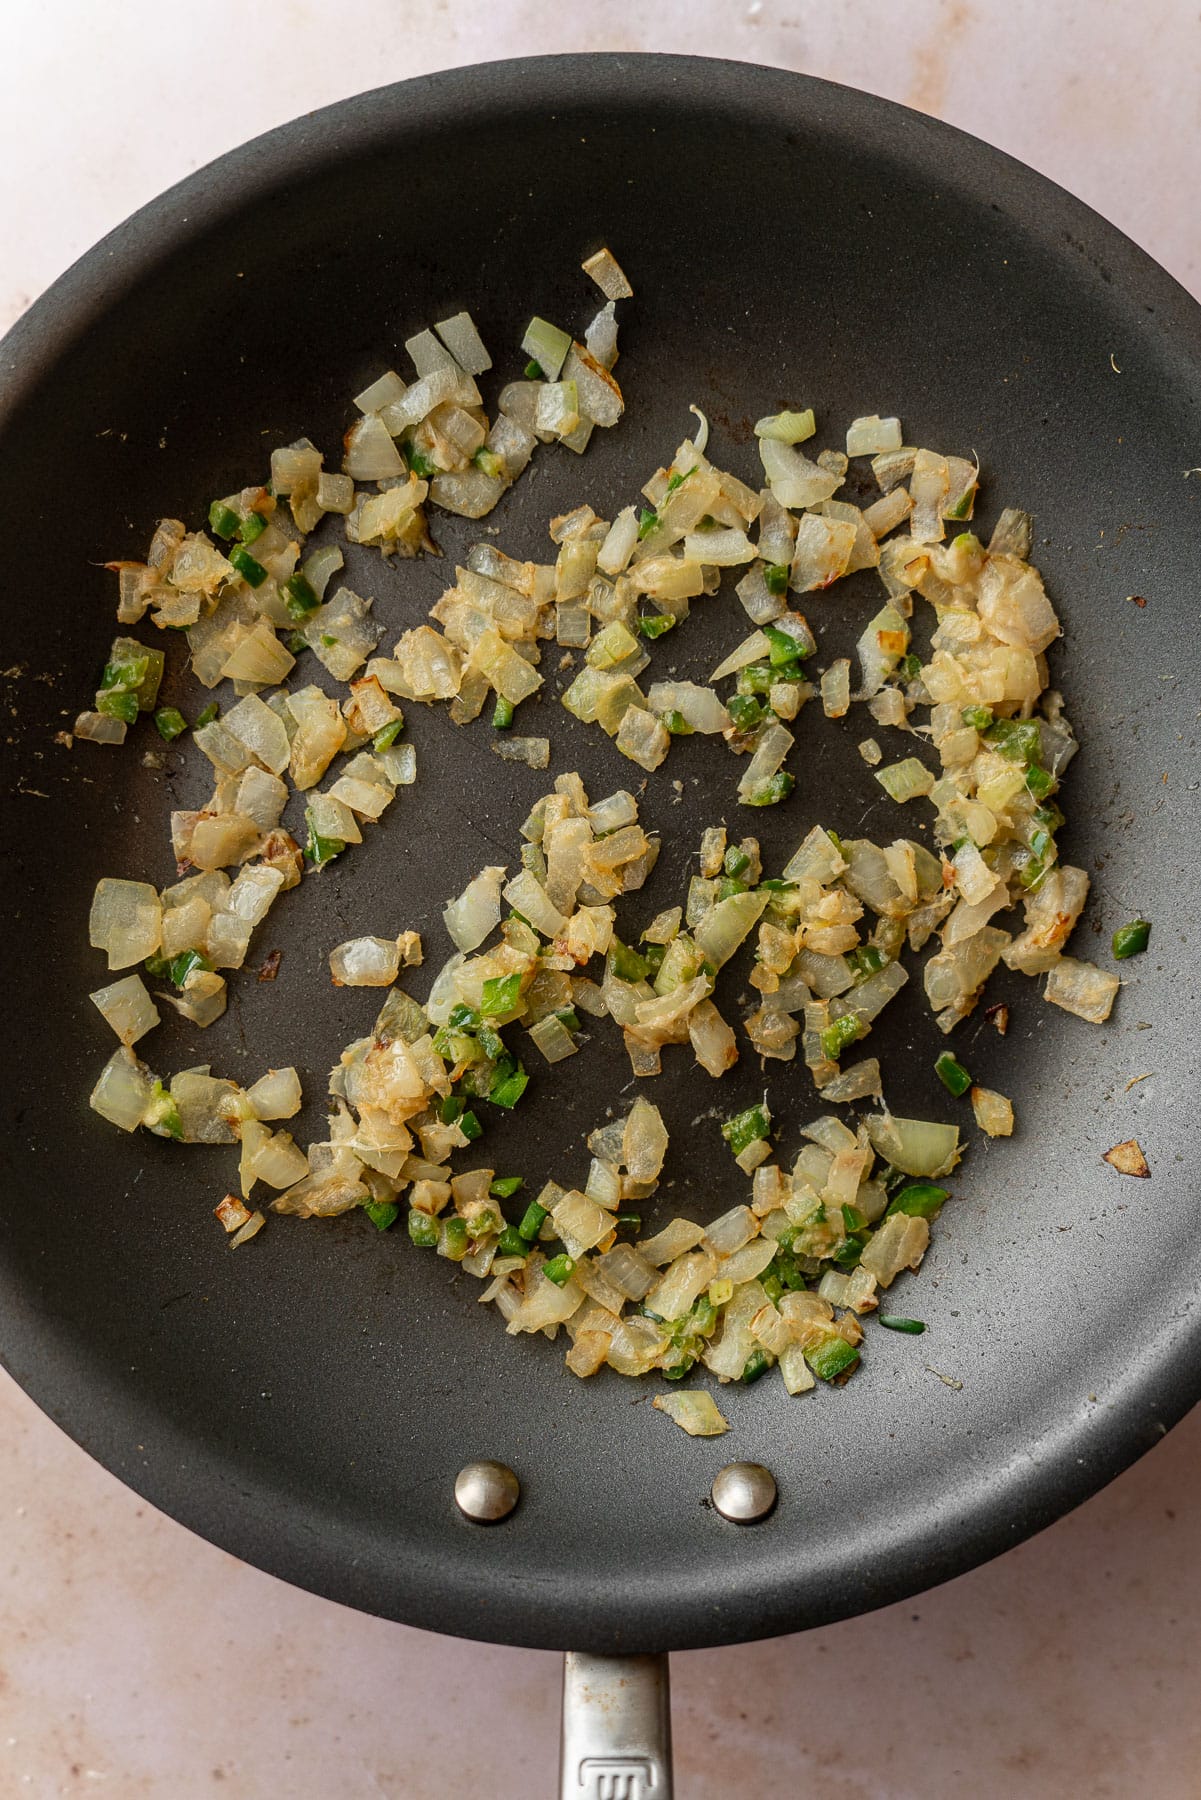
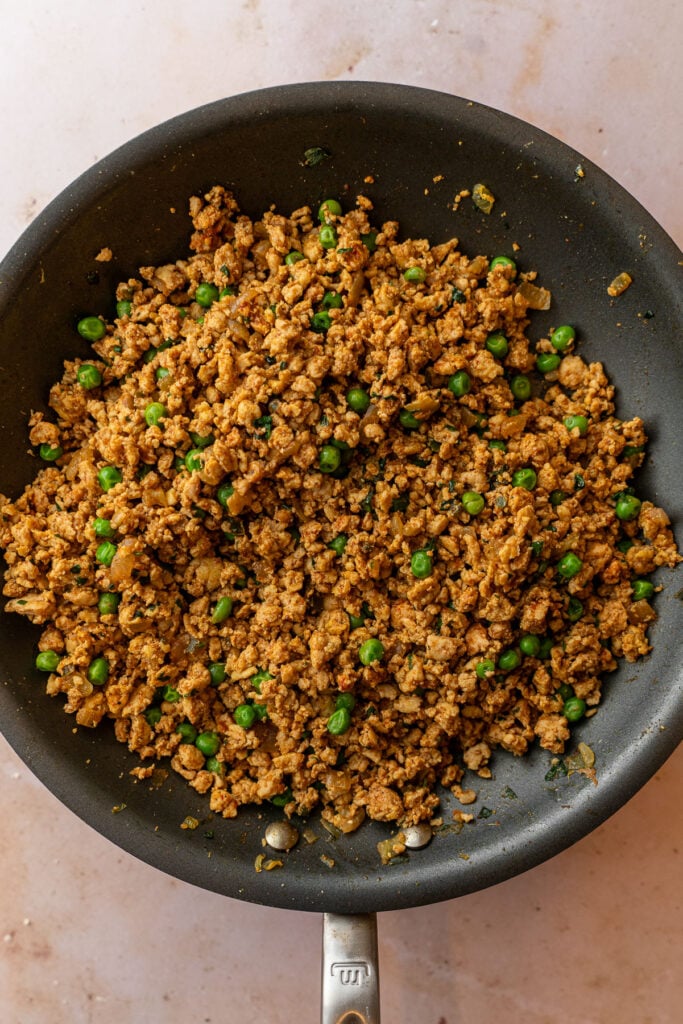
First, finely dice the onion and green chili pepper. If you’re not using readymade ginger garlic paste, finely chop the ginger and garlic as well. Warm the oil on medium to low heat in a medium-sized frying pan. Add the chopped onion and cook until they’re translucent, about 4-5 minutes. Then, add the ginger, garlic, and green chili pepper. Continue to sauté for 3 minutes, or until you can smell the aroma of the ginger and garlic. At this point, stir in the spices - the chili powder, cumin, salt, pepper, turmeric, and coriander. Sauté for an additional 2 minutes. Turn the heat up to a medium flame. Add the ground chicken into the pan, break it apart with the cooking utensil and constantly stirring it. After 5 minutes, the chicken should be lightly browned and a fine texture instead of large clumps. Turn the heat back to a low flame and let the mixture simmer for 5 minutes, or until most of the liquid has evaporated. At this point, add the peas, cilantro, and garam masala. Stir everything together really well. You can taste the chicken keema at this point and make adjustments for additional salt, chili powder, or garam masala. If it’s good to go, stir in the lemon juice. Allow the keema to cool to the touch before assembling the samosas.
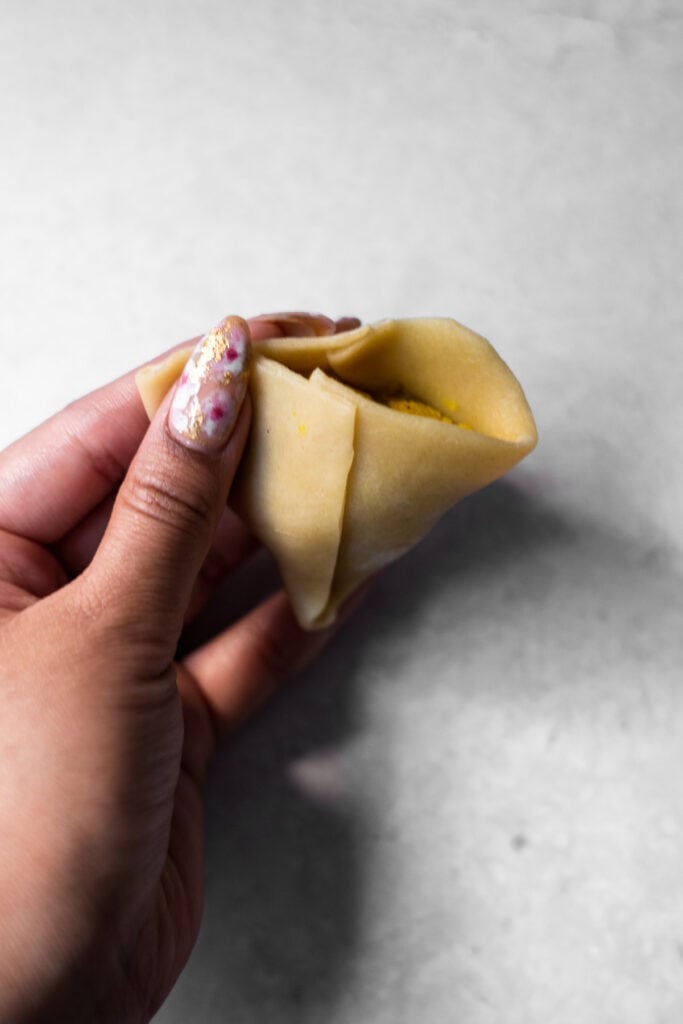
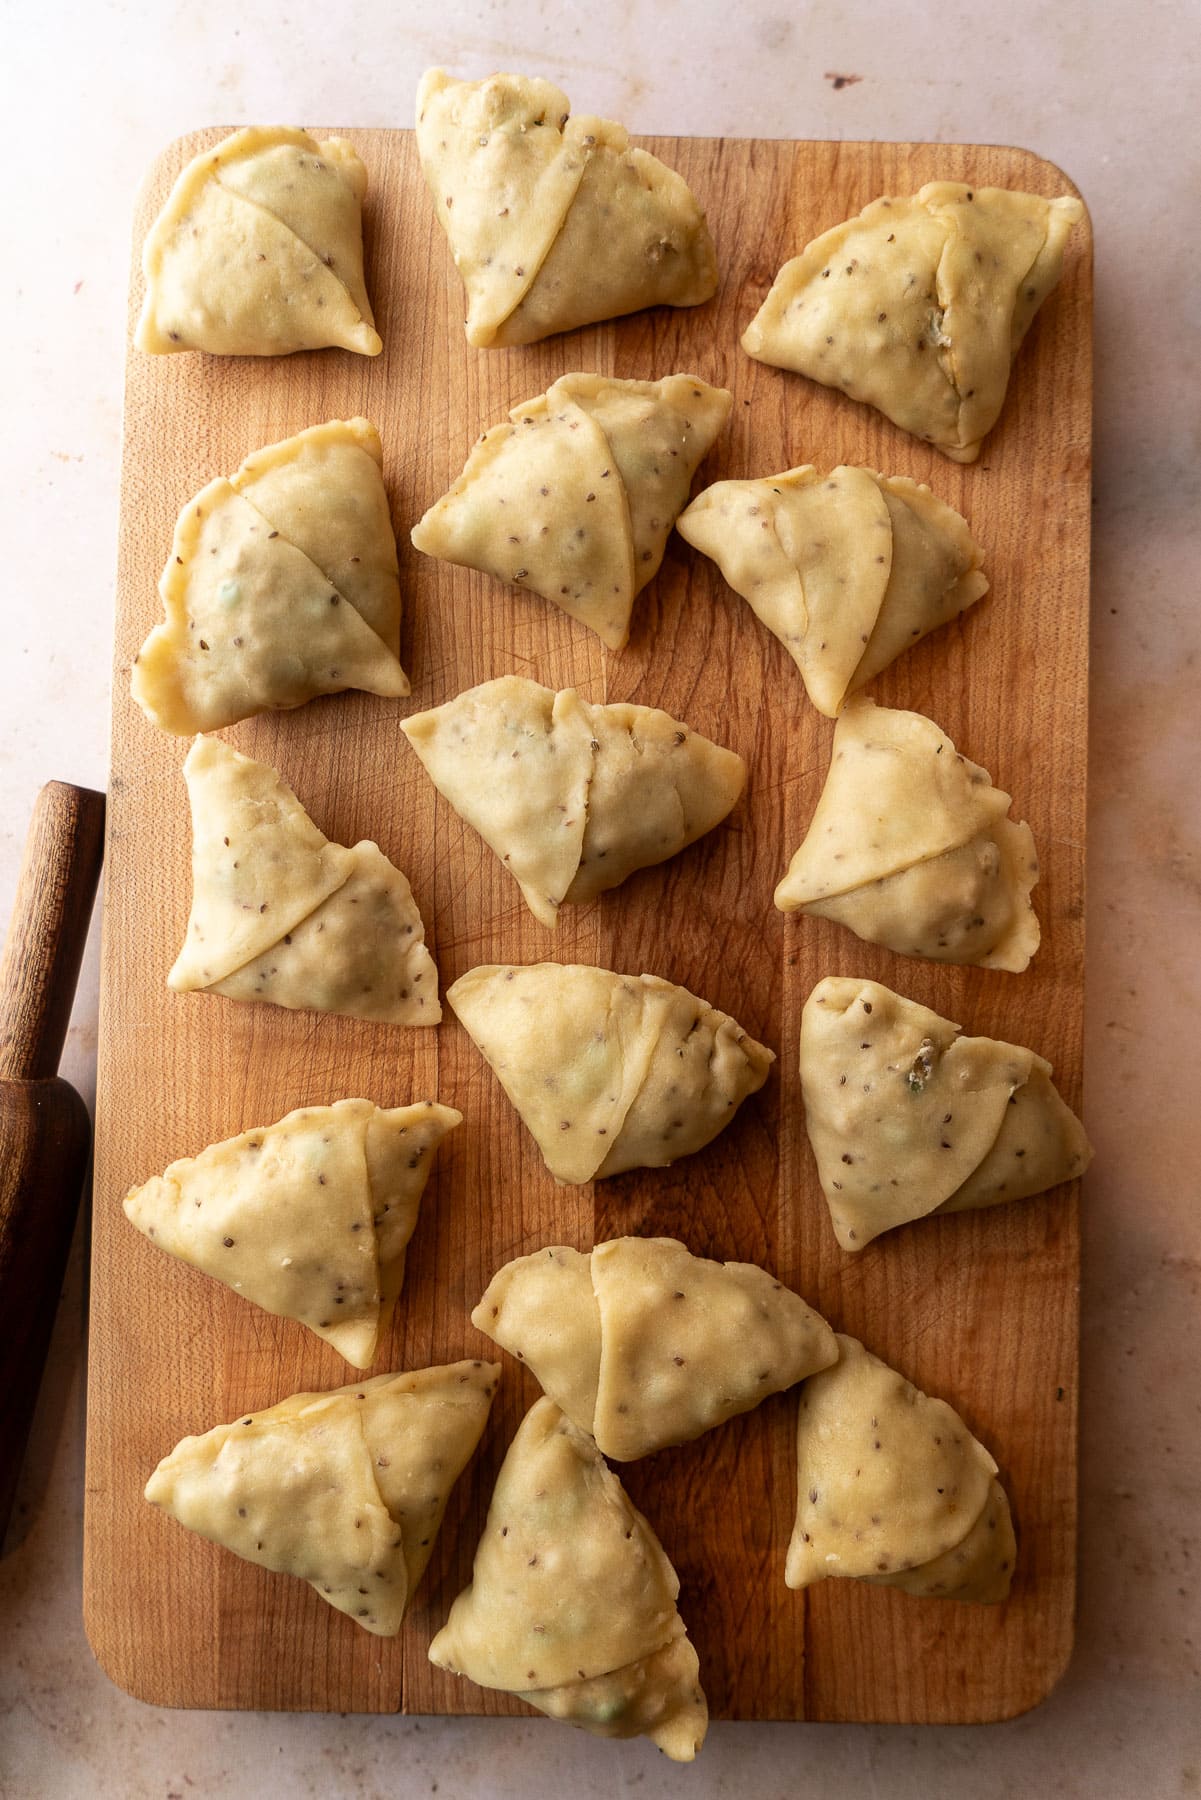
3. Assemble the Samosas
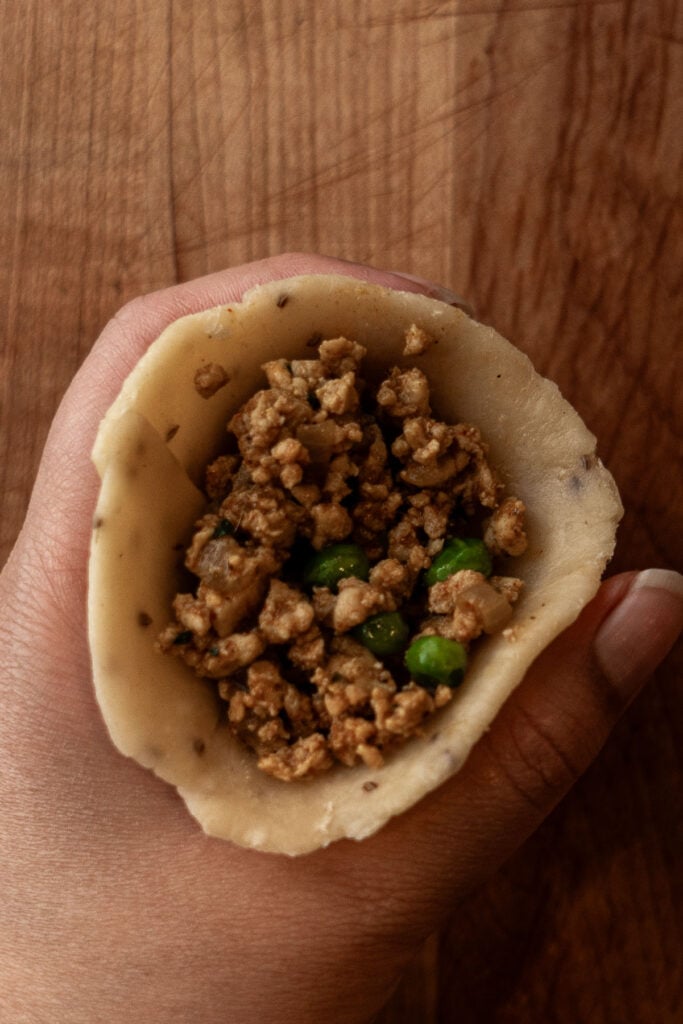
Once the dough has rested, knead the dough again for 5 minutes. The ghee will hydrate the dough and it’ll completely smooth out. It should leave indents if you press your finger to it. Pro Tip: Make sure to pinch together the bottom of the cone as well. When frying, the dough will expand a bit and you want to ensure that none of the oil seeps into the filling. Repeat this process with the other balls of dough, for a total of 16 samosas. Then, we’re ready to fry!
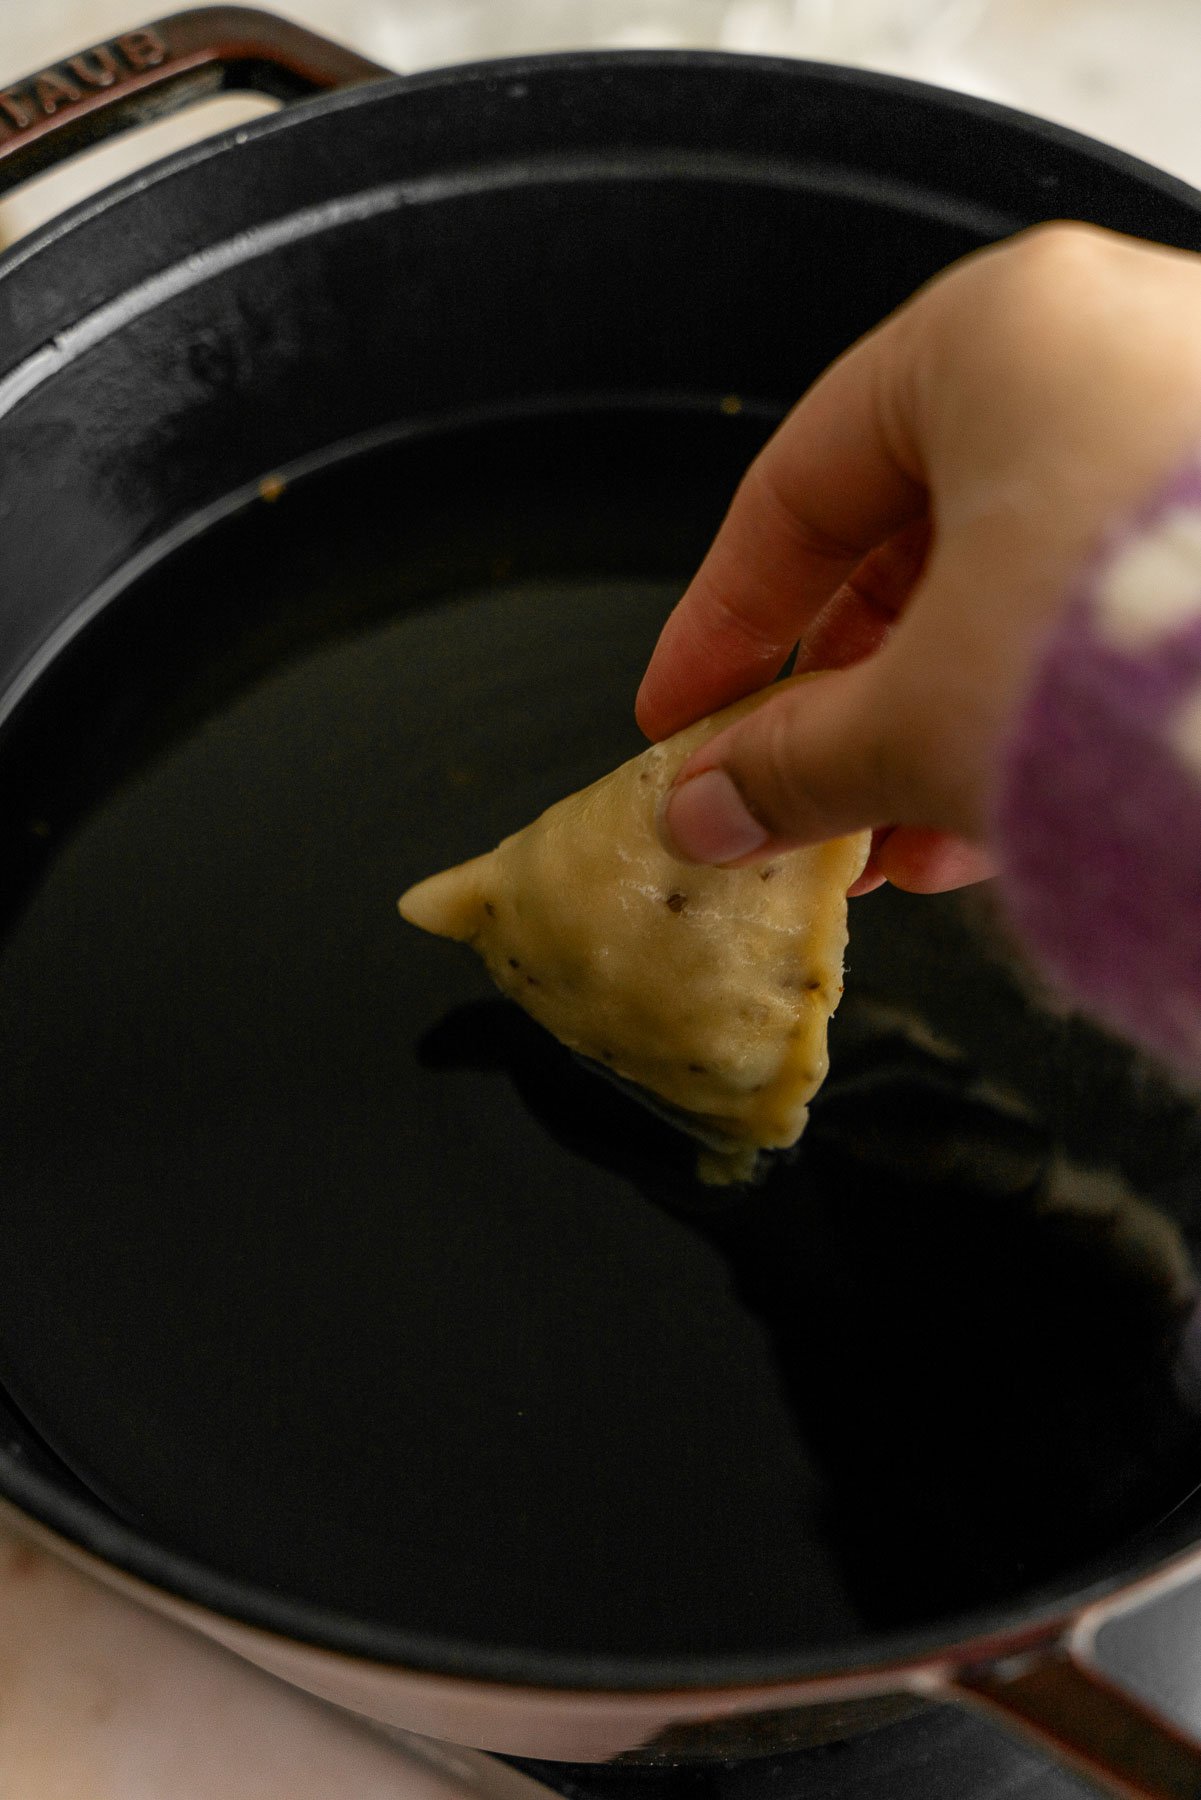
4. Fry the Samosas
My mother uses woks or kadhais to deep fry all of her Indian snacks and desserts. I use a dutch oven. Use whatever vessel makes sense for you, but make sure you use a neutral oil like vegetable or canola oil to fry the samosas. If the oil is too hot, the samosas will expand and burst. You’ll need to remove the samosa, drain the oil, and bake the samosas instead to prevent the filling from soaking up all the oil. If it’s not hot enough, the samosa won’t begin frying and soak up a ton of oil. You’ll have greasy and soggy samosas.
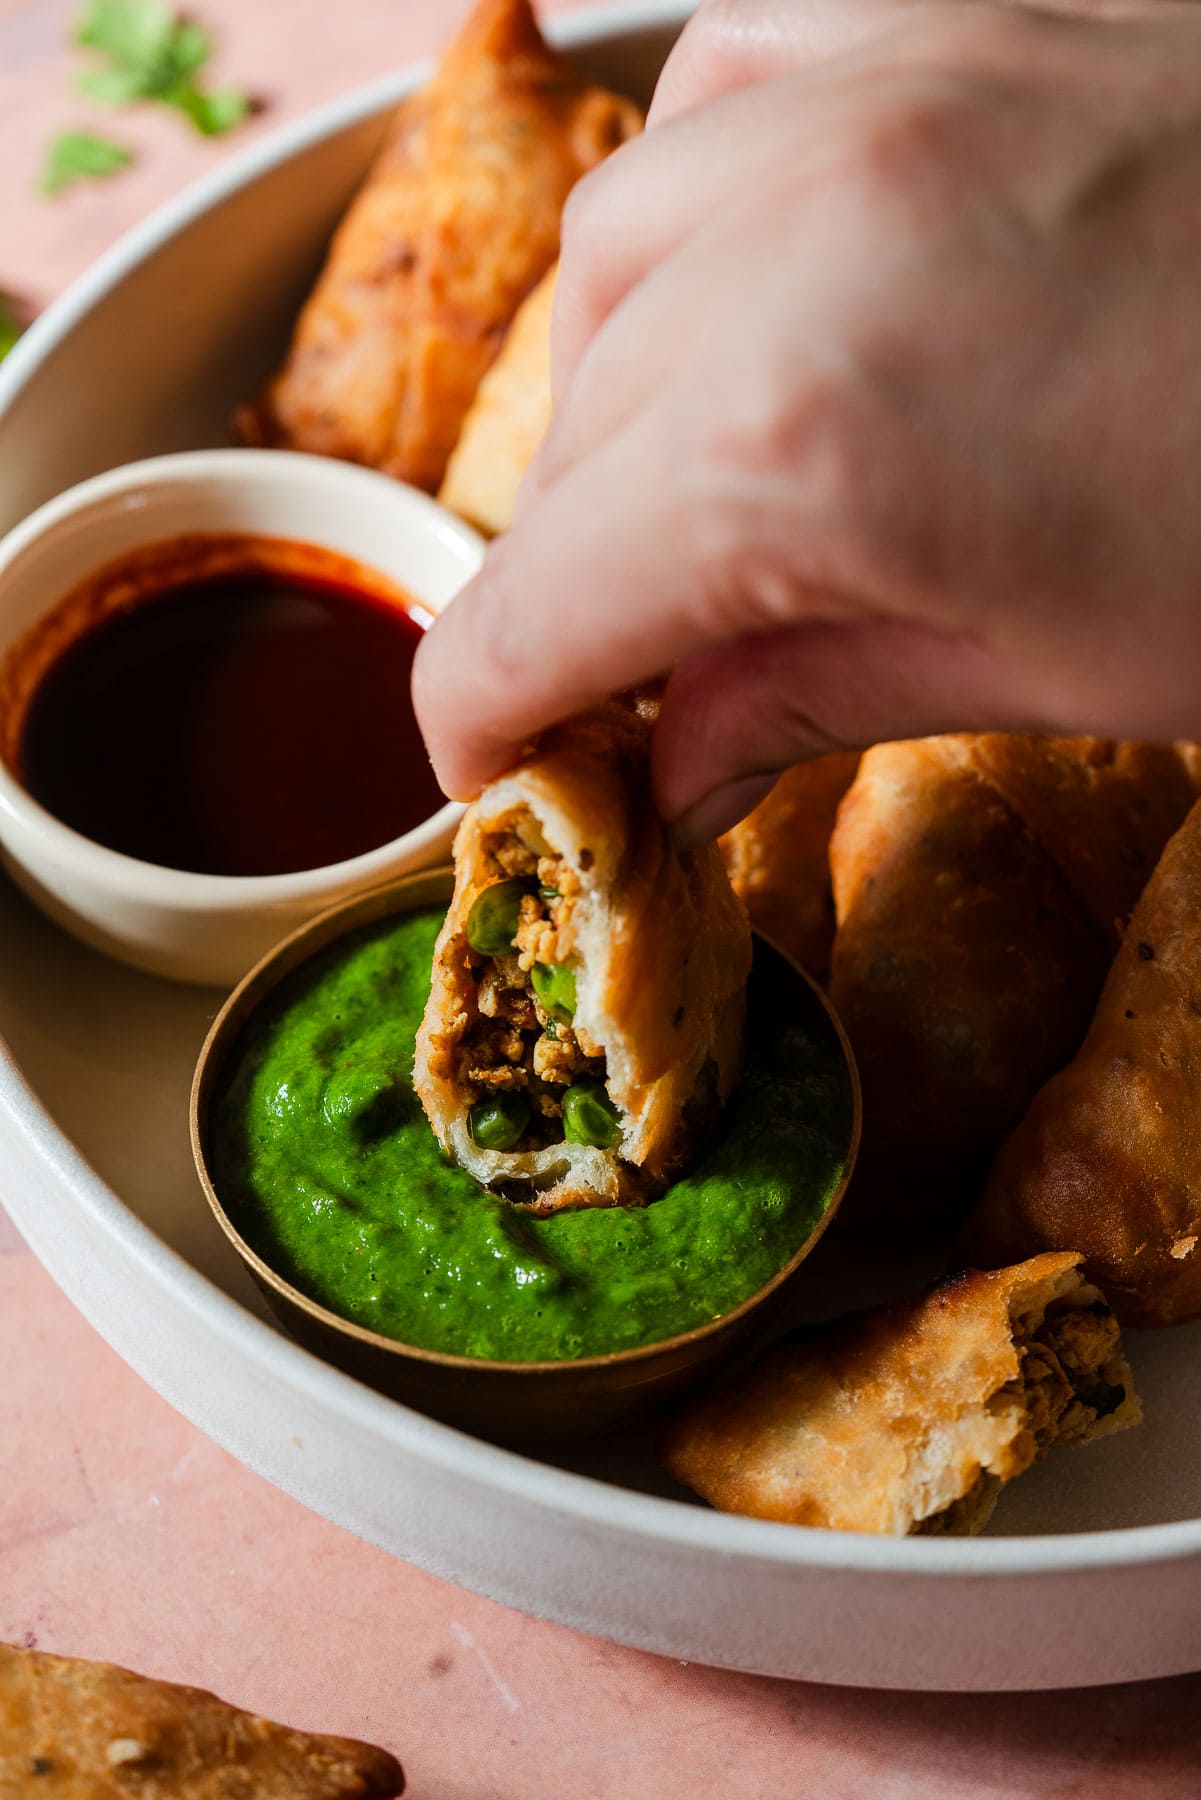
Serving Suggestions
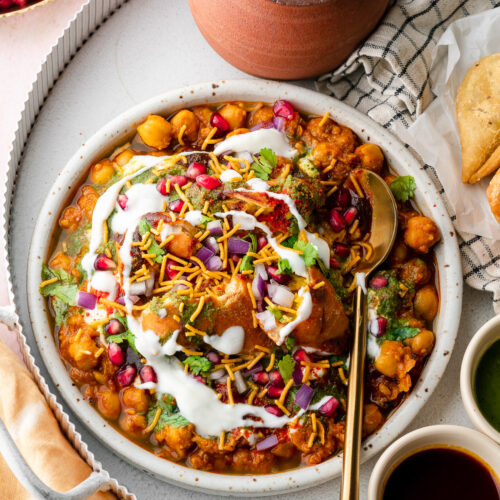
Samosas are seriously delicious when they’re freshly fried and served while they’re piping hot. I recommend serving them with this Cilantro-Mint Chutney recipe and imli (tamarind) chutney with a sprinkle of chopped cilantro. These perfect little hand-held appetizers are typically served at weddings, events, and restaurants as a starter snack. It’s usually served along with other snacks like chaats as well as a hot cup of chai. You can try it with this Peanut Chaat and a Mango Lassi. If we have samosas that have been sitting around for a few days and are starting to get a little bit dry, we smash them and add a little bit of dahi (yogurt), tamarind chutney, cilantro mint chutney, sev, pomegranate seeds, cilantro, and chaat masala to make Samosa Chaat.
Storage and Reheating Instructions
You’ll get the best make ahead results by using unfried samosas. They are great for prepping ahead of parties and do extremely well frozen. They can also be kept overnight in the fridge in a sheet tray until you’re ready to fry the next evening.
Take the time to rub the dough and ghee together. Really rub the ghee and flour together into each other with your hands! Don’t overwork the dough. Only knead the dough until it comes together. You don’t need a stand mixer with a dough hook. Rest the dough. If it doesn’t have the time to rest, the dough will be tough to roll out. Roll out the dough evenly. Oh, you think it’s a thin oval? It’s not. Roll it out more. You don’t want to the dough to be translucent and easy to rip, but it should be thin enough to see a bit of light through it. Roll it out evenly! The edges should be a thin as the middle is, otherwise you’ll end up with edges that are plain thick fried dough. Don’t use extra flour when rolling. This dough is hydrated just perfectly. It shouldn’t require oil or flour to prevent sticking. Pleat the samosa before sealing. Directly across the middle seam, create a pleat to get the perfect shape. Redistribute the filling before frying. Sometimes the filling will make the samosa a wonky shape. Redistribute the filling so the samosa is a perfect cone with your fingers, but do it very carefully so the dough doesn’t rip anywhere. Use enough oil. The samosas should float to the top of the oil and avoid hitting the bottom of the pot. If it hits the bottom, the crust will get super dark in that area. Fry on a low heat. The heat can’t be so low that the samosa doesn’t fry, otherwise it’ll get soggy. If the heat is too high, the samosa will burst and the filling will fall out. The samosa dough will also bubble if it’s too hot. Cook it low and slow for the first few minutes until it’s a pale golden brown, then increase the heat. Make them with friends and family. Have one person rolling out the dough, another person folding, another filling and sealing, and another frying! It’ll make the process go much faster.
However, if they’ve been fried, they’re best enjoy within 3 days. If they’re soggy, reheat them in the oven at 350°F until warmed through and the shell is crisp again, about 5-10 minutes. If they’re not quite soggy yet, you can flash fry them in hot oil until they’re hot and crispy again.
More Samosa Recipes to try
Recipe
I’d love to know what you thought of this recipe! Don’t forget to leave a comment and ⭐️ star rating below! Thinking about making this recipe? Enter your email and I’ll send it straight to your inbox to save for later. Plus, get new recipe inspiration from me every week! By submitting this form, you consent to receive emails from Masala and Chai.