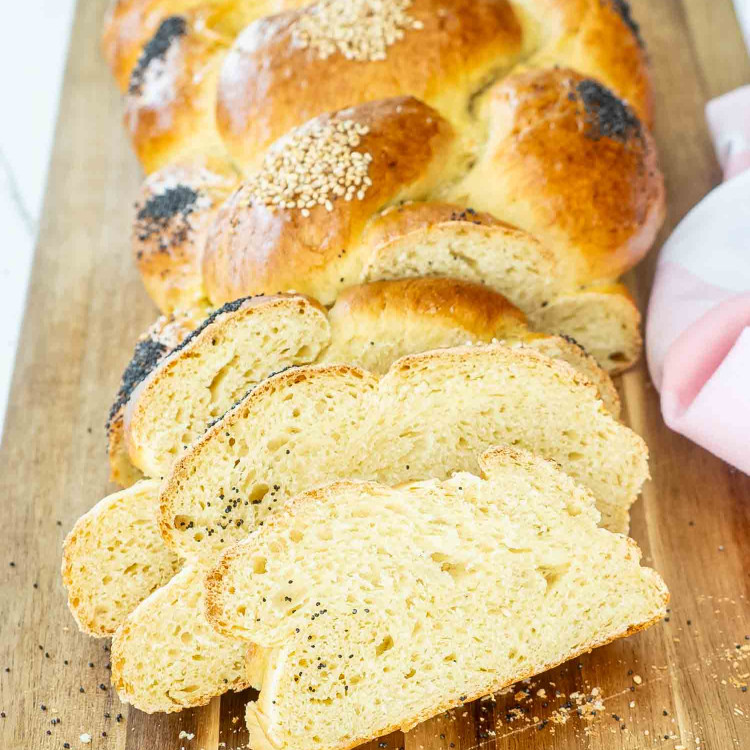
What Is Challah Bread
Challah is a traditional Jewish bread, rich in history and significance, often enjoyed during the Sabbath and other Jewish holidays. This egg-rich, slightly sweet loaf is braided to perfection, symbolizing love and unity. If you’ve never baked bread before, don’t worry—Challah is an excellent starting point. Its forgiving nature and straightforward process make it ideal for first-timers looking to venture into the world of bread-making. What sets this recipe apart is its versatility; it’s perfect for both special occasions and everyday meals. The simple list of ingredients and step-by-step instructions make it accessible for bakers of all levels. Whether you’re a newbie looking for a foolproof first-time bread or an experienced baker searching for the ultimate Challah recipe, this one is for you.
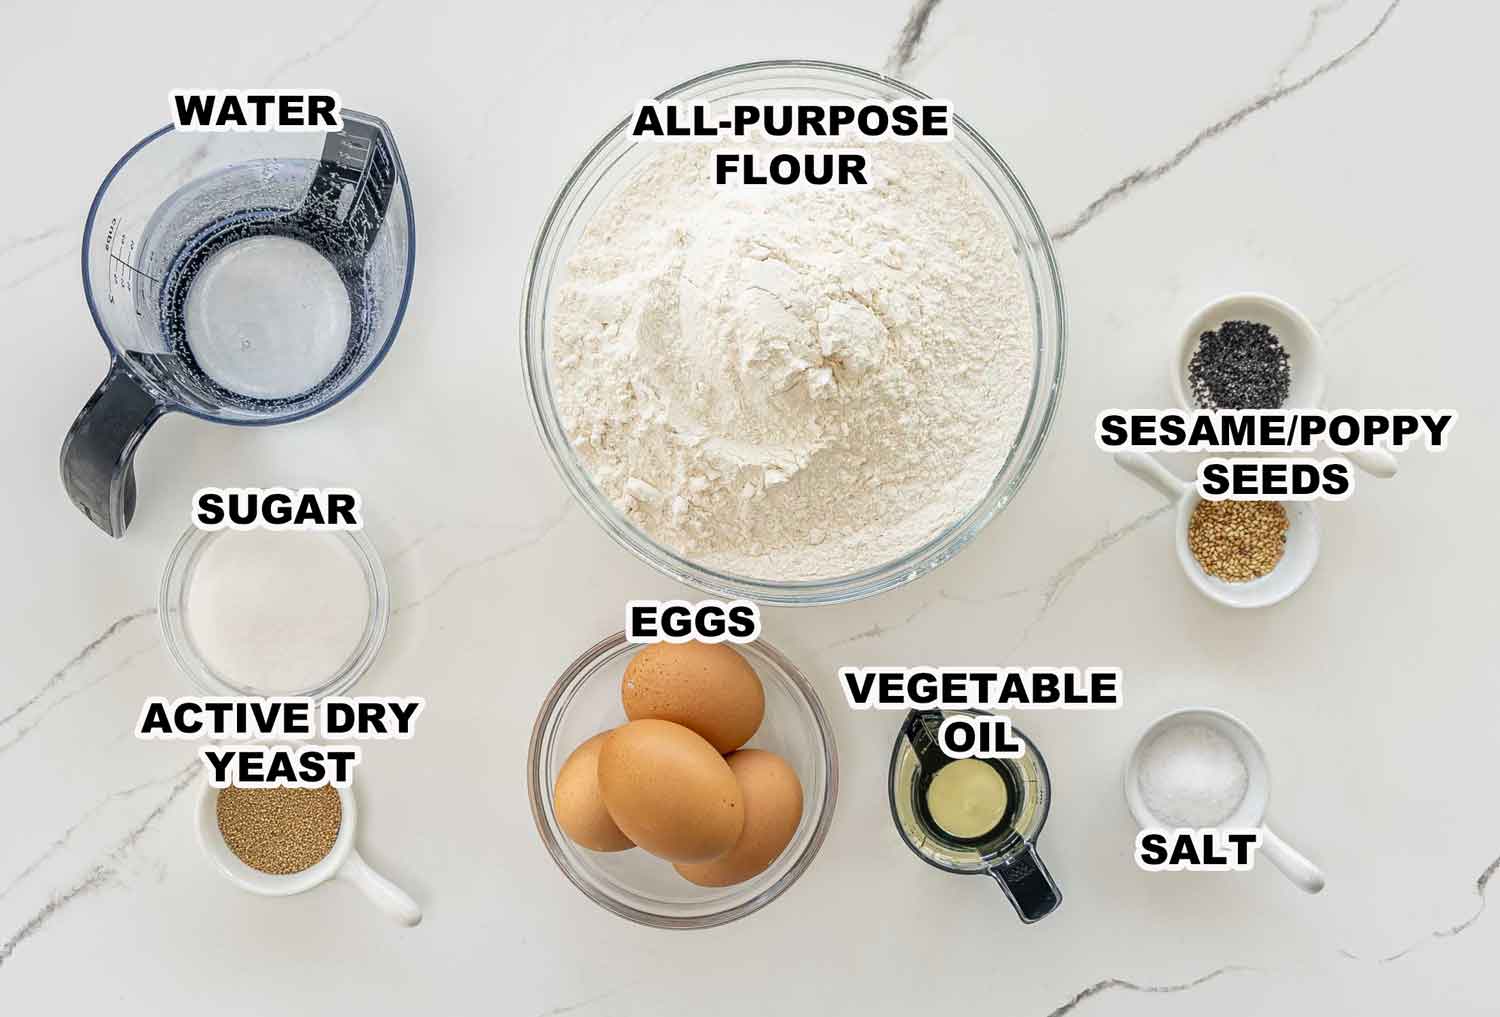
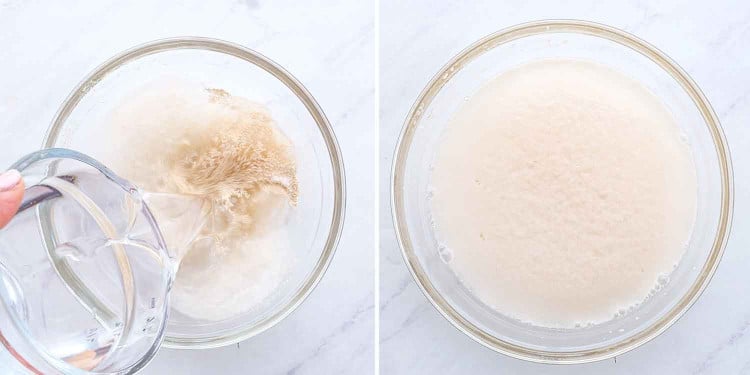
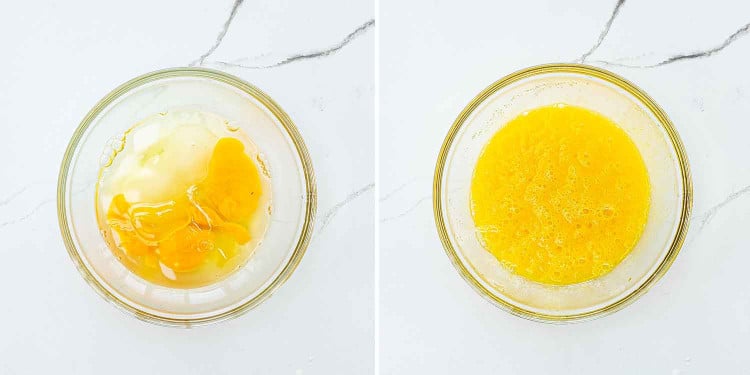
Active Dry Yeast: The essential ingredient for fermentation and rise. Instant yeast can be a suitable substitute. Lukewarm Water: Helps to activate the yeast. Make sure it’s not too hot or cold to ensure the yeast works properly. Ideal temperature is 110°F or 45°C. Sugar: Adds a touch of sweetness and also aids in yeast activation. Honey or agave can be used for a different flavor profile. Eggs: Provide structure, moisture, and richness to the dough. Some people use egg substitutes like flaxseed meal mixed with water for a vegan version. Vegetable Oil: Adds moisture and fat content, making the bread soft. You can substitute it with olive oil or melted butter for a richer flavor. All-Purpose Flour: The backbone of the bread, providing structure. Bread flour or whole-wheat flour can be used, but they will change the texture and density of the bread. Salt: Enhances the flavor and controls yeast activity. Kosher salt or sea salt can be used if preferred.
Beaten Egg: Provides a beautiful golden sheen to the baked loaf. Milk or cream can be used for a less shiny finish. Sesame Seeds: An optional topping that adds crunch and visual appeal. You can opt for poppy seeds or even flaked sea salt.
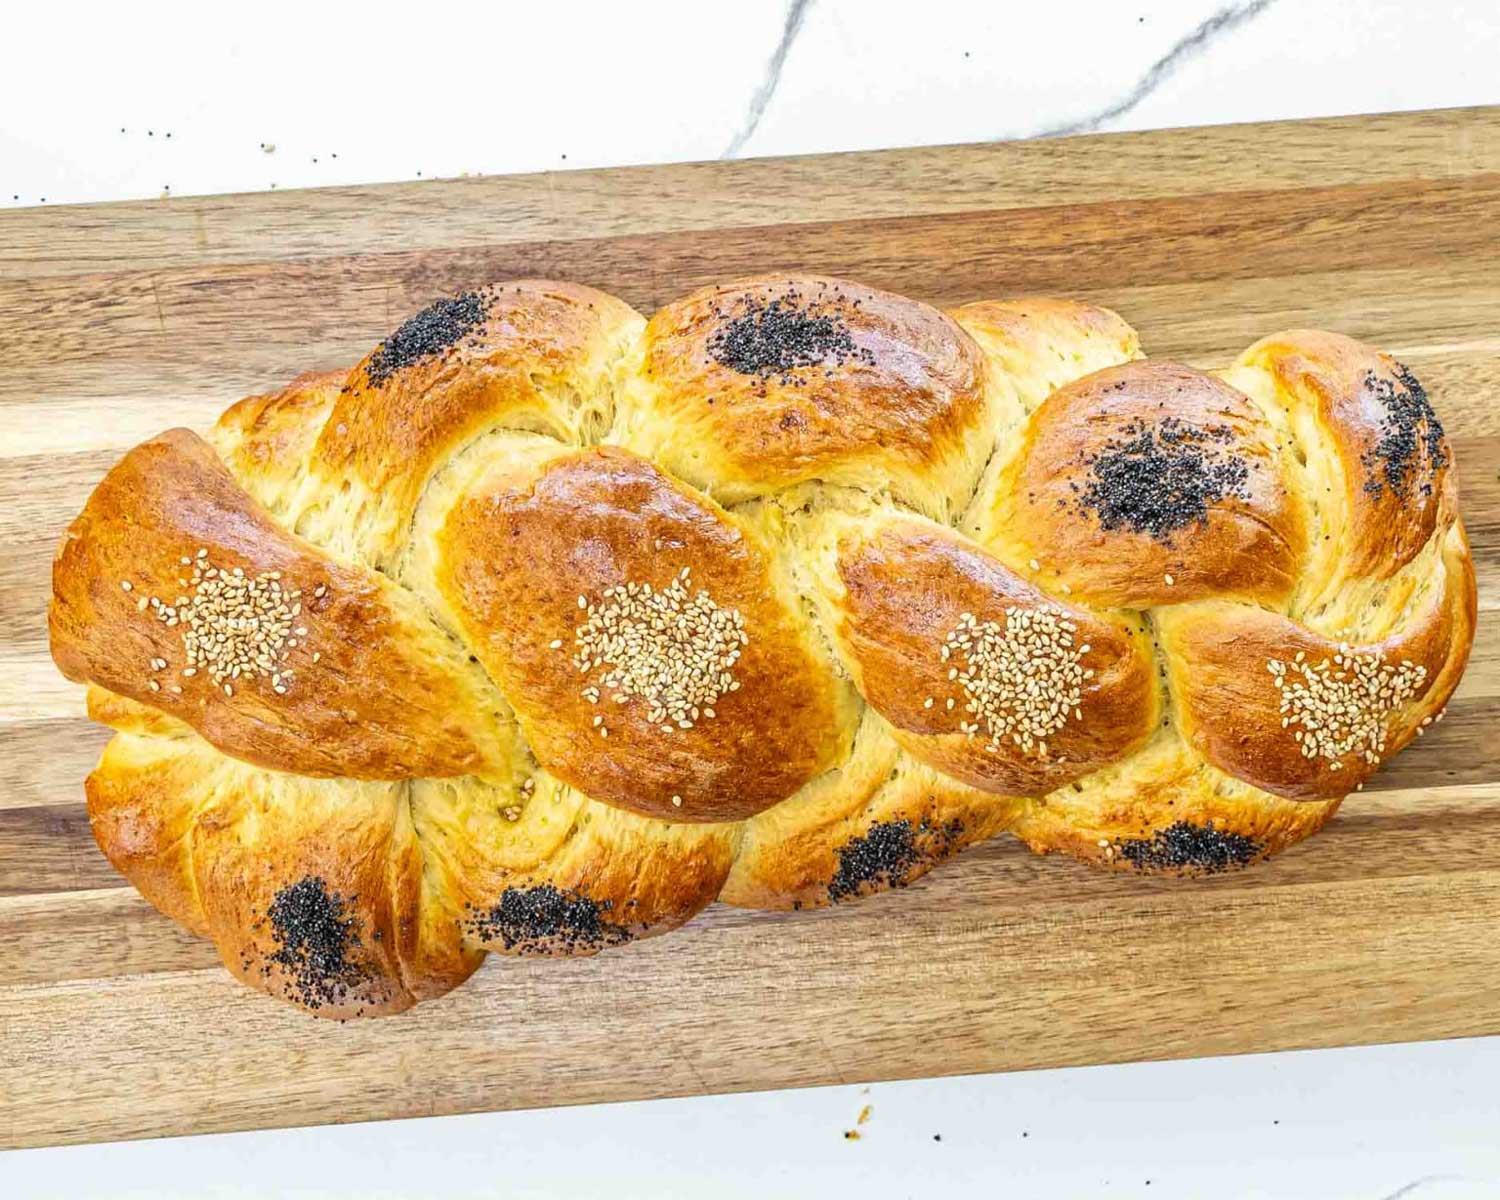
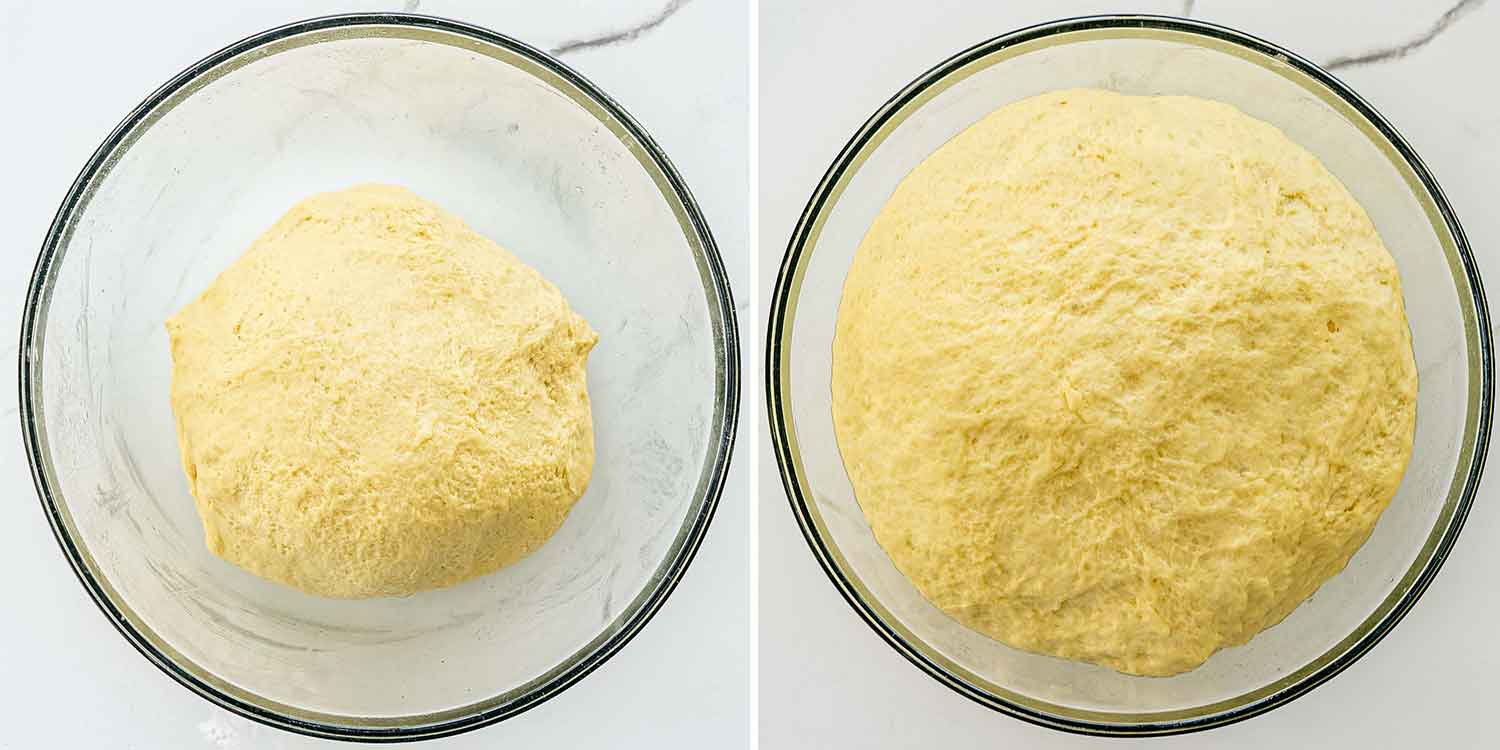
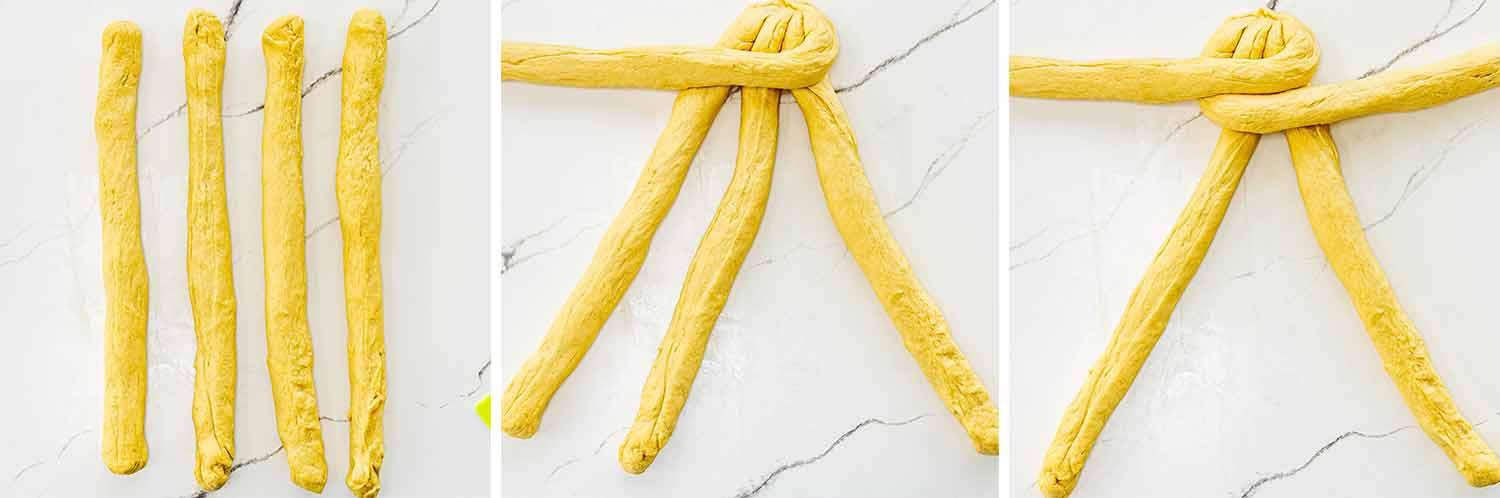
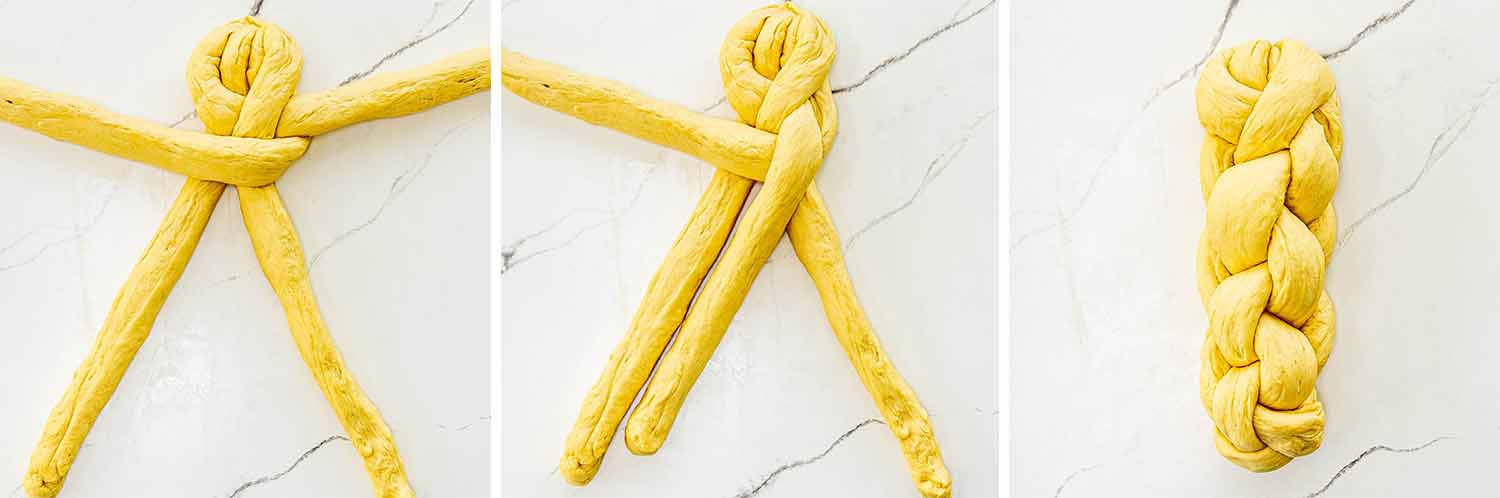
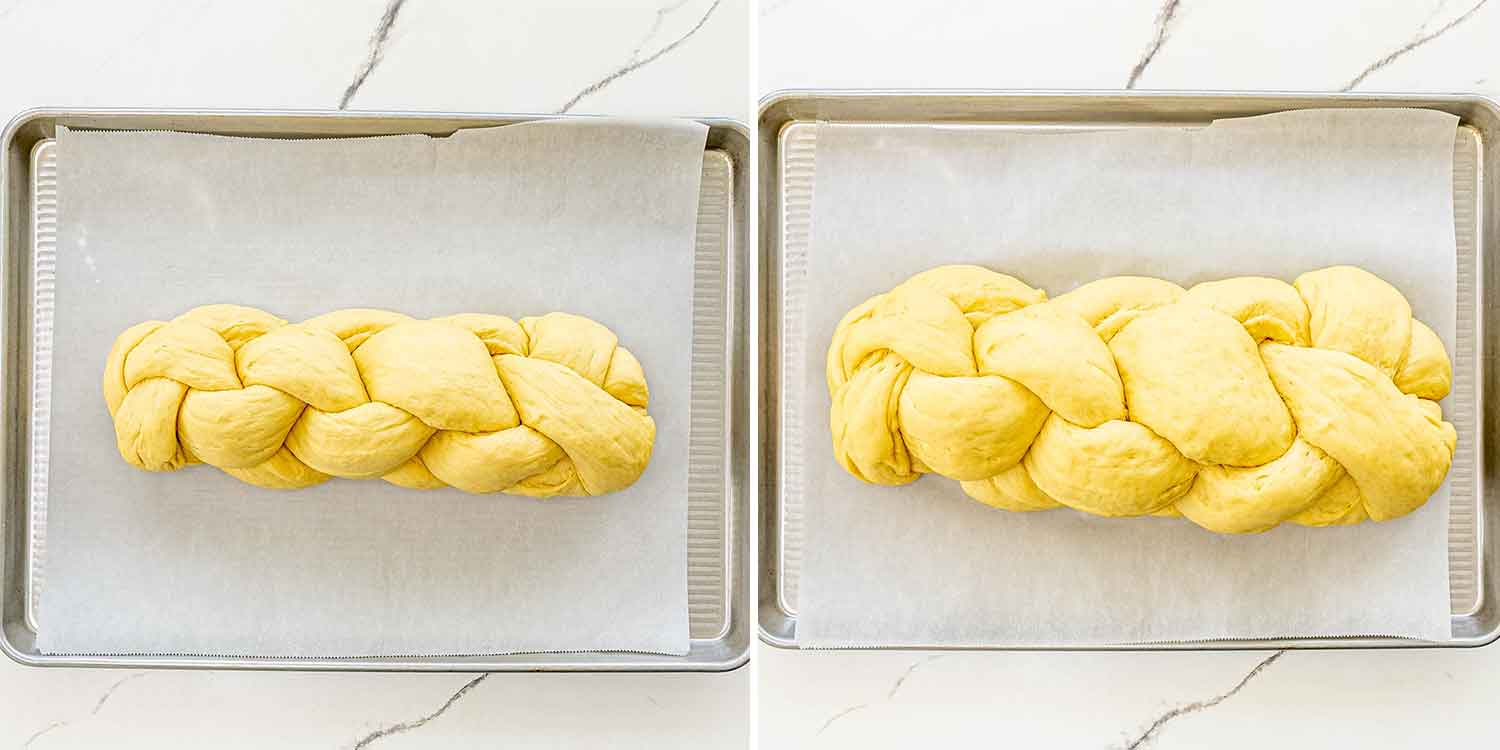
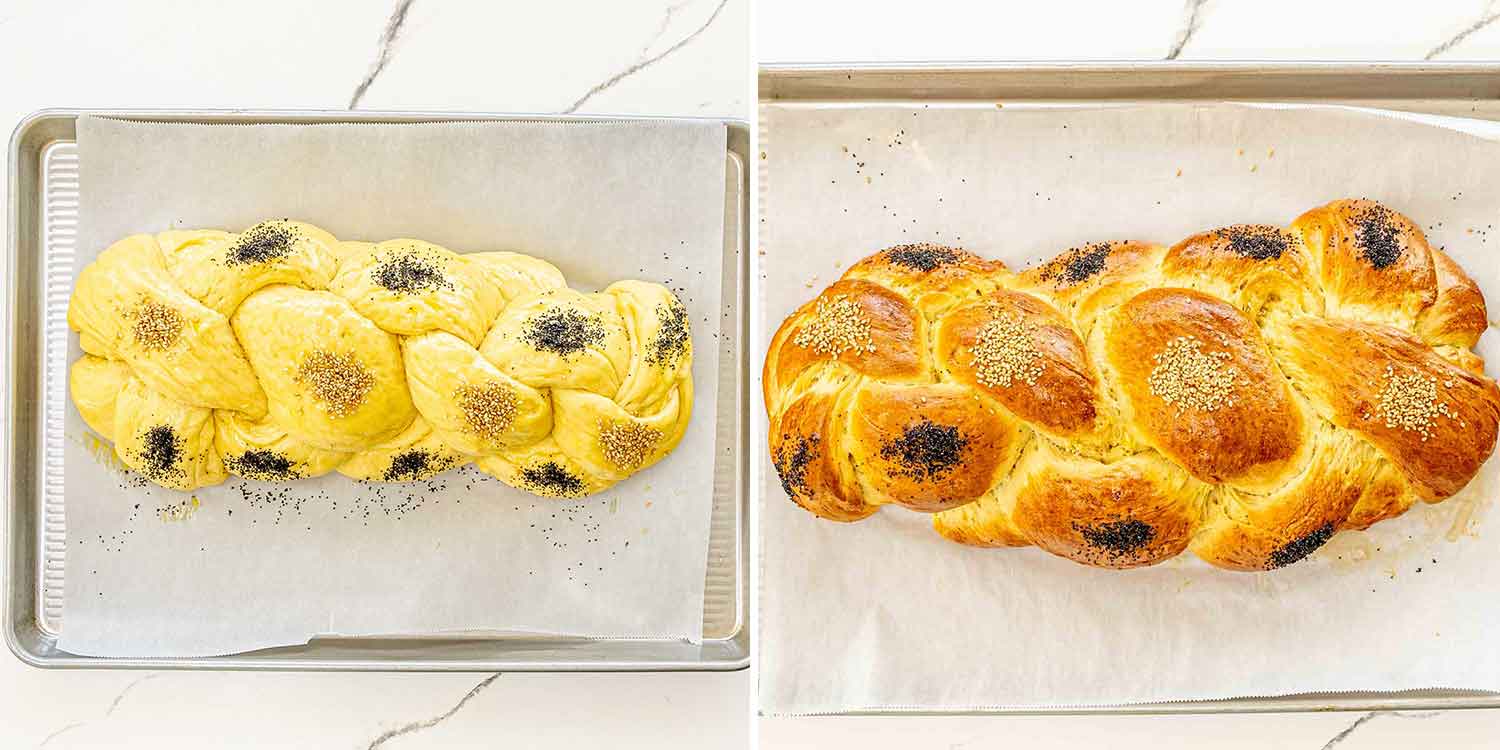
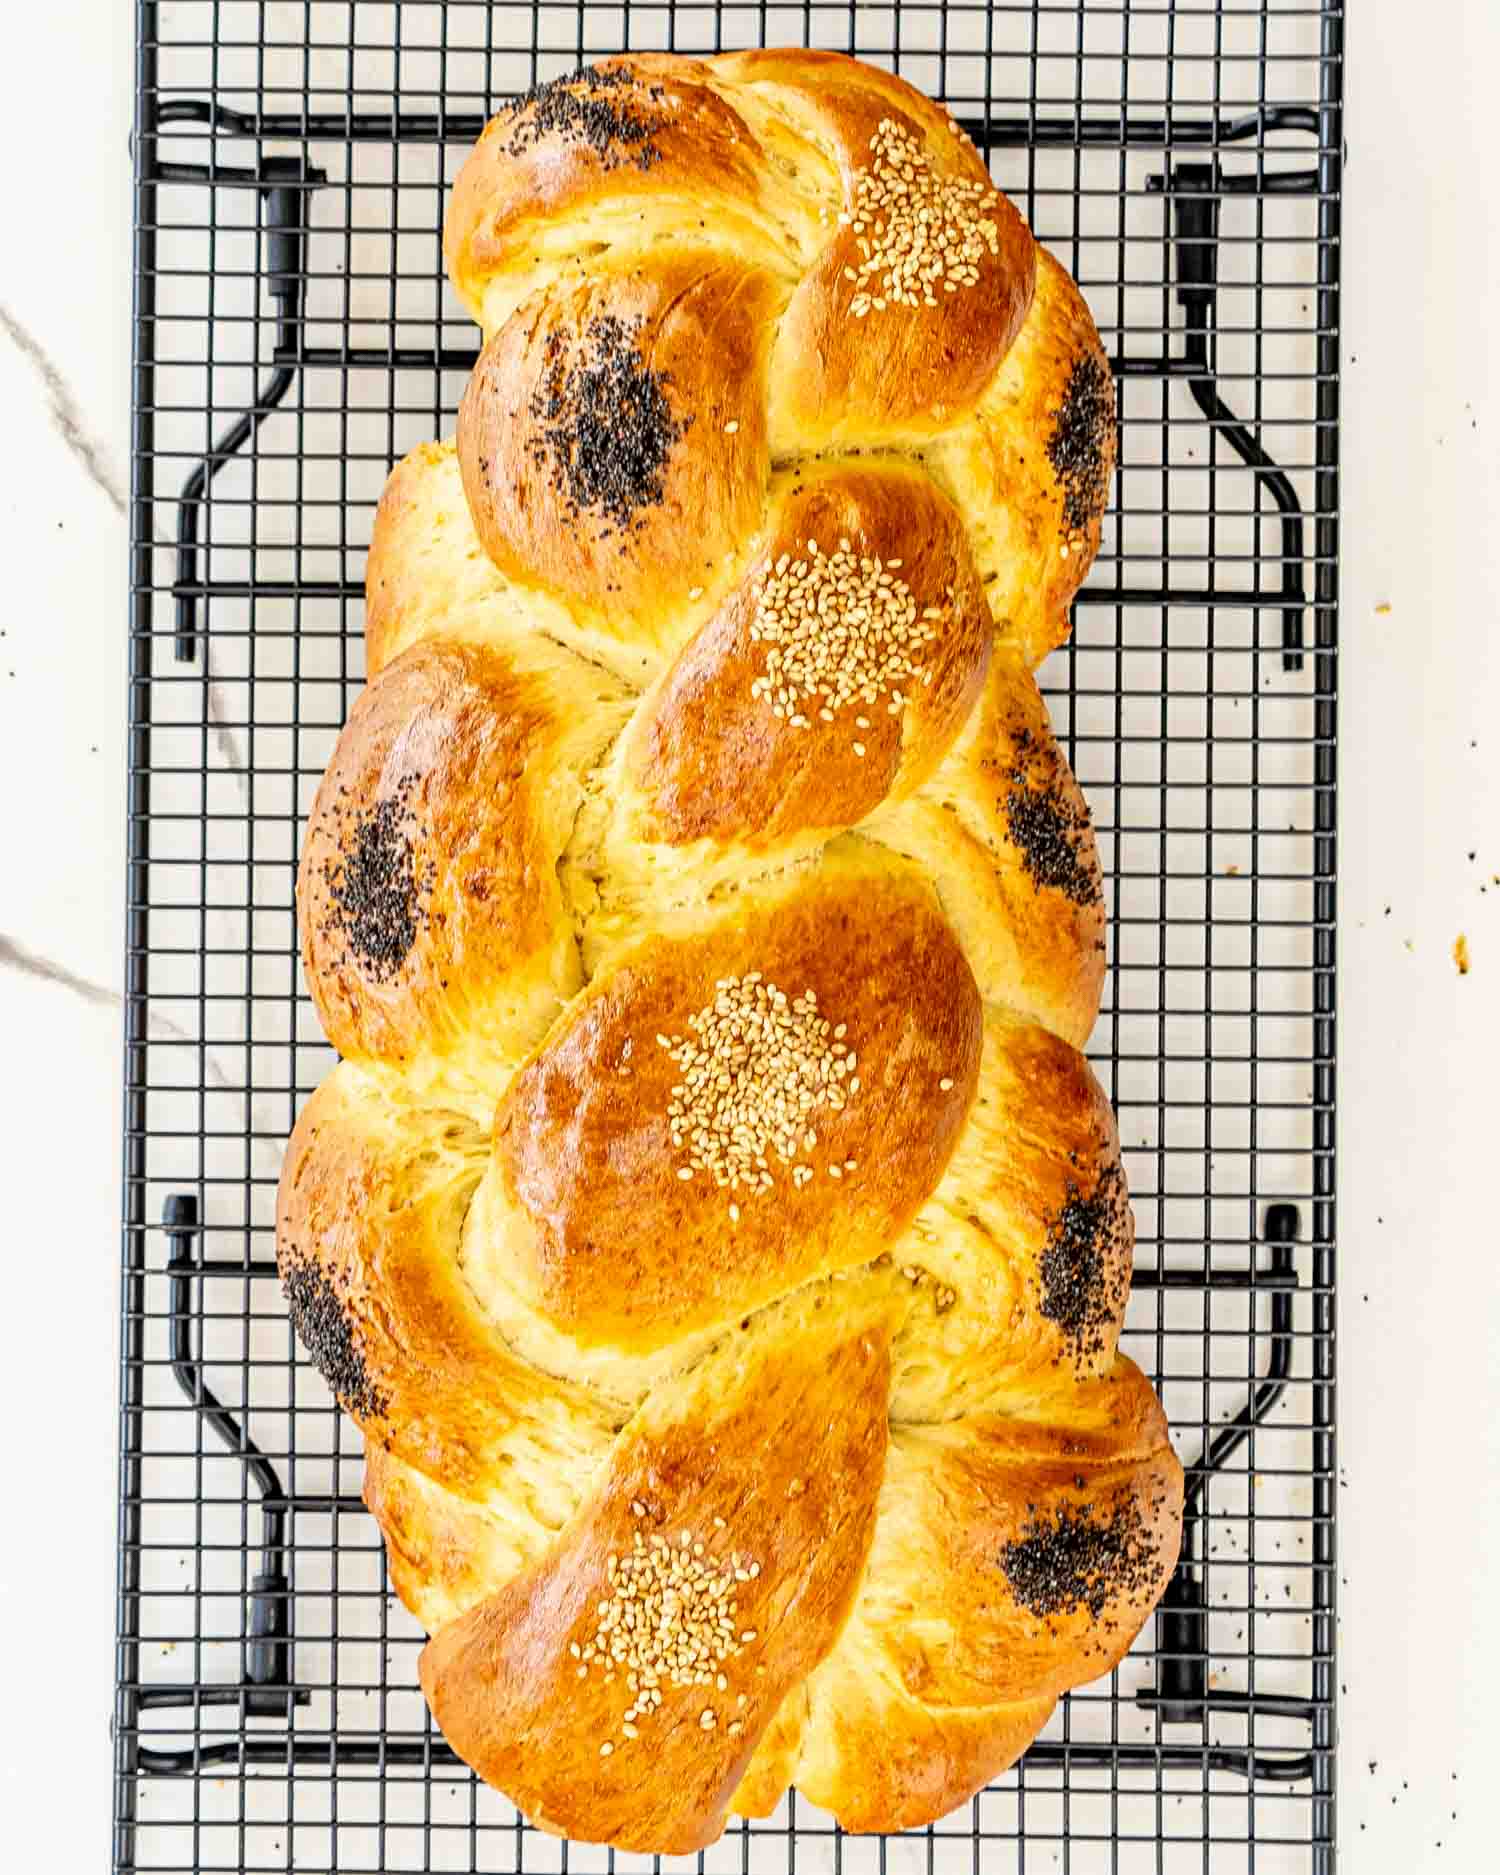
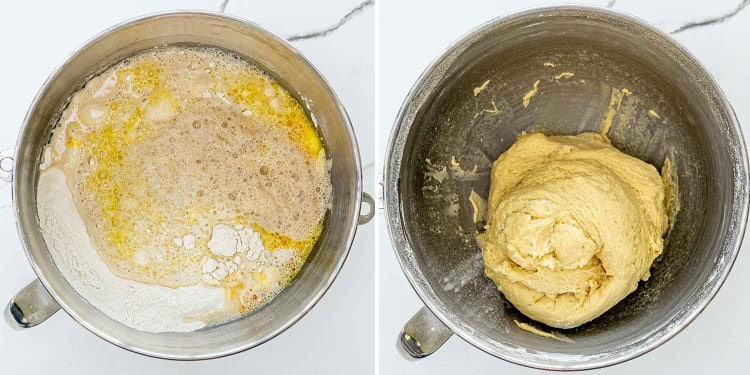
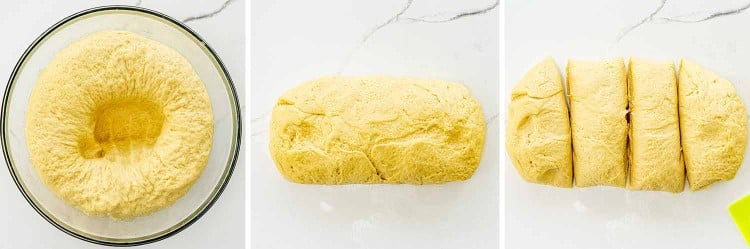
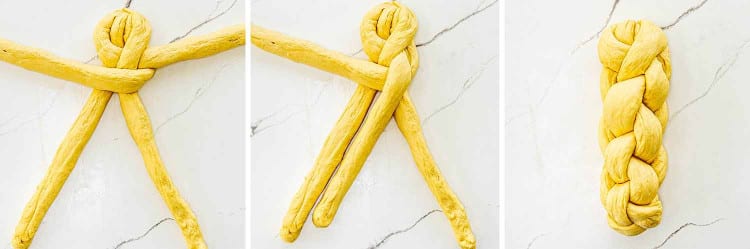
Hey, trust me, making Challah is way easier than it looks! And the best part? Your kitchen is going to smell amazing. So, let’s dive in. First off, we need to get our yeast going. Just mix it in some warm water with a pinch of sugar. Give it a gentle stir and set it aside for about 5-10 minutes. You’ll know it’s ready when it’s all frothy on top. While the yeast is doing its thing, let’s beat together the eggs, vegetable oil, and the rest of the sugar in another bowl. You’re looking for a well-mixed, slightly frothy blend. In a big bowl or the bowl of your mixer, mix together your flour and salt. Pour the frothy yeast mixture and your beaten eggs into that well in the flour. Stir it around until you get a dough. Then, flour your countertop and start mixing using the dough hook. You’ll know you’re done when the dough is smooth and elastic and comes clean from the sides of the bowl, usually takes about 10 minutes. Place that beautiful ball of dough in an oiled bowl, cover it with a damp cloth or plastic wrap, and let it nap in a warm spot. You want it to double in size, which will take about 1.5 to 2 hours. Once your dough has puffed up, give it a gentle punch to deflate it. I know it sounds weird, but it’s a crucial step. Divide it into strands for braiding; you can go with 3, 4, or 6, depending on how fancy you want to get. Roll each strand into a long rope, line them up, pinch the tops together, and start braiding. If you’ve never braided before, don’t worry; there are tons of easy tutorials online. Seal the ends when you’re done. Place your braided masterpiece on a parchment-lined baking sheet, cover it up, and let it rise for another 30-45 minutes. It’ll get nice and puffy, promise. While you’re waiting, preheat your oven to 375°F. Once your dough is ready, brush it with a beaten egg to give it that golden sheen. If you want, sprinkle some sesame seeds for extra crunch. Pop it in the oven for 25-30 minutes. Once it’s all golden and beautiful, give it a little tap. If it sounds hollow, you’re good to go. You can also use a kitchen thermometer to double-check; the internal temperature should be around 190°F. Then take it out and let it cool on a wire rack. And voila! You just made Challah!
Serving Suggestions
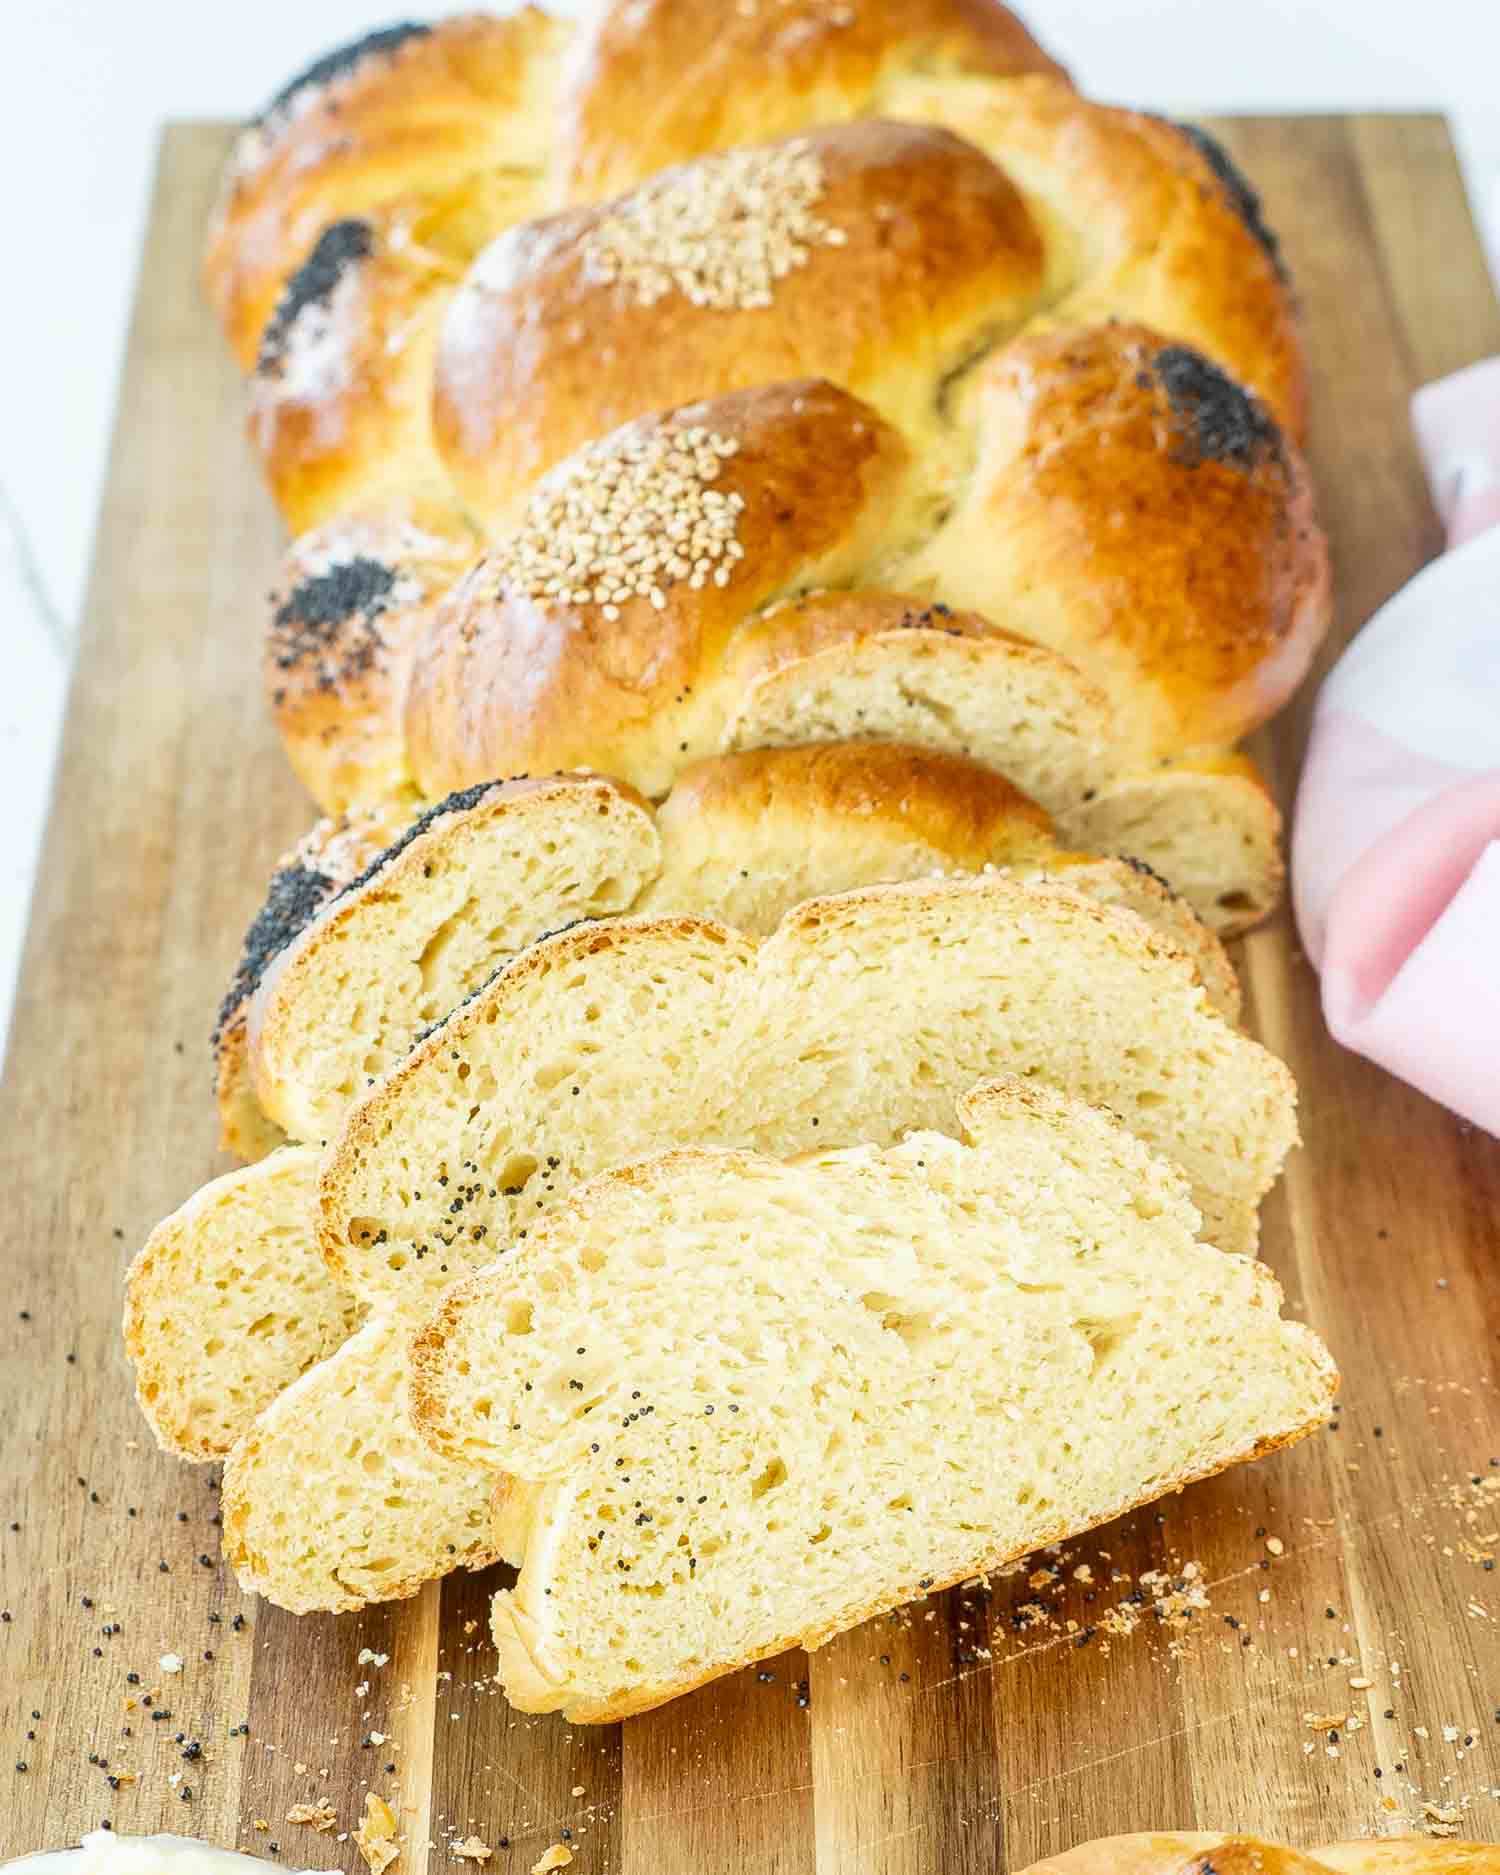
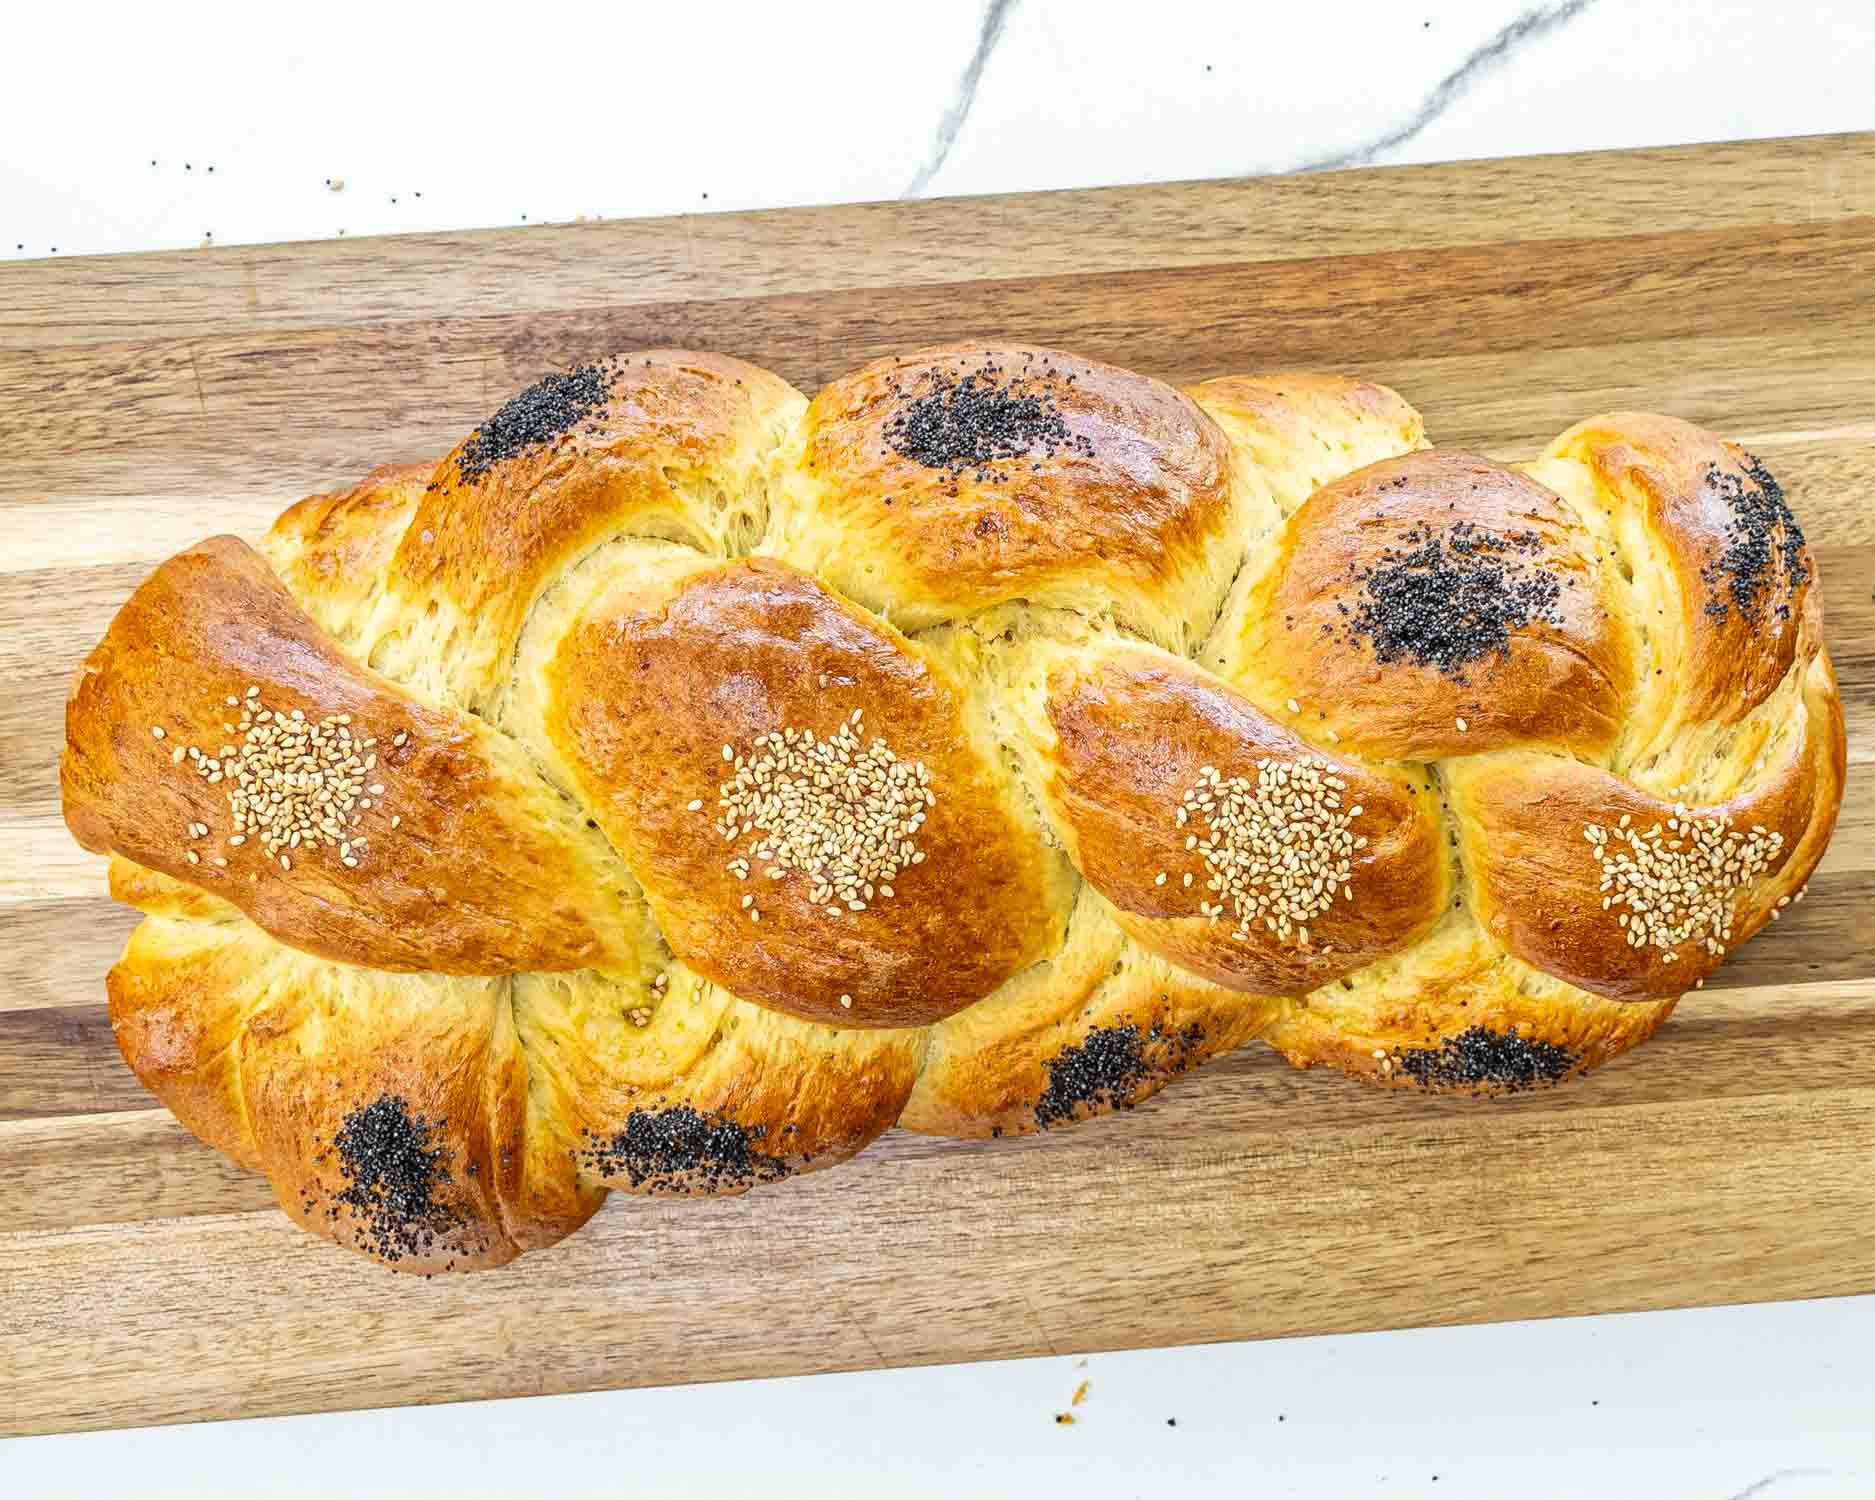
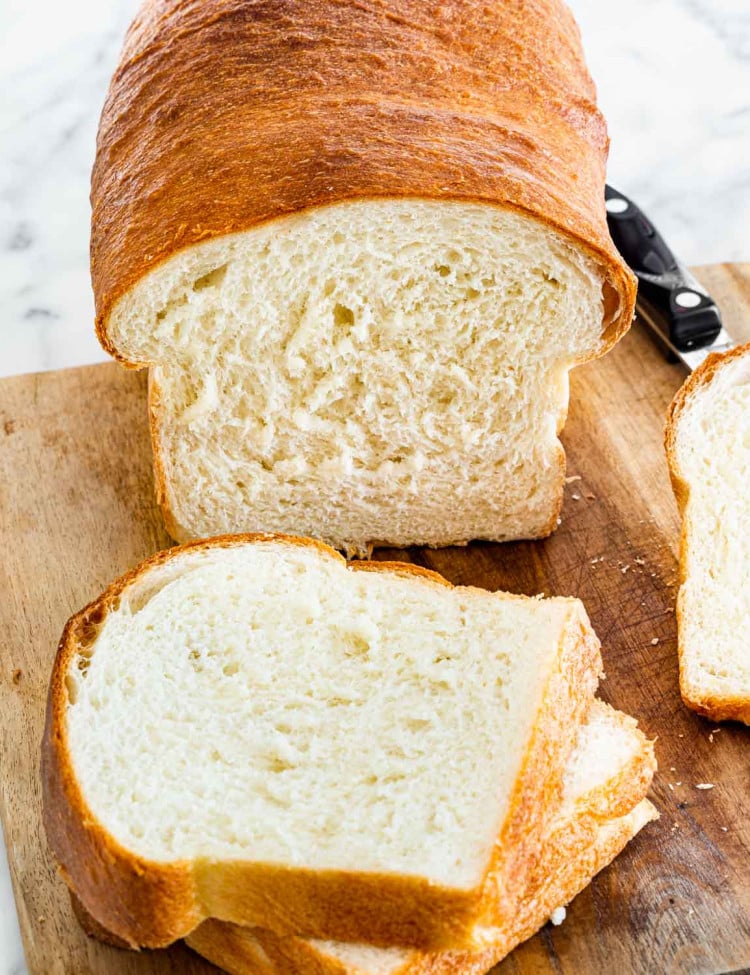
Challah is incredibly versatile and can be served in many delightful ways. Enjoy it as-is, freshly sliced, or take it up a notch by toasting it and adding a pat of butter. It’s the perfect bread for sandwiches, French toast, or bread pudding. For a traditional Jewish meal, pair it with dishes like matzo ball soup or smoked salmon.
Storage
Wrap your challah tightly in plastic wrap or place it in an airtight container to keep it fresh. It will last for about 2-3 days at room temperature or up to a week in the fridge. You can also freeze it for up to three months; just make sure it’s well-wrapped to prevent freezer burn. I’m eager to hear about your experience with this Challah recipe! Did it turn out as you’d hoped? Did you make any tweaks? Your insights and tips could make all the difference for someone else looking to try their hand at baking this beautiful bread. I’d also love to see your photos, so don’t hesitate to share those as well! And of course, if you have any questions or encountered any bumps along the way, feel free to ask.