Why You’ll Love Them
They are convenient. Waffles are an easy breakfast that you can reheat in just minutes. Keep a stash in your freezer, and pop them in the toaster to serve them quickly. They are allergy-friendly. Despite its name, buckwheat isn’t related to wheat and is naturally gluten-free. Made with coconut oil instead of butter, this recipe is dairy-free, too. They are delicious. Buckwheat flour can have a slightly bitter flavor when compared to other whole grain flours, but you can balance that with a splash of maple syrup and vanilla extract. If you’d like to add a dash of cinnamon, for a Fall flavor, you can do that, too! They are made in 1 bowl. All you need is 5 minutes to whisk together this quick waffle batter. Then drop it into your waffle iron, and it will cook in a flash.
Ingredients You’ll Need
What’s in buckwheat waffles?
Buckwheat flourWaterEggCoconut oilBaking powderMaple syrupVanilla extractSalt
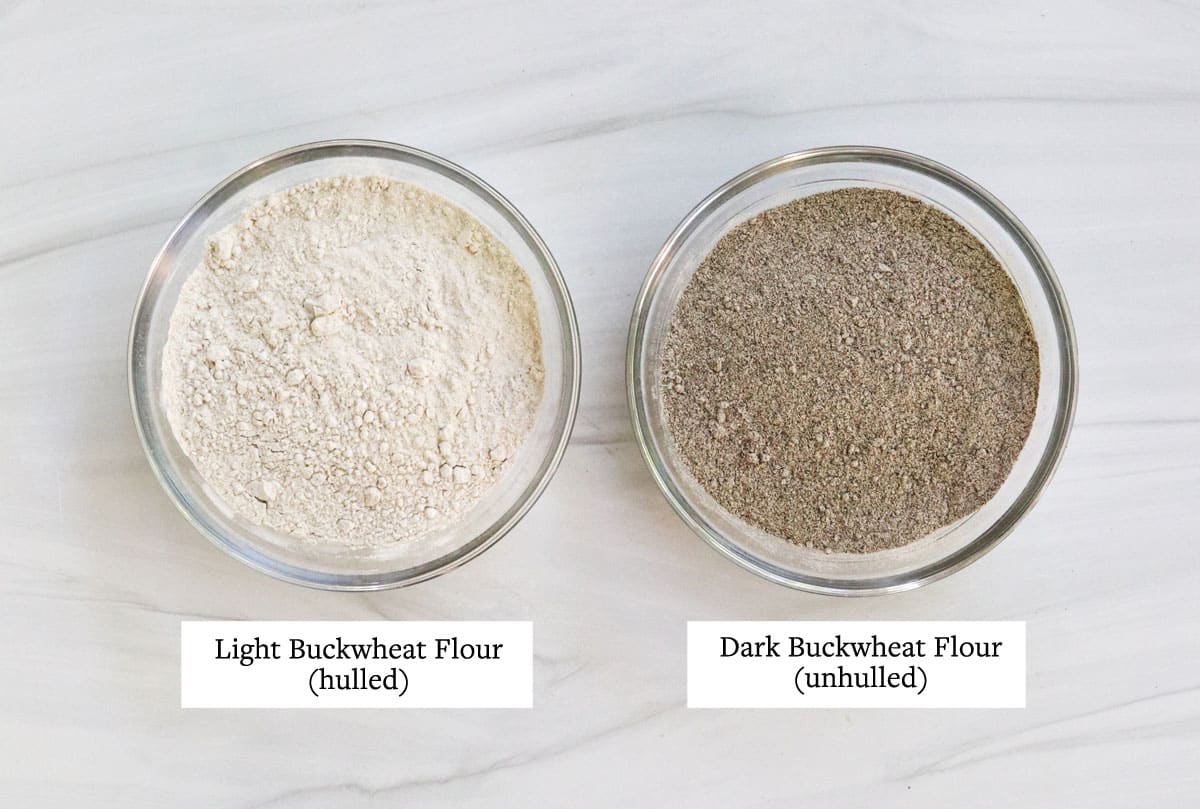
The baking powder gives this recipe lift, without relying on the combination of baking soda + buttermilk that is often used in traditional recipes. (If you want to use buttermilk instead of water in this recipe, though, you certainly can! But it’s not necessary for the recipe to “work.”) For extra protein or nutrients, you can also use soy milk or almond milk instead of the water this recipe calls for. I just wanted to keep it as affordable and flexible as possible! When shopping for buckwheat flour, look for a light-colored version when you can. The light colored flour is made with hulled buckwheat, so it has a lighter color and more mild flavor. If you can only find buckwheat flour made from unhulled buckwheat, this recipe will still work, but the waffles will turn out much darker in color, with a more bold buckwheat flavor. Note: You can make your own light colored buckwheat flour by grinding raw buckwheat groats in a coffee grinder or high-speed blender.
How to Make Buckwheat Waffles
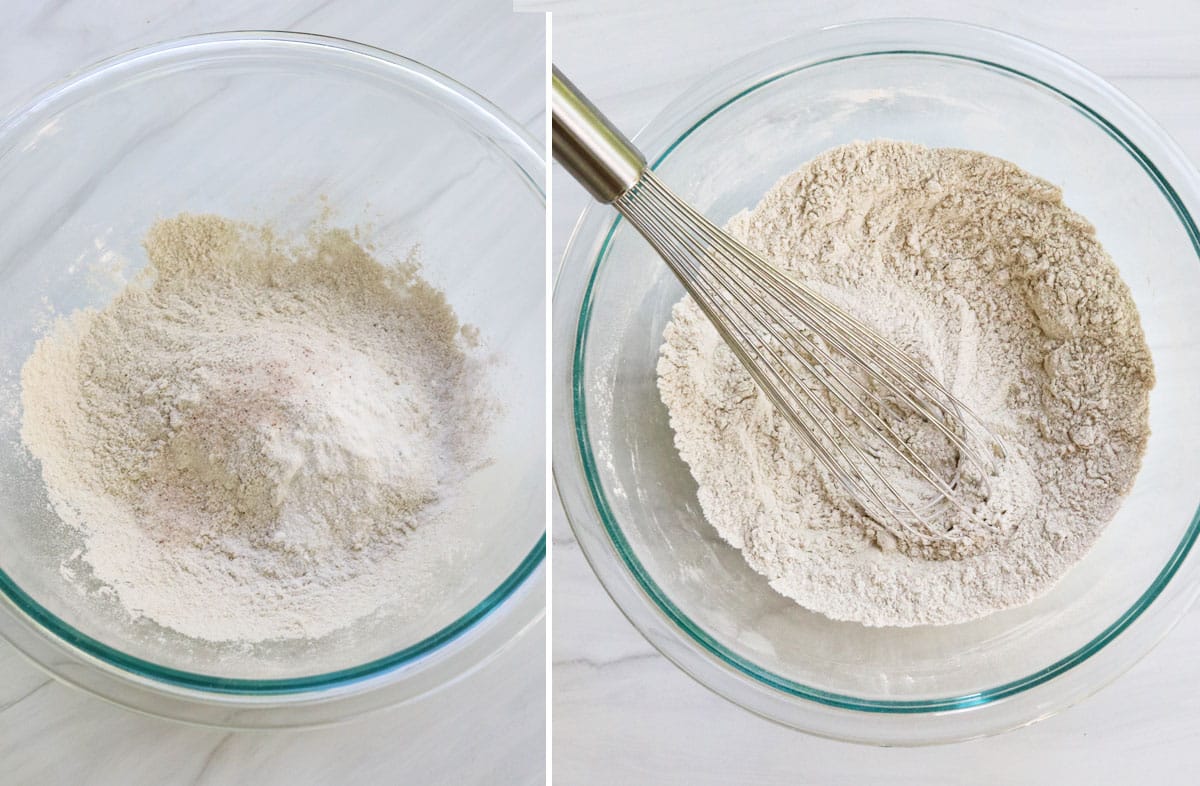
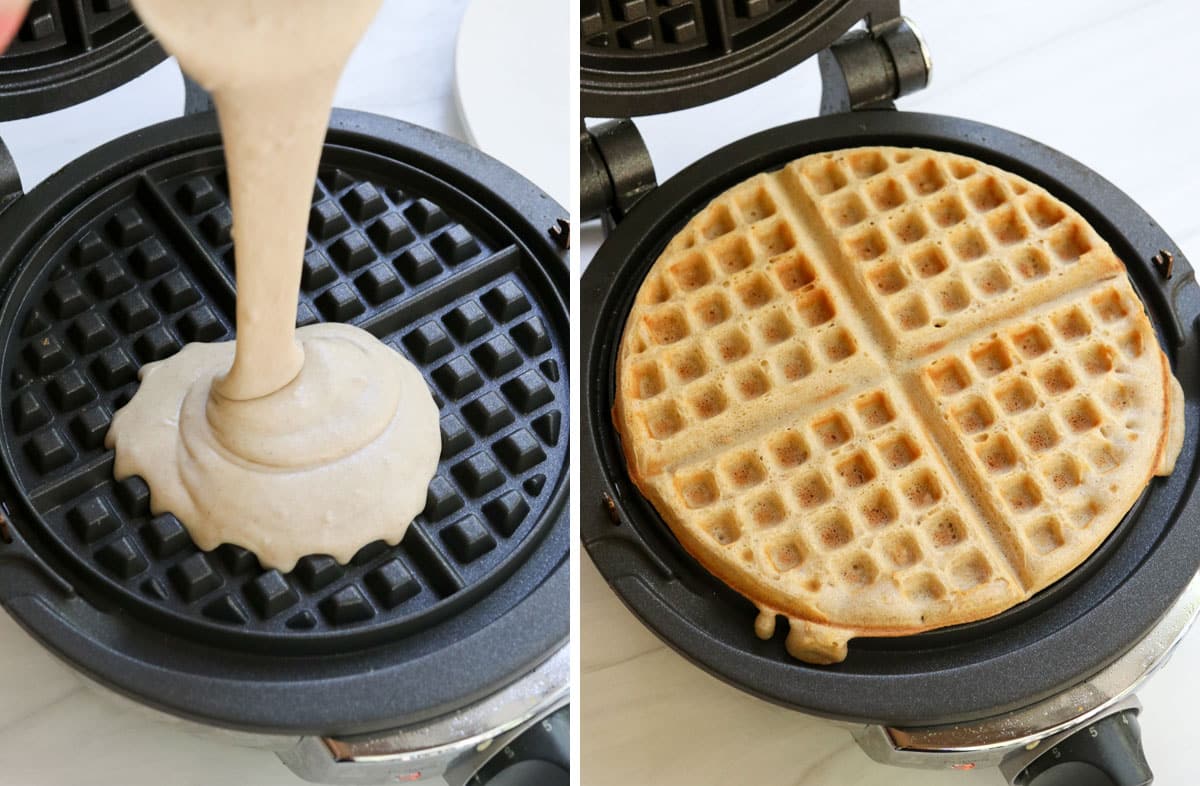
- Mix the dry ingredients. Preheat your waffle iron right before you mix the batter, so it will be ready to cook when the batter is ready. (I set mine to a 5 out of Add the buckwheat flour, baking powder, and salt to a large mixing bowl and whisk well to break up any clumps.
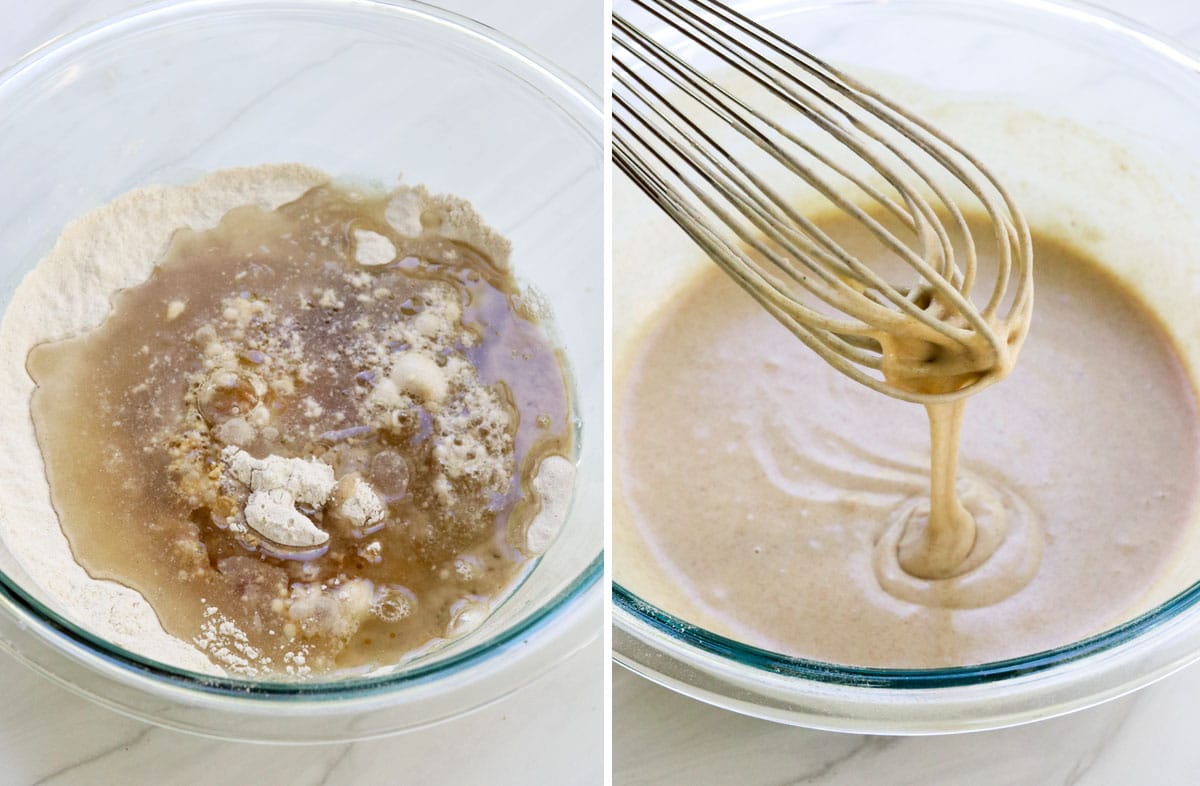
- Add the wet ingredients. Pour in the melted coconut oil, water, egg, and vanilla extract, and whisk again. The batter will look very runny at first, but it will thicken up as you keep stirring. Plan on stirring the mixture for 1 to 2 minutes, until it has looks thicker and is as smooth as possible.
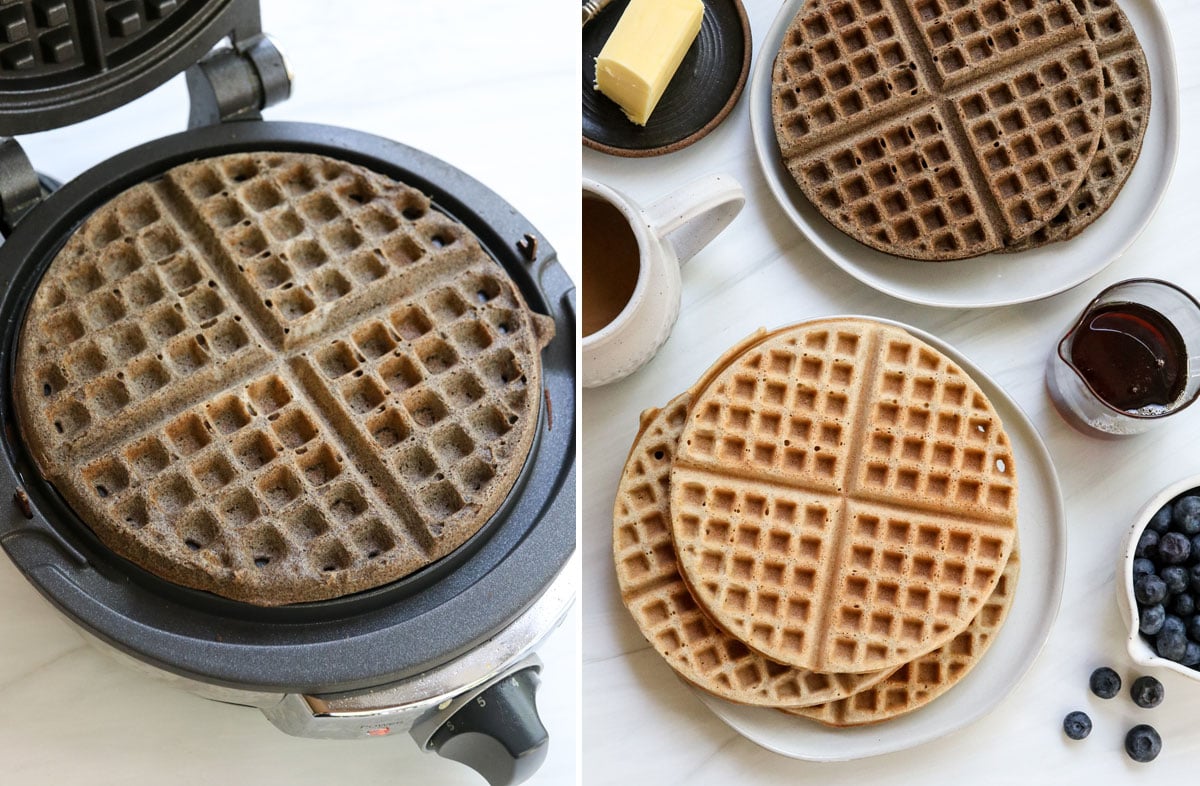
- Cook. Grease your waffle iron with coconut oil or cooking spray, then pour a 1/2 cup of batter into the center of the iron. It will spread out to the edges when you press down the top half. Cook until the “ready” light comes on your electric waffle iron. Depending on the temperature of your machine, the waffles might need an additional 1 to 2 minutes of cooking time, to become lightly golden around the edges. (I keep mine on a heat level of 5 out of 7, and it always requires 2 more minutes of cooking time after the ready light turns on.) Once the waffle is cooked, use a fork to carefully lift it off the waffle iron and repeat the process with the next 1/2 cup of batter, until all of the waffles are cooked. This recipe should make 4 classic-sized waffles. (These are flat enough to fit in a toaster slot.) Note: If you are using a Belgian-style waffle maker, you will need to use 3/4 cup to 1 cup of batter per waffle, since they are so much larger. Keep in mind that this size will NOT fit into a standard toaster slot to reheat later, but you could place it on a toaster oven shelf. In this case, the recipe will make only 2 Belgian waffles, so feel free to double or triple the recipe as needed.
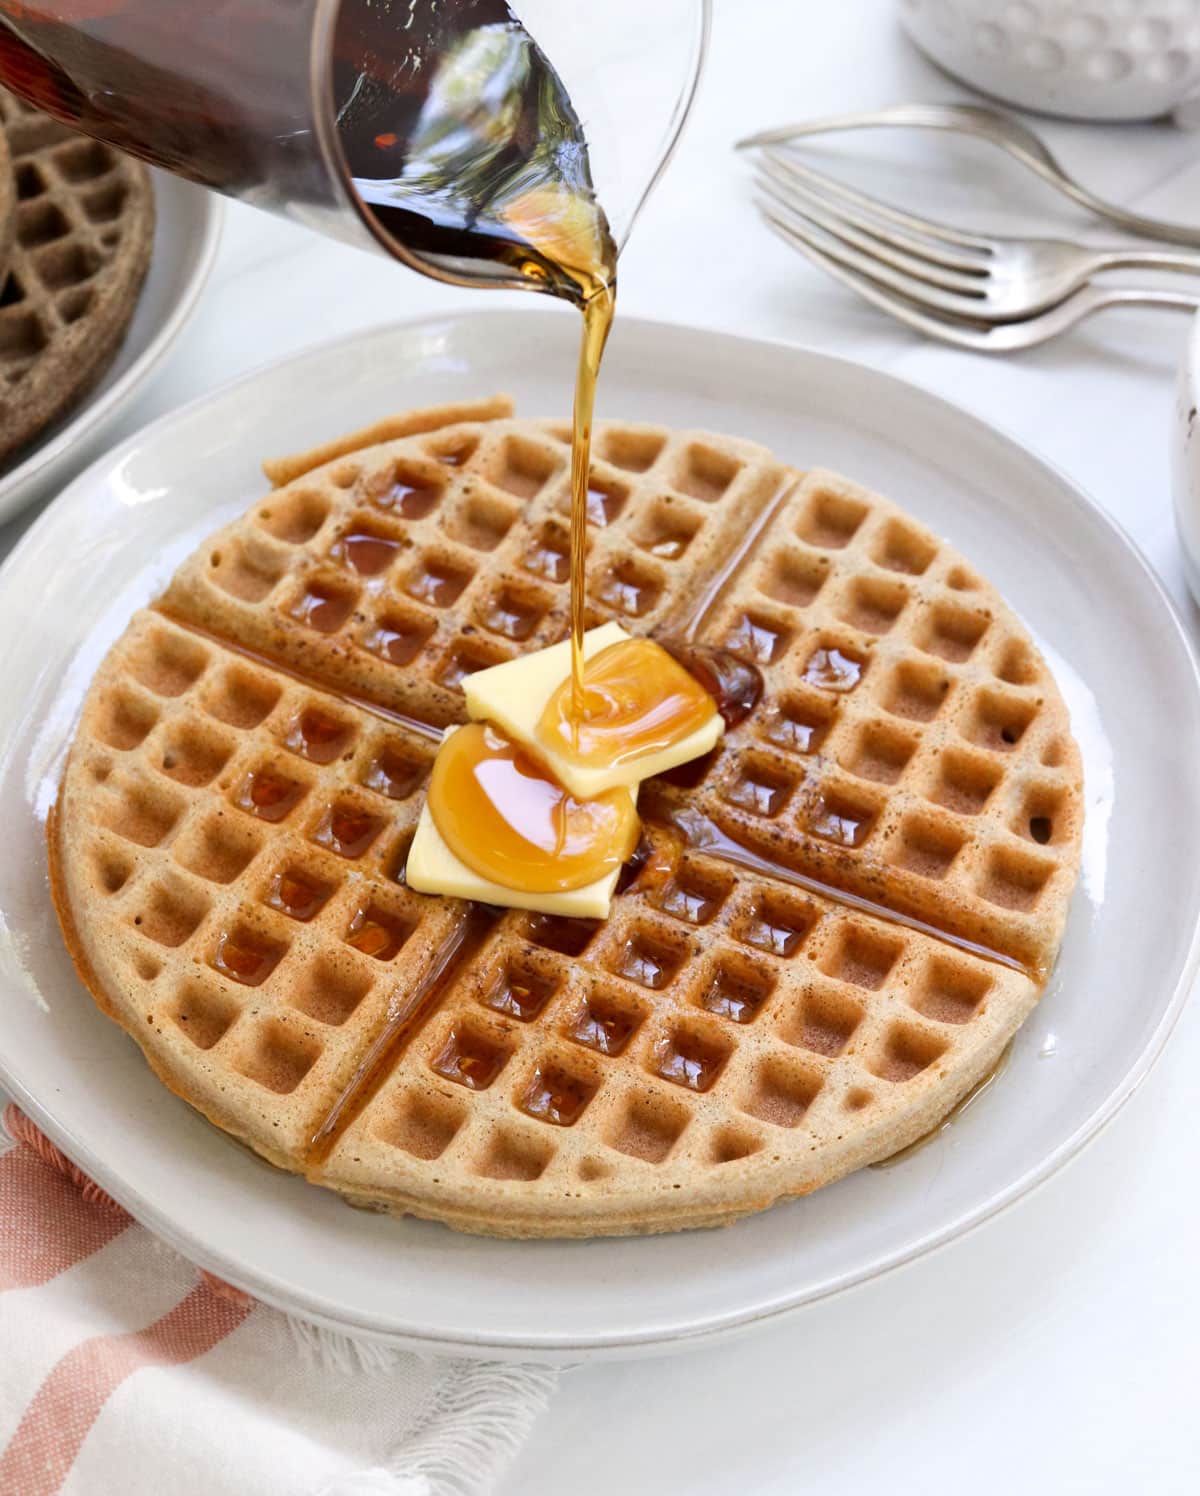
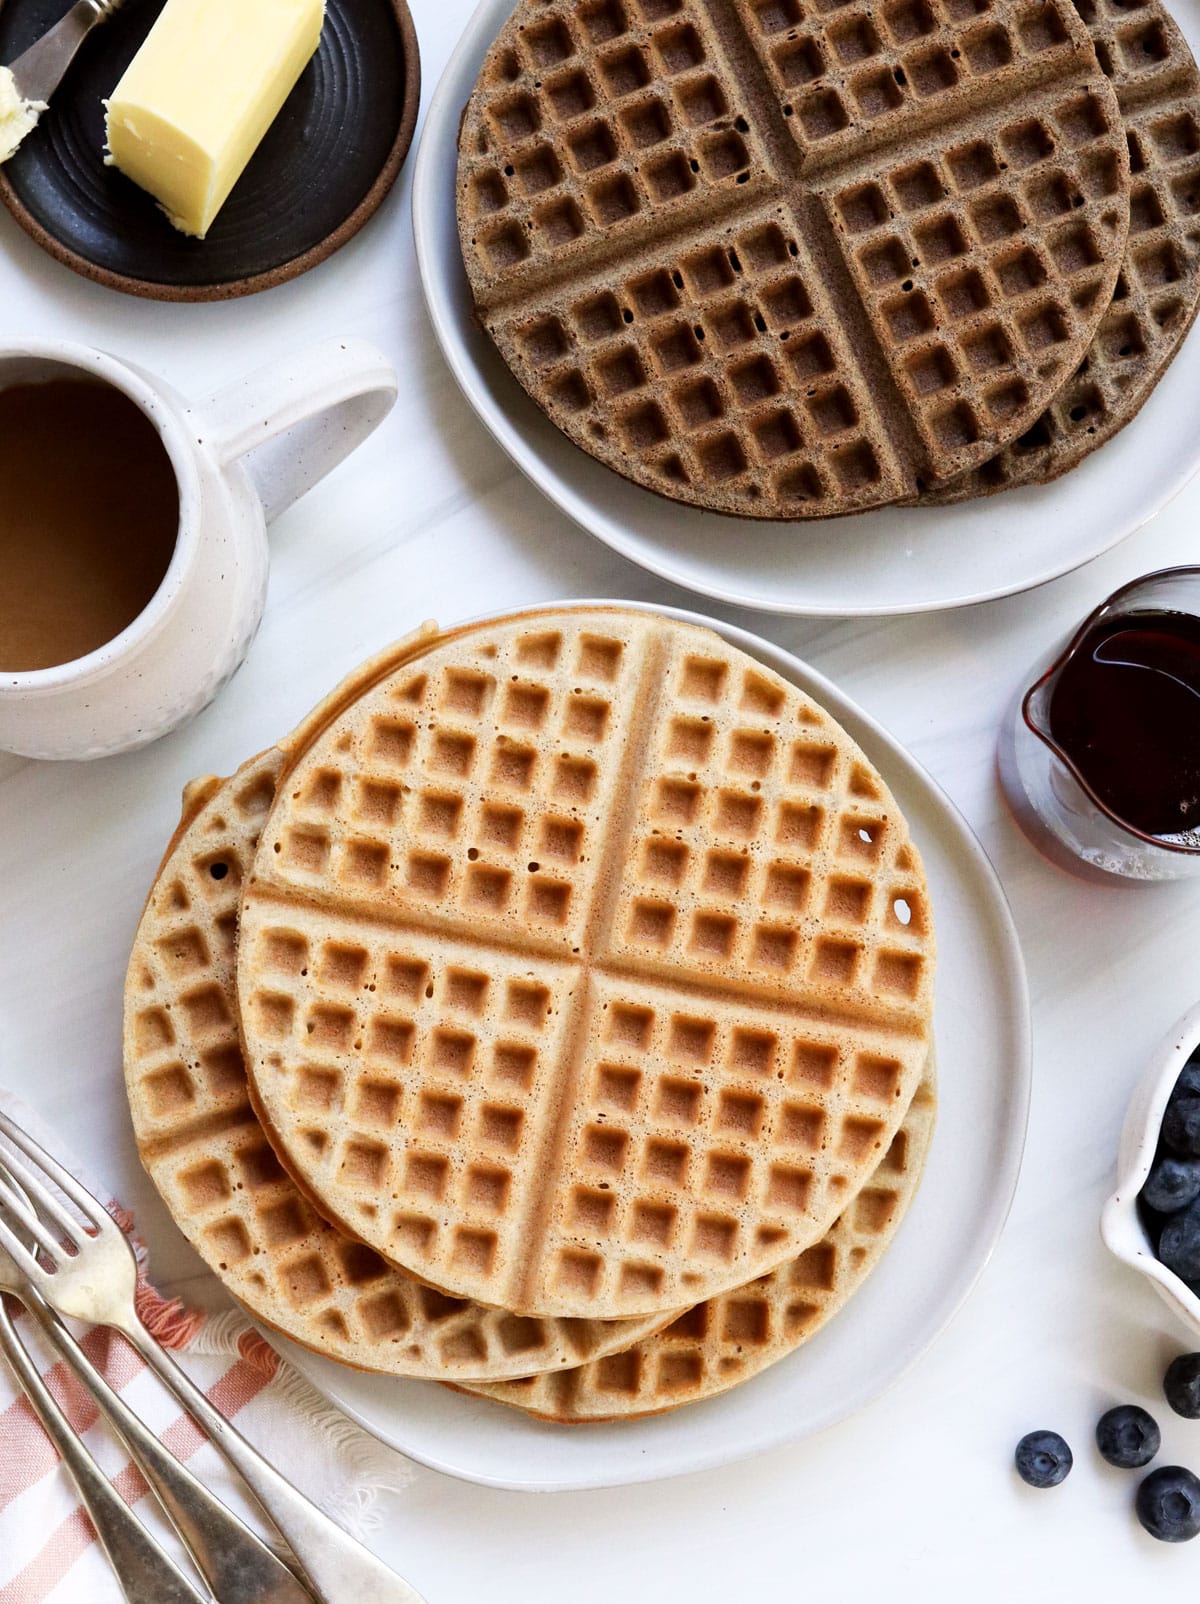
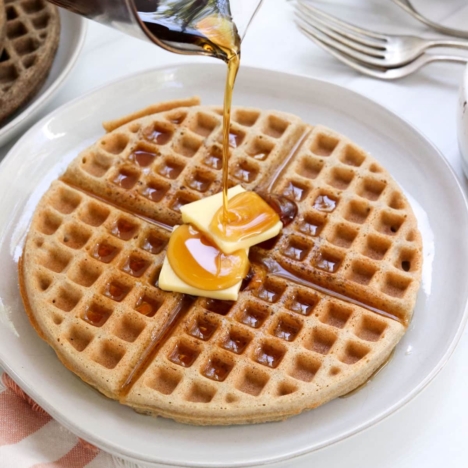
- Enjoy! Once the buckwheat waffles are cooked, they are ready to serve right away. You can keep the cooked waffles in a warm oven (heated to 200ºF) while you wait for the rest to cook. Serve warm with any toppings you love. My family loves to top them with peanut butter and sliced banana, but you can also serve them with maple syrup or fresh strawberries. Leftover waffles can be stored in an airtight container in the fridge for up to a week, or you can freeze them for up to 3 months. Feel free to make a double batch as part of your meal prep routine!
Substitutions & Common Questions
Can I make this recipe vegan? Yes, you can replace the egg in this recipe with a flax egg, or add in 2 tablespoons of arrowroot starch as an egg replacement. I’ve actually made this recipe once by simply forgetting the egg, and the waffles still turned out edible, but not quite as crispy. Keep in mind that classic-style waffle irons are MUCH more forgiving than a Belgian-style waffle maker. The thicker the waffle is, the more difficult it is to achieve crispy results.
Can I use a different oil? If you prefer not to use coconut oil, you can use melted butter instead, or try olive oil or another neutral-flavored oil. For a lower fat waffle, you can swap pumpkin puree for the oil, but the waffles will turn out much softer with that substitution.
Don’t have baking powder on hand? You can use a 1/2 teaspoon of baking soda plus 1 teaspoon of apple cider vinegar as a replacement.
Looking for more gluten-free breakfast ideas? Try vegan buckwheat pancakes, almond flour waffles, or sweet potato breakfast hash.
If you try this buckwheat waffles recipe, please leave a comment and star rating below letting me know how you like it.