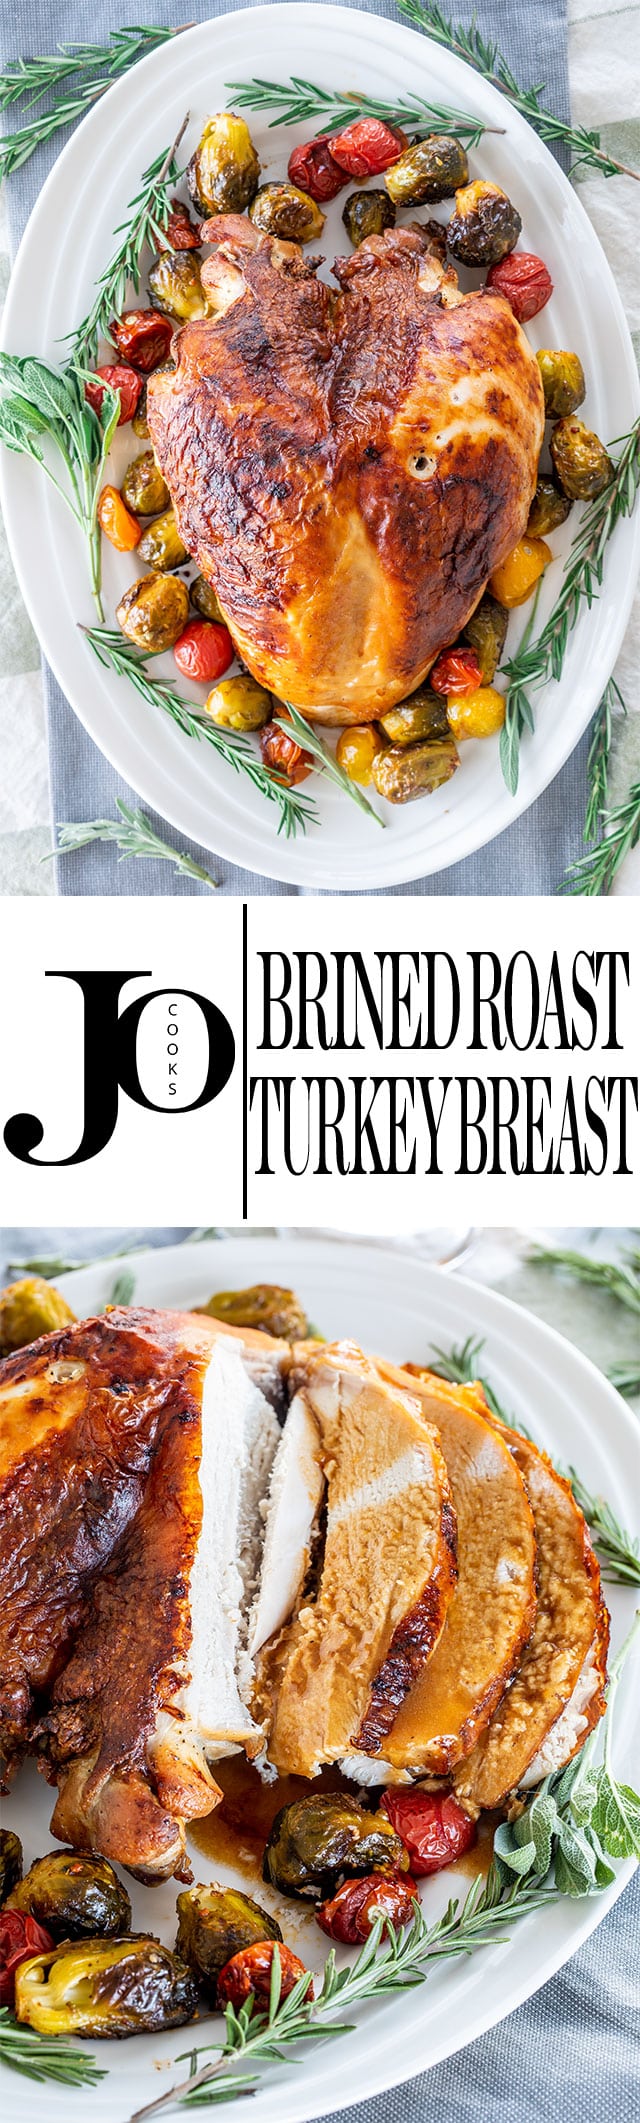
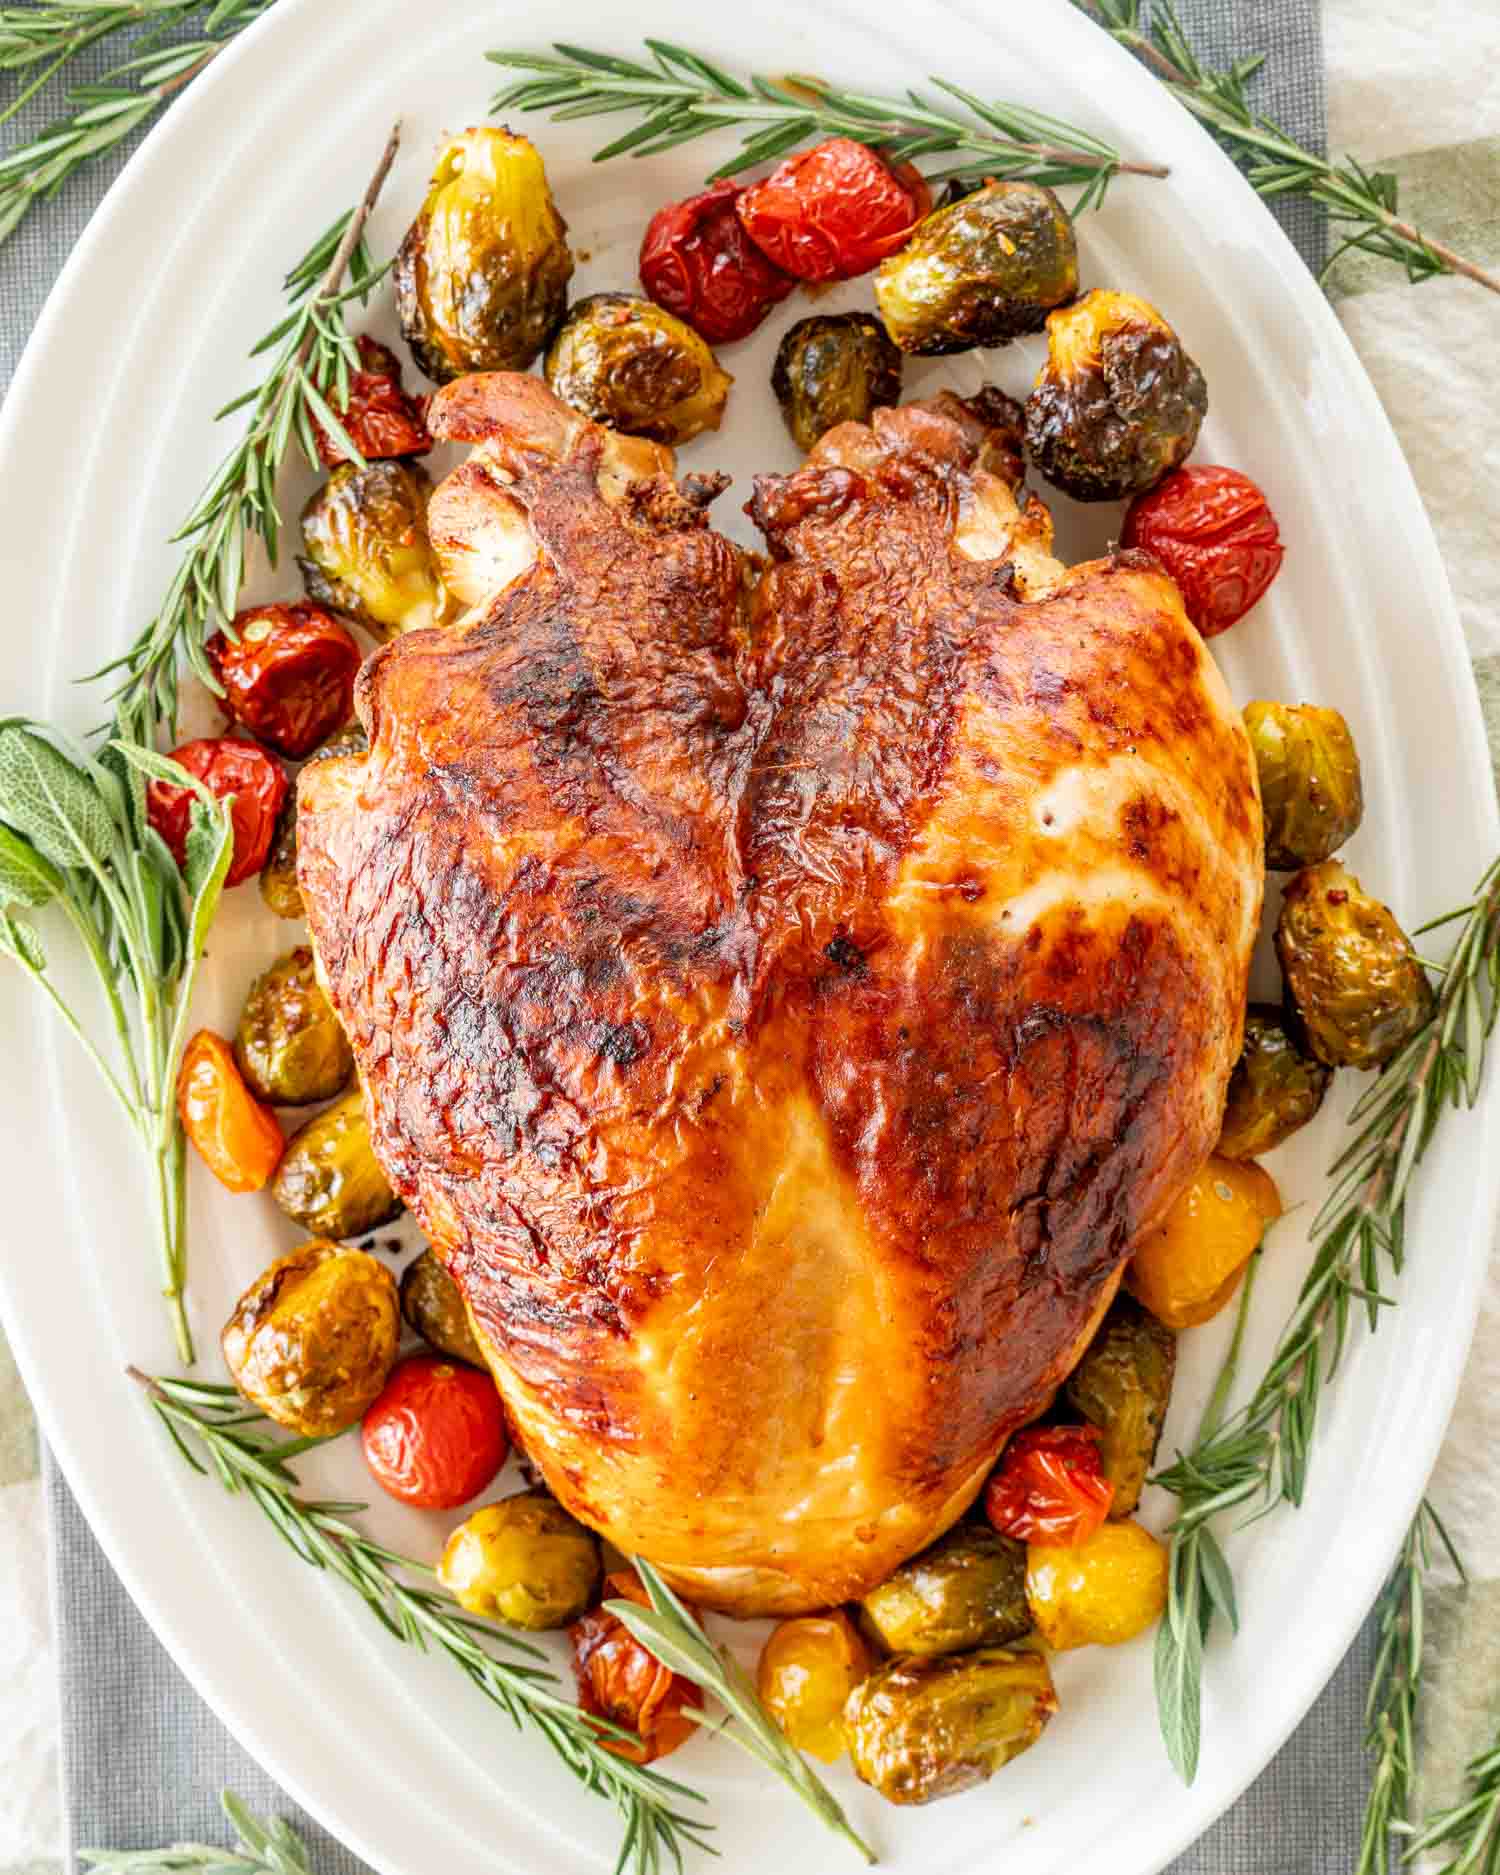
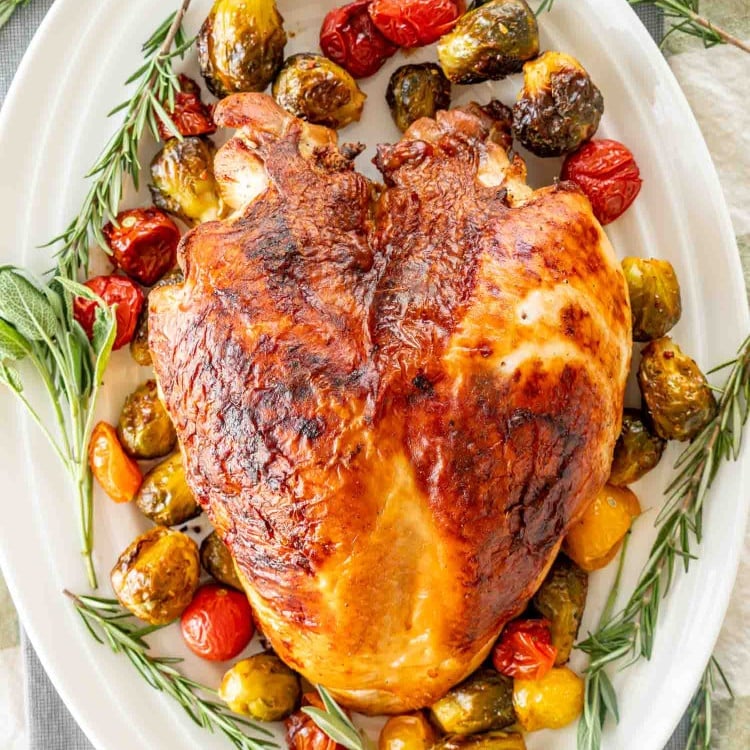
Brined Roast Turkey Breast
To brine or not to brine, that is the question. I’ll be the first to tell you that I lived pretty much my whole life without ever brining my turkeys. Once I did, I realized that brining is the way to go, especially if you’re brining with something flavorful.
What Is Brining?
A brine is a solution usually made with salt and water that is used to pickle or preserve foods. Brining meats usually can help to increase the amount of liquid inside the meat cells, thus giving us juicier turkeys. The key to brining is to use great flavors, don’t just do salt and water, even though that is still going to make your turkey juicier, you want to add more delicious flavors such as citrus flavor, garlic, sugar, cinnamon and herbs. Make the brine count and don’t be shy to use flavors that you love.
Why Should I Brine My Turkey?
You’re accomplishing two very important things when you create a brine like this for your turkey. Since it’s a very lean type of meat, especially the breast, this will help it plump up and get extra juicy. No more dry bites of turkey! You’re also getting flavors deep into the actual meat rather than just having them sit on top. When I’m creating a brine, I want as much flavor as possible. The mixture of citrus and fresh herbs takes this bird right over the top!
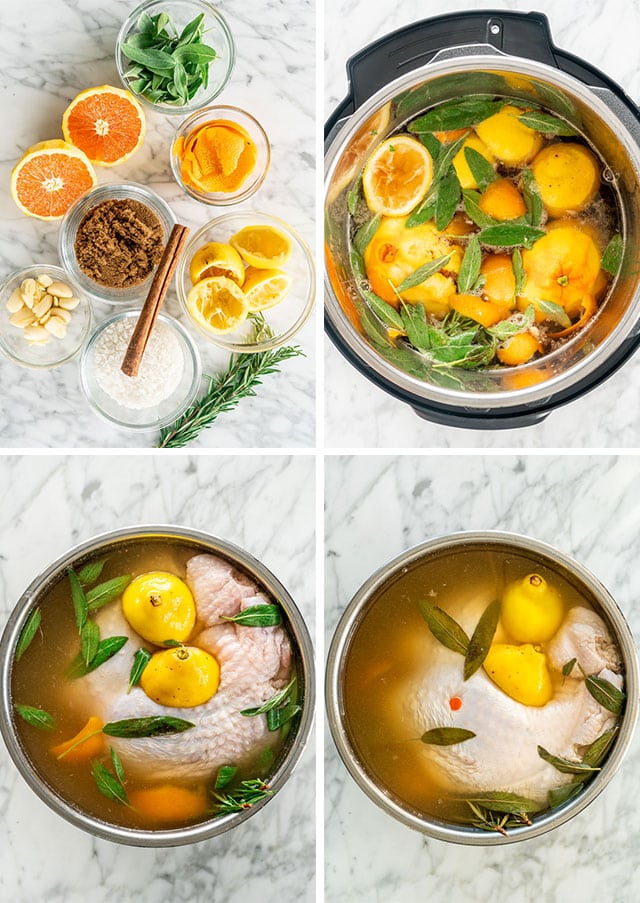
For the brine you’ll need:
Water – You’ll need lots of water to carry those flavors, impart them into the meat, and completely cover the turkey breast. Salt – I used kosher salt. The granules are a lot bigger than table salt, so if that’s all you have then use half the amount that’s called for in the recipe. Sugar – The sugar helps balance out the saltiness of the brine. It’ll add the perfect touch of sweetness that you’ll barely notice when taking a bite, but really makes a big difference. Garlic – I used full fresh cloves for this recipe. Cinnamon stick – For a brine, it’s much better to use a cinnamon stick versus powder. The powder will stick to the breast too much, making it way too cinnamon-y. Fresh sage & rosemary – Again, rather than using the powdered versions I like to use fresh leaves. You will still get that amazing warm herb flavor without it being overwhelming. Lemons & orange – I juice these and add them whole to the brine. You can’t get too much citrus in here! Ice – After cooking all these flavors into the brine, we want to cool it down right away before adding the turkey. The heat from the brine will cook the outside of the turkey and it won’t be able to absorb the brine.
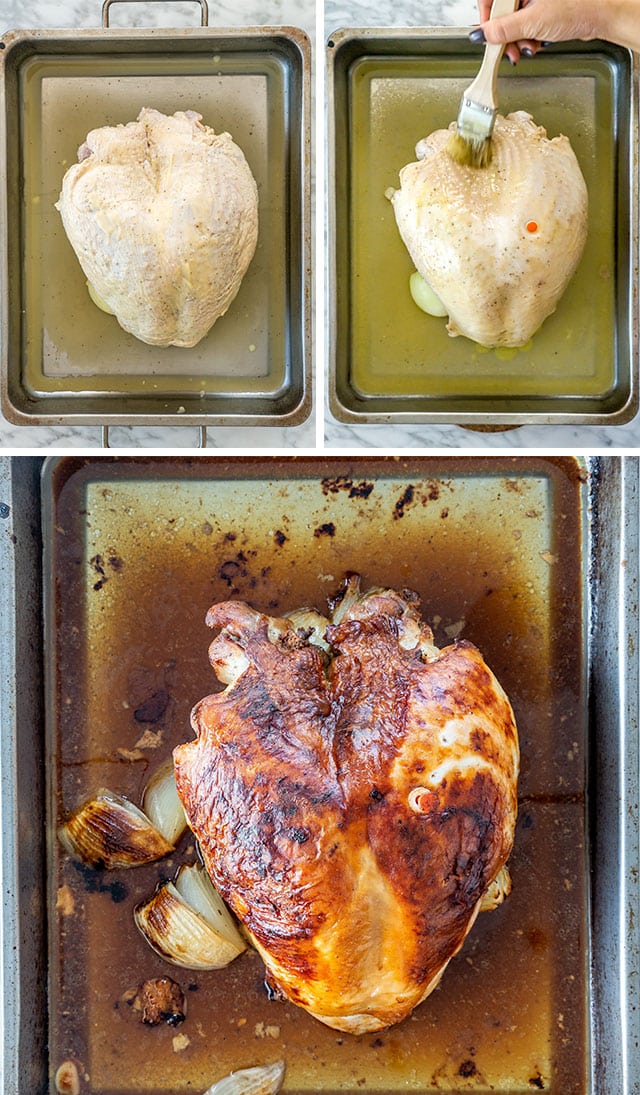
To roast the turkey breast you’ll need:
Onions & garlic – I like to place the turkey on top of the onion and garlic to not only impart flavor, but act as almost a natural rack to ensure even cooking. Salt & pepper – Since the meat is seasoned from the inside out, you only need a little bit of salt and pepper to season the skin. Butter – I always use unsalted butter, especially in this case. The butter helps get that skin nice and crispy after it has soaked in water. Chicken broth – Use only unsalted. This will help catch the drippings and prevent them from burning so you can make your delicious gravy.
For the gravy you’ll need:
Pan drippings – Don’t throw these away! Strain the onion and garlic from the drippings before using them. Chicken broth – Use only unsalted. This will help you yield more gravy, and tone down the saltiness from the drippings. You can also use water. Cornstarch & water – This combo is what will thicken your gravy. You can use more or less depending on how thick you like it.
The only problem with brining is that you want to make sure you have a pot that is big enough to fit your bird, however you can also buy brining bags that are usually large enough to fit whole turkeys or hams. It may be a labor of love to take this extra step in making your turkey, but I promise you’ll never go back. The flavor is unbeatable!
Tips for Making the Best Brined Turkey
How to Store Leftover Turkey
In the fridge: Store your turkey in an airtight container for 3-4 days. You can reheat it in the microwave or sliced up on the stovetop. Use a skillet over medium heat. I like to reheat it using a bit of the gravy so that it doesn’t dry out. In the freezer: Your turkey will last 2-3 months in the freezer. I would suggest slicing the turkey and freezing it for an hour on a baking sheet covered with plastic wrap. Transfer the pieces to a large freezer bag or an airtight container. With this method, you can grab a few slices when you need them without everything sticking together. Thaw either in the microwave or at room temperature for 1-2 hours.
Looking for Ways to Use Up Leftover Turkey? Try These Recipes:
Leftover Turkey Noodle Soup Turkey Sandwich Leftover Turkey Shepherd’s Pie
Craving More Turkey? Try These Recipes:
Instant Pot Turkey Breast Maple Mustard Roasted Turkey Thighs Roast Turkey Breast with Saucy Cranberry Sauce How to Roast a Turkey